Twilight Forest 1.21.1: Complete Guide to the World and Bosses
Guide to Twilight Forest – a detailed manual on exploring the Twilight Forest, gathering resources, and fighting bosses. Includes information on locations, unique items, progression mechanics, and survival tips.
Article Navigation
Creating the Portal
You can create a portal quite easily, and it’s available right from the start of survival.
What you need to activate the portal:
An infinite 2x2 water source
12 of any flowers
1 Diamond
How to build the portal:
Dig a 2x2 hole and fill it with water.
Plant 12 flowers around the edges.
After you finish building, take a diamond, throw it into the water by pressing Q . After a second, lightning will strike the water, the diamond will disappear, and the water will turn into a portal. 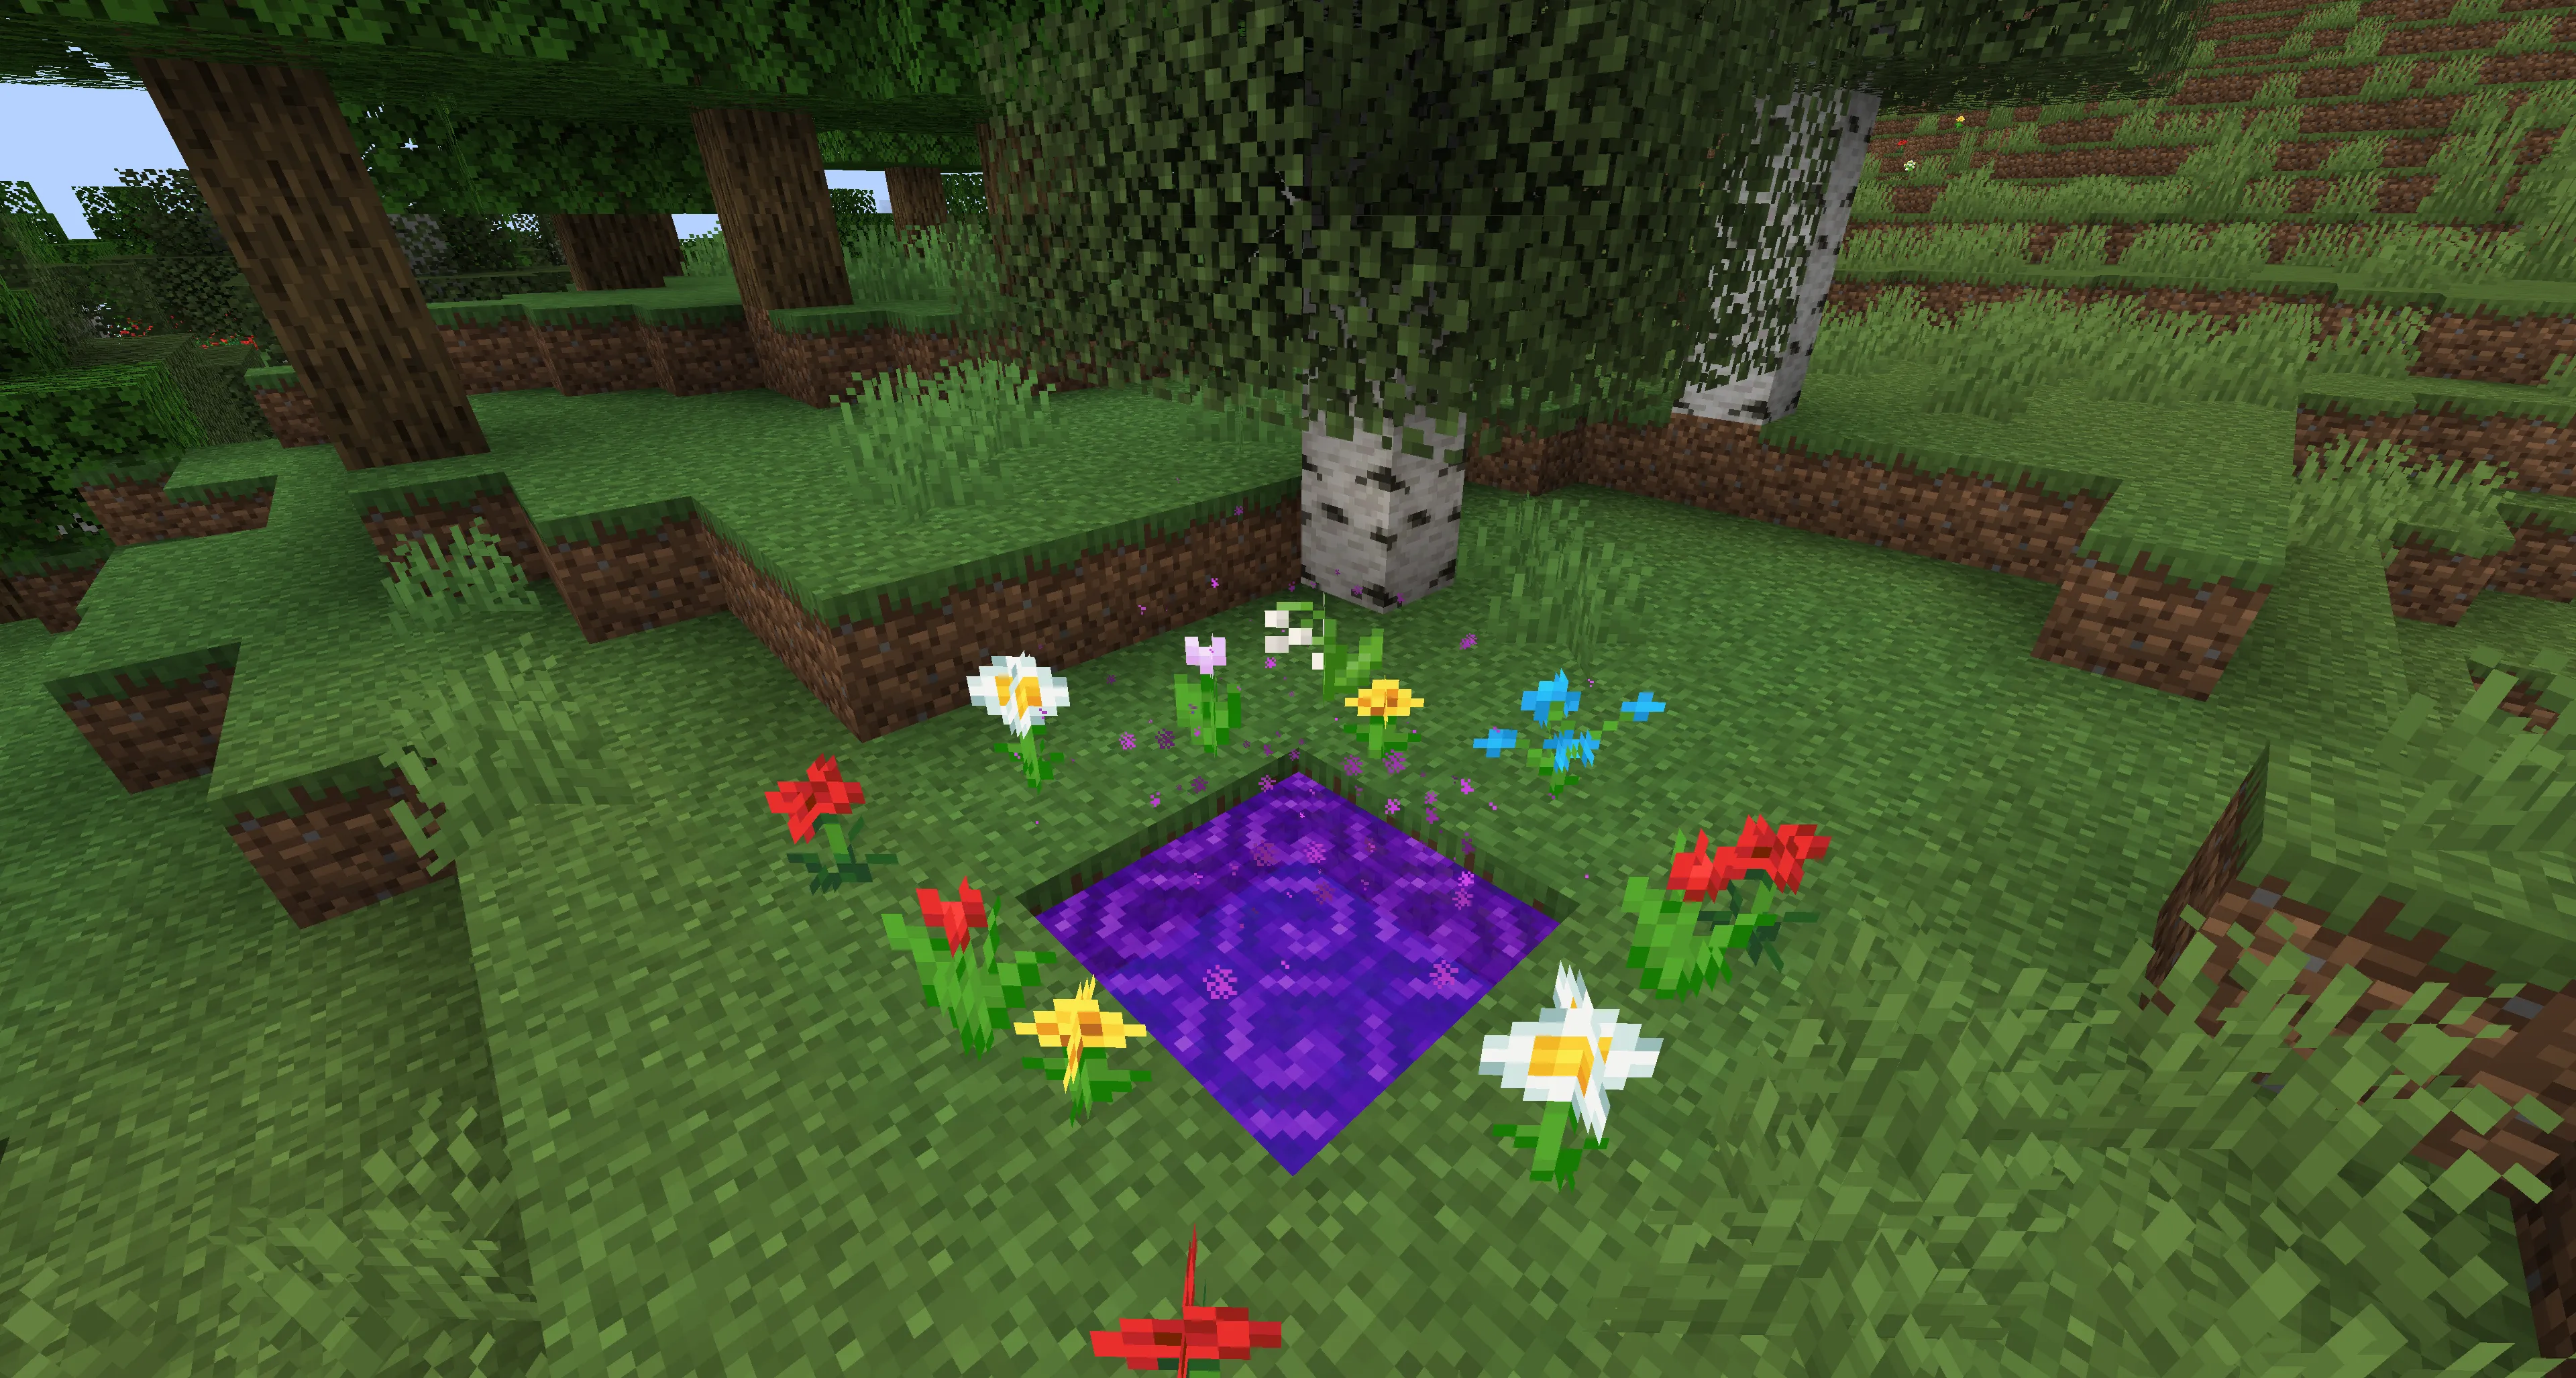
First Steps in the Twilight Forest
As soon as you enter the Twilight Forest, the first thing you should do is write down the coordinates of the portal or place a marker on the map. This will help you avoid getting lost. It’s especially important on a multiplayer server to be able to explore untouched areas, moving away from the portal’s center.
Gathering Your First Resources
Now it’s time to hunt ravens. Yes, specifically ravens, not just any animal.
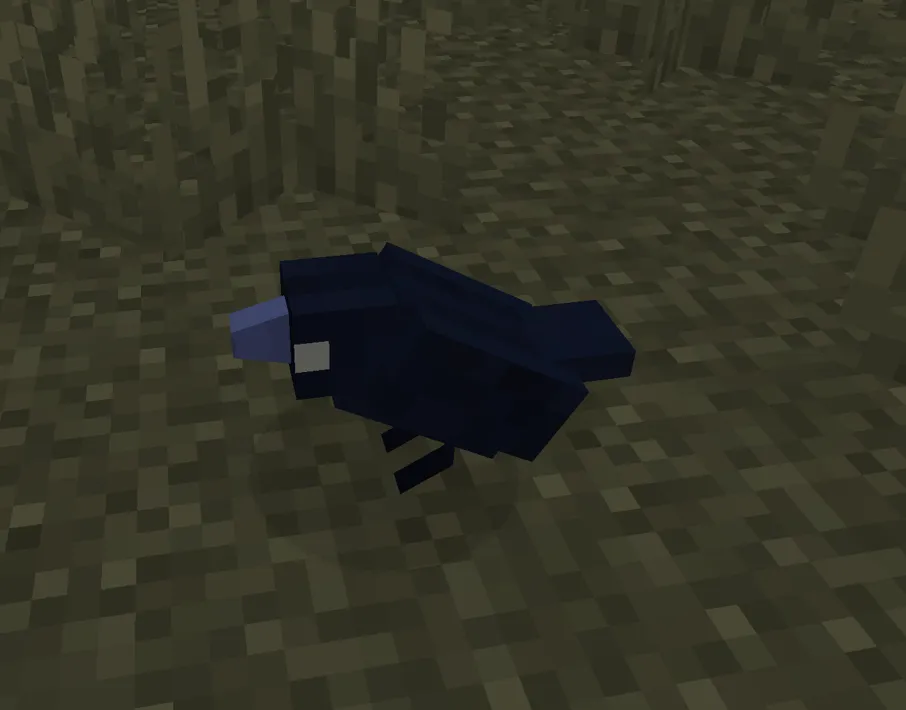
From these birds, we need to obtain a raven’s feather — an important crafting component.
Searching for Torchberries
The next step is heading into caves to look for torchberries — a source of mystical energy.
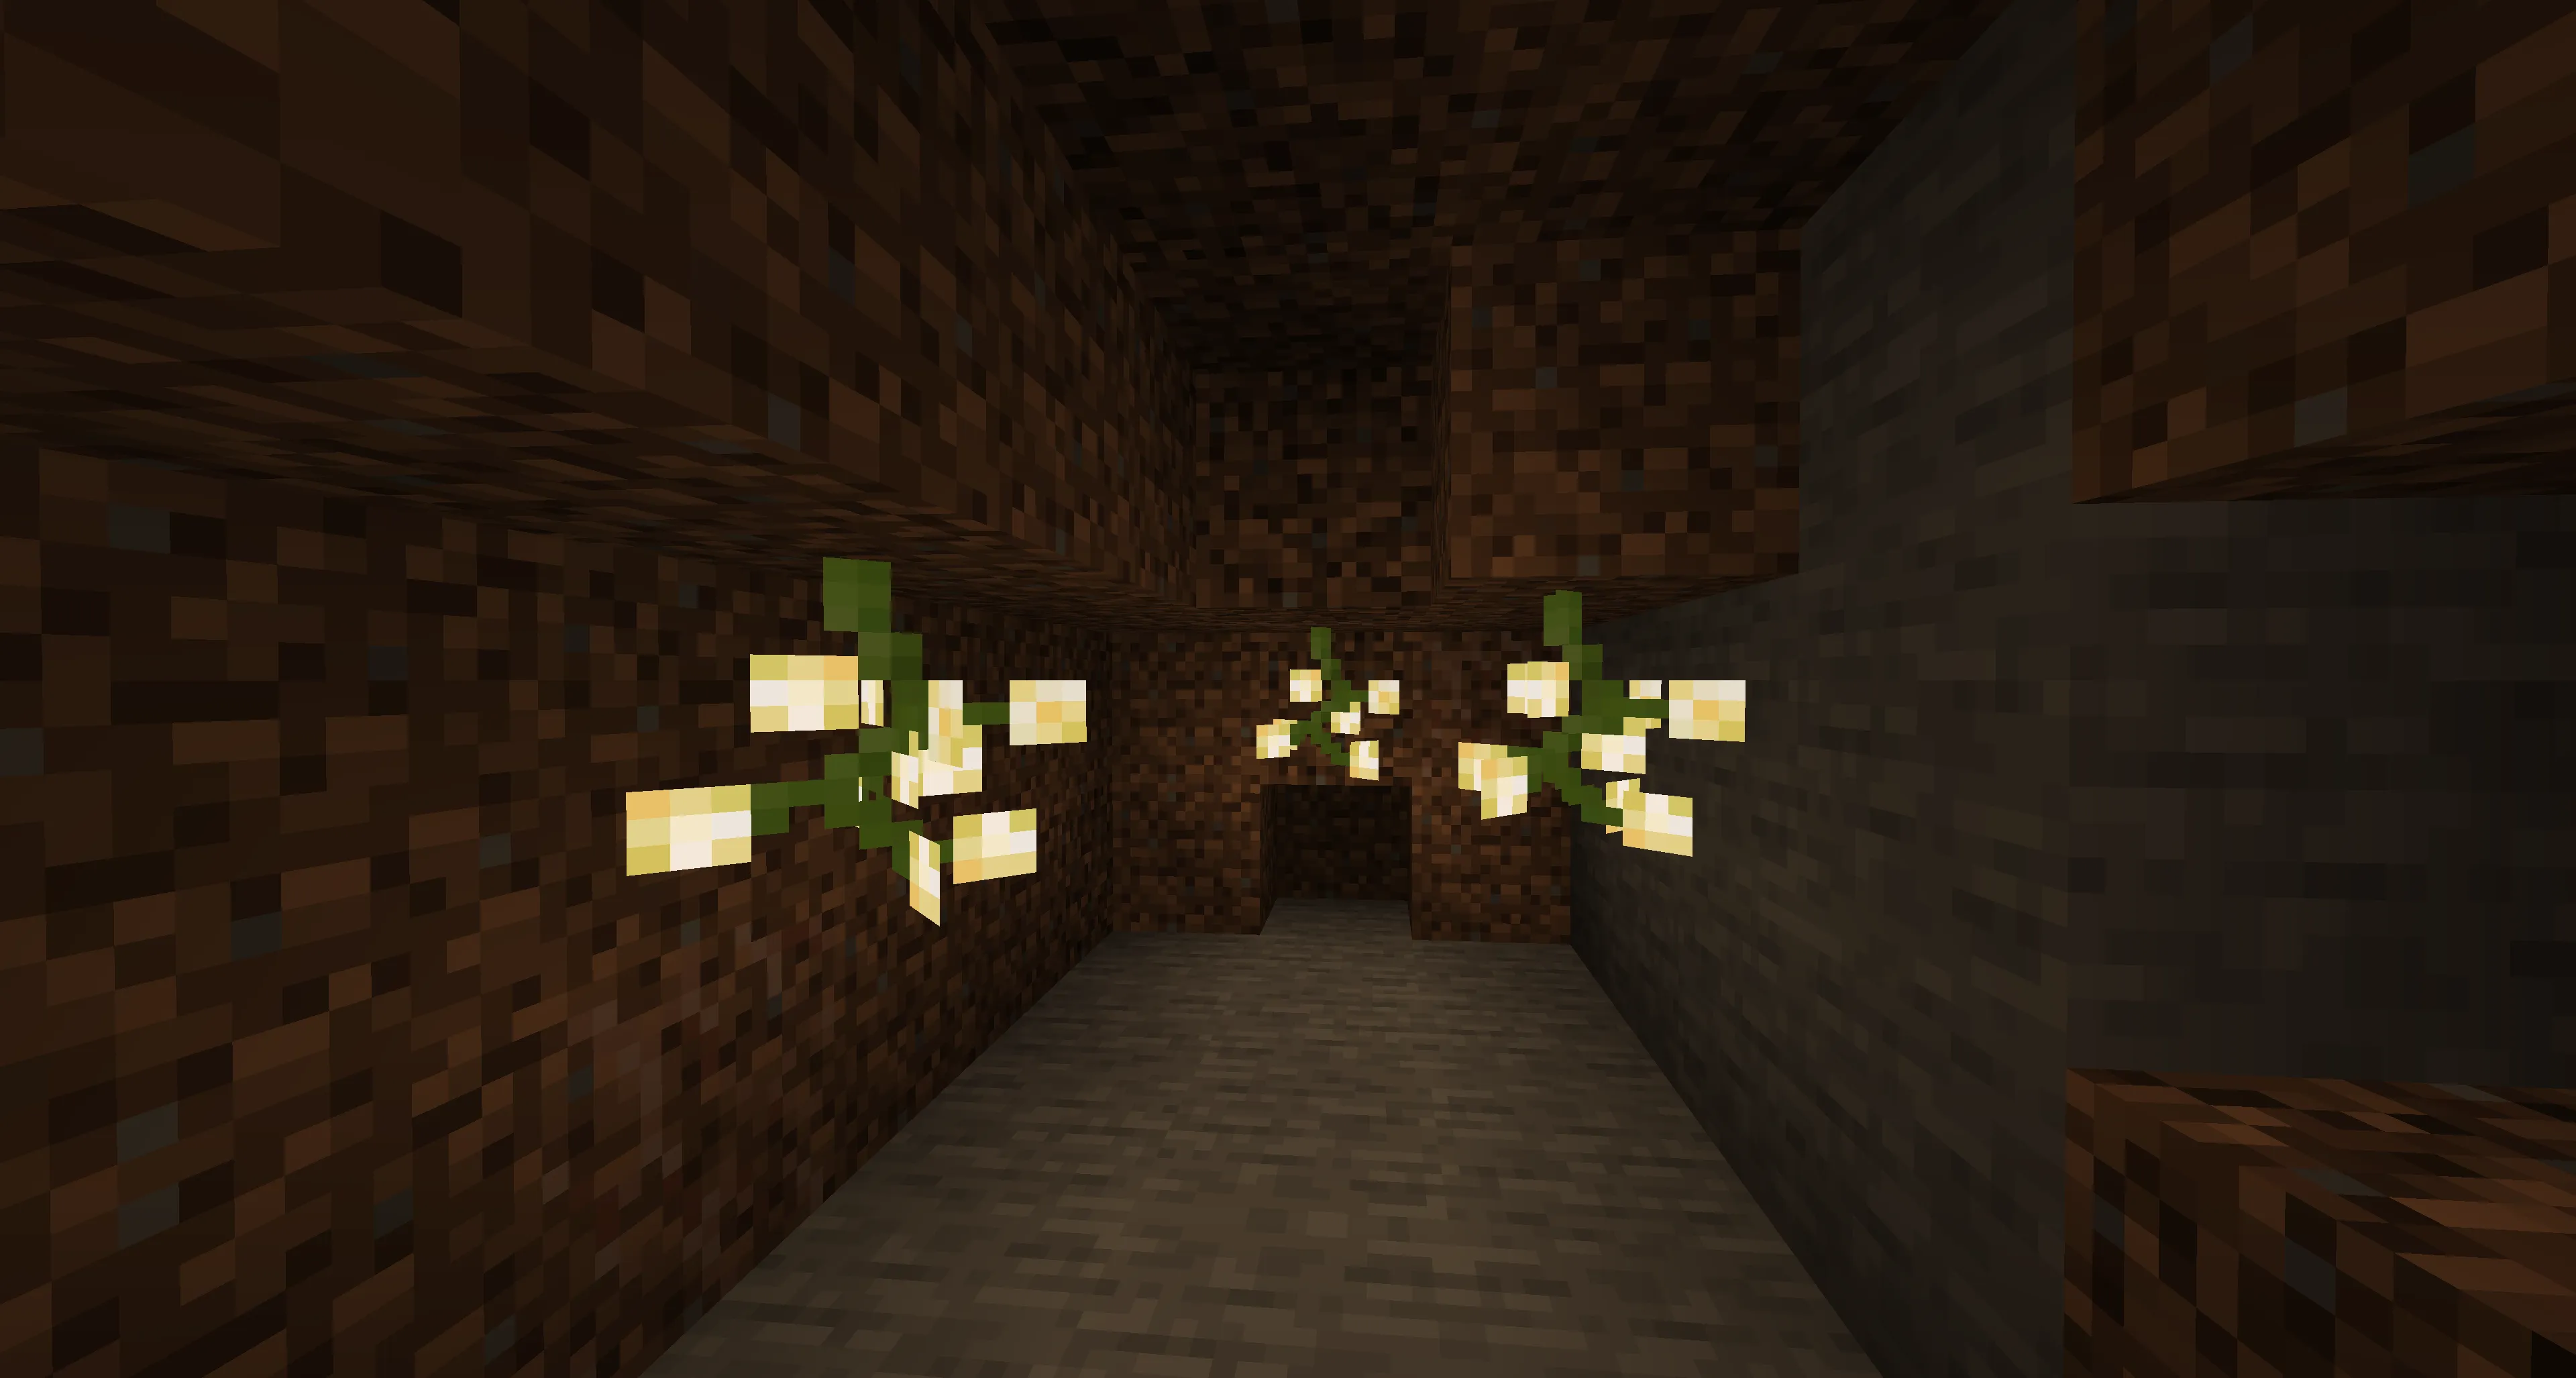 Then take some glowstone dust, combine it with the raven’s feather and torchberries — you’ll get a Magic Map Focus (often called a “Magic Feather”).
Creating the Magic Map
Now you can craft one of the most useful items in the mod — the Magic Map.
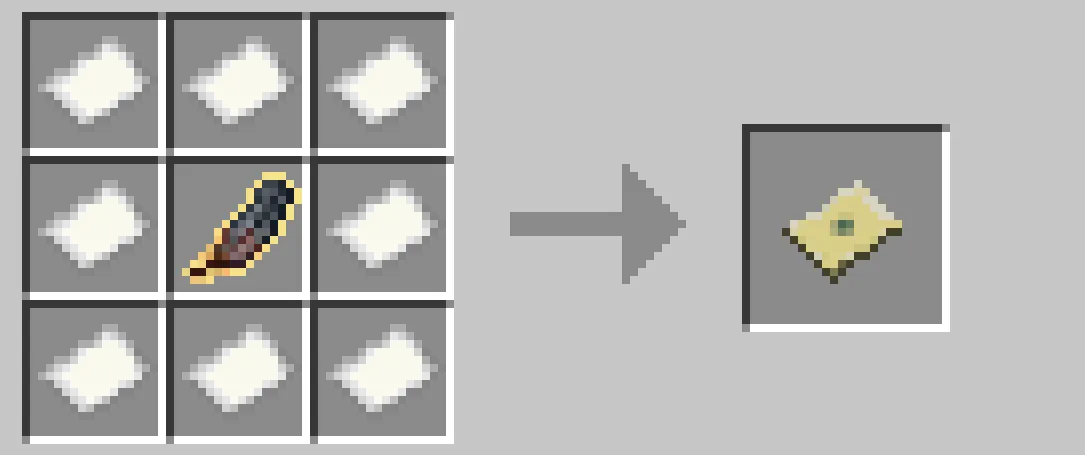
It functions similarly to a regular Minecraft map: hold it in your hand, right-click, and it begins rendering the surroundings.
The main advantage of this map is the faster detection of bosses, labyrinths, and hills. However, it has a limited coverage area. When you reach the map’s edge, you’ll need to craft a new one.
Resource Locations
As mentioned earlier, the Magic Map not only shows boss locations but also hills.
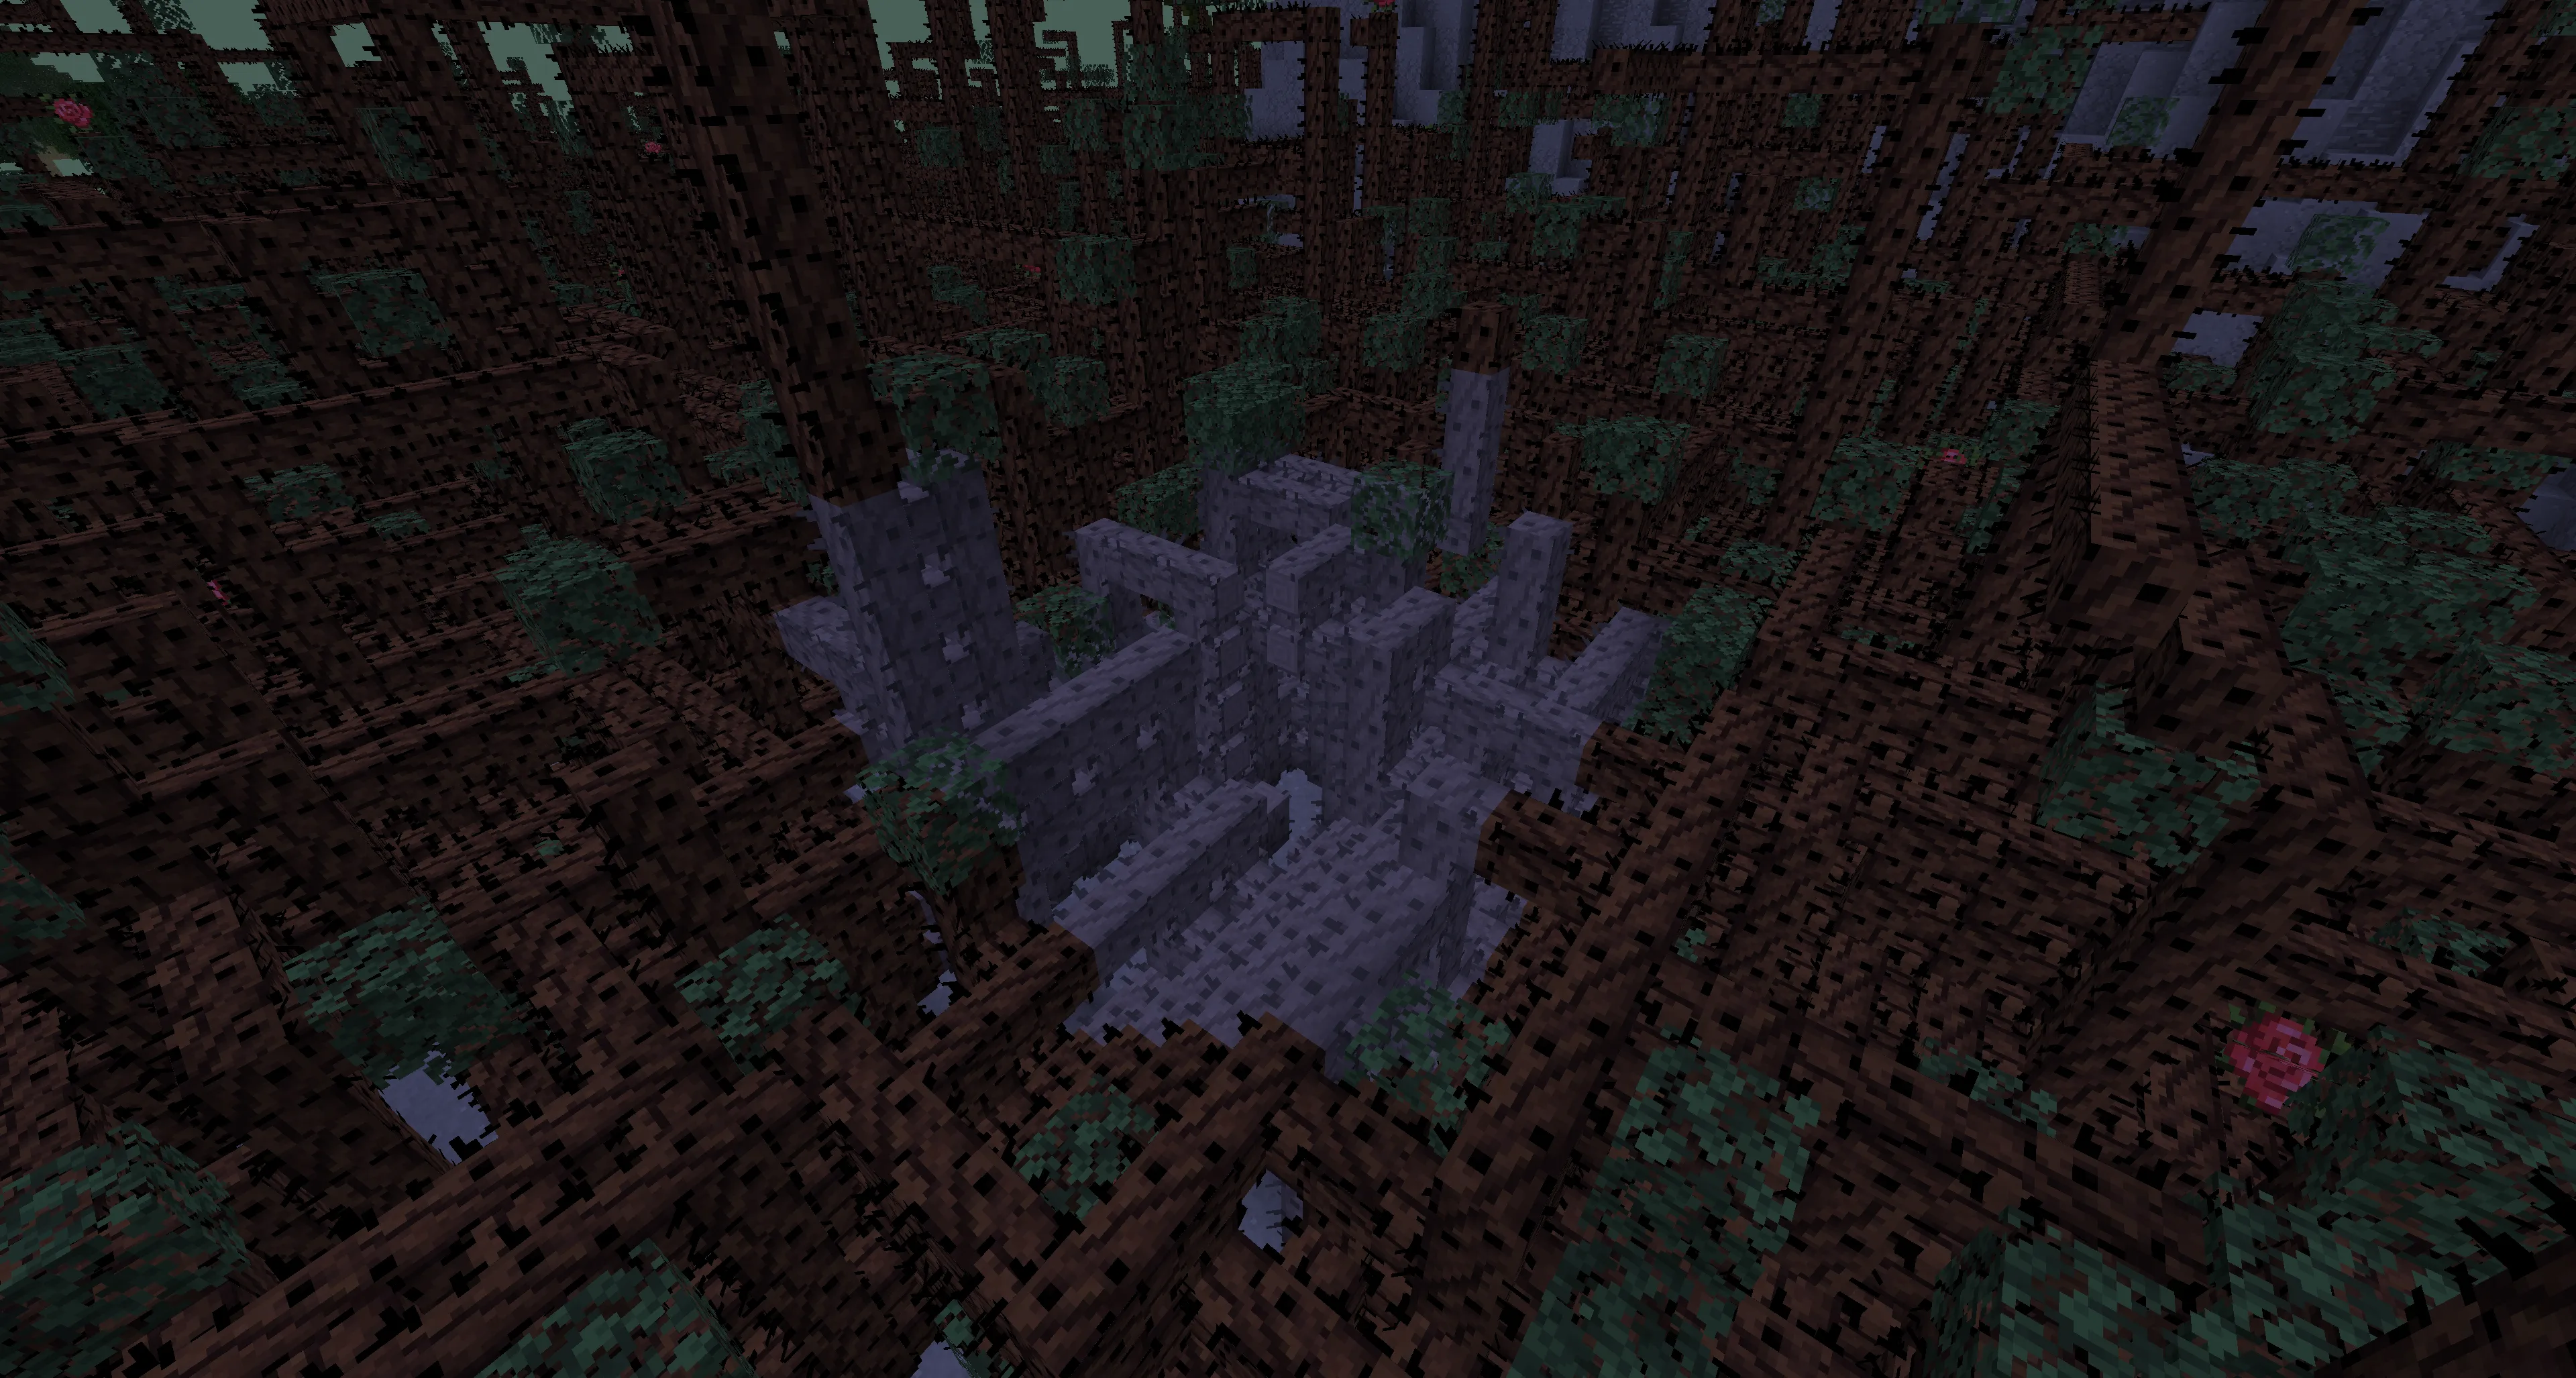
Hills are valuable resource hotspots in the Twilight Forest. You can find ores and unique mod items inside.
Types of Hills
Hills come in three sizes:
- Small — contain a small amount of ore and fewer mobs.
- Medium — balanced between resources and clearing difficulty.
- Large — filled with valuable resources, but swarming with mobs inside.
The larger the hill, the harder it is to explore. There are many mob spawners and aggressive creatures inside, ready to attack you.
If you’re confident in your abilities, these spawners can be an excellent source of XP and drops.
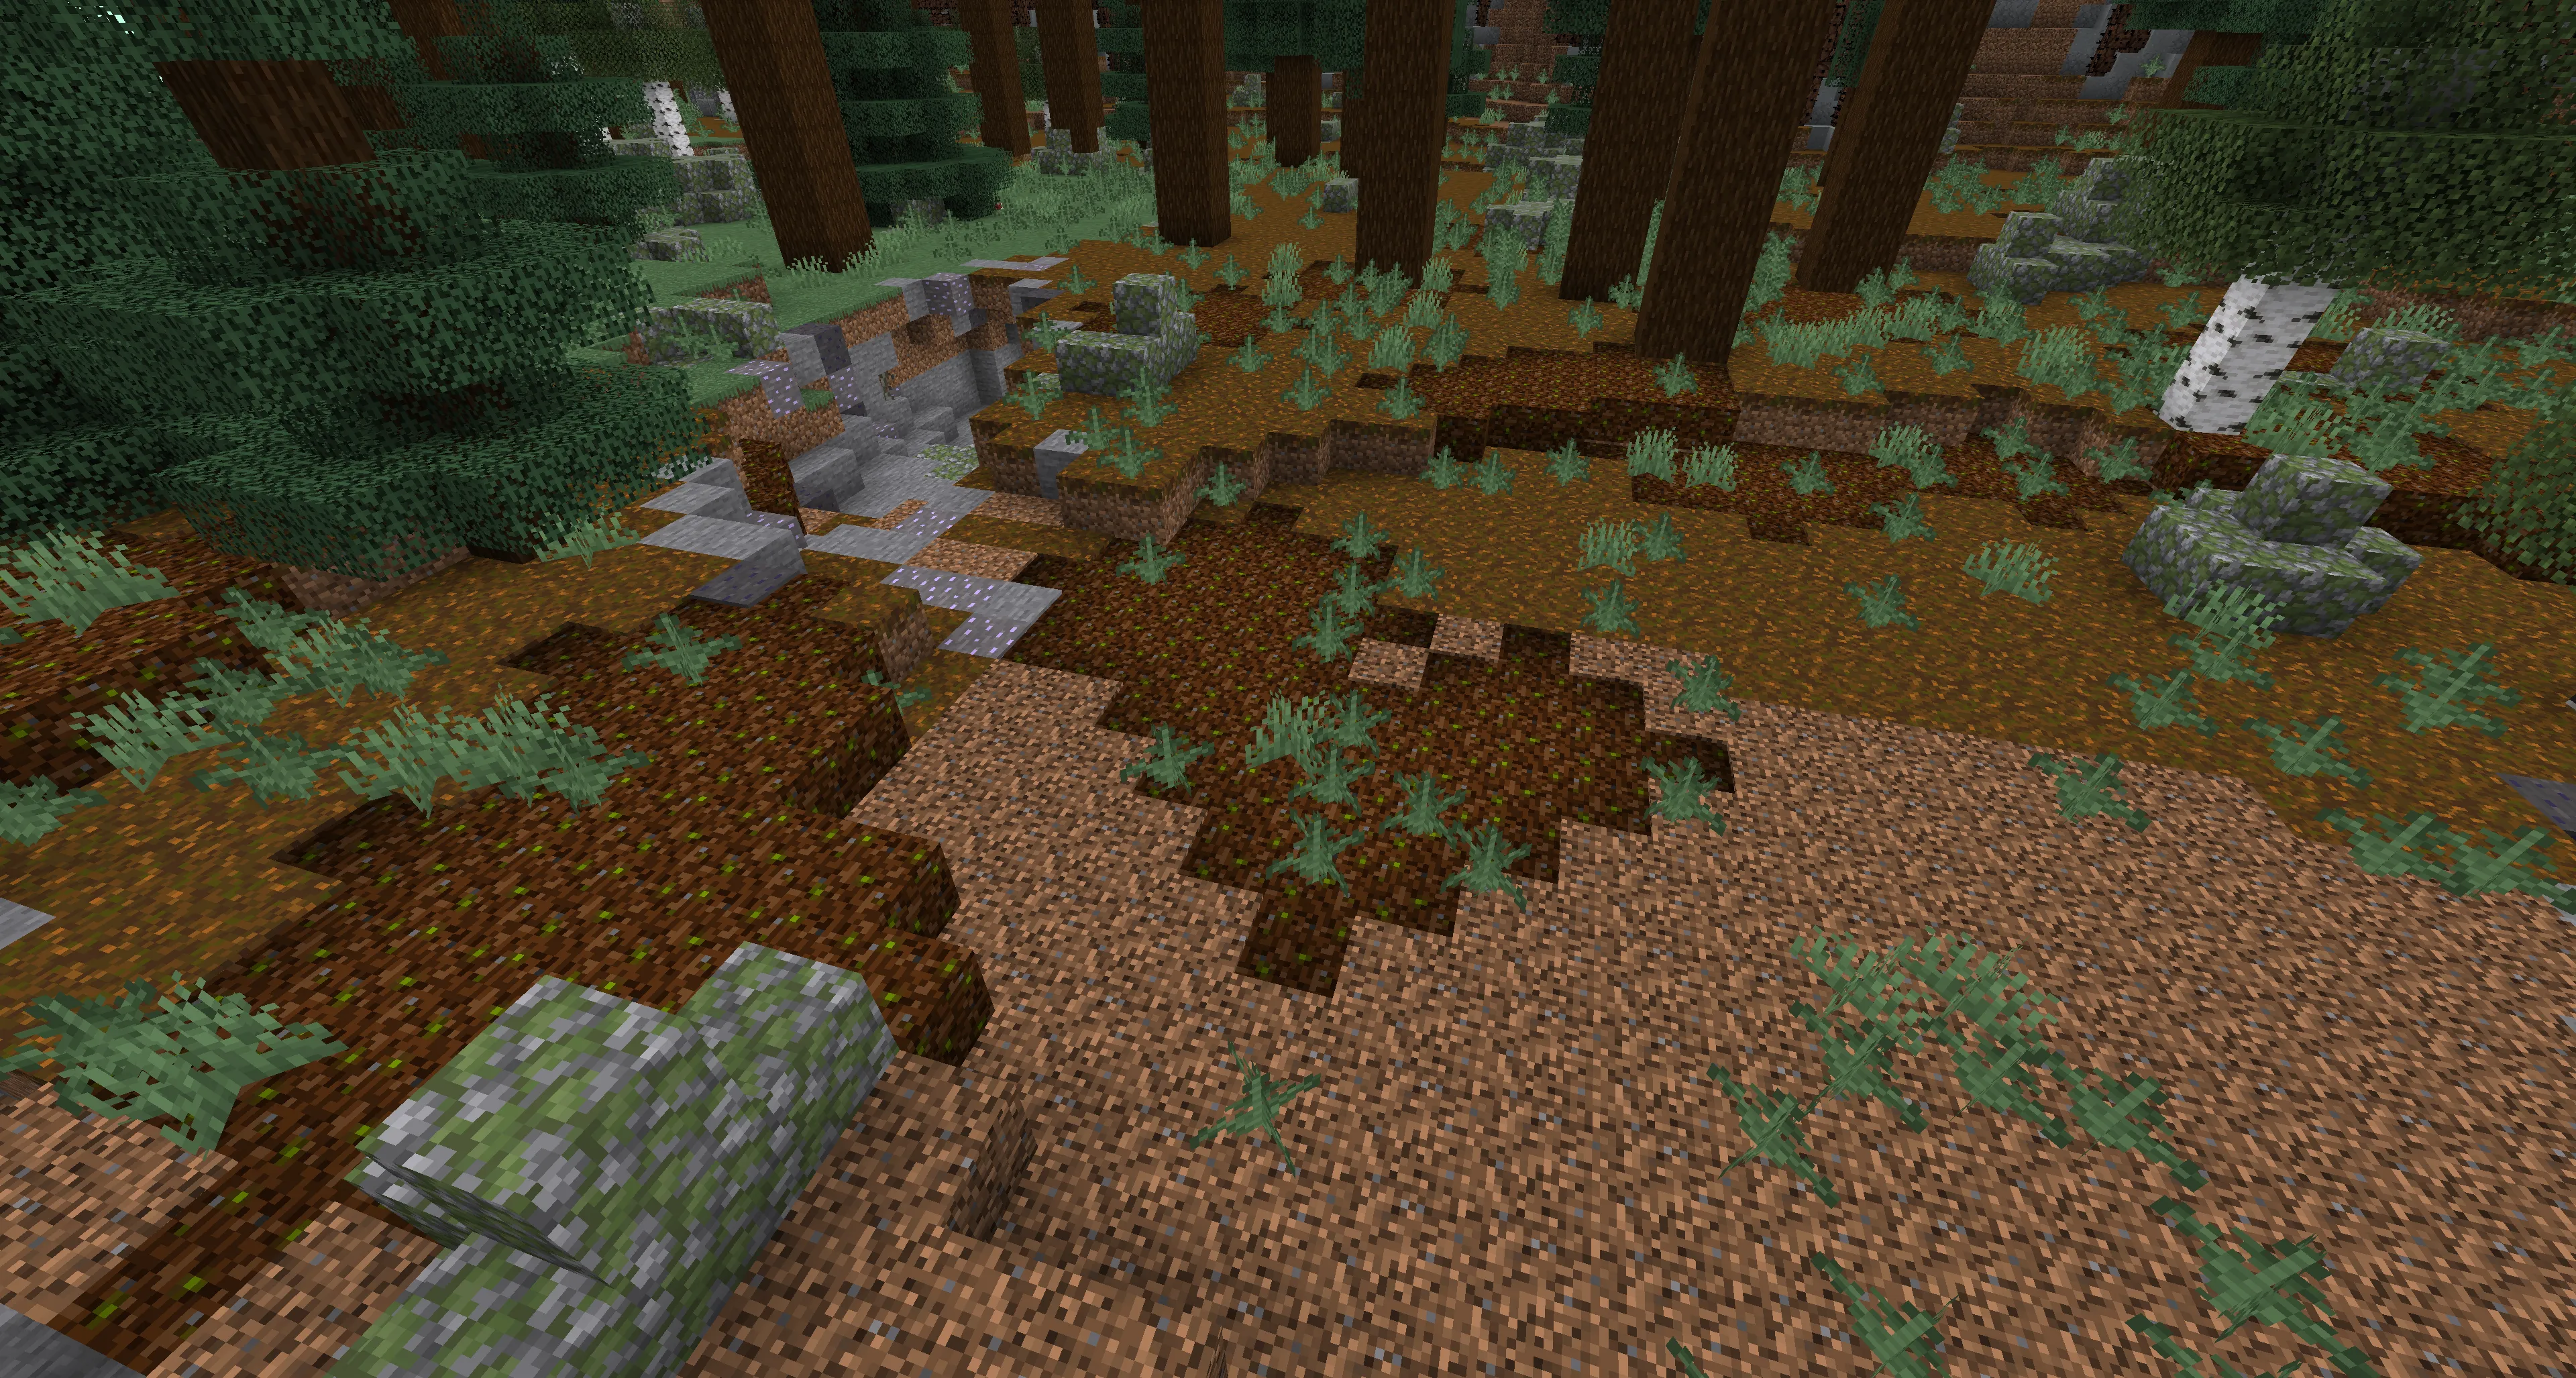
What Hills Look Like
- Hill on the map:
![]()
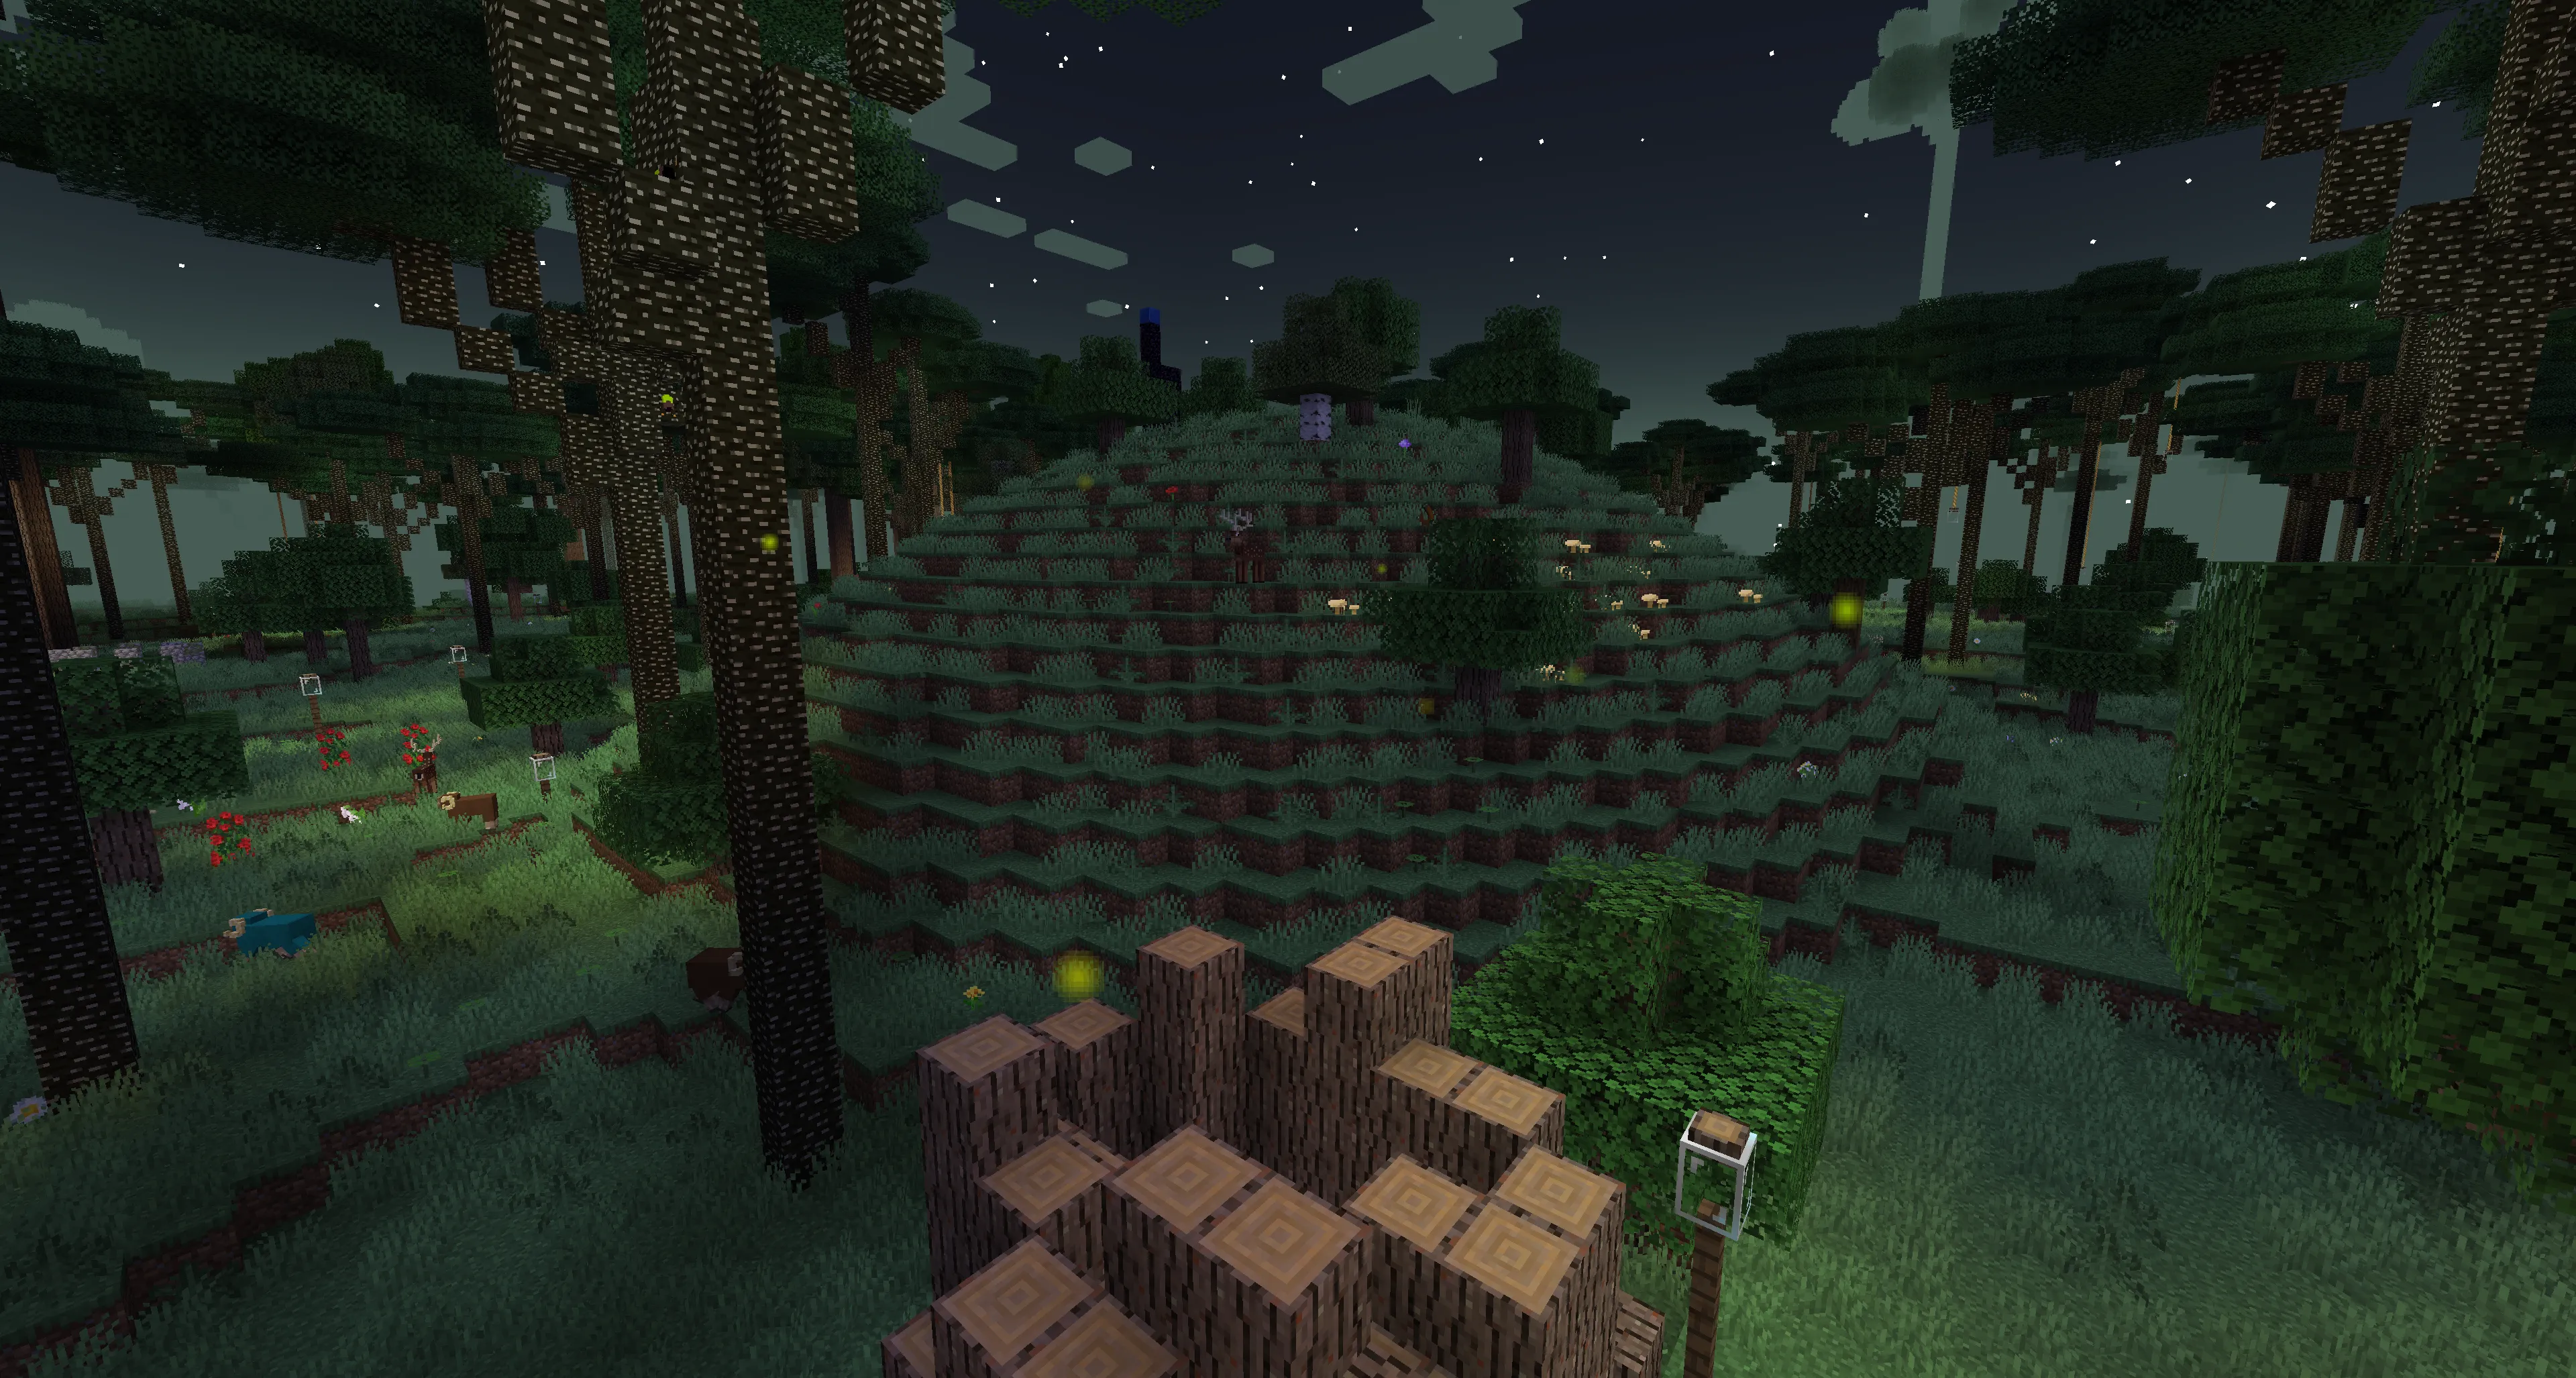
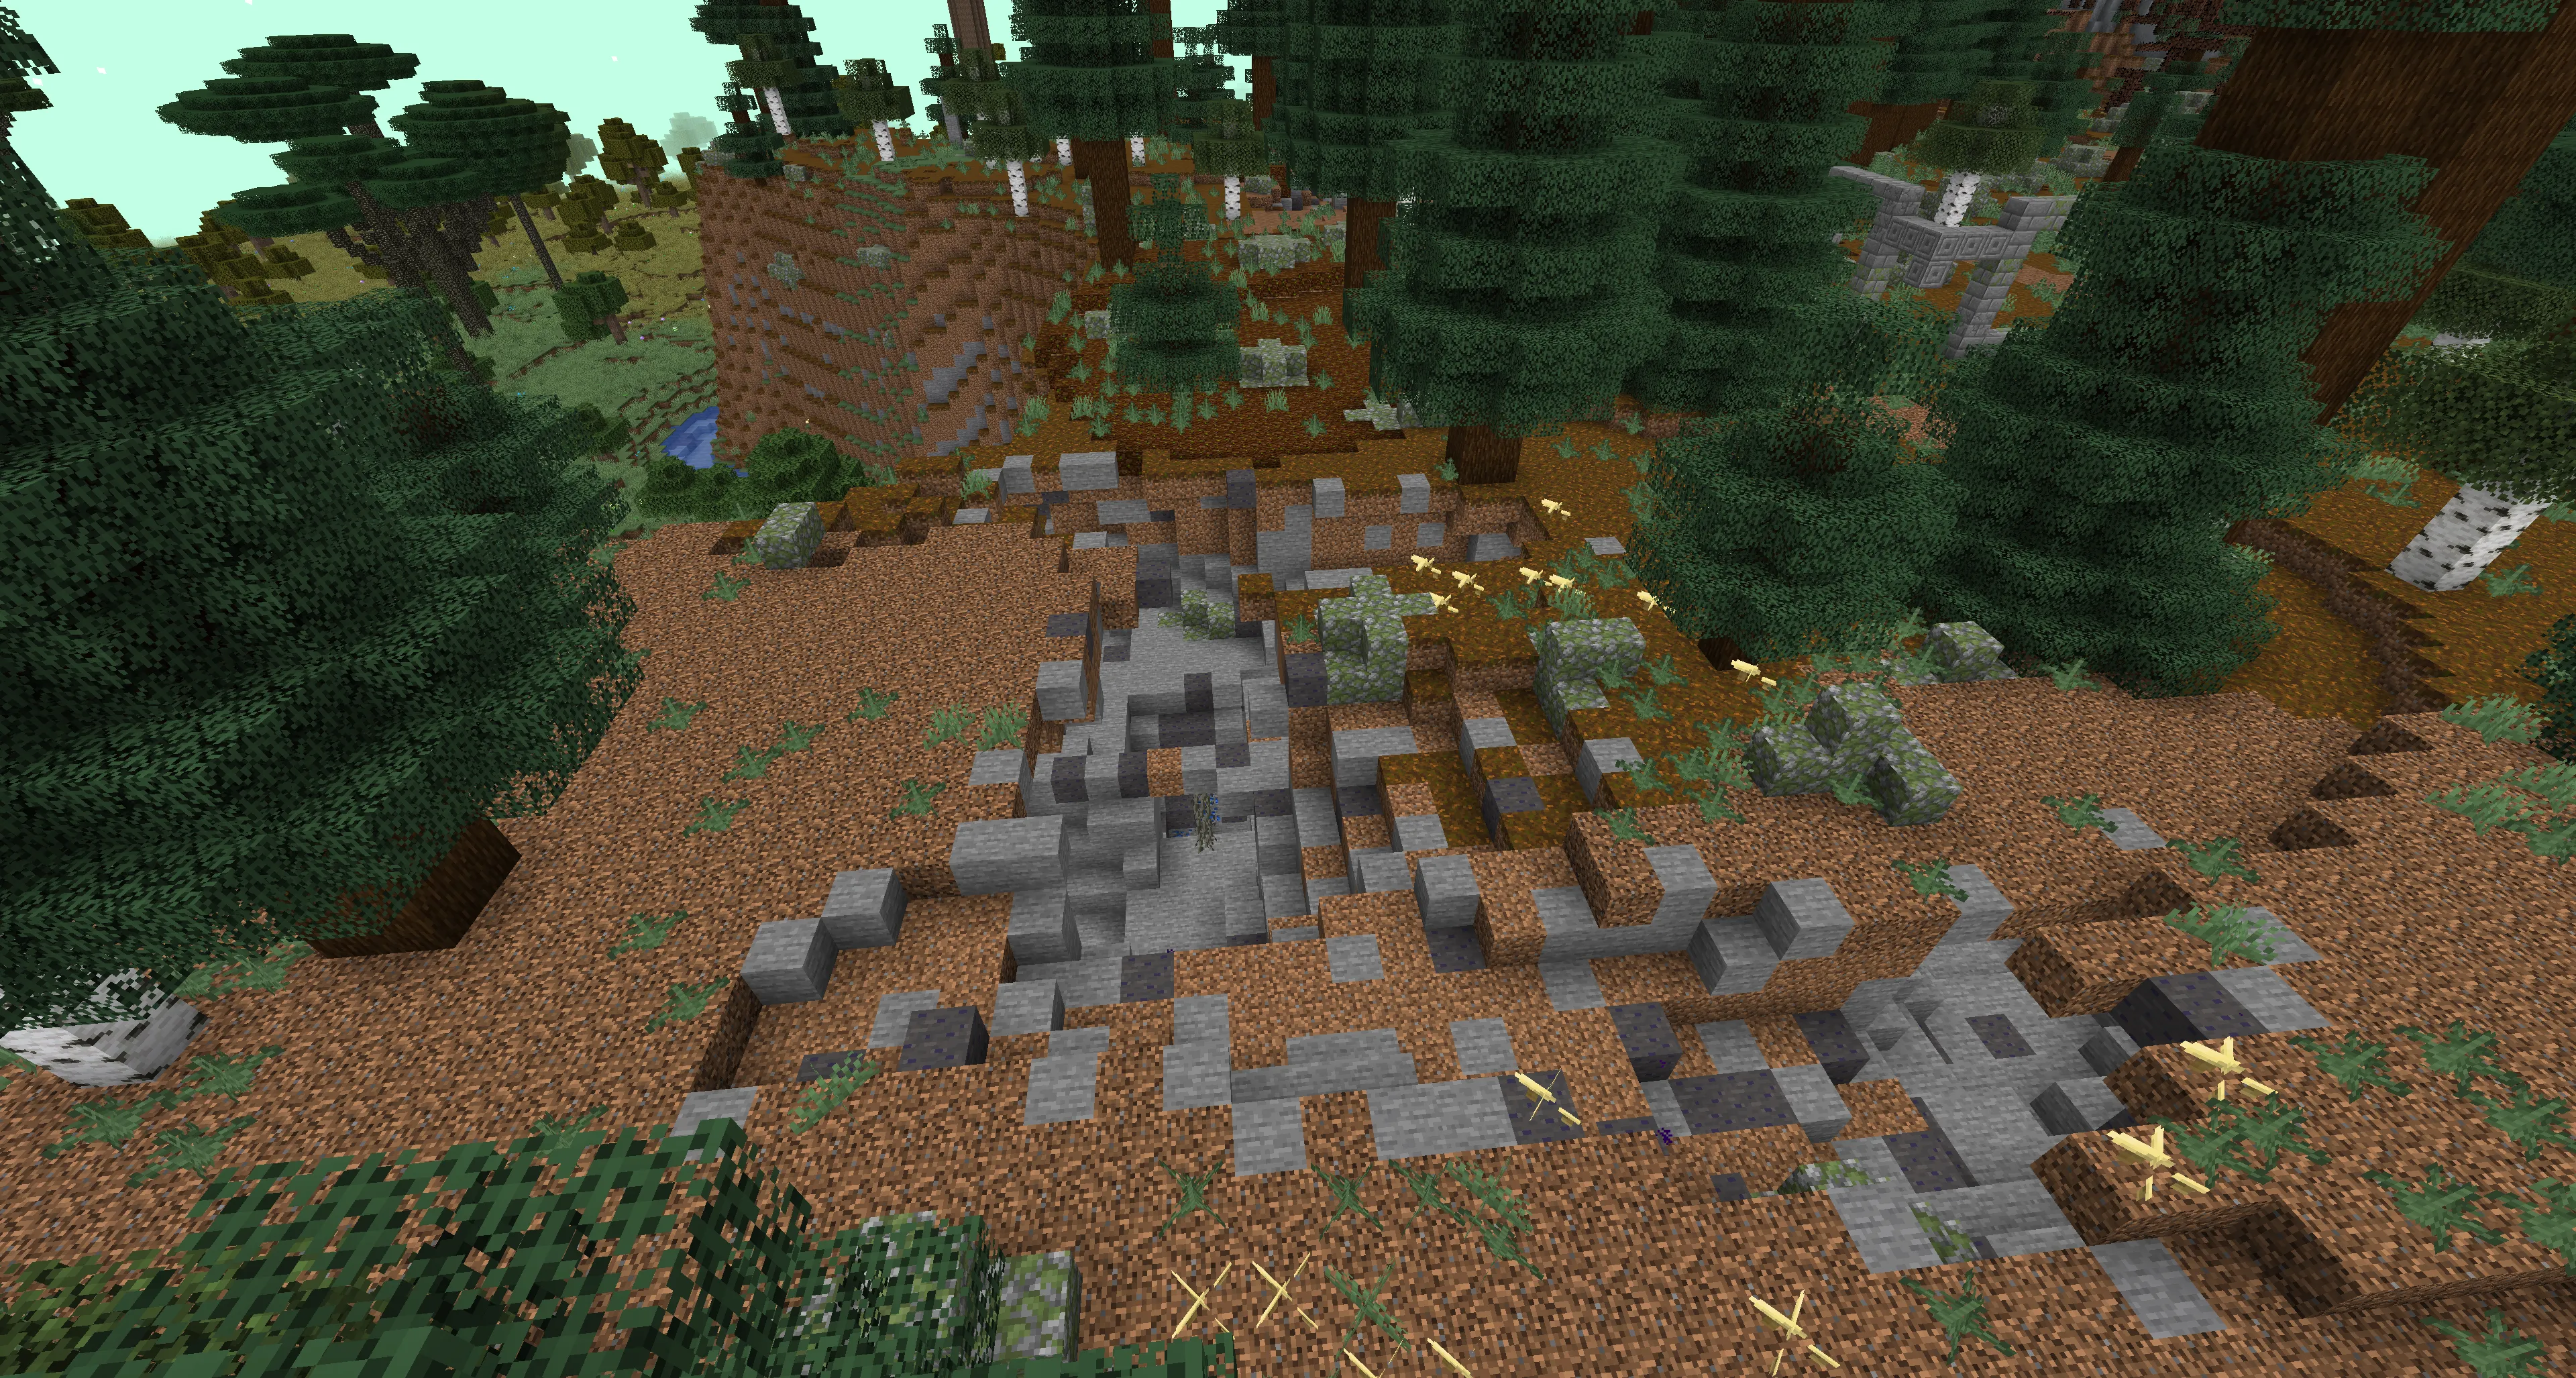
- Hill from the outside:
![]()
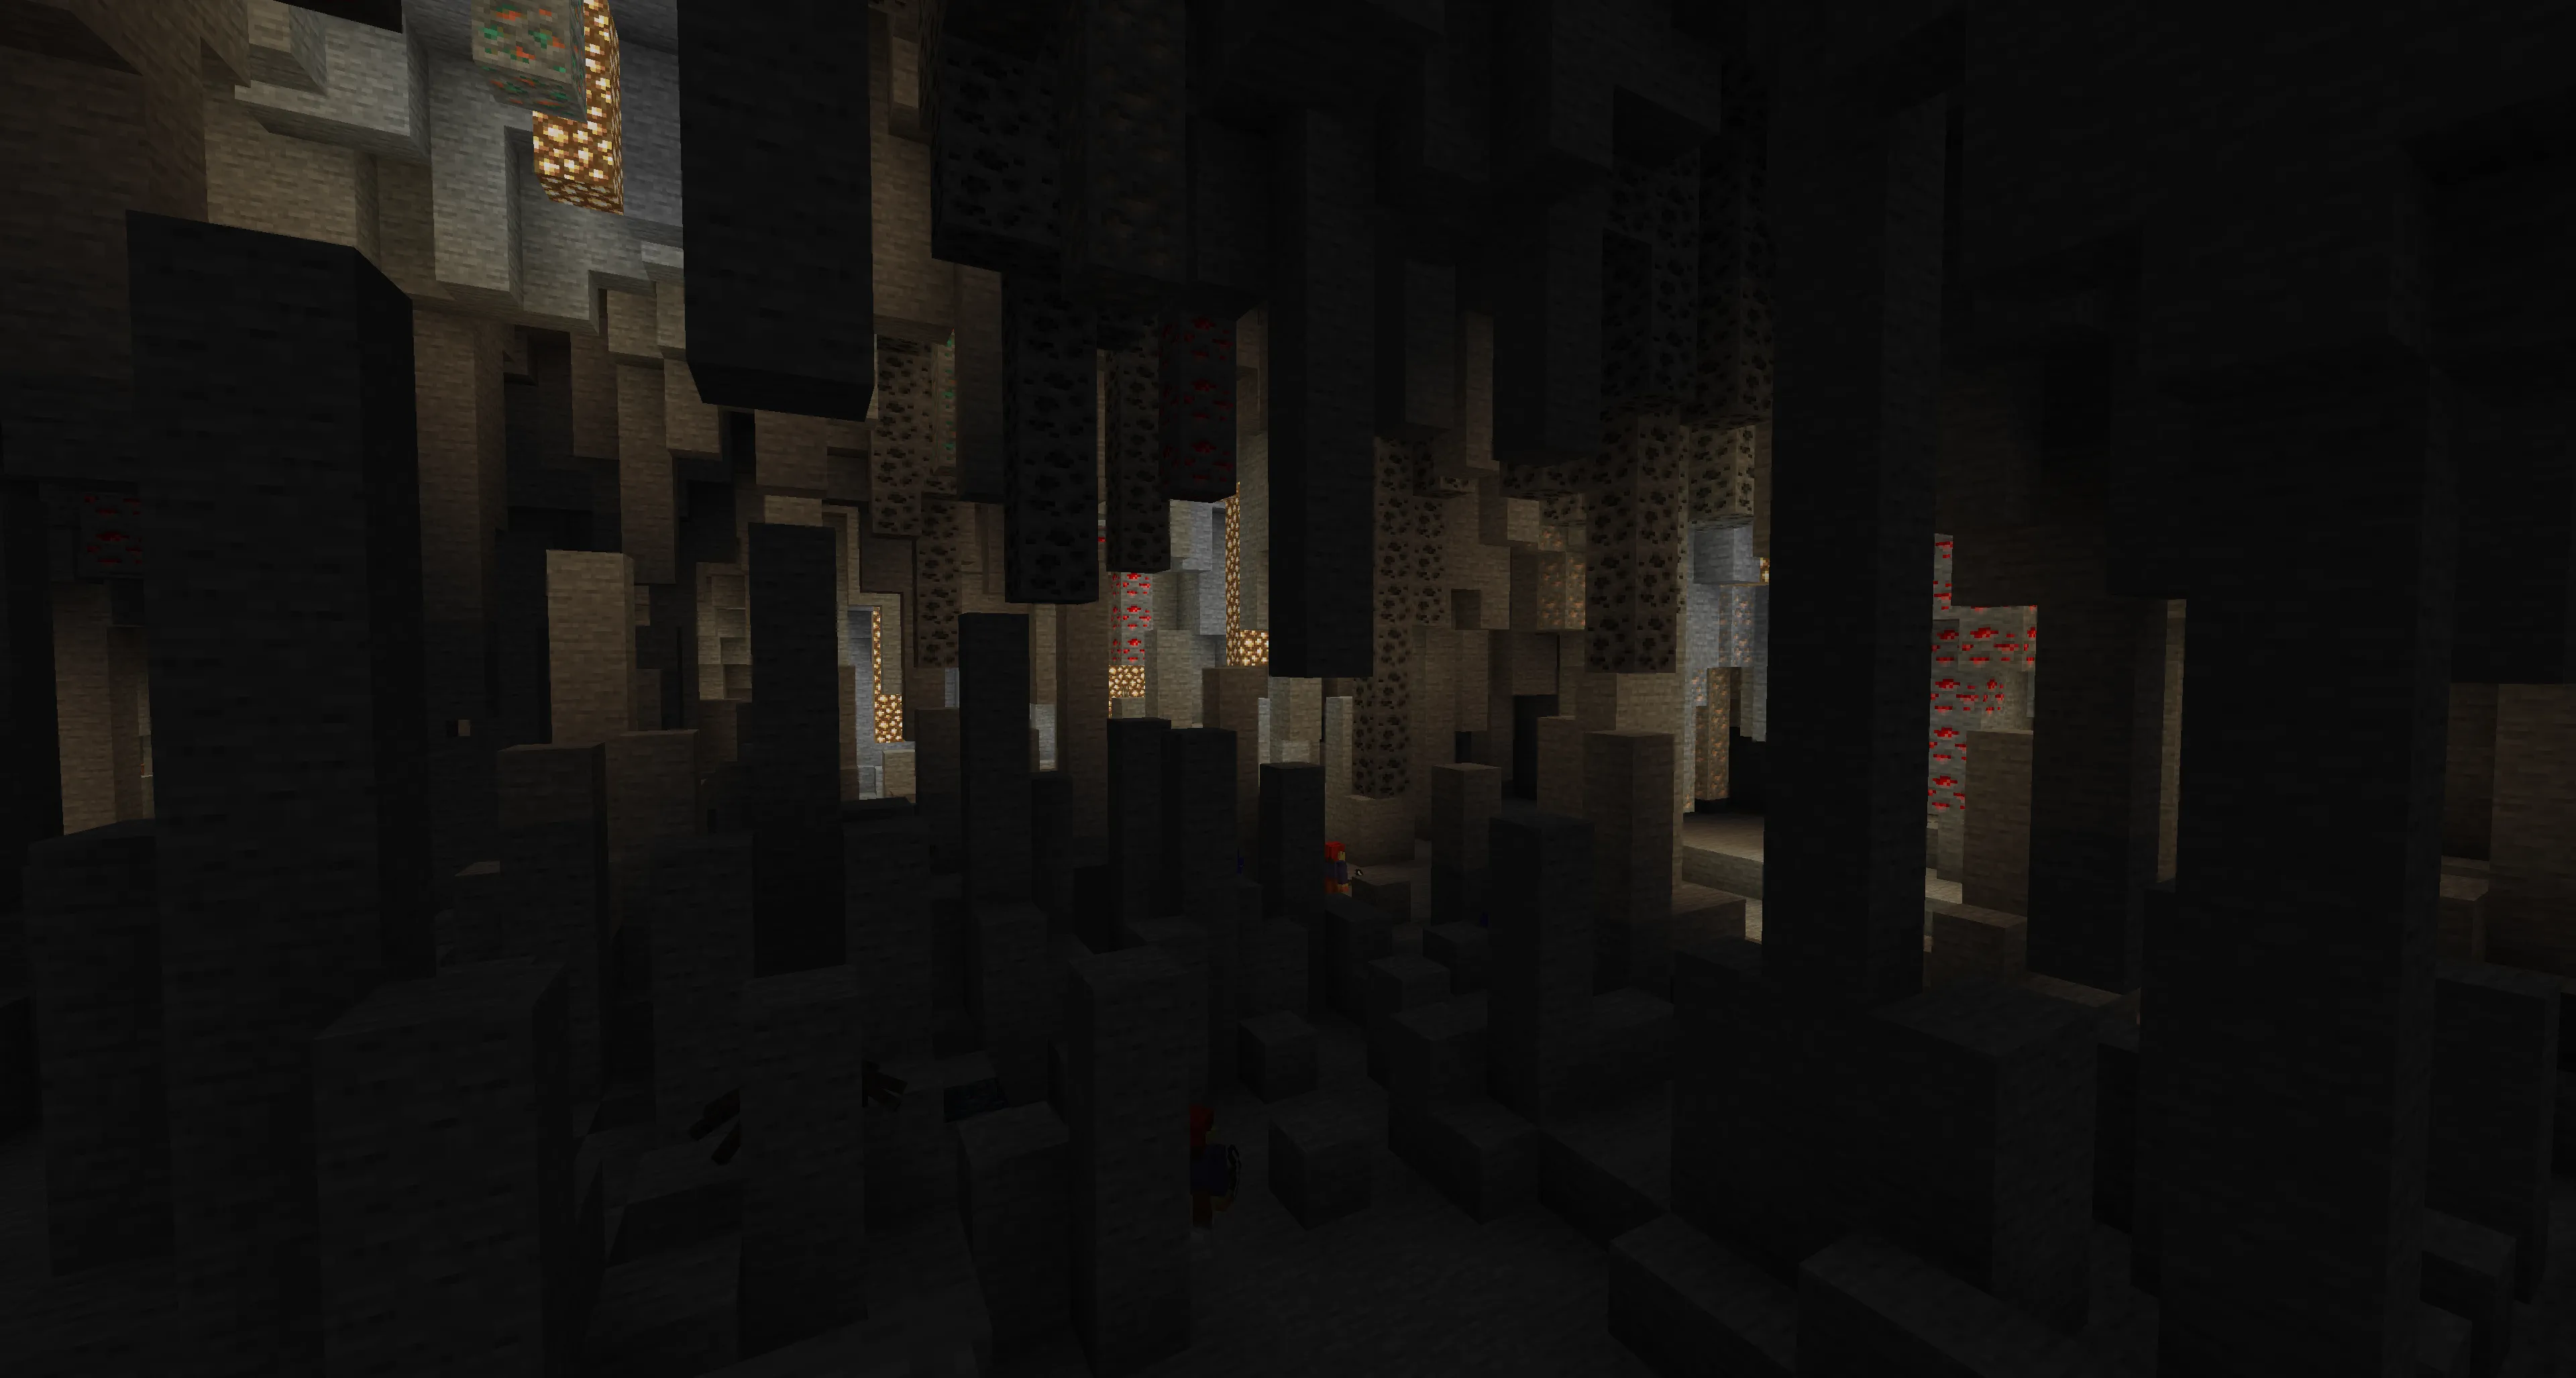
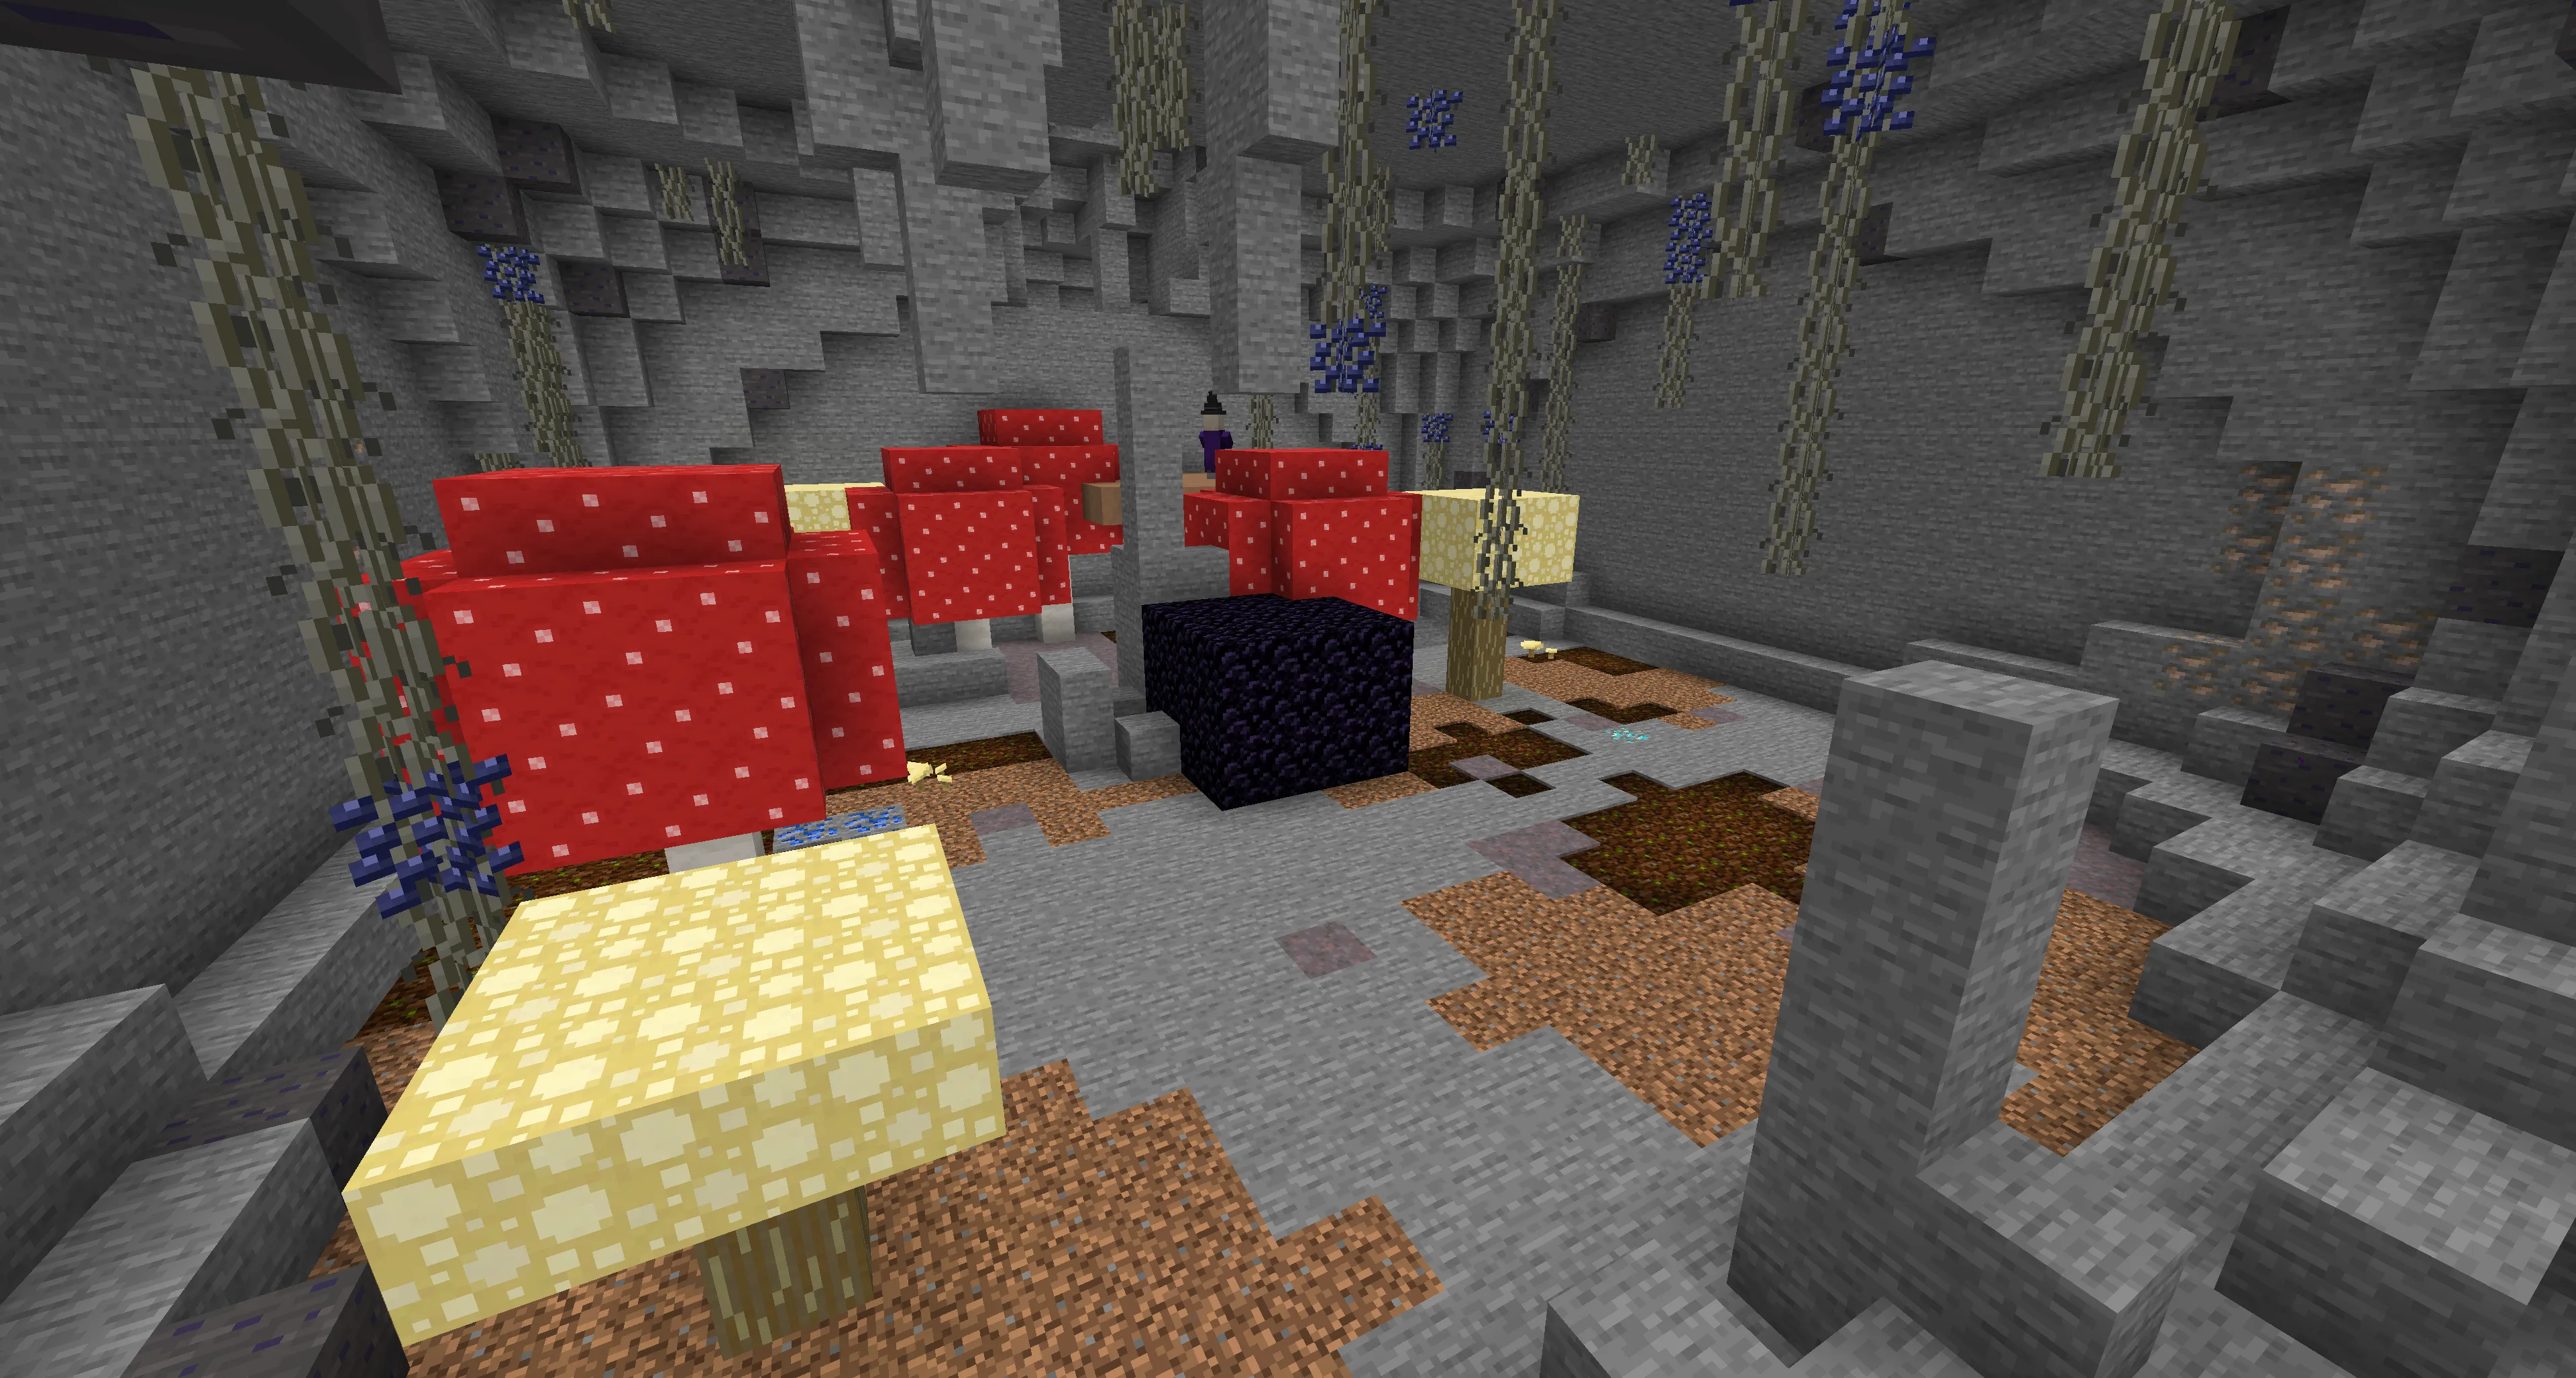
- Hill from the inside:
![]()
Luxury Items
In the Twilight Forest, you can find unique artifacts that make survival and combat easier. Most of them spawn in chests located in boss dungeons, hills, and labyrinths.
Inventory and Life Charms:
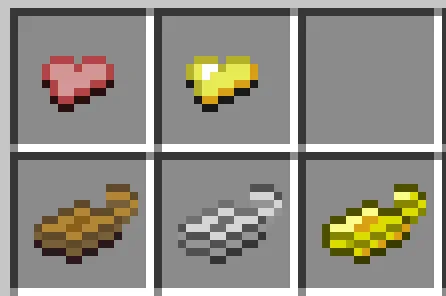
- Charm of Keeping I – upon death, keeps your armor and the item in your main hand. Can be obtained from Labyrinth Slimes.
- Charm of Keeping II – saves your armor and hotbar (the first inventory row).
- Charm of Keeping III – saves your entire inventory on death.
- Charm of Life I – restores 3 hearts if you’re down to 1 heart.
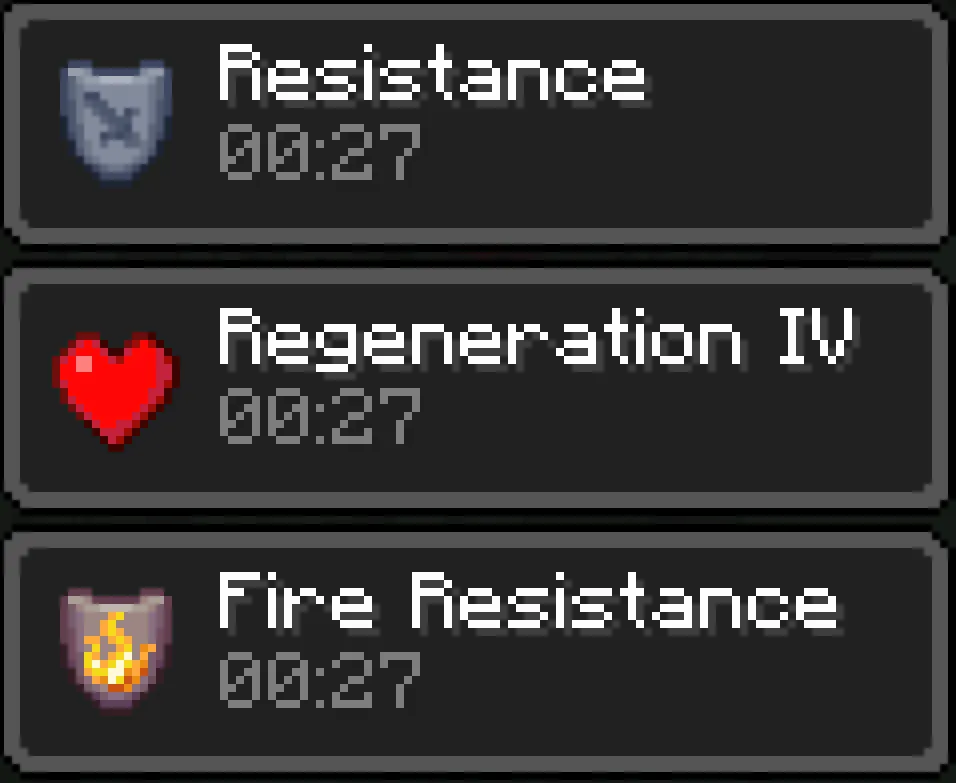
- Charm of Life II – fully restores health before death and applies buffs:
![]()
Moonworm Queen
This item can be found in the Twilight Lich’s Castle.
How to use:
- Mode 1 – right-click a block to summon a moonworm that lights up the area.
- Mode 2 – hold right-click, aim, and release — a moonworm appears at the targeted location.
Peacock Feather Fan
This allows you to launch the player 10-13 blocks upwards.
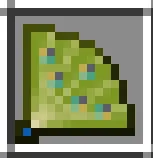
Usage:
- Jump, then right-click while holding the feather.
You can find this item in hill chests.
Luxury Plants
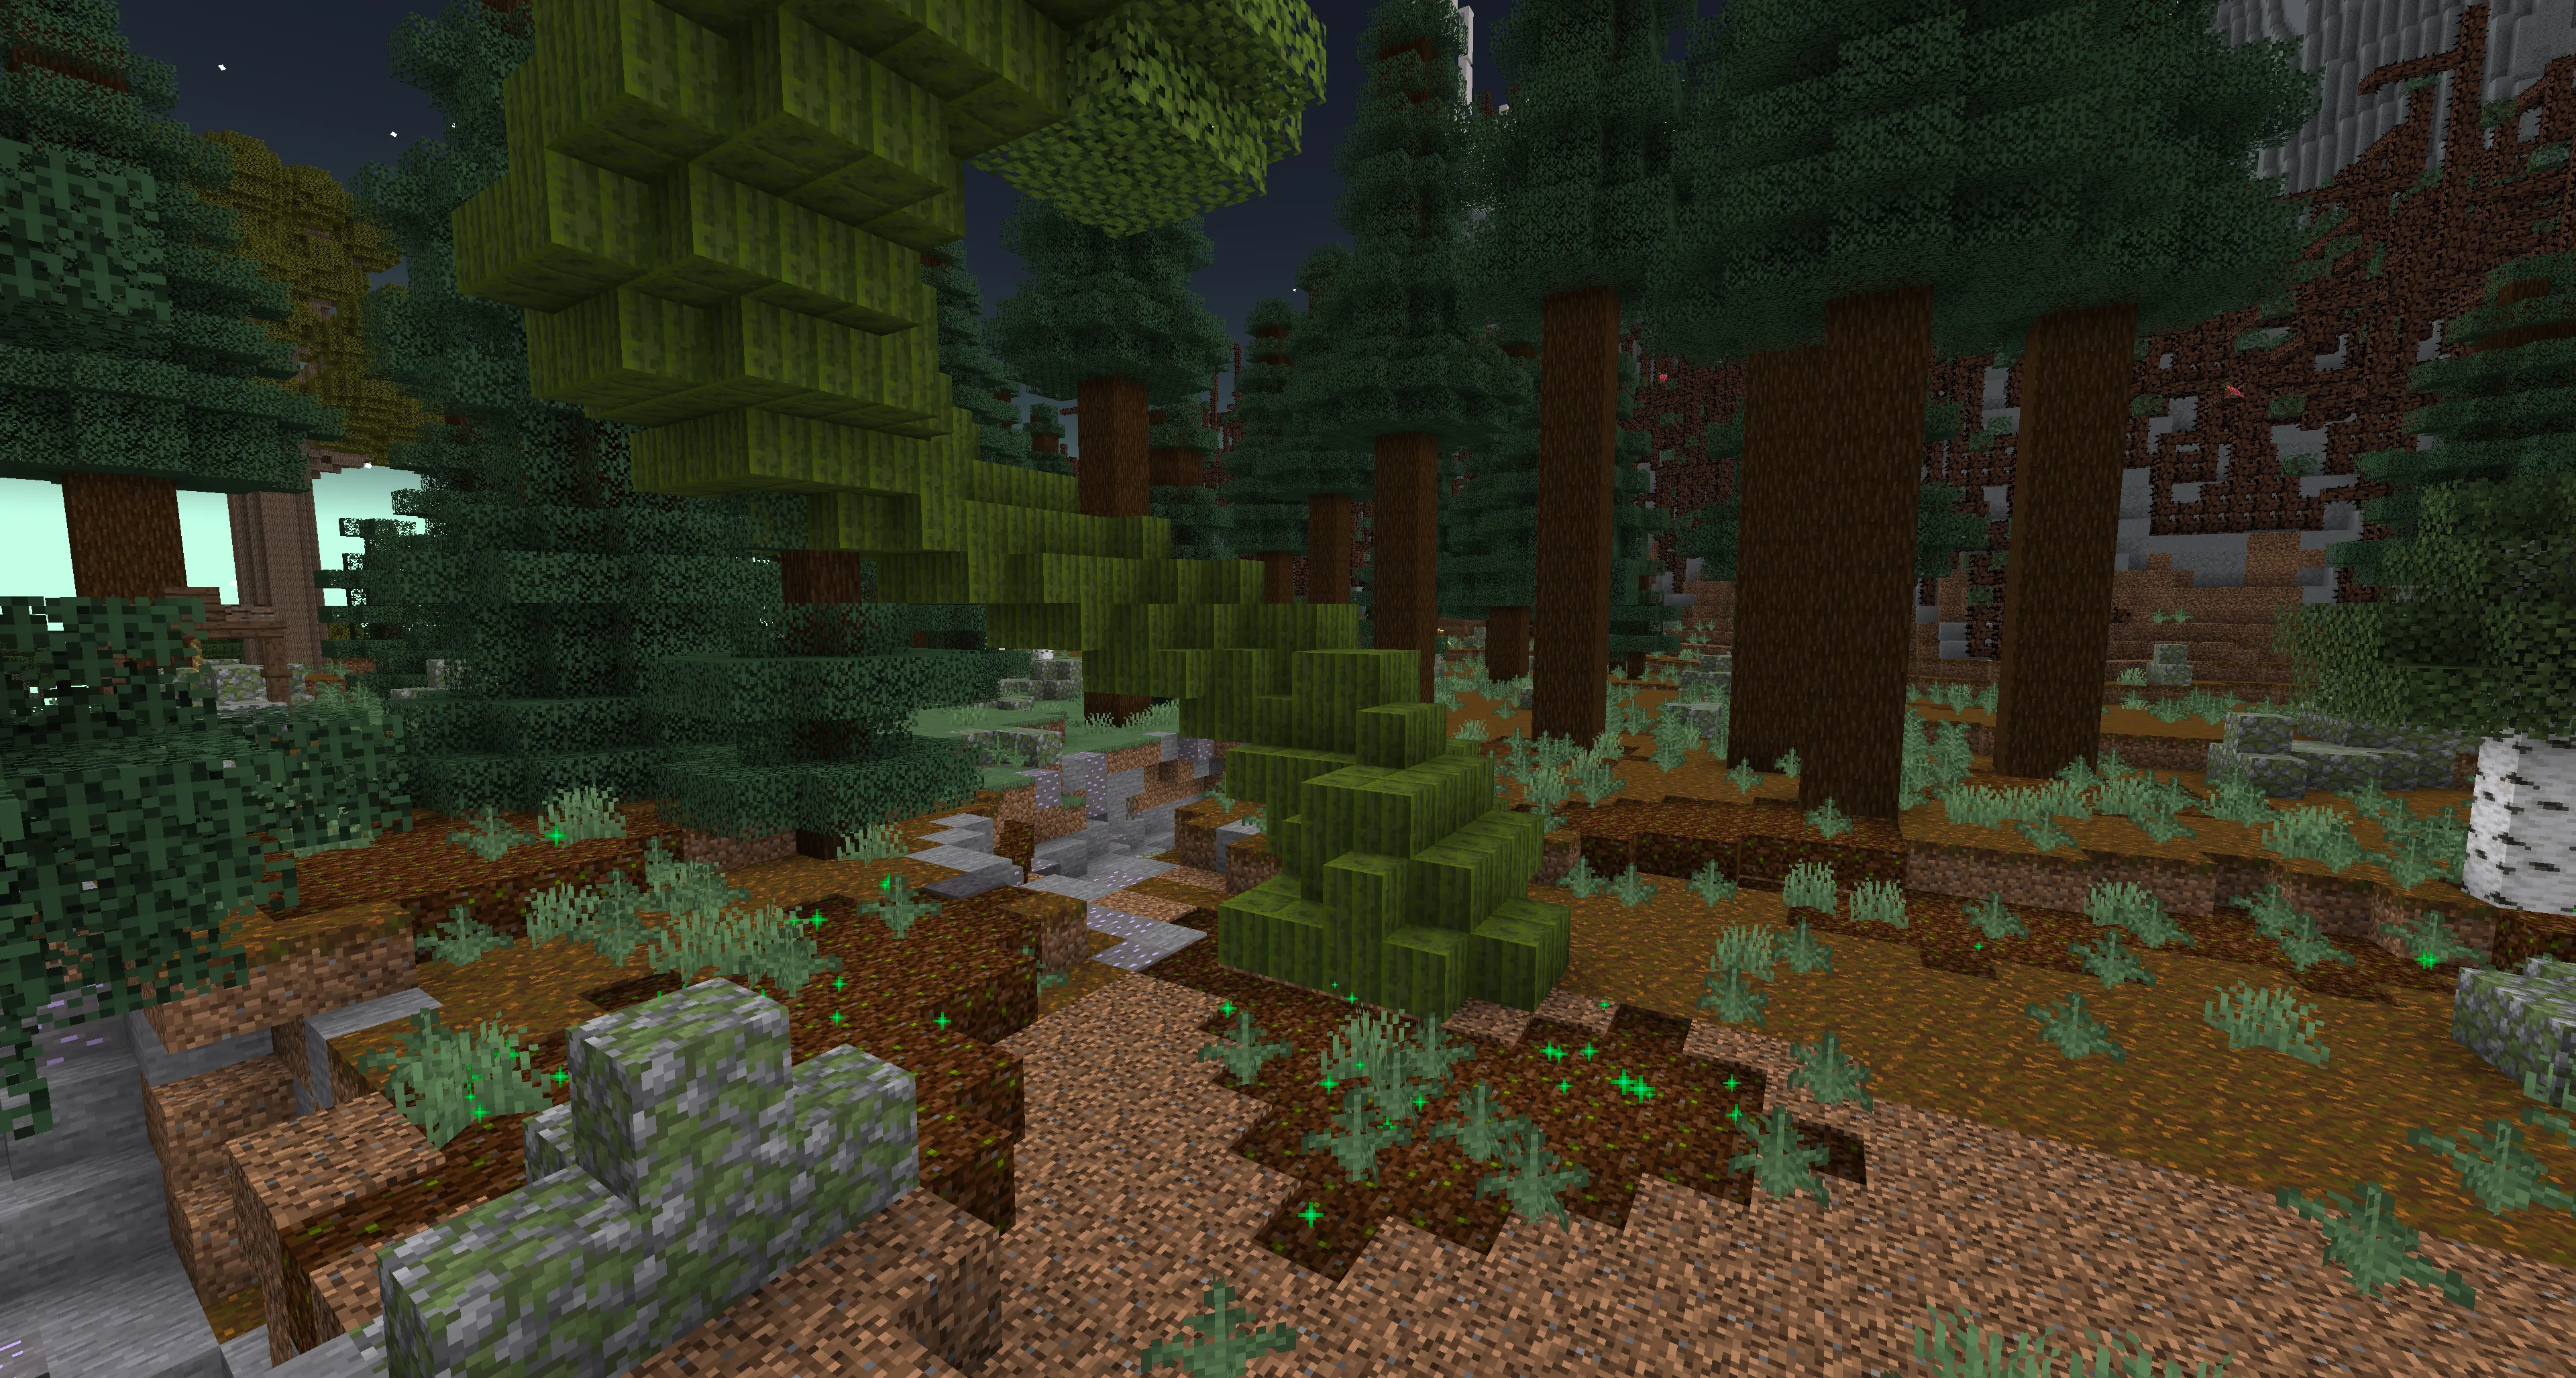
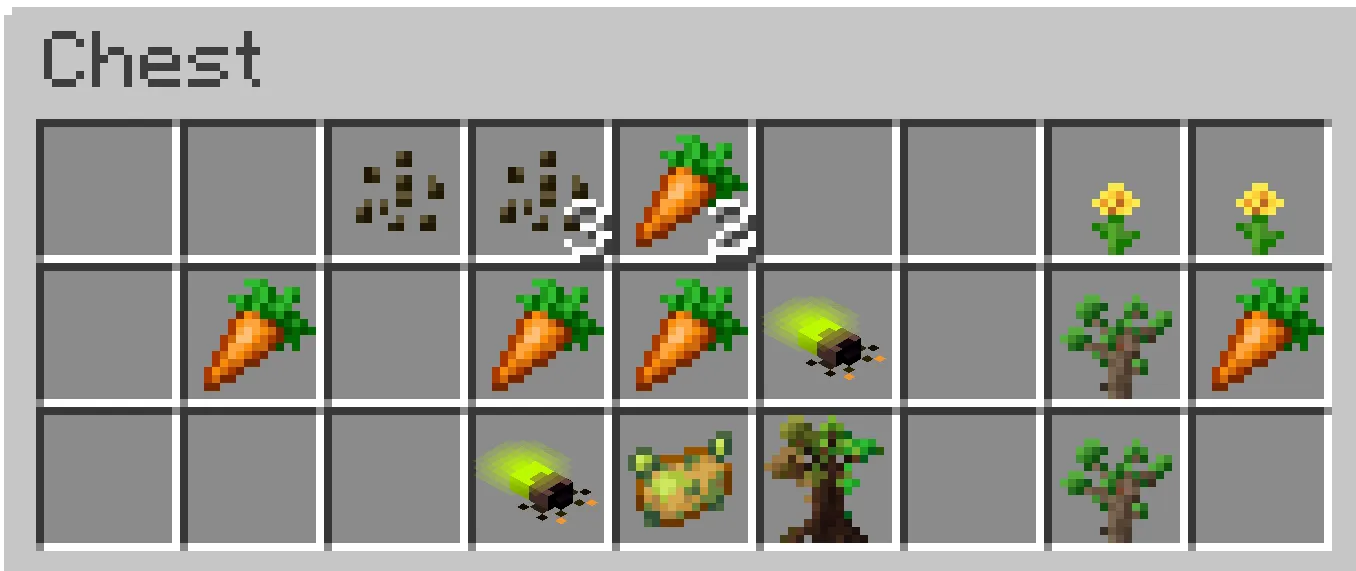
This section introduces fully grown trees, but such trees cannot be found naturally in the Twilight Forest. Their saplings do not drop from leaves — all of them are obtained exclusively in dungeons.
Types of Rare Trees
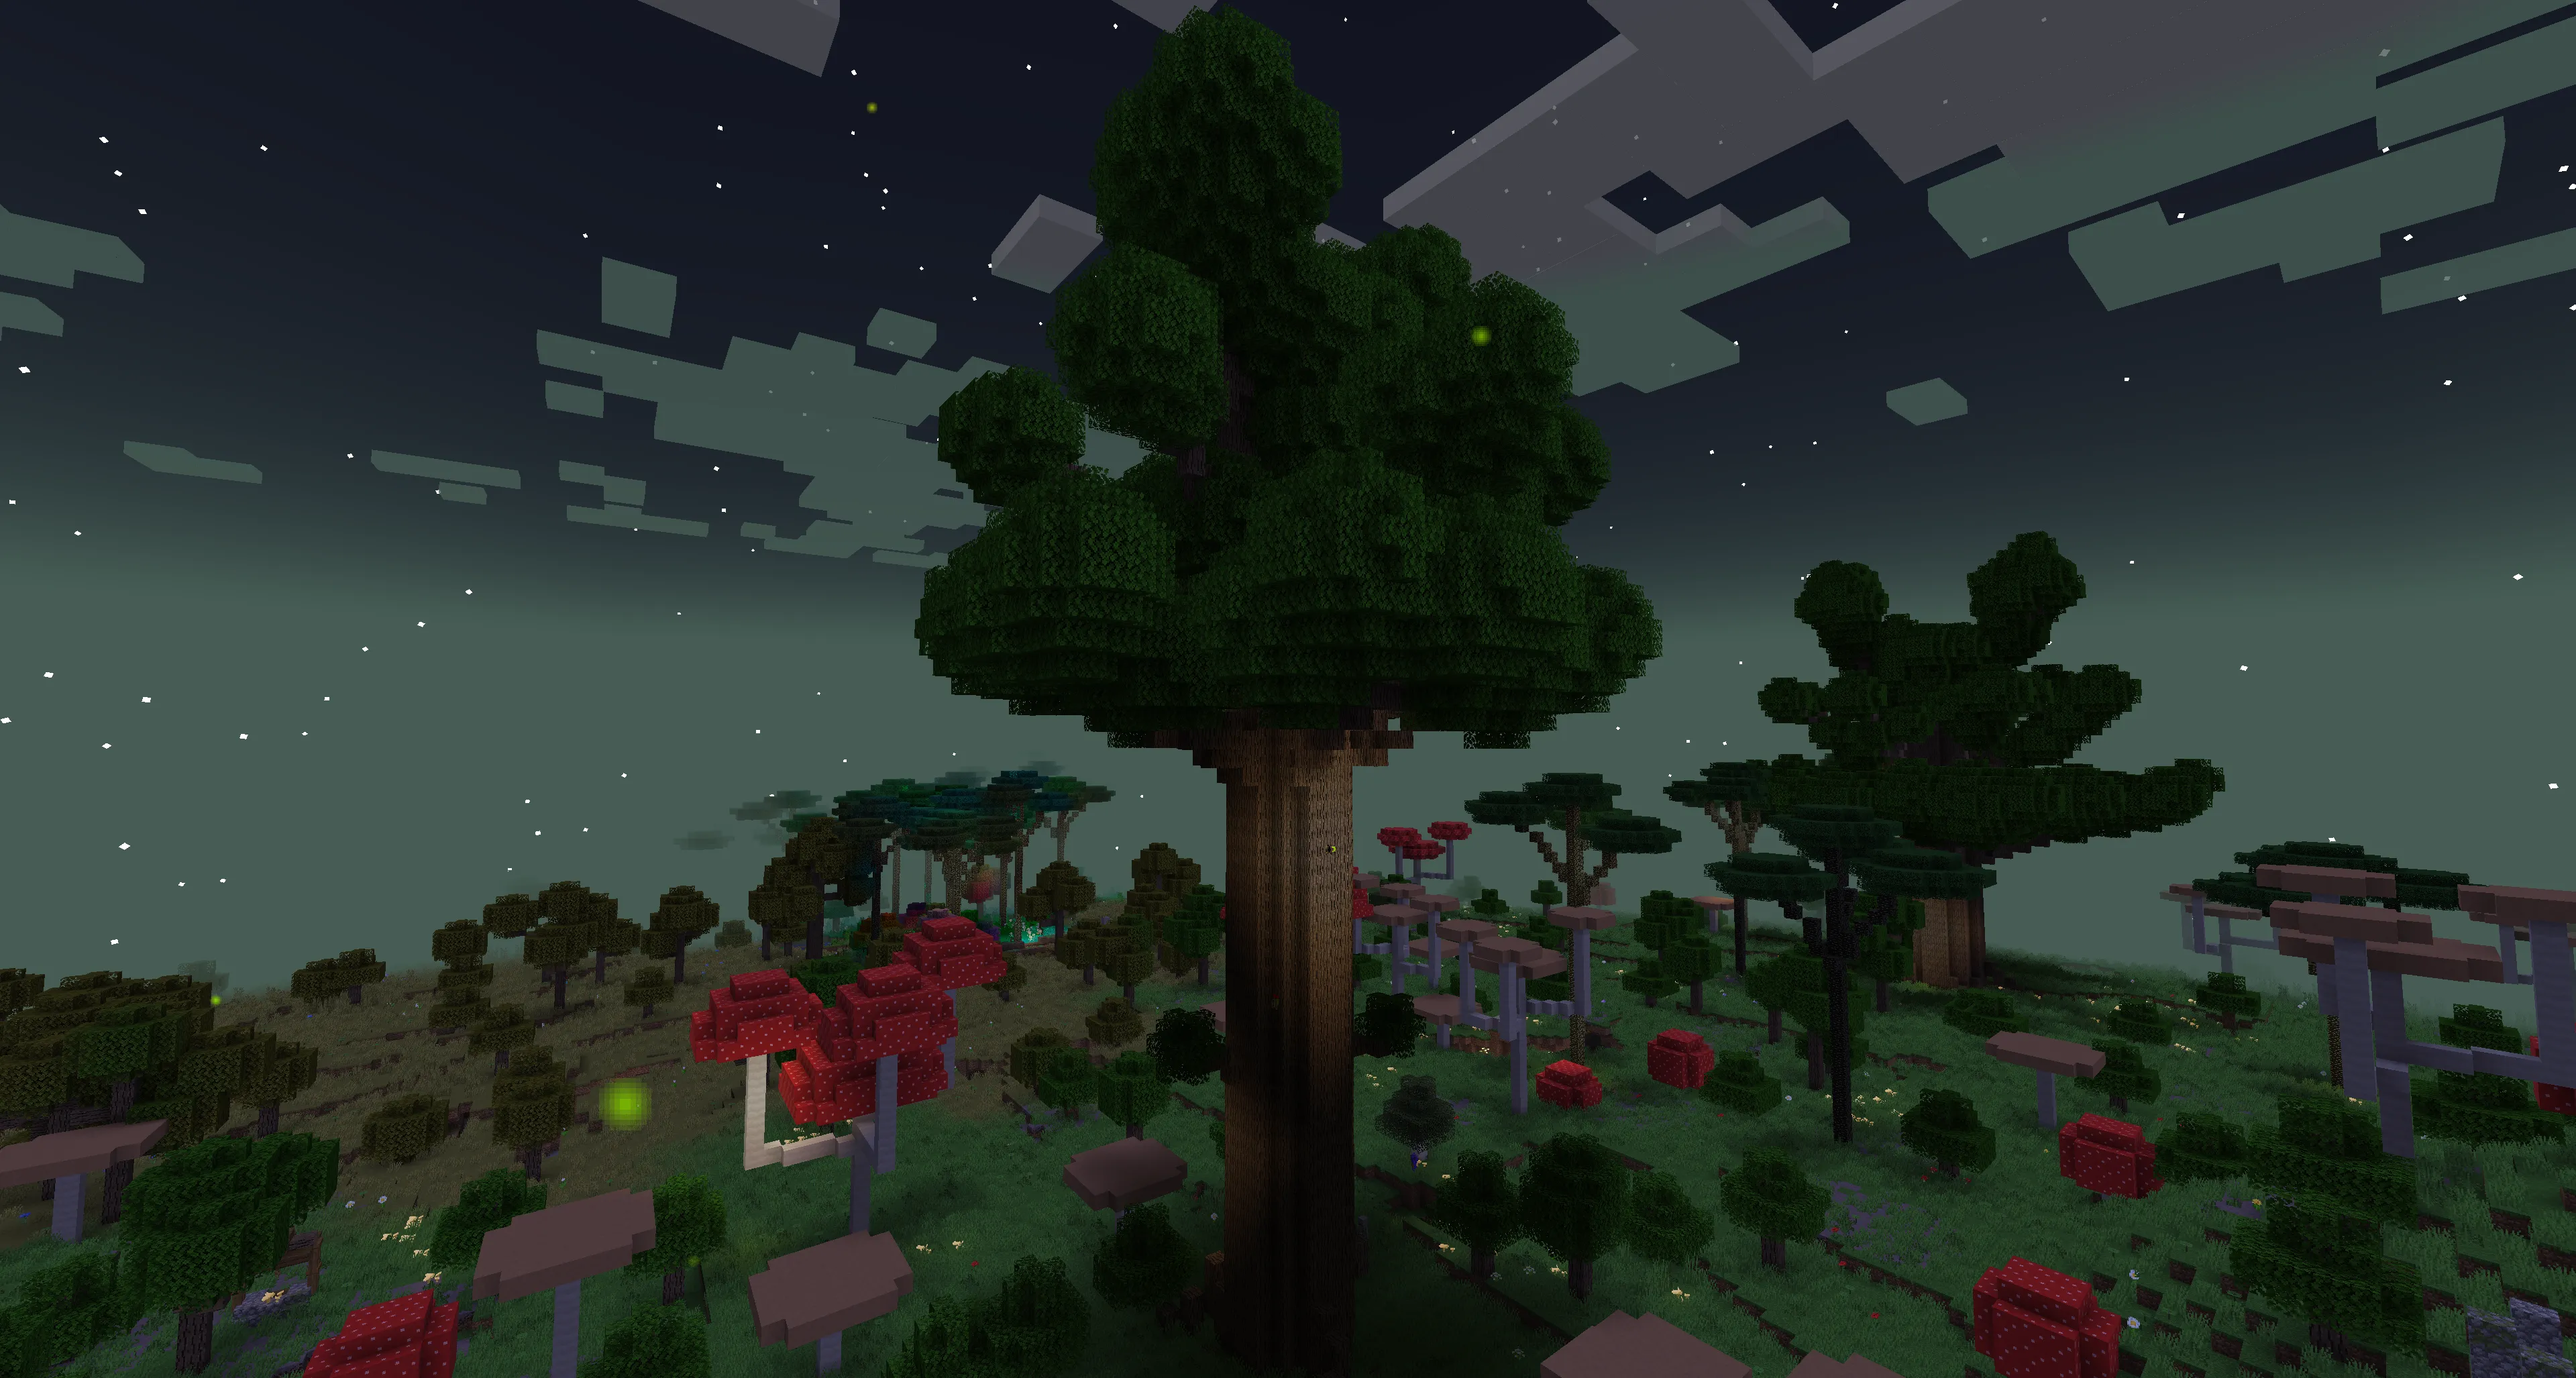
Huge Twilight Oak – simply a massive oak, with no special properties.
![]()
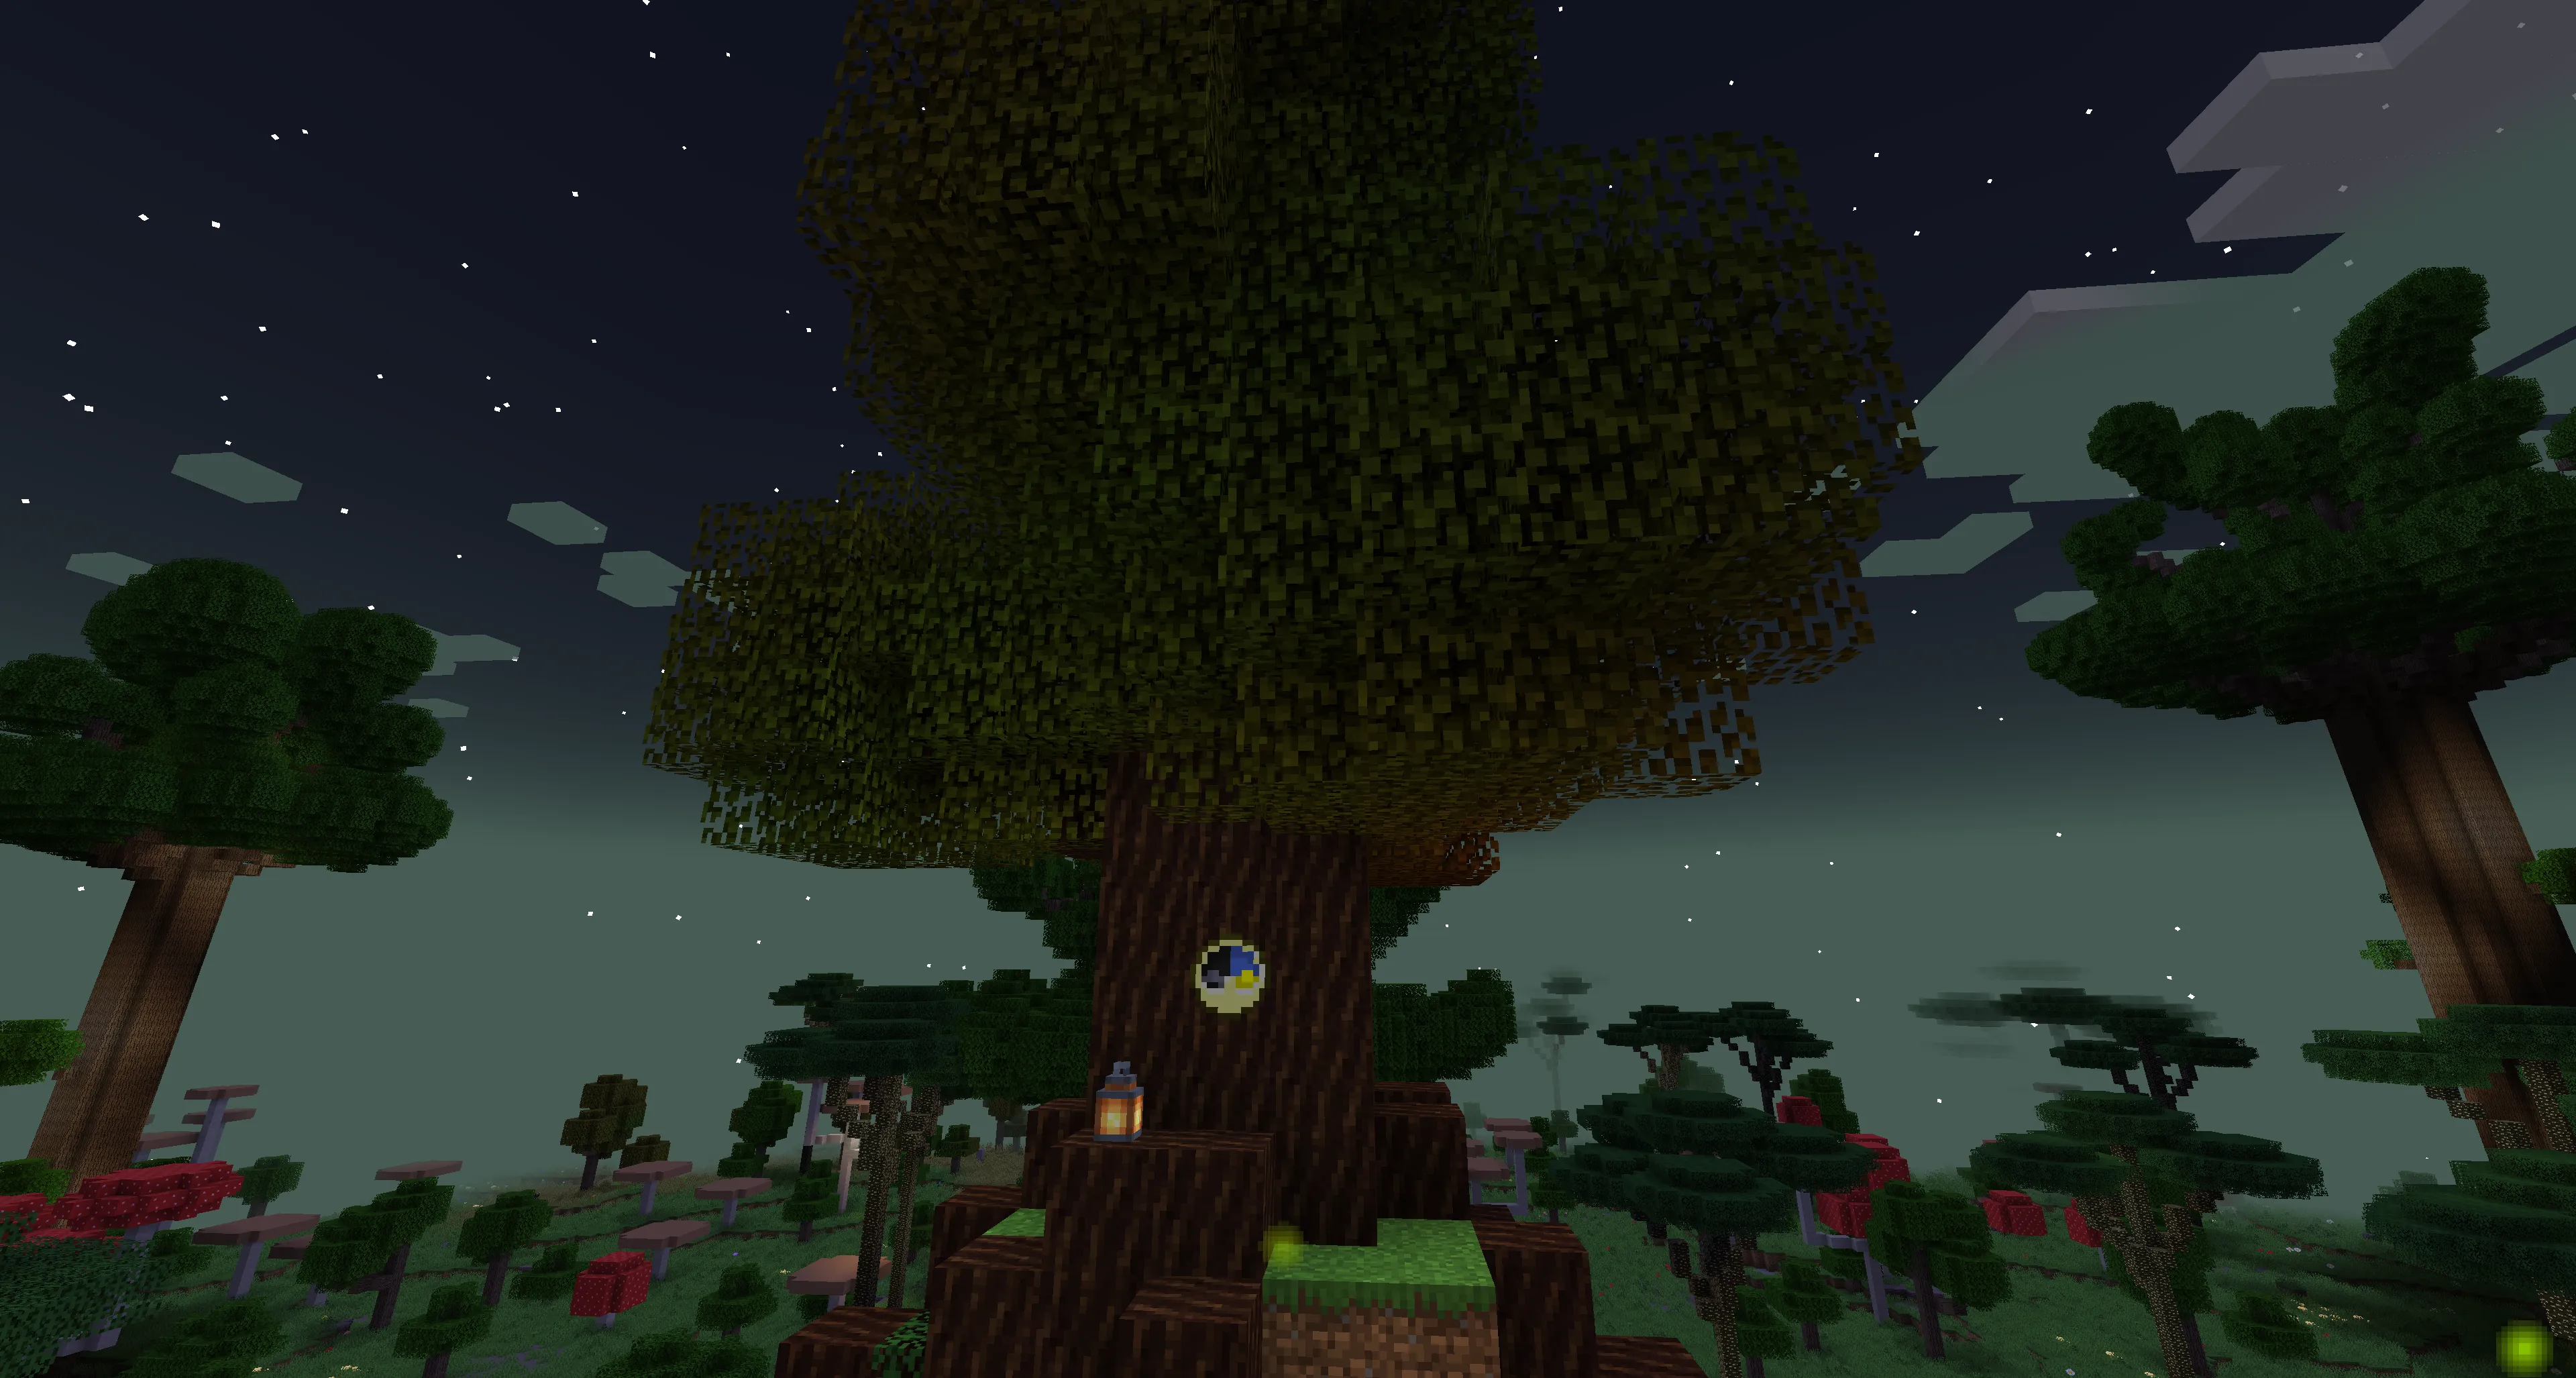
Tree of Time – its core accelerates the growth of saplings, crops, and other farm produce. It can only be harvested with a Silk Touch axe.
![]()
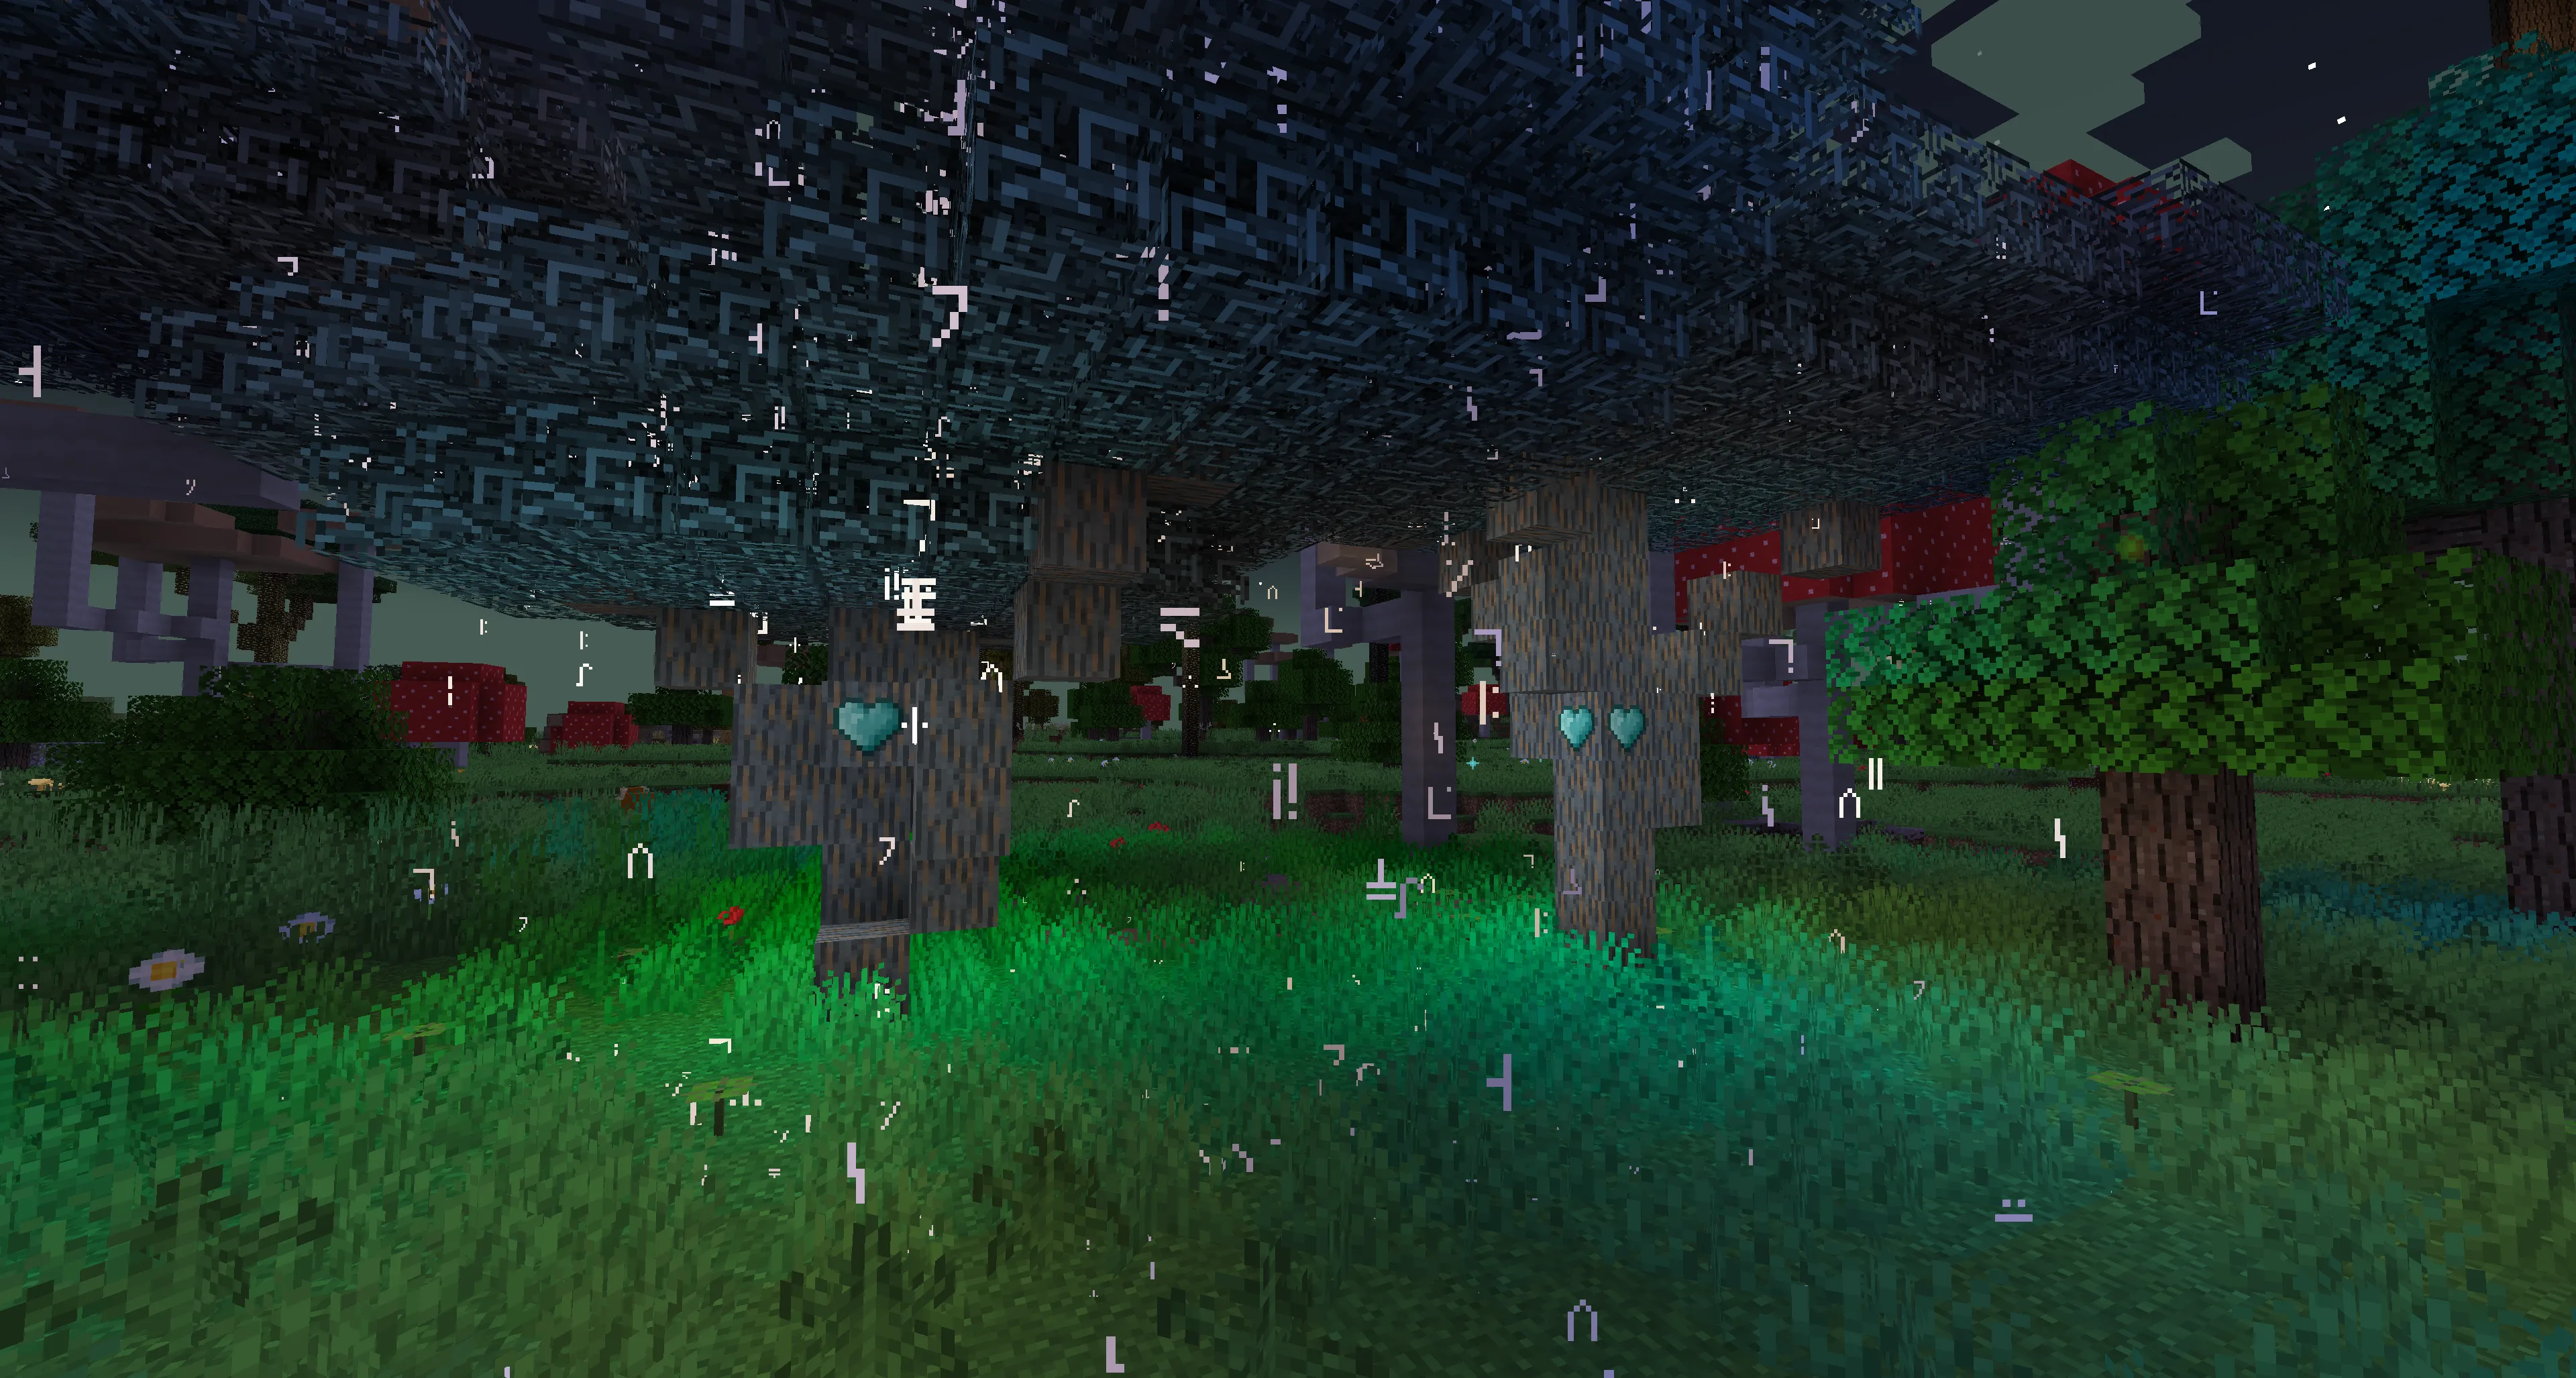
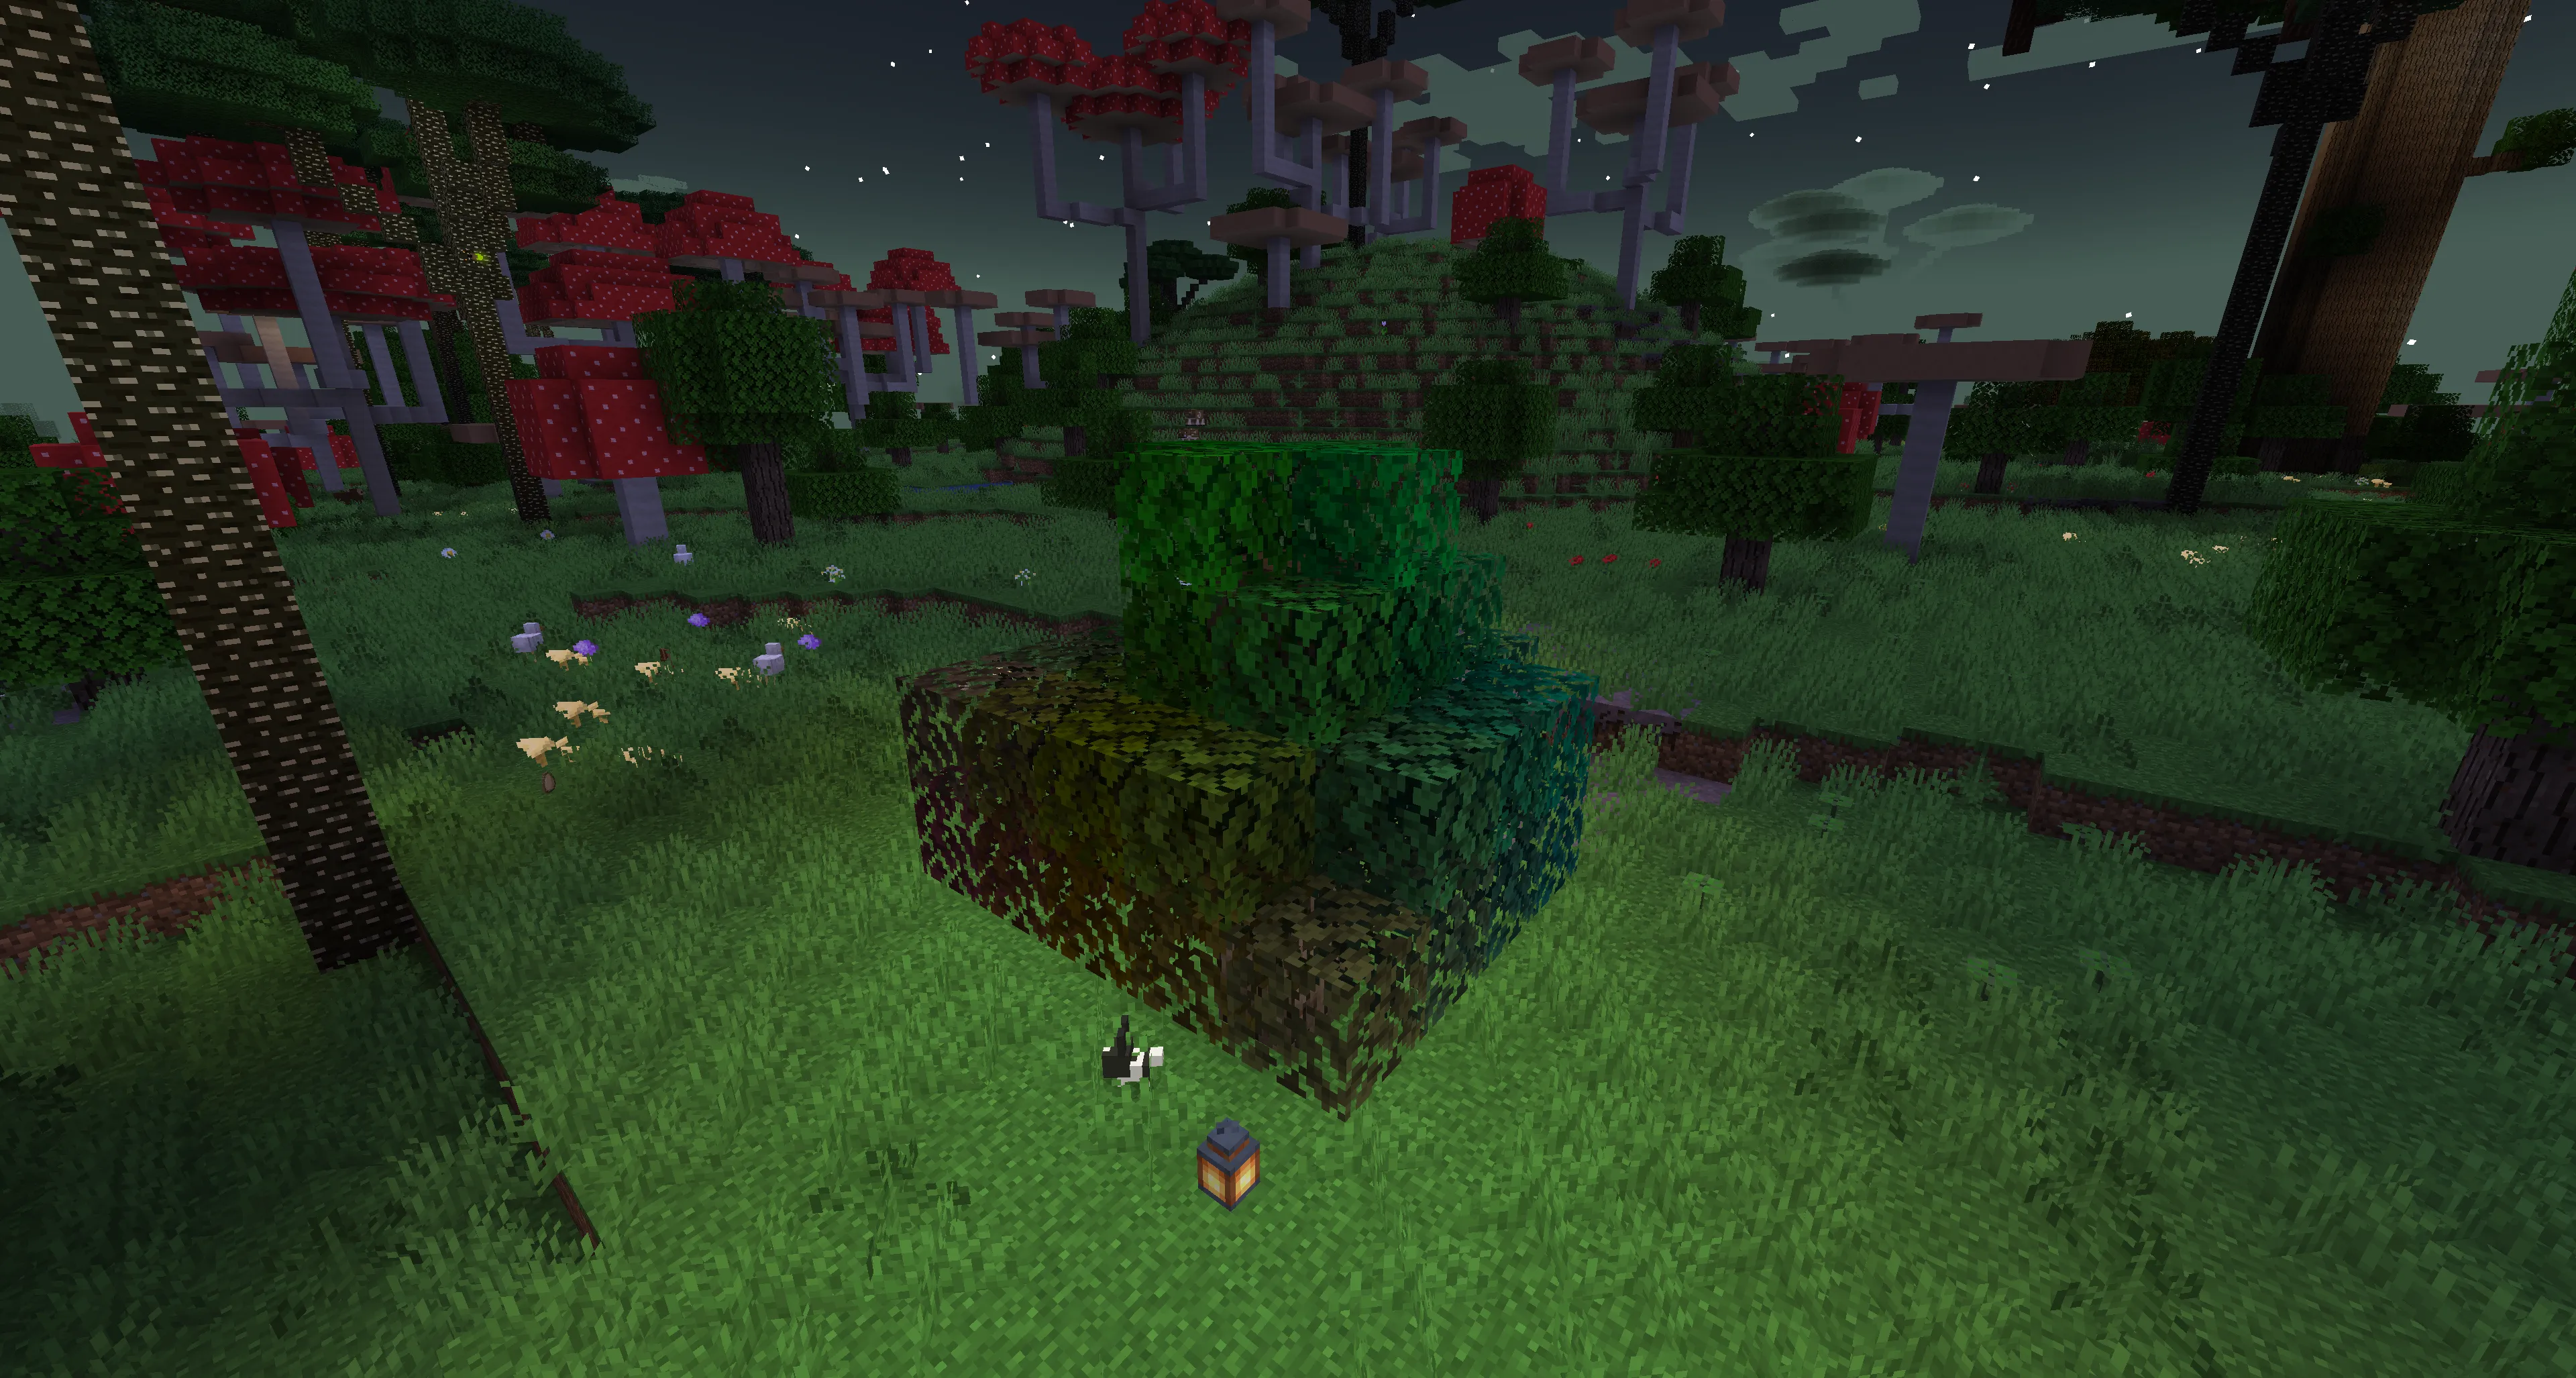
Tree of Transformation (Tree of Wisdom) – a decorative tree whose leaves emit hieroglyphs, but may reduce FPS. It changes the biome color.
![]()
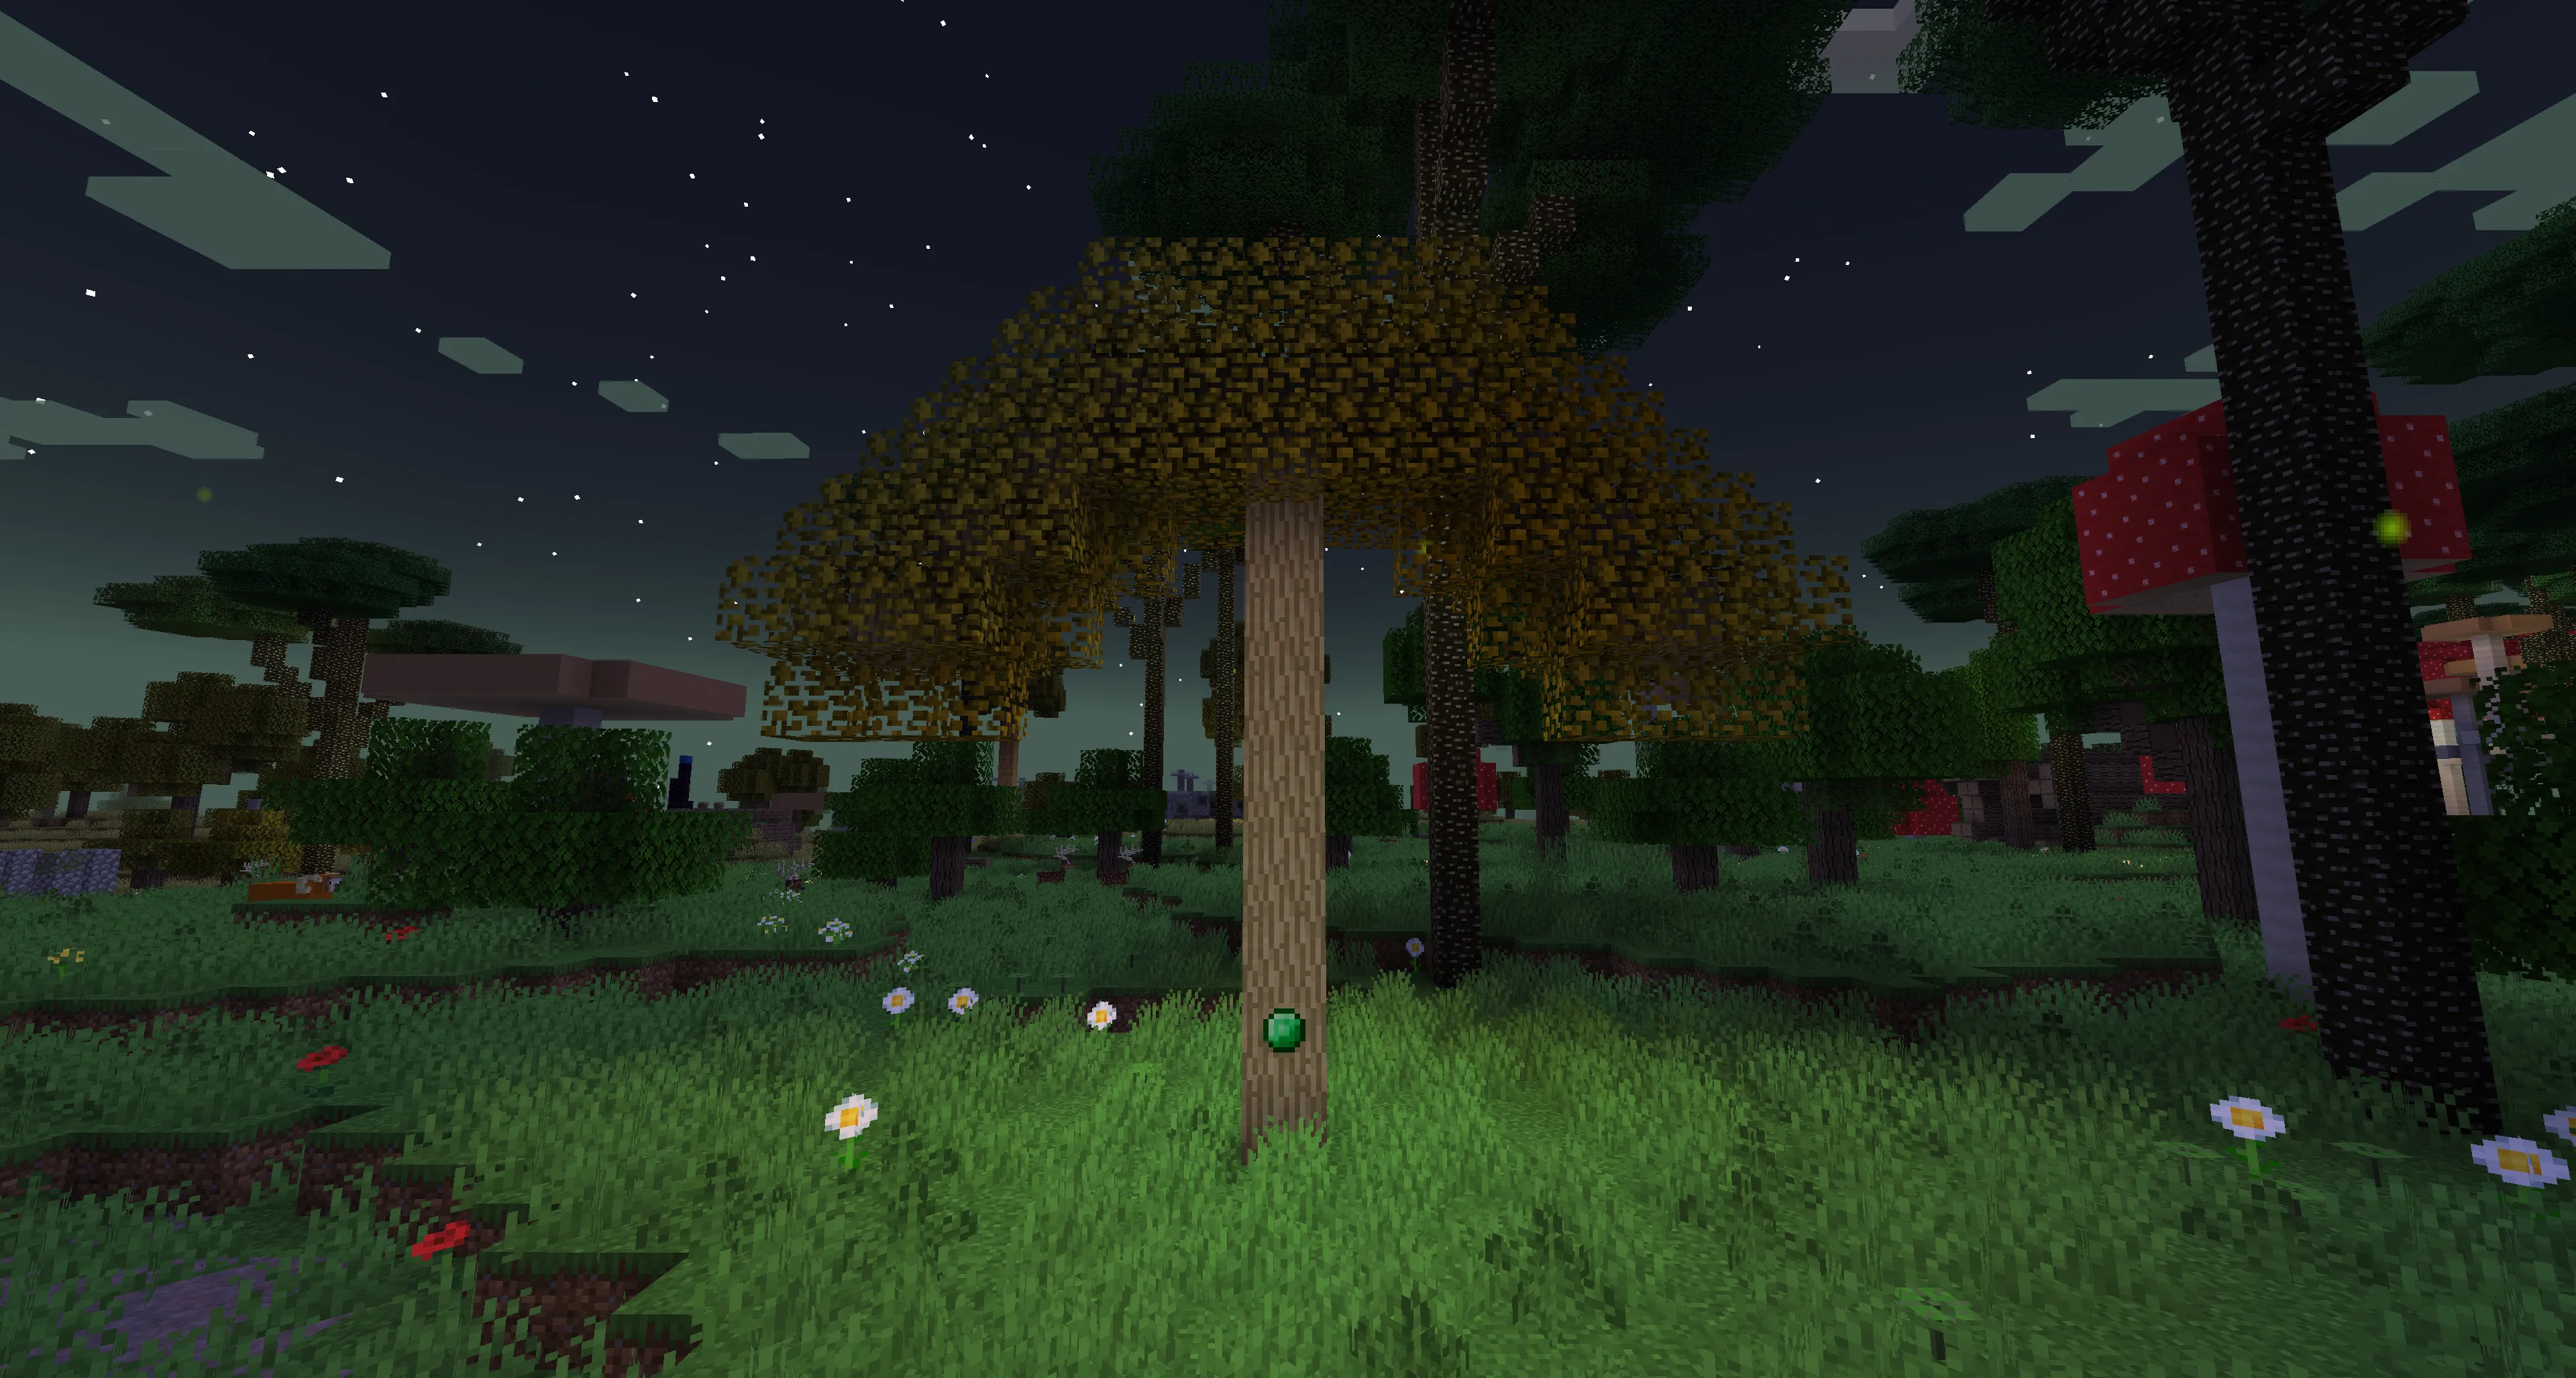
Miner's Tree – has a core that pulls in ore within a 32-block radius. The core is harvested the same way as with other special trees.
![]()
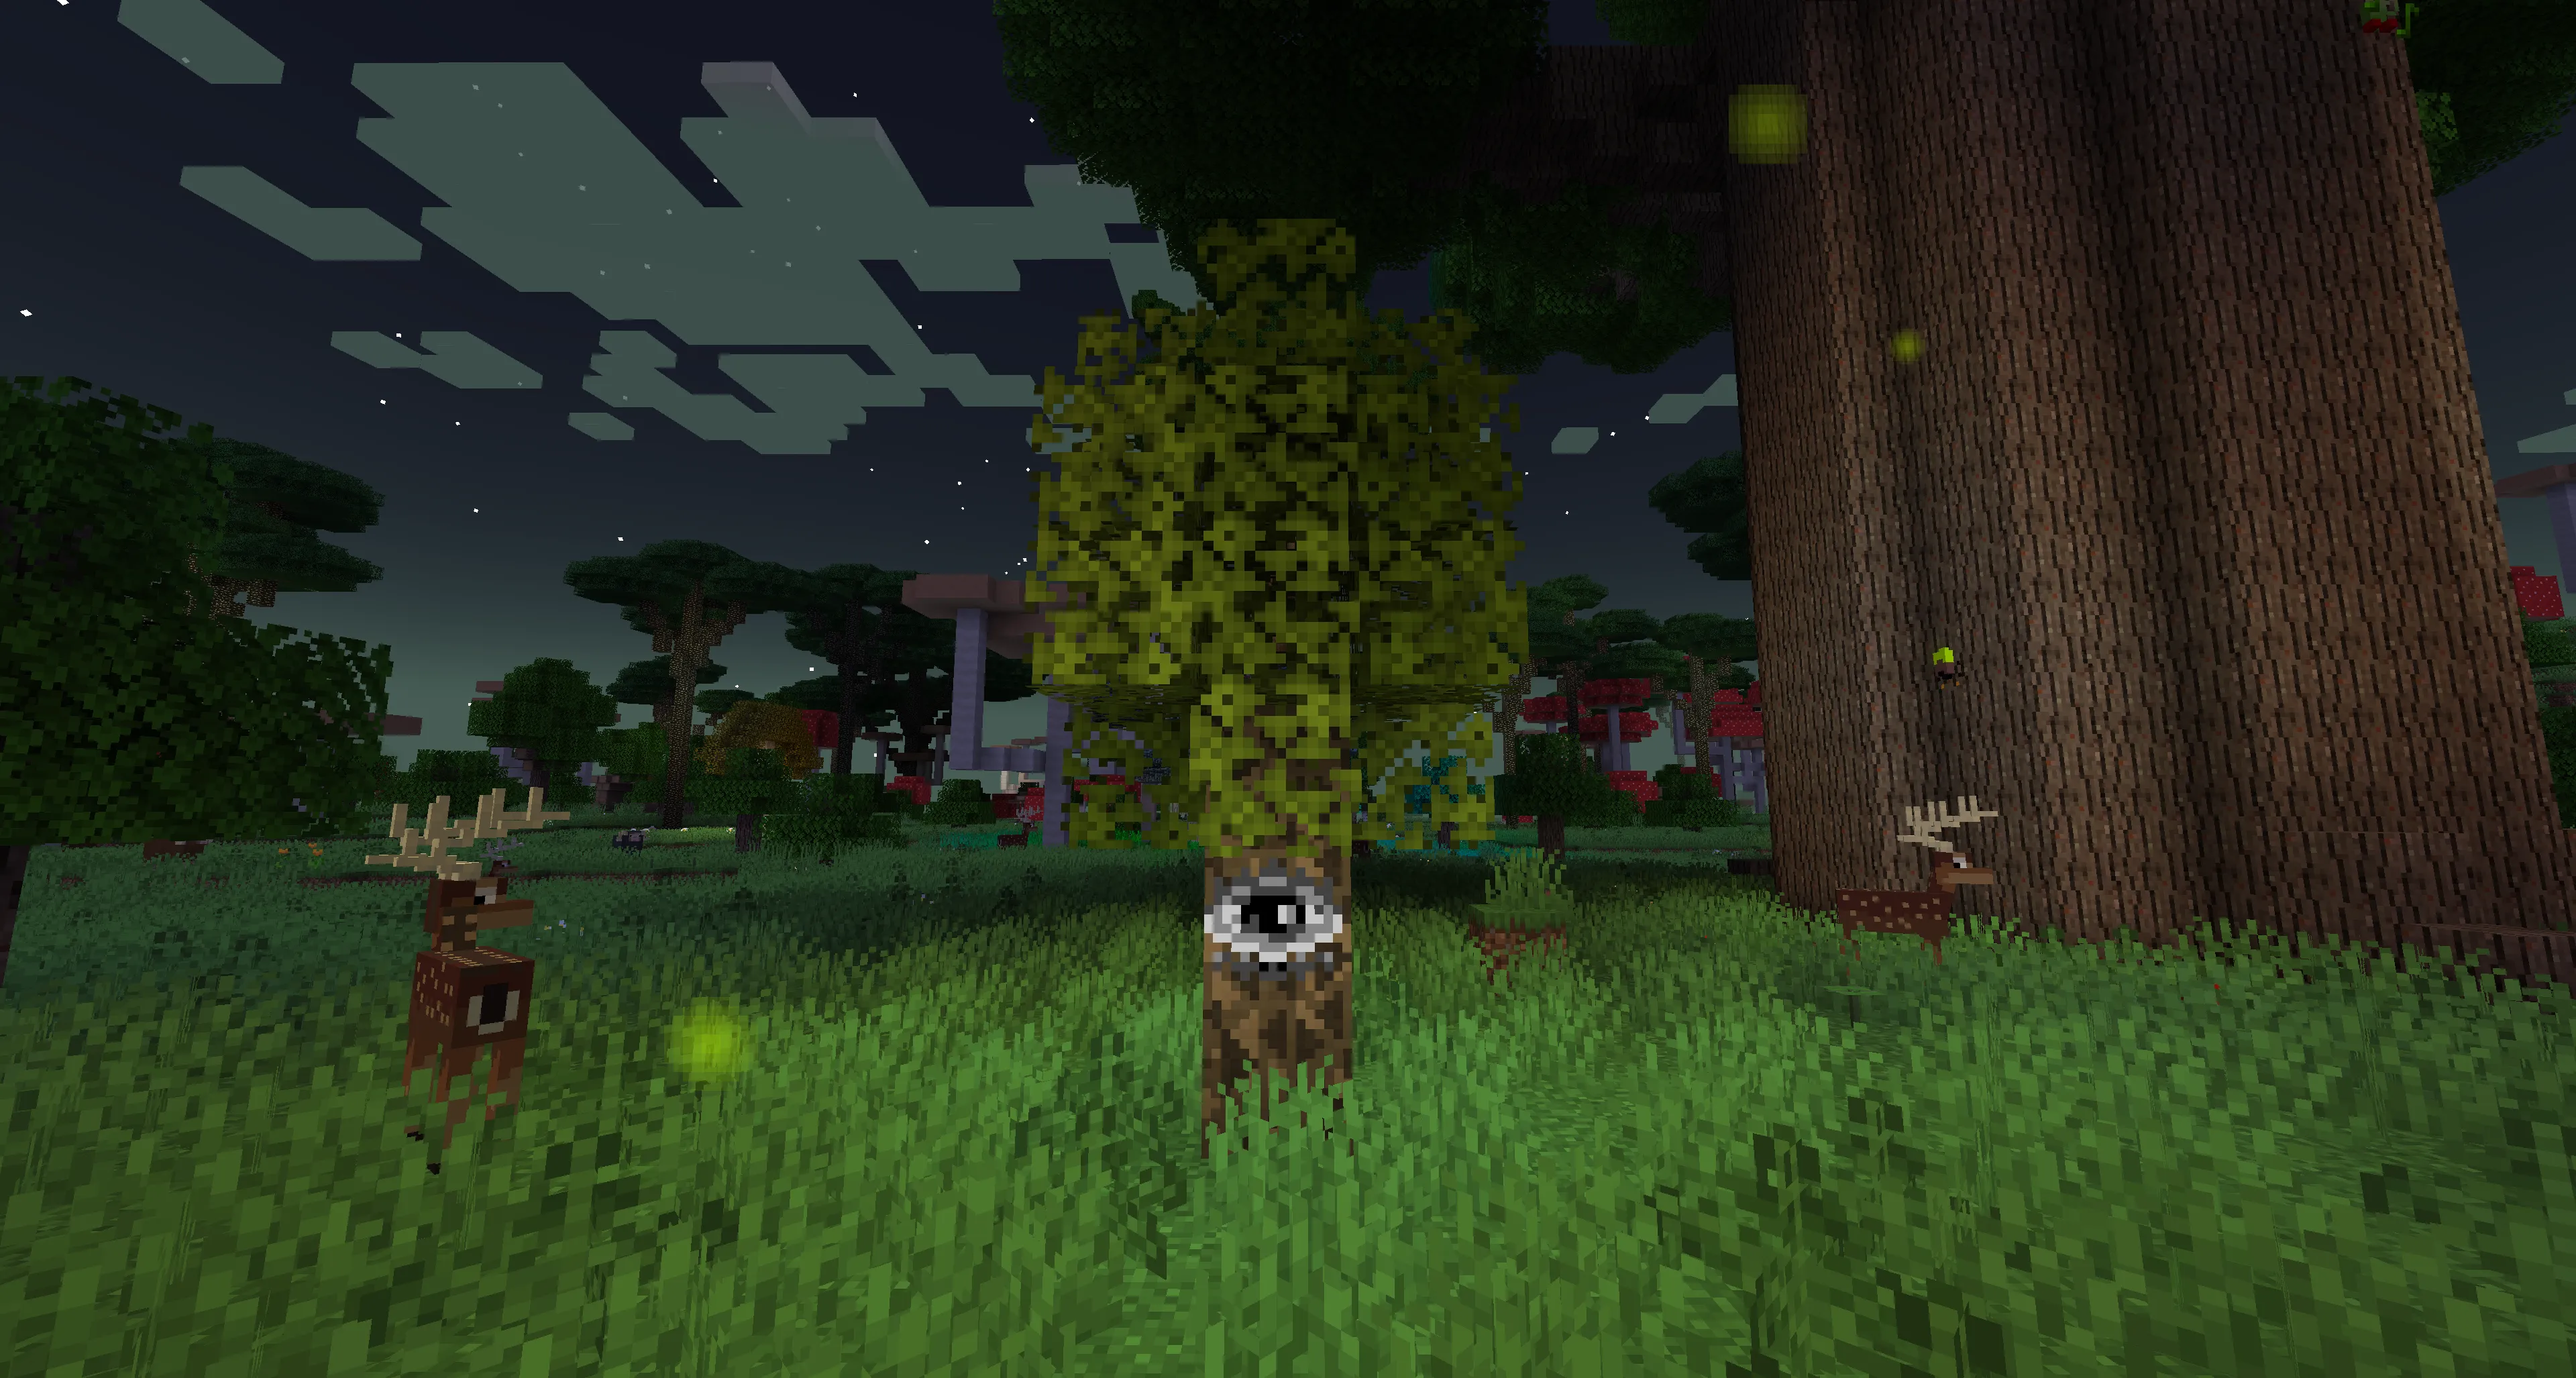
Sorting Tree – automatically distributes items into neighboring chests (though it may not work properly on servers).
![]()
Rainbow Oak – the only tree whose saplings drop from leaves. Simply beautiful and unique.
![]()
Where to find these saplings?
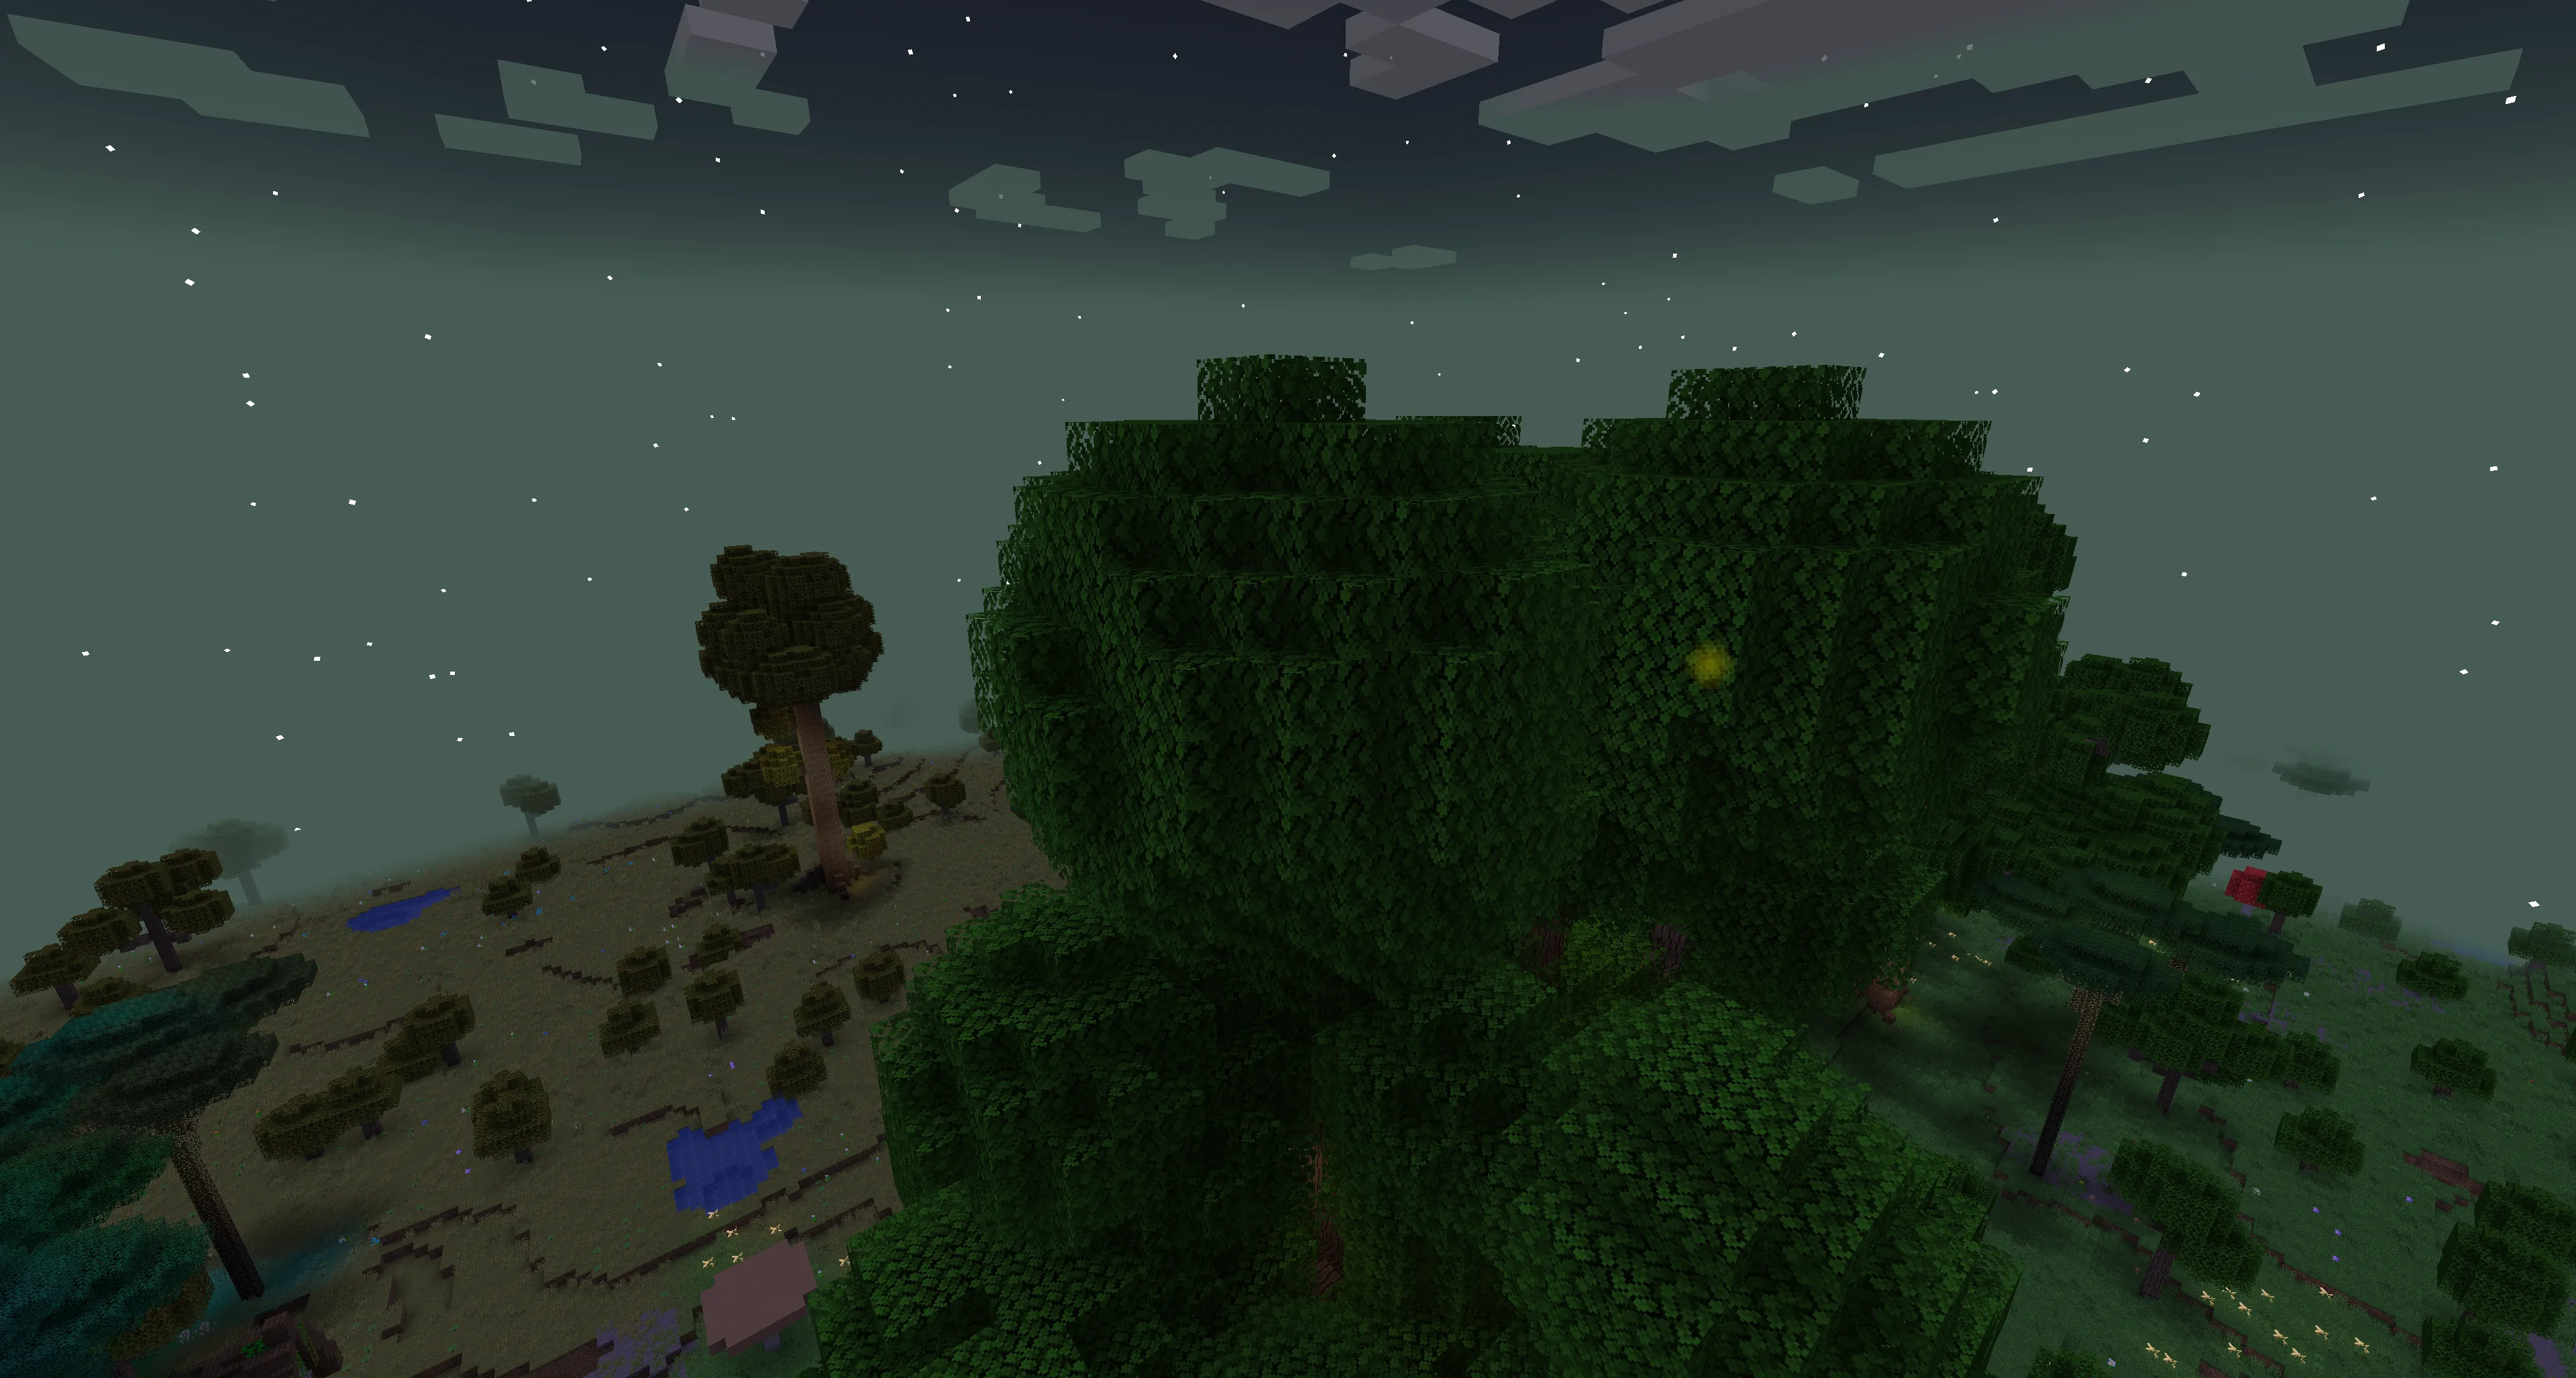
All saplings except for the Rainbow Oak are found in mini-dungeons.
These dungeons are hidden in the foliage of the Huge Twilight Oak.
How to find them?
Your goal is to look for spherical clusters of leaves that stand out from the rest.
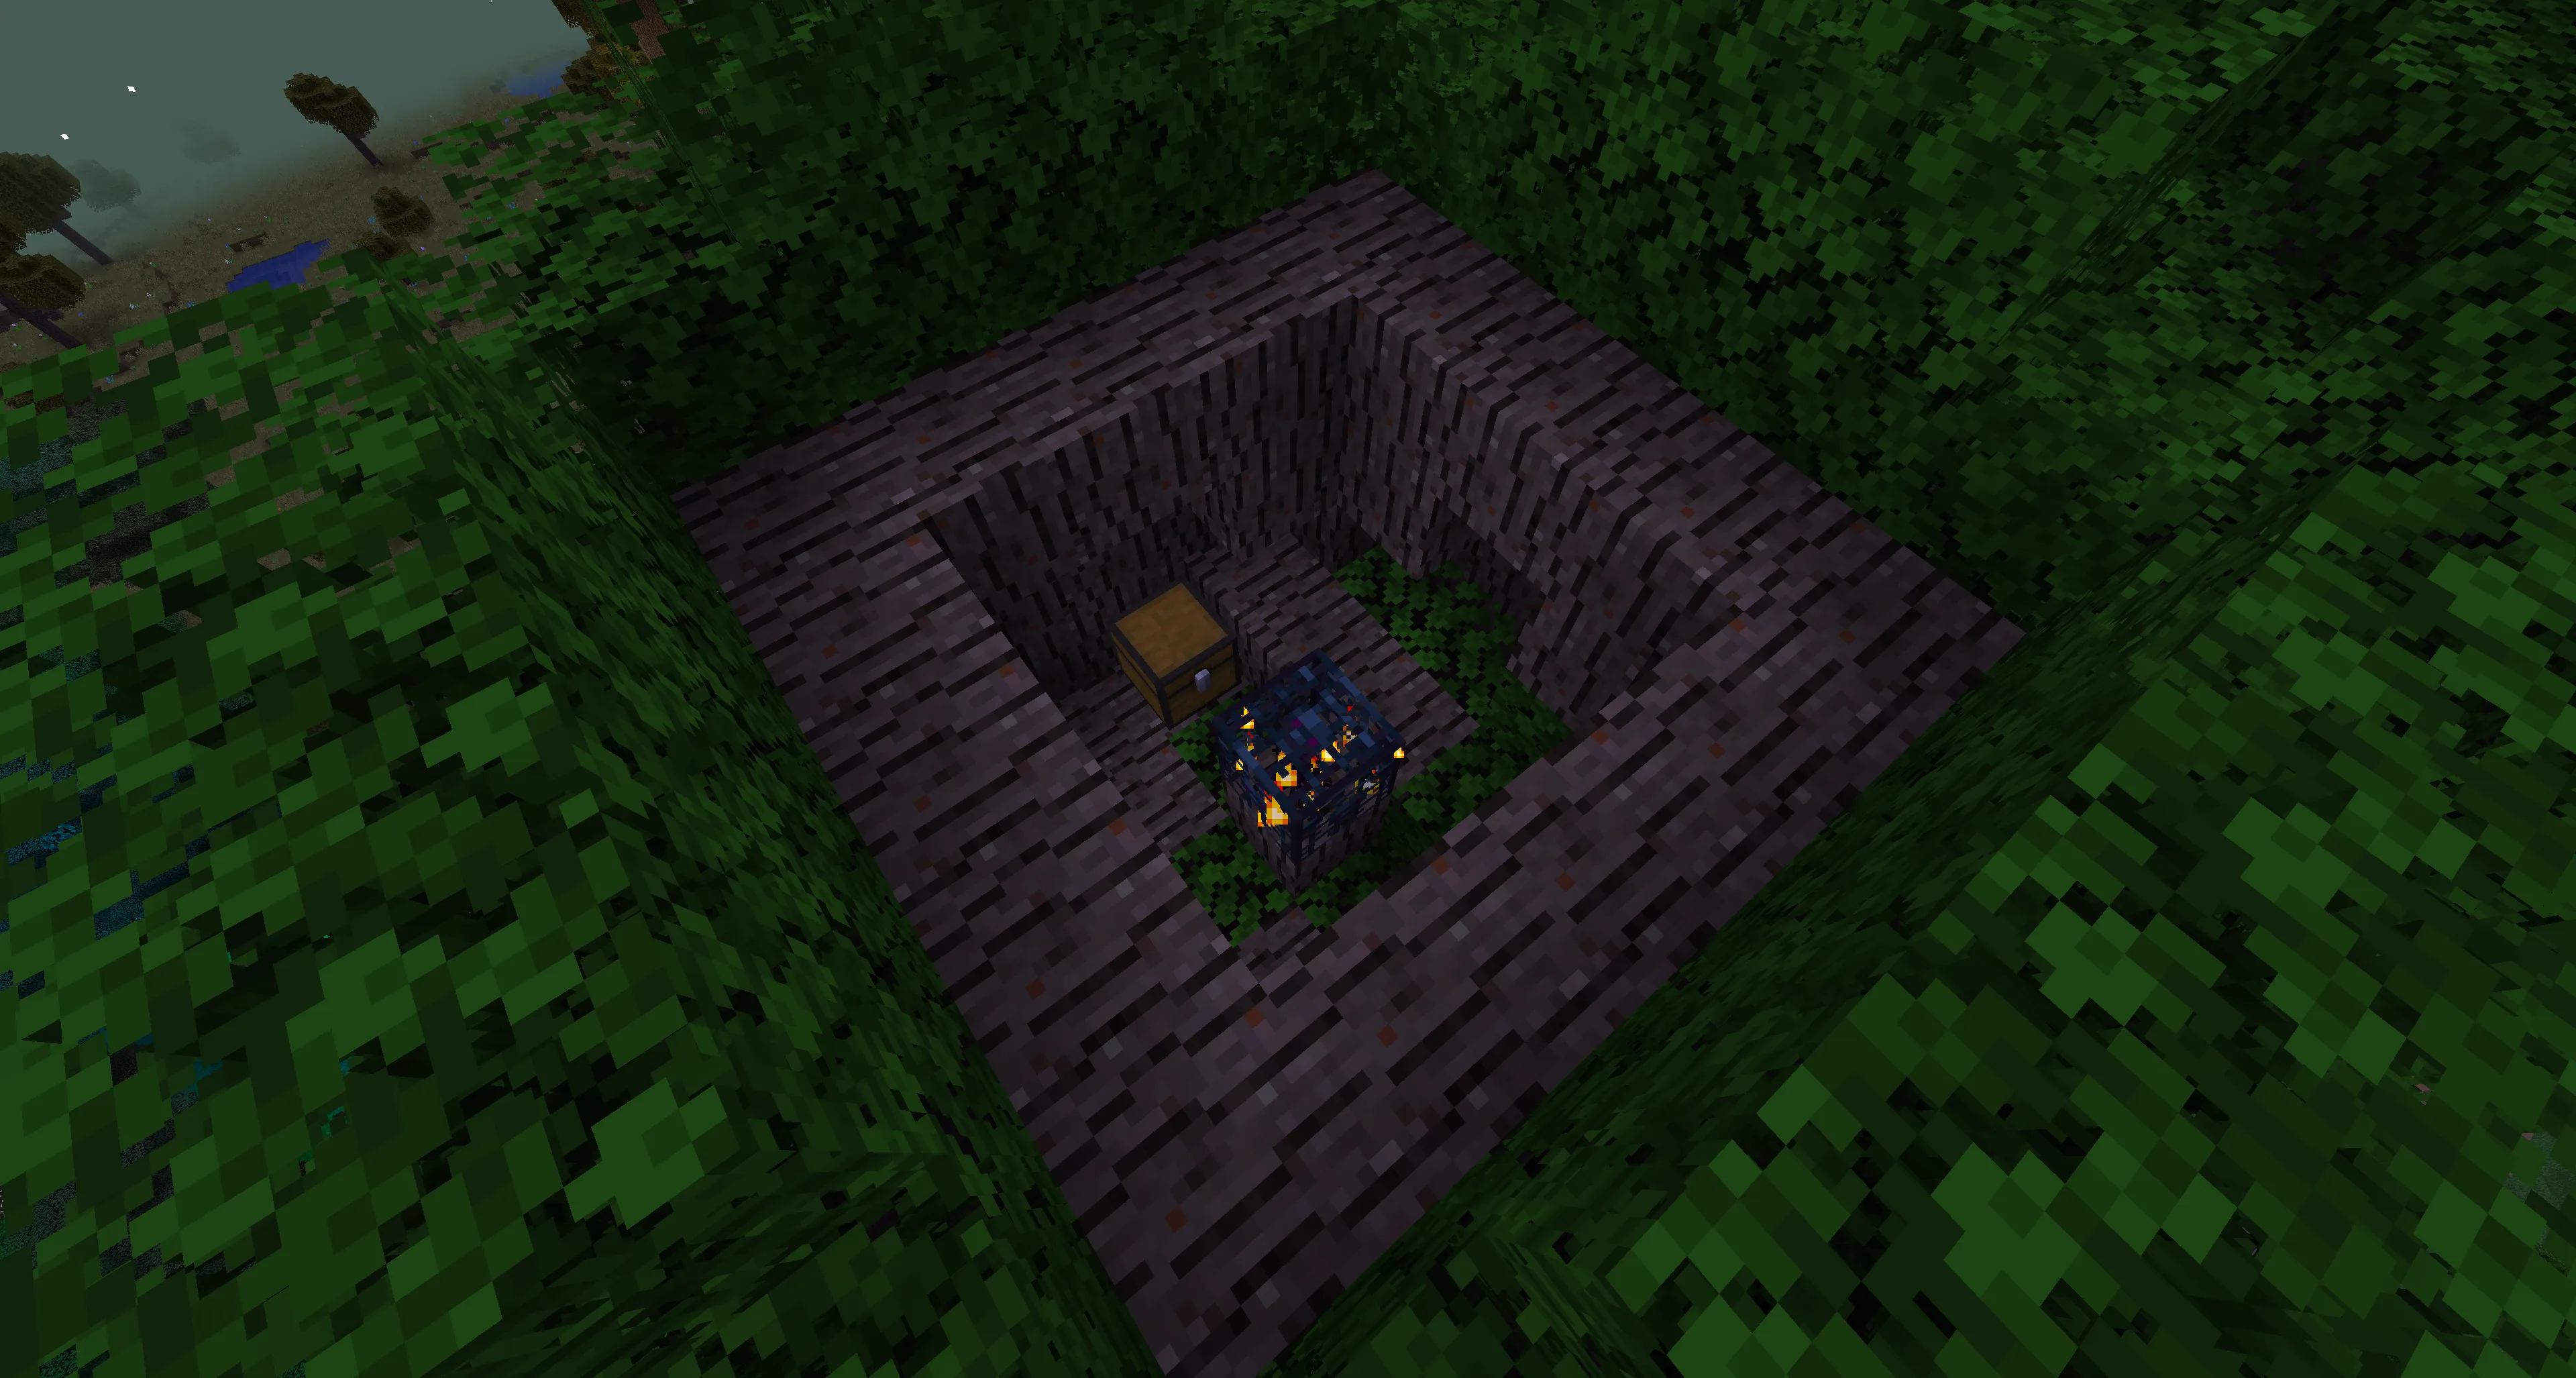
Inside these spheres you’ll find:
- Spider spawner
- Chest with loot
In the chest, you might get one of the five saplings, but sometimes you get nothing — it’s random.
The Quest Ram – A Mysterious Inhabitant of the Twilight Forest
On the Magic Map, you might see a single arch icon that differs from boss icons. This is most likely the Quest Ram.
How to Find the Quest Ram?
When you arrive at the marked location, you’ll find yourself in a special biome where rainbow-colored trees grow.
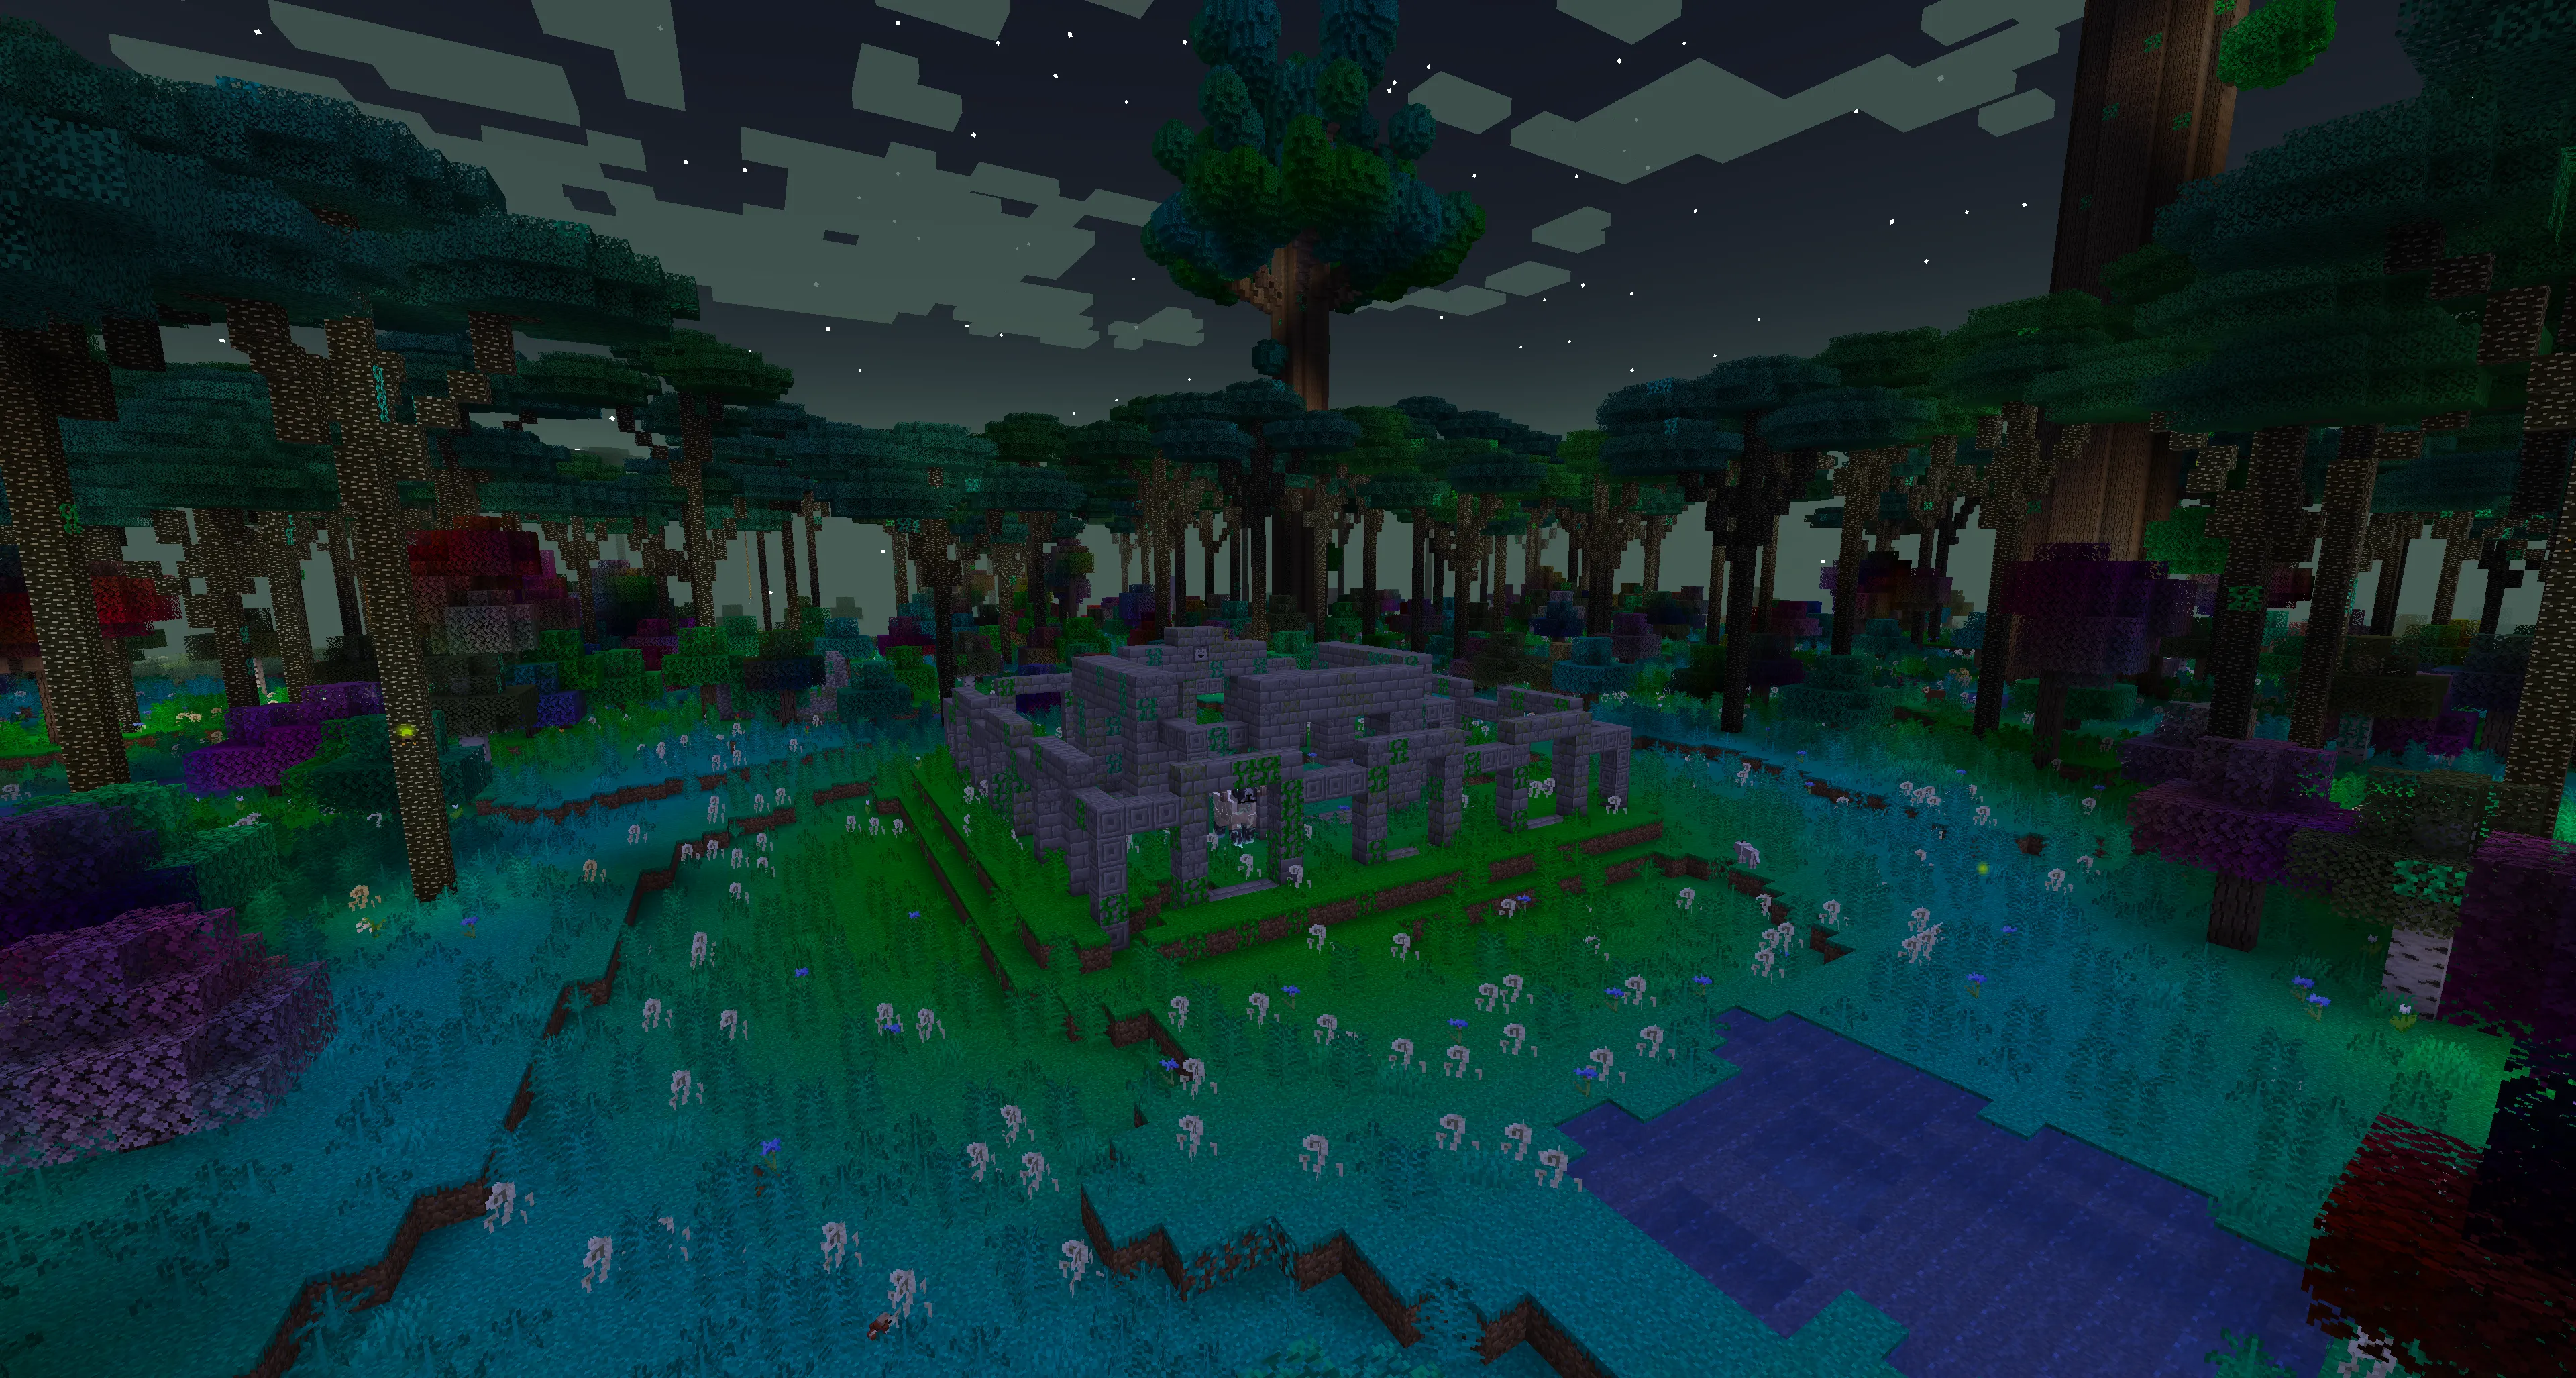 In the center of that biome, you’ll see stone structures, and among them — a giant, majestic ram.
Meet the Quest Ram!
How to Complete the Quest Ram?
The Quest Ram accepts the full spectrum of wool. You need to feed it exactly one block of each color.
Rewards for completing the Quest:
- A bag of resource blocks
- Ram’s Head
- Crumble Horn
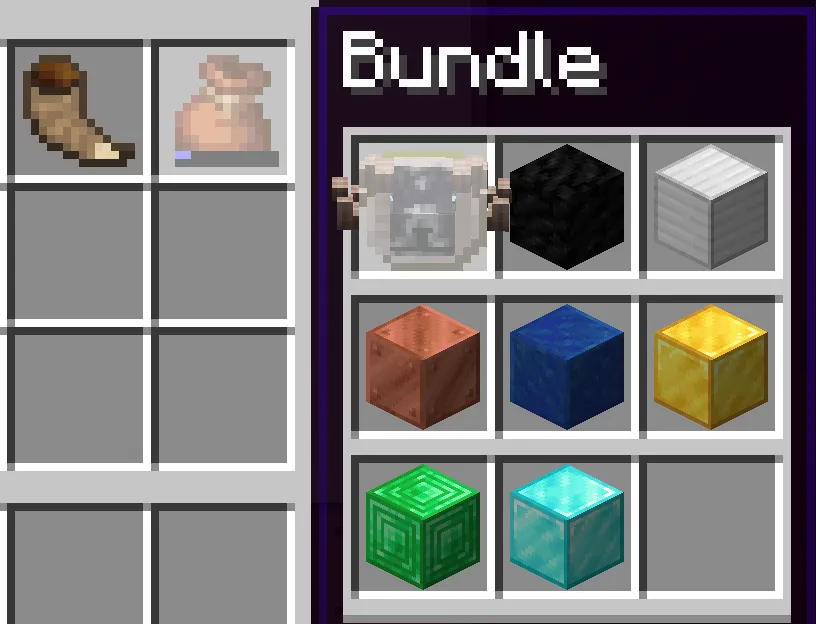
What does the Crumble Horn do?
This horn breaks blocks in a 5x5 area in the direction you use it. However, it does not harvest resource blocks (e.g., ores).
The First Boss – The Naga
Preparing for Battle
After gathering enough resources, crafting the Magic Map, and mustering your courage, you can head for your first fight.
How to Find the Naga?
On the Magic Map, the Naga arena is marked with a special icon.

Upon arrival, you’ll see a circular arena, enclosed by a tall wall.
As soon as you approach the center, the boss appears.
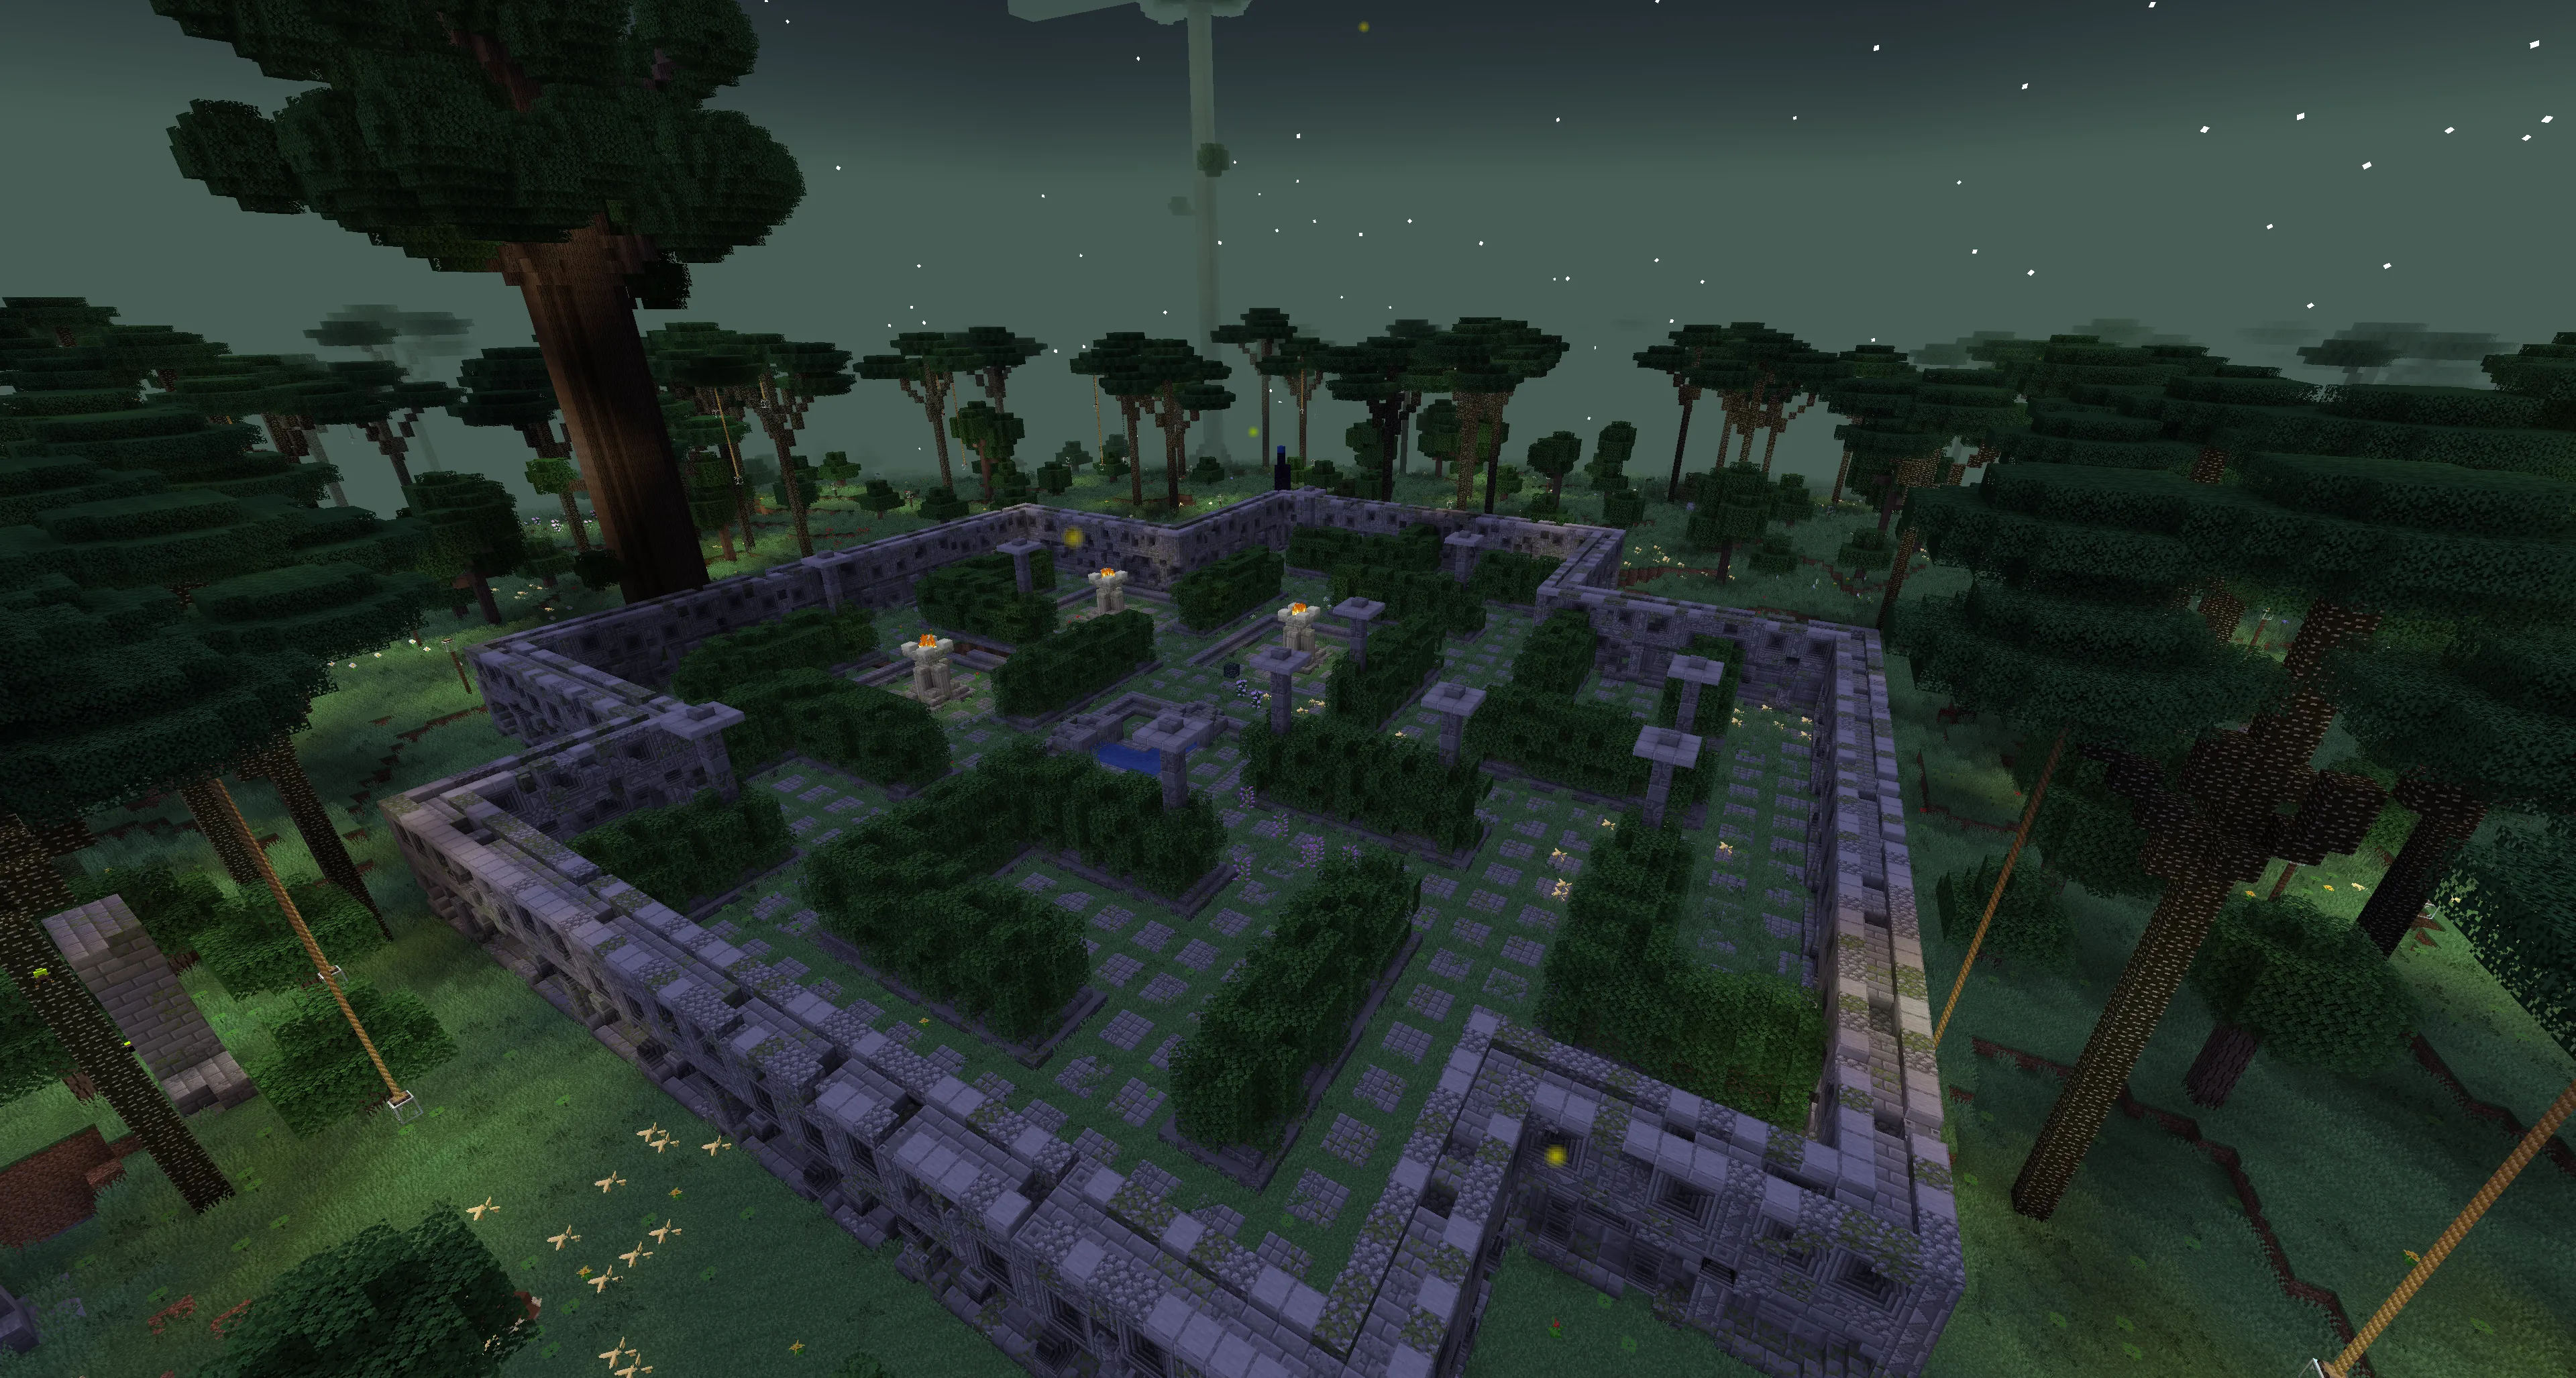 (If you’re on a server and the Naga hasn’t spawned, someone may have already killed it. The boss does not respawn, so you’ll need to find another arena.)
Fighting the Naga
The Naga is a giant snake that loses body segments as it takes damage.
Reward for Victory
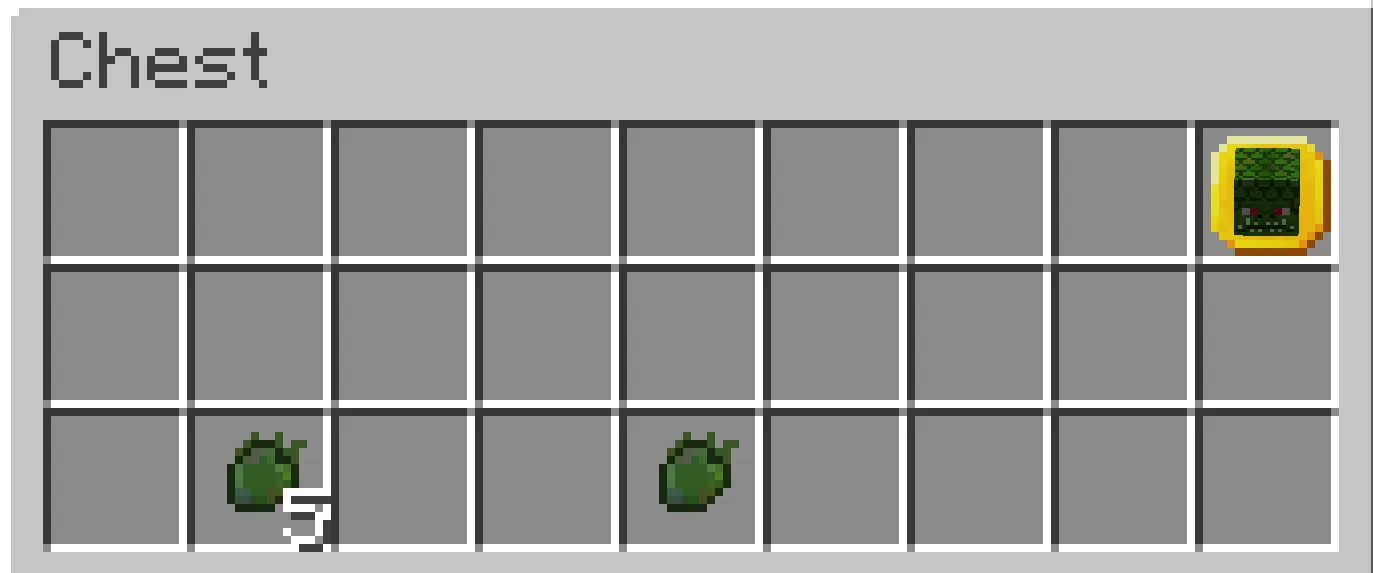
After killing the Naga, it drops a trophy and Naga Scales.
Progression System
⚠ Important! Advancements are the "key" to subsequent bosses.
If you haven’t defeated the previous boss, you cannot access the next one.
The Second Boss – The Twilight Lich
How to Find the Lich?
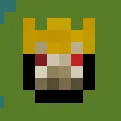
The Lich’s location is marked by a special icon on the Magic Map.
When you arrive, you’ll discover the majestic Lich’s castle.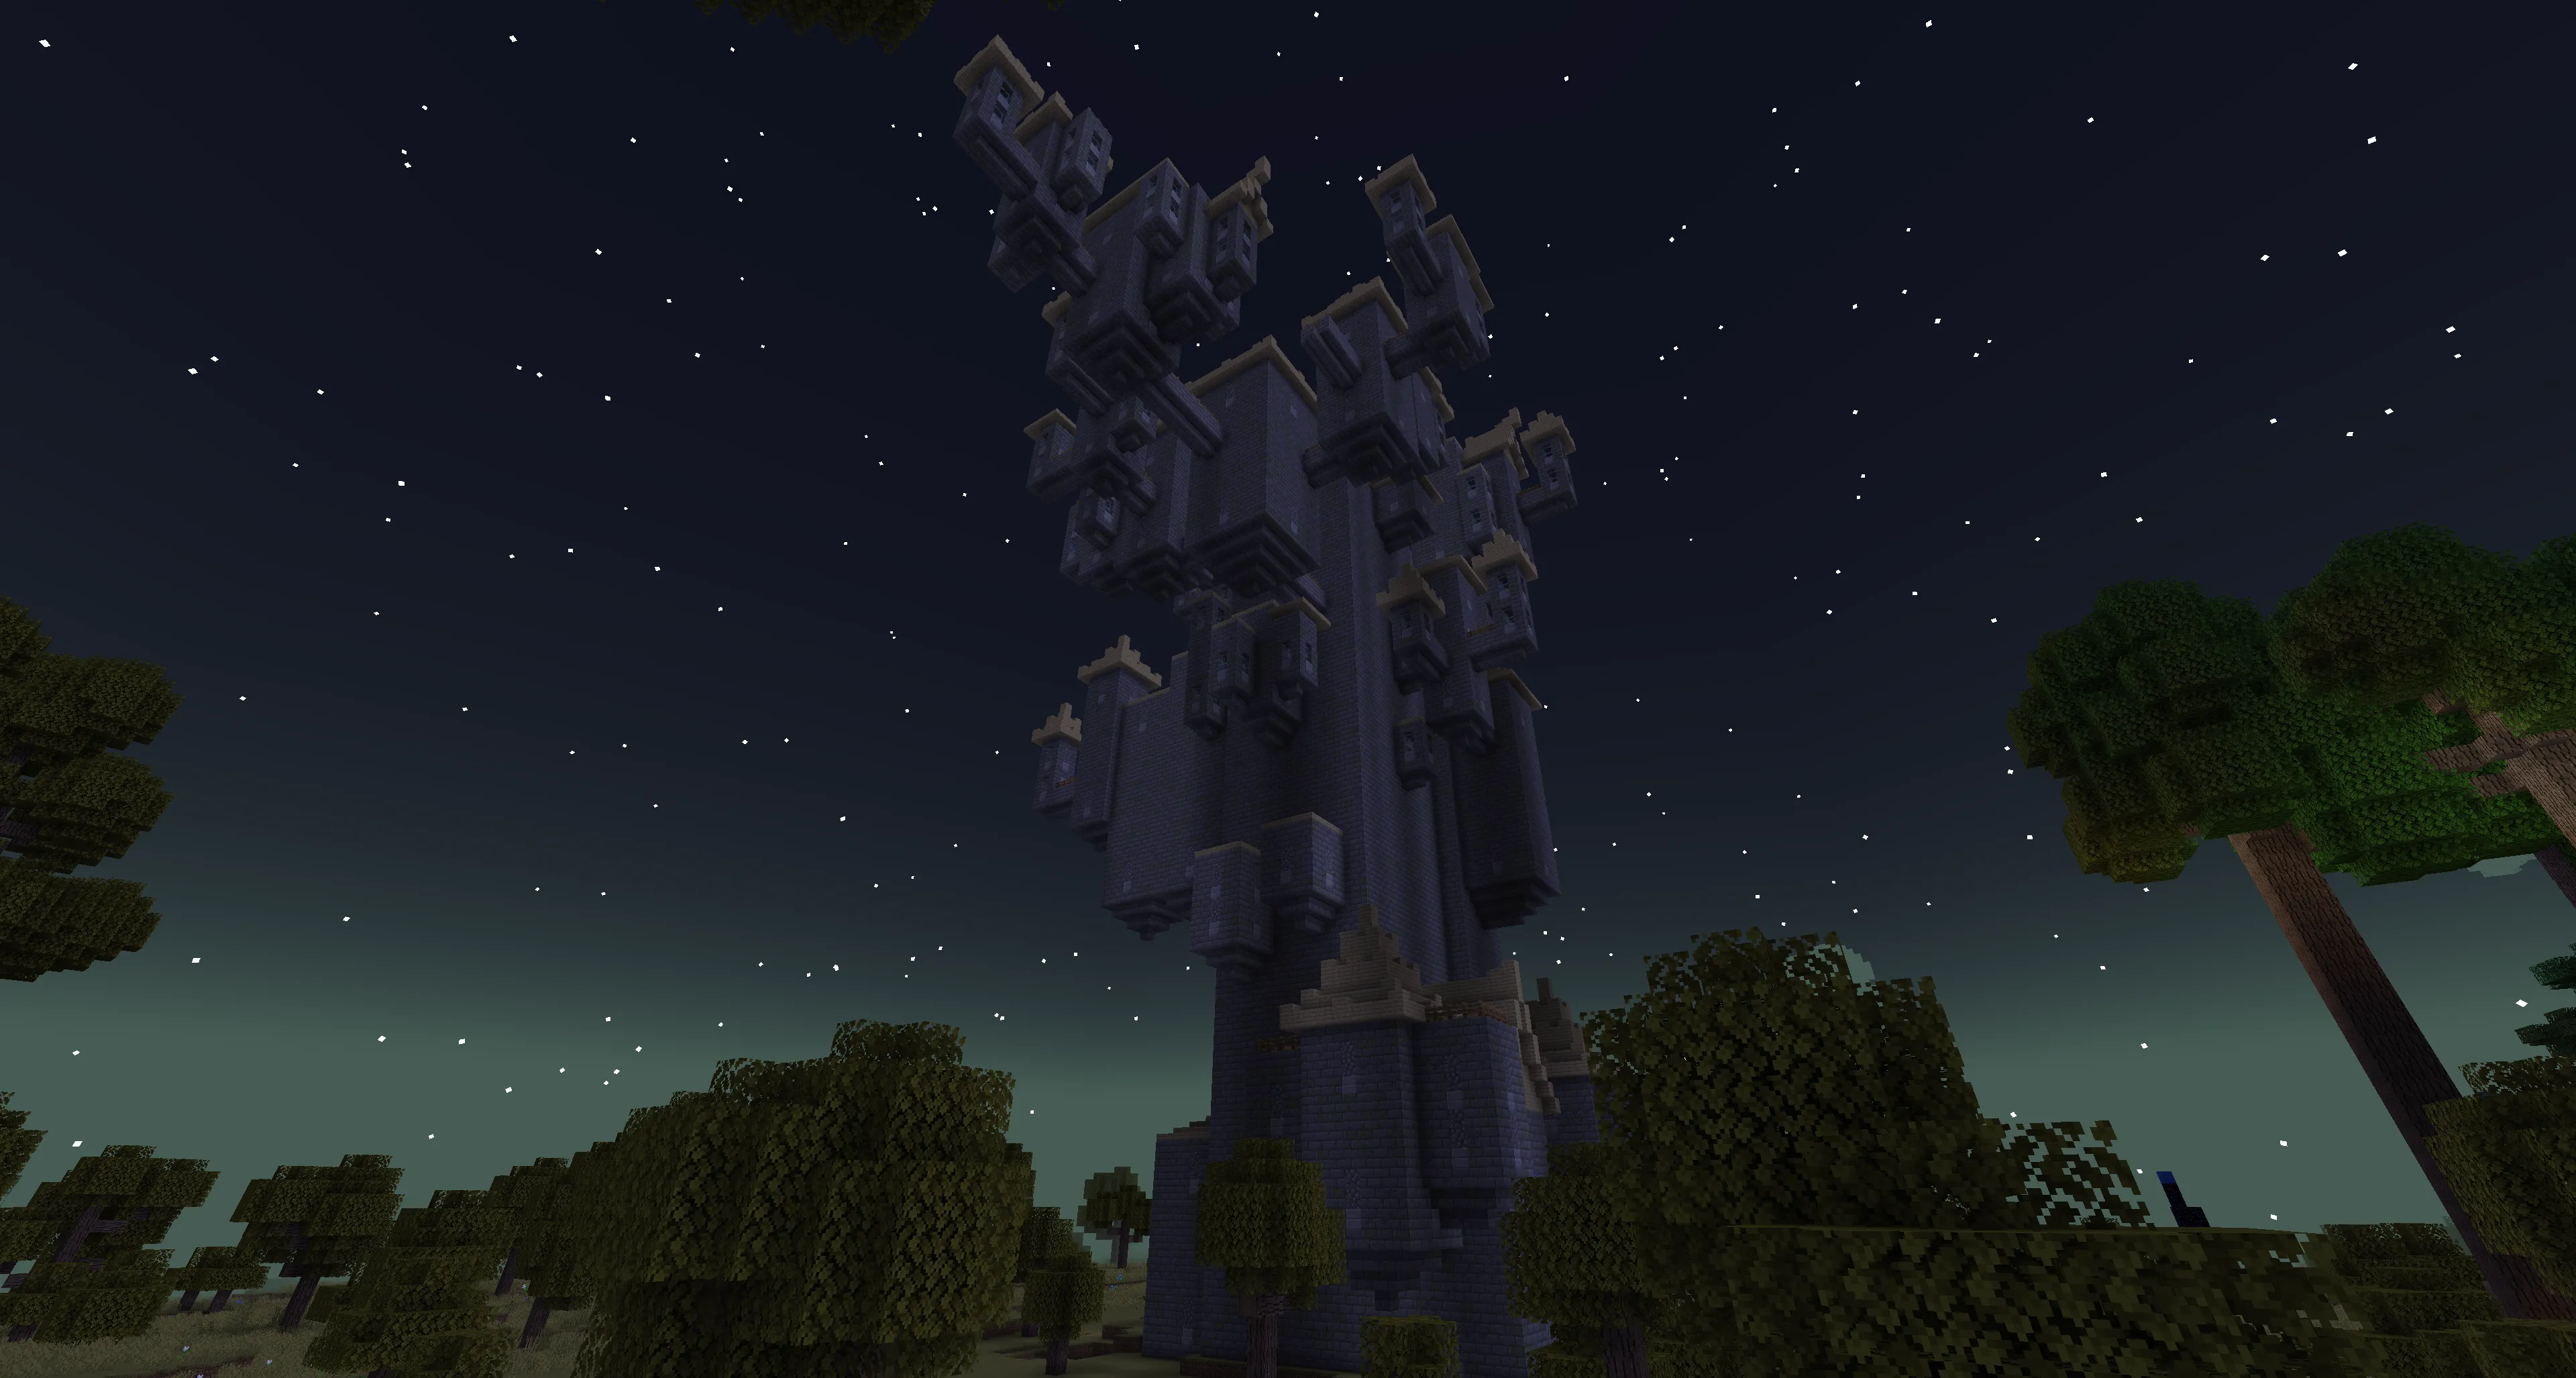 How to get inside?
There is NO official entrance, so you’ll need to break in. Inside, you’ll find a spiral staircase leading to the top floor — that’s your destination.
However, reaching the top won’t be easy:
- The higher you go, the more mobs you encounter.
- There are many mob spawners and broken staircases — be careful.
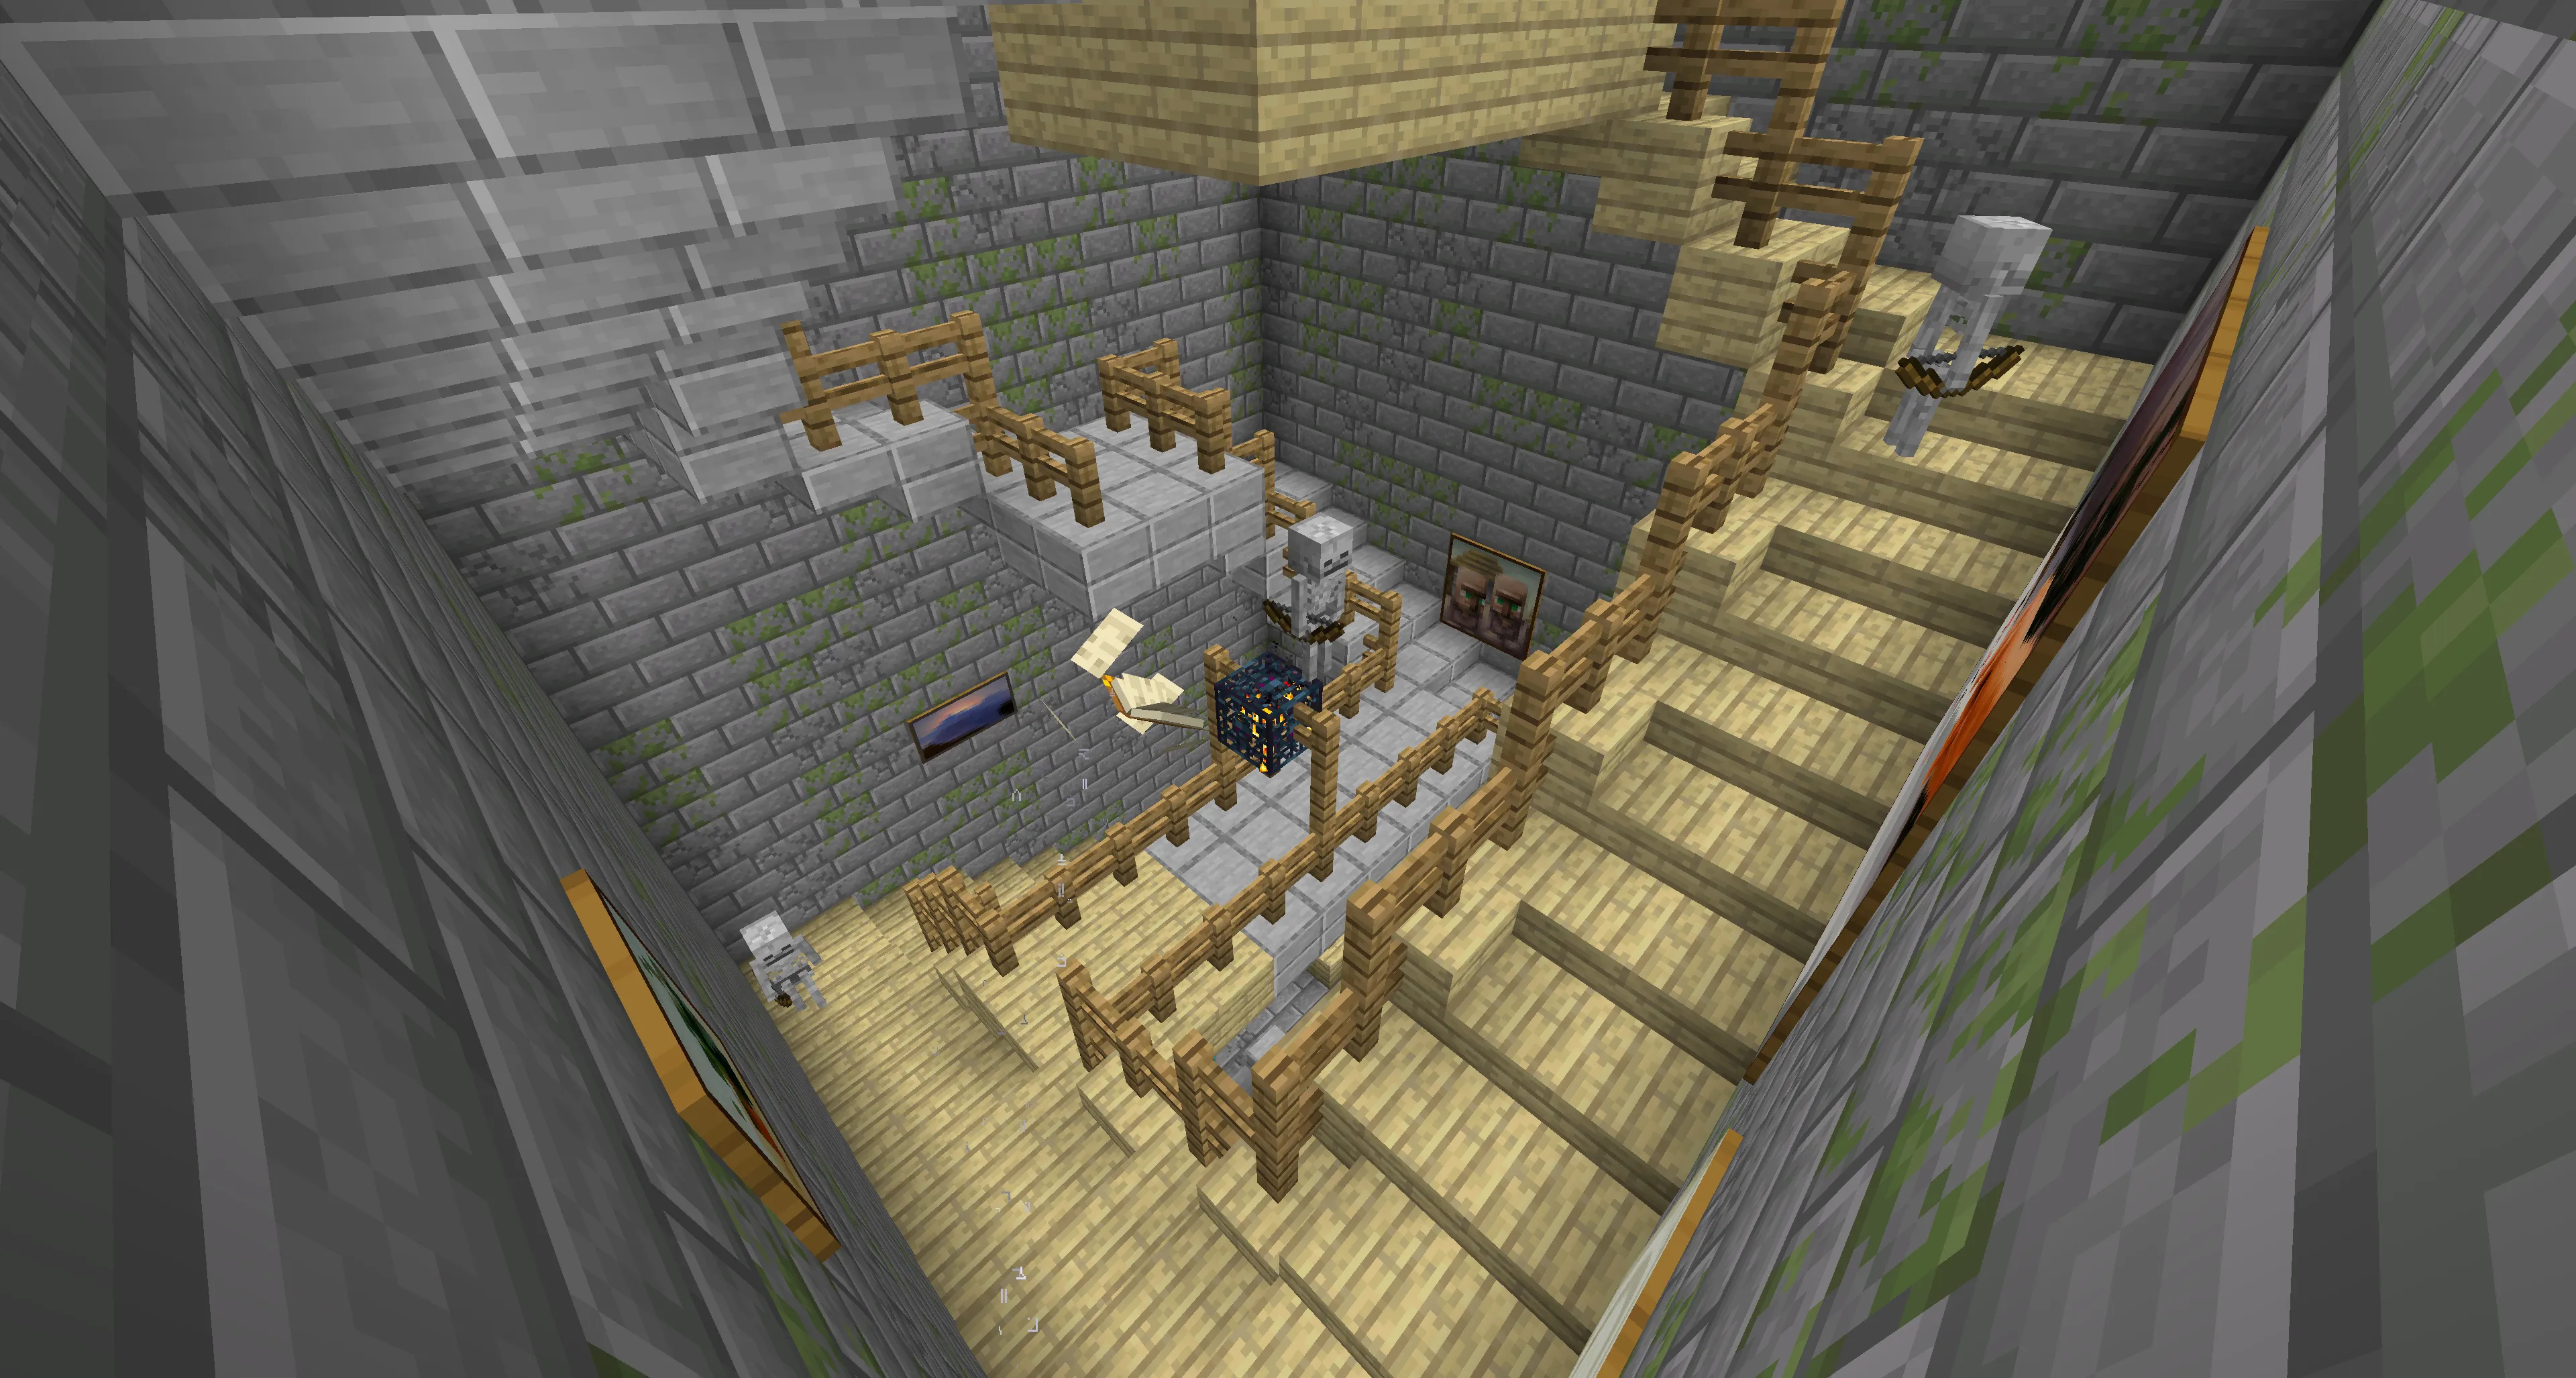
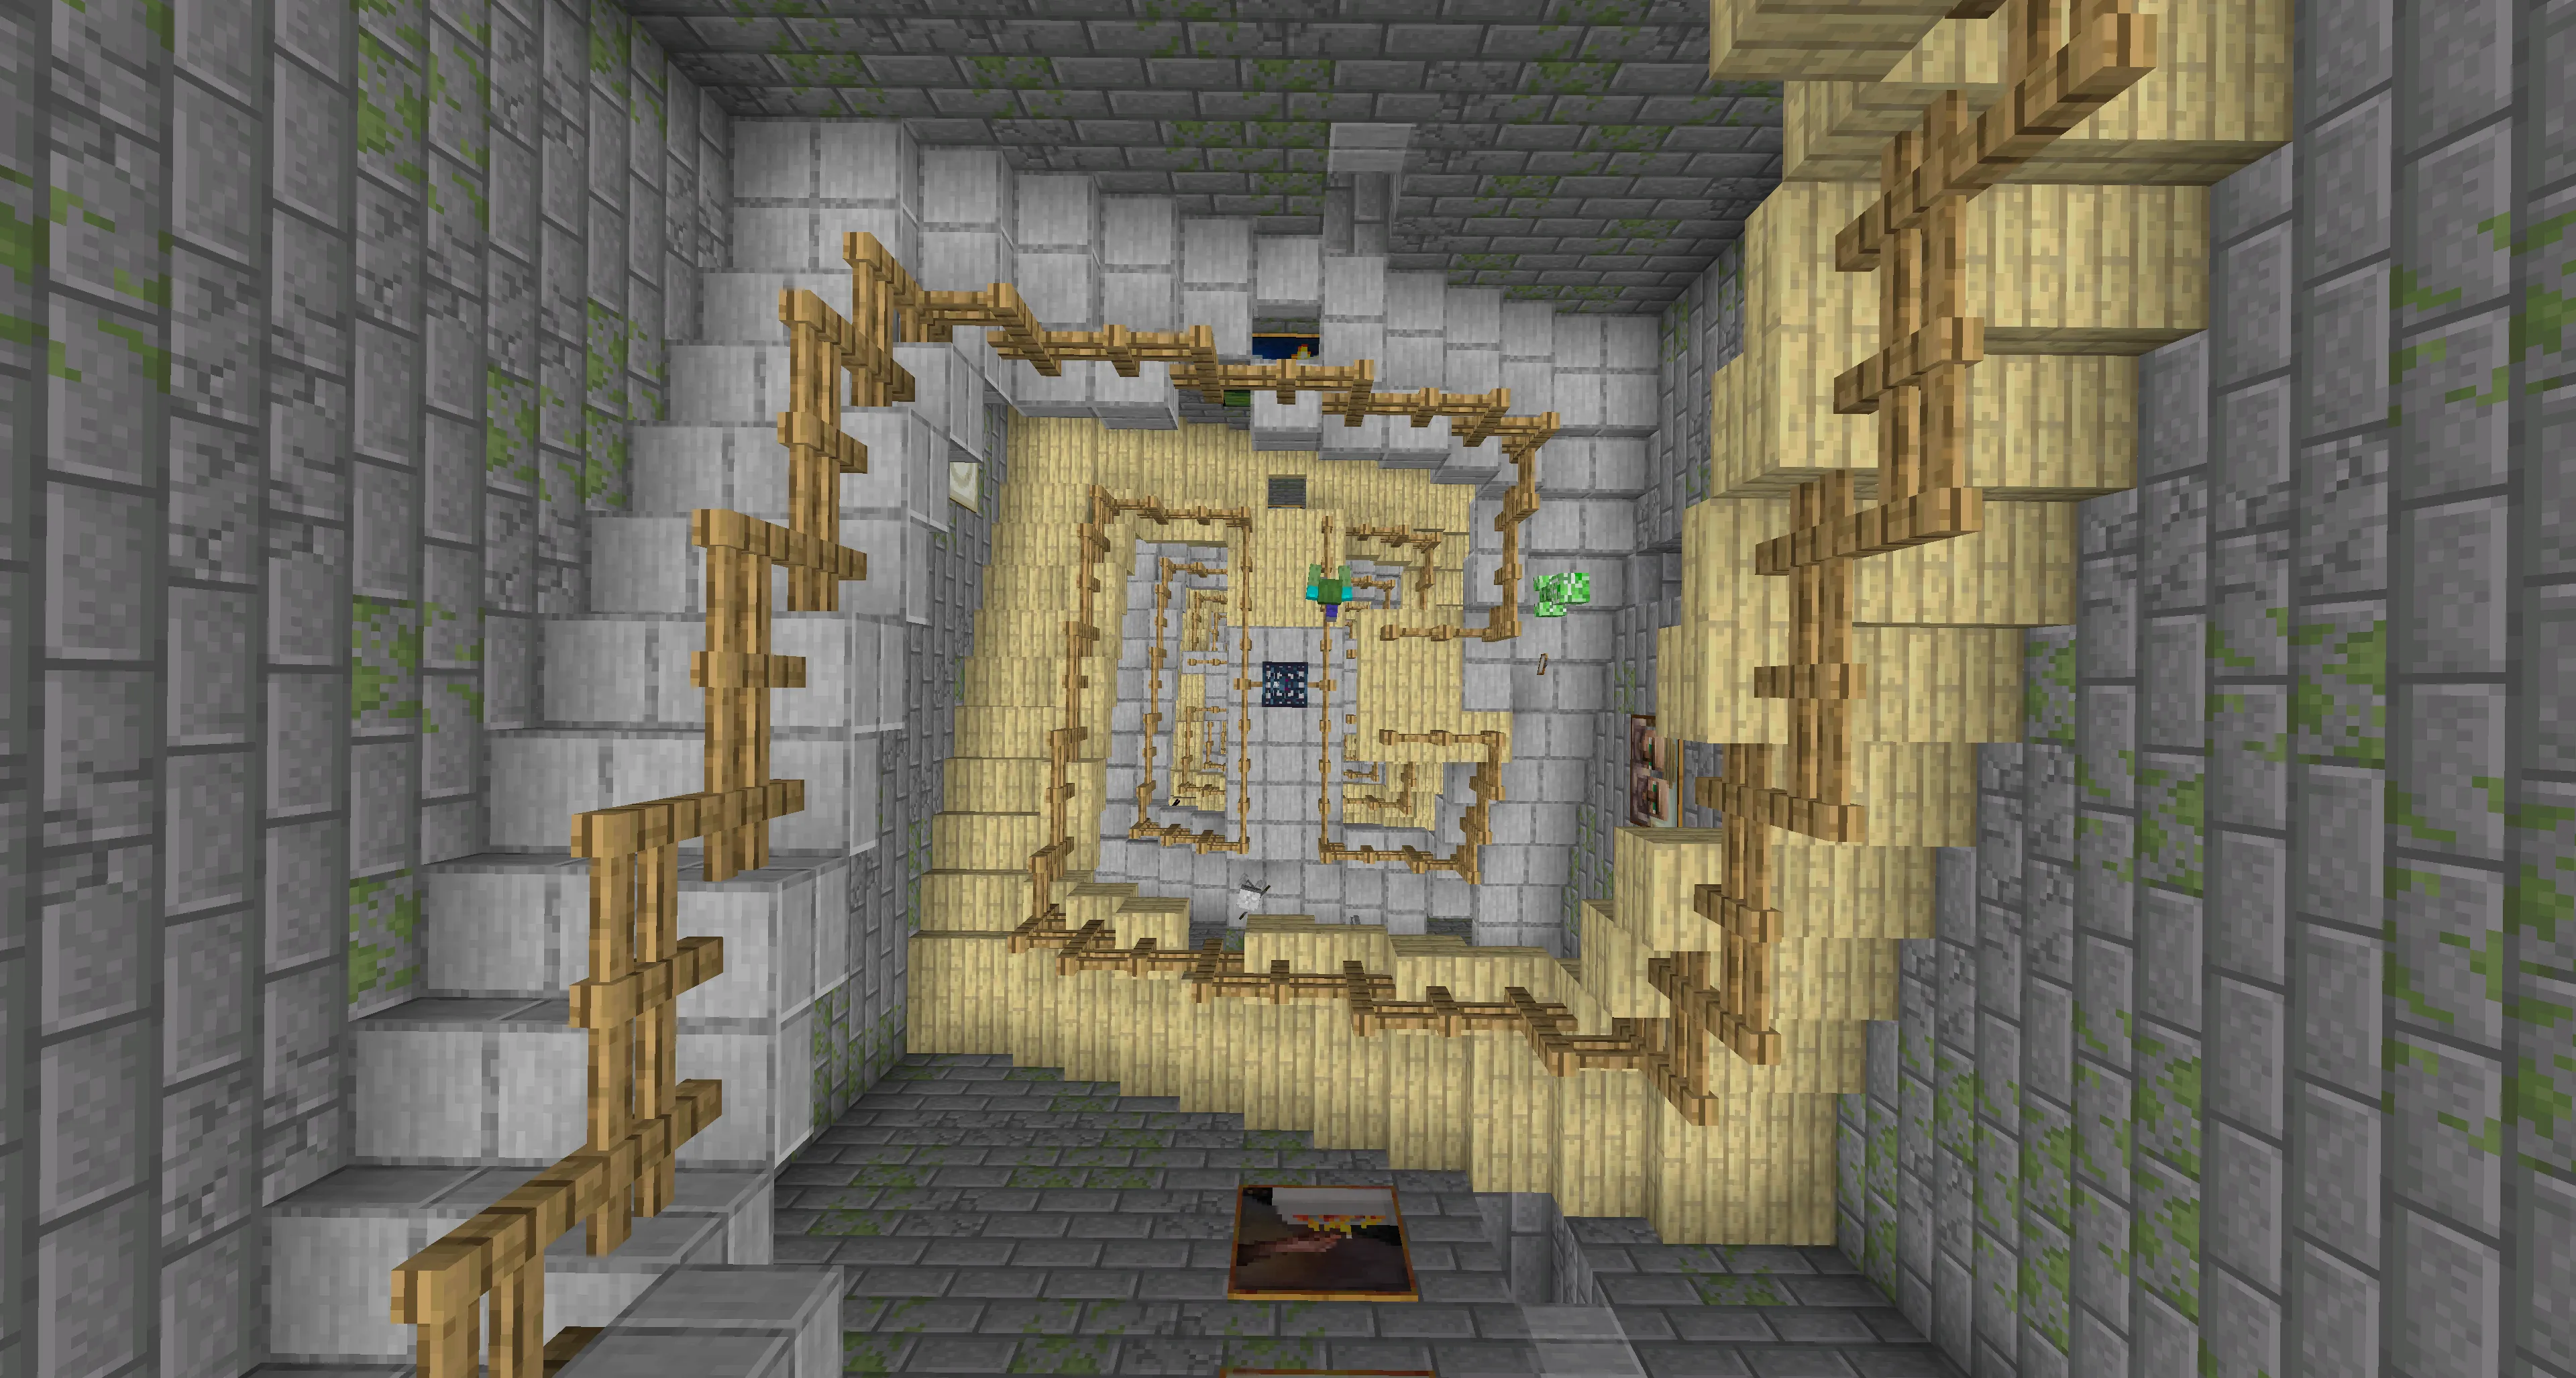 (The screenshots are bright because of a Night Vision potion.)
Preparing for the Fight
Before entering the Lich’s room, be prepared — he’s much harder than the Naga.
As soon as you step in, the boss instantly spawns along with two minions.
How to Defeat the Lich?
The Lich has protective shields that prevent you from dealing damage to him.
How to break the shields?
- The Lich and his minions throw magical pearls at you.
- You must reflect the pearl back at the Lich — each successful reflection removes one shield.
- The Lich has 5 shields total.
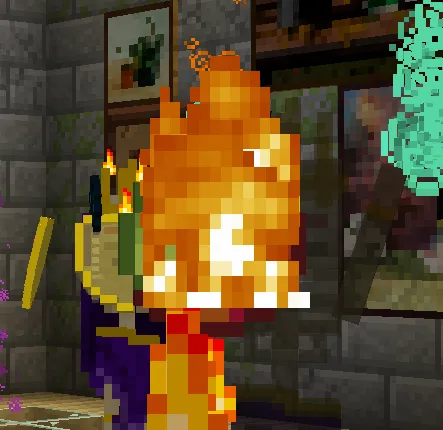
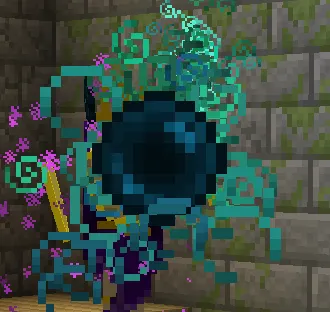 He also attacks with fireballs that deal significant damage on impact:
Final Phase of the Fight
After all shields are gone, the Lich summons zombies.
To speed up the battle, don’t waste time on the zombies; go straight for the Lich.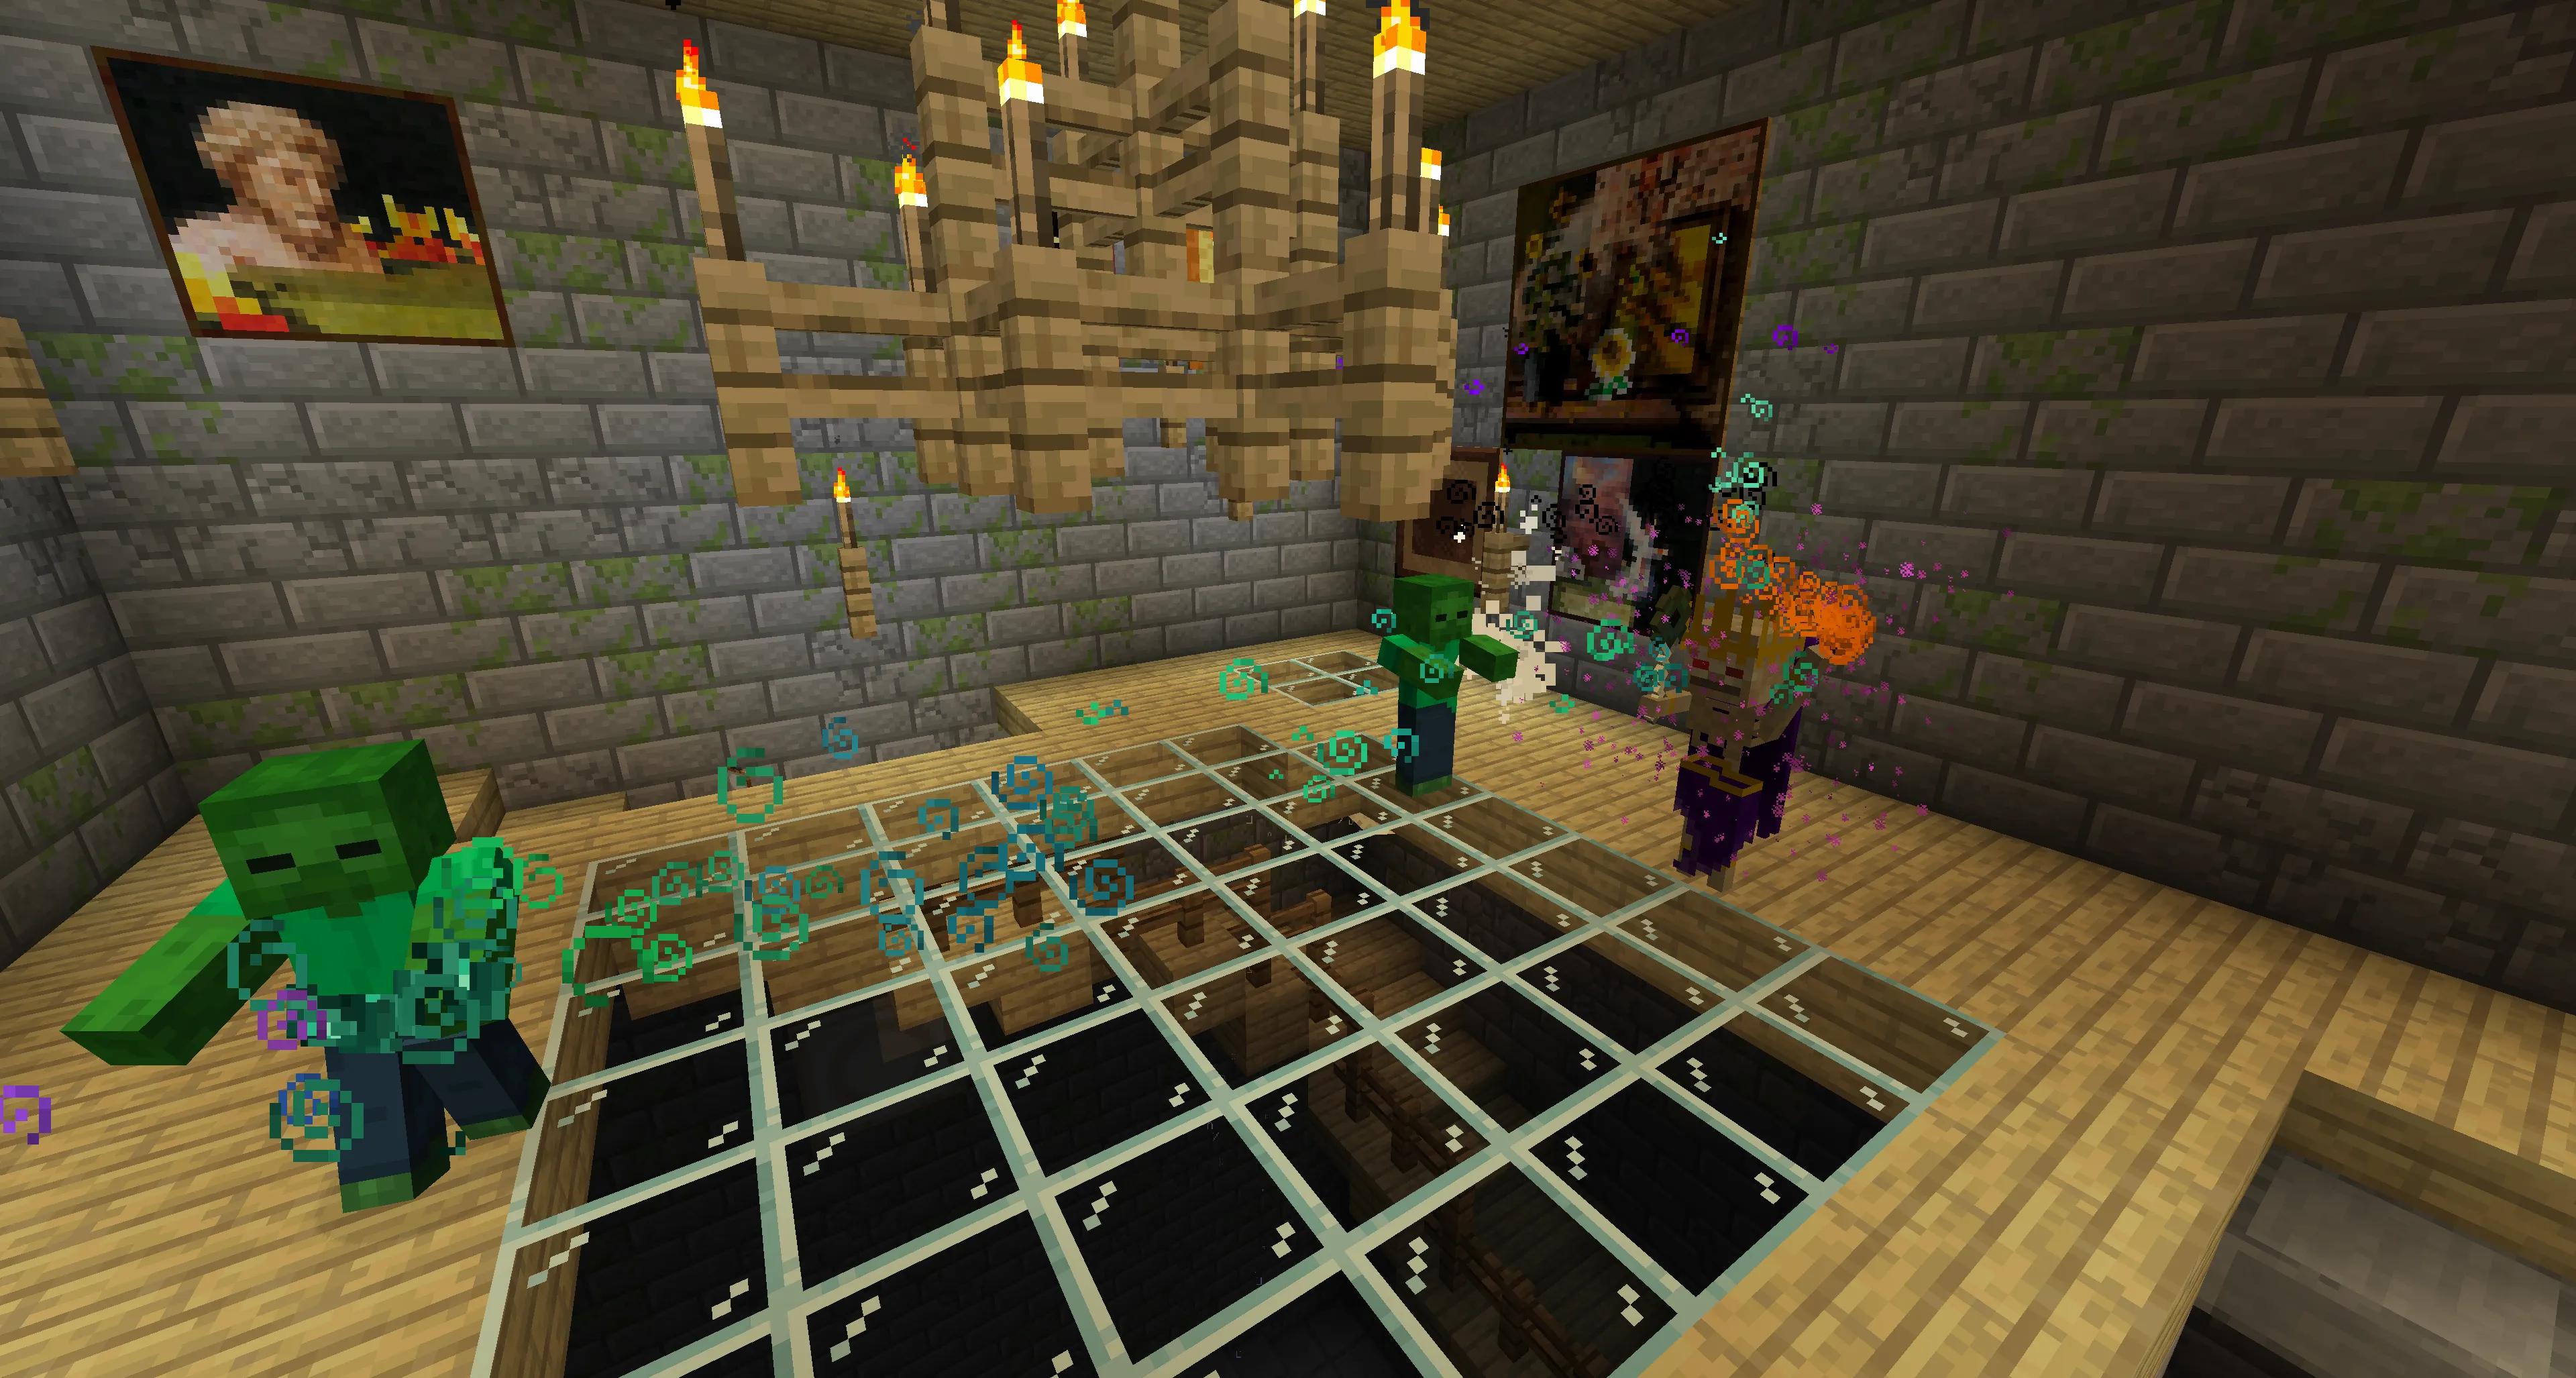
Reward for Victory
- Lich Trophy
- One of Four Magical Scepters (random drop)
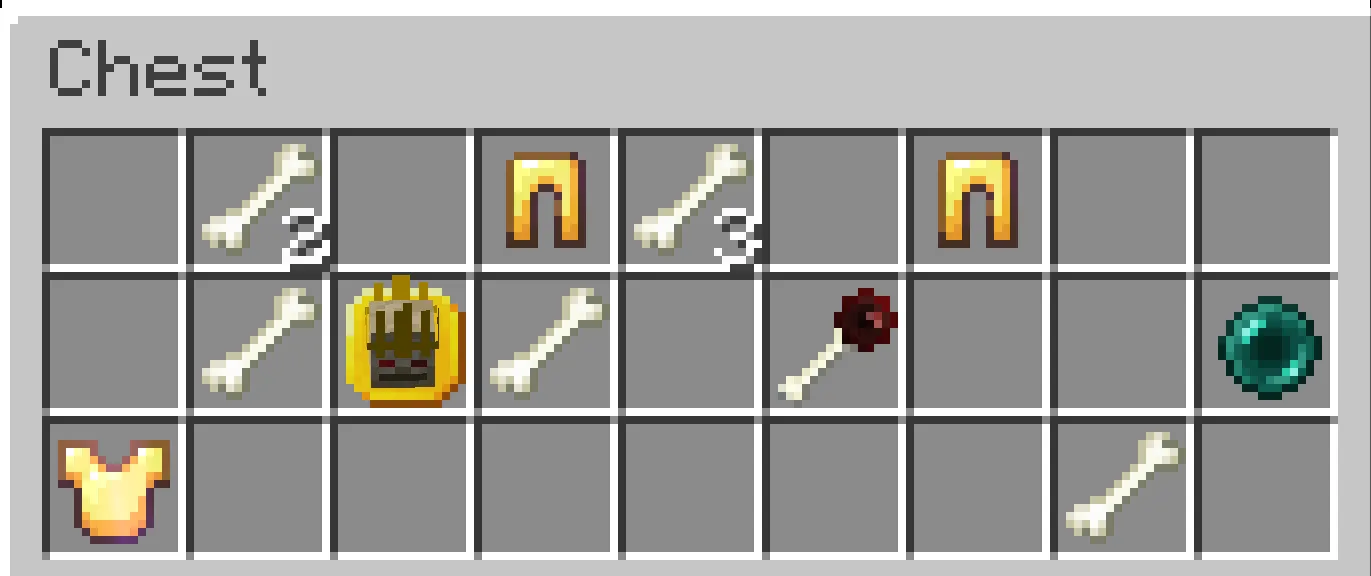 After winning, you get an advancement that unlocks the next boss.
Types of Lich Scepters
1. Scepter of Twilight
- Has 99 charges.
- Shoots magic pearls dealing 3 hearts of damage.
![]()
2. Zombie Scepter
- Has 9 charges.
- Each use summons one zombie minion that fights for you.
- The summoned zombie lives for 60 seconds.
![]()
3. Scepter of Life Draining
- Has 99 charges.
- Hold right-click on an enemy to drain their life.
- Restores 0.5 hearts and a bit of hunger, dealing the same damage to the target.
![]()
4. Scepter of Fortification
- Has 9 charges.
- Upon use, creates 5 shields similar to the Lich’s defense.
- Goes on 60-second cooldown.
- Every 12 seconds, one shield vanishes.
- Each shield absorbs one hit before disappearing.
![]()
The Third Boss – The Minoshroom (Minotaur King)
How to Find the Maze?
Minotaur Mazes are easy to spot even without a map. They appear on the edges of swamps, while the center of the swamp contains the next boss, which we’ll discuss later.
On the map, a maze looks like this:
When you arrive, you’ll see a small hill with a maze entrance.
Tip: bring paper (at least 8 sheets, better 16).
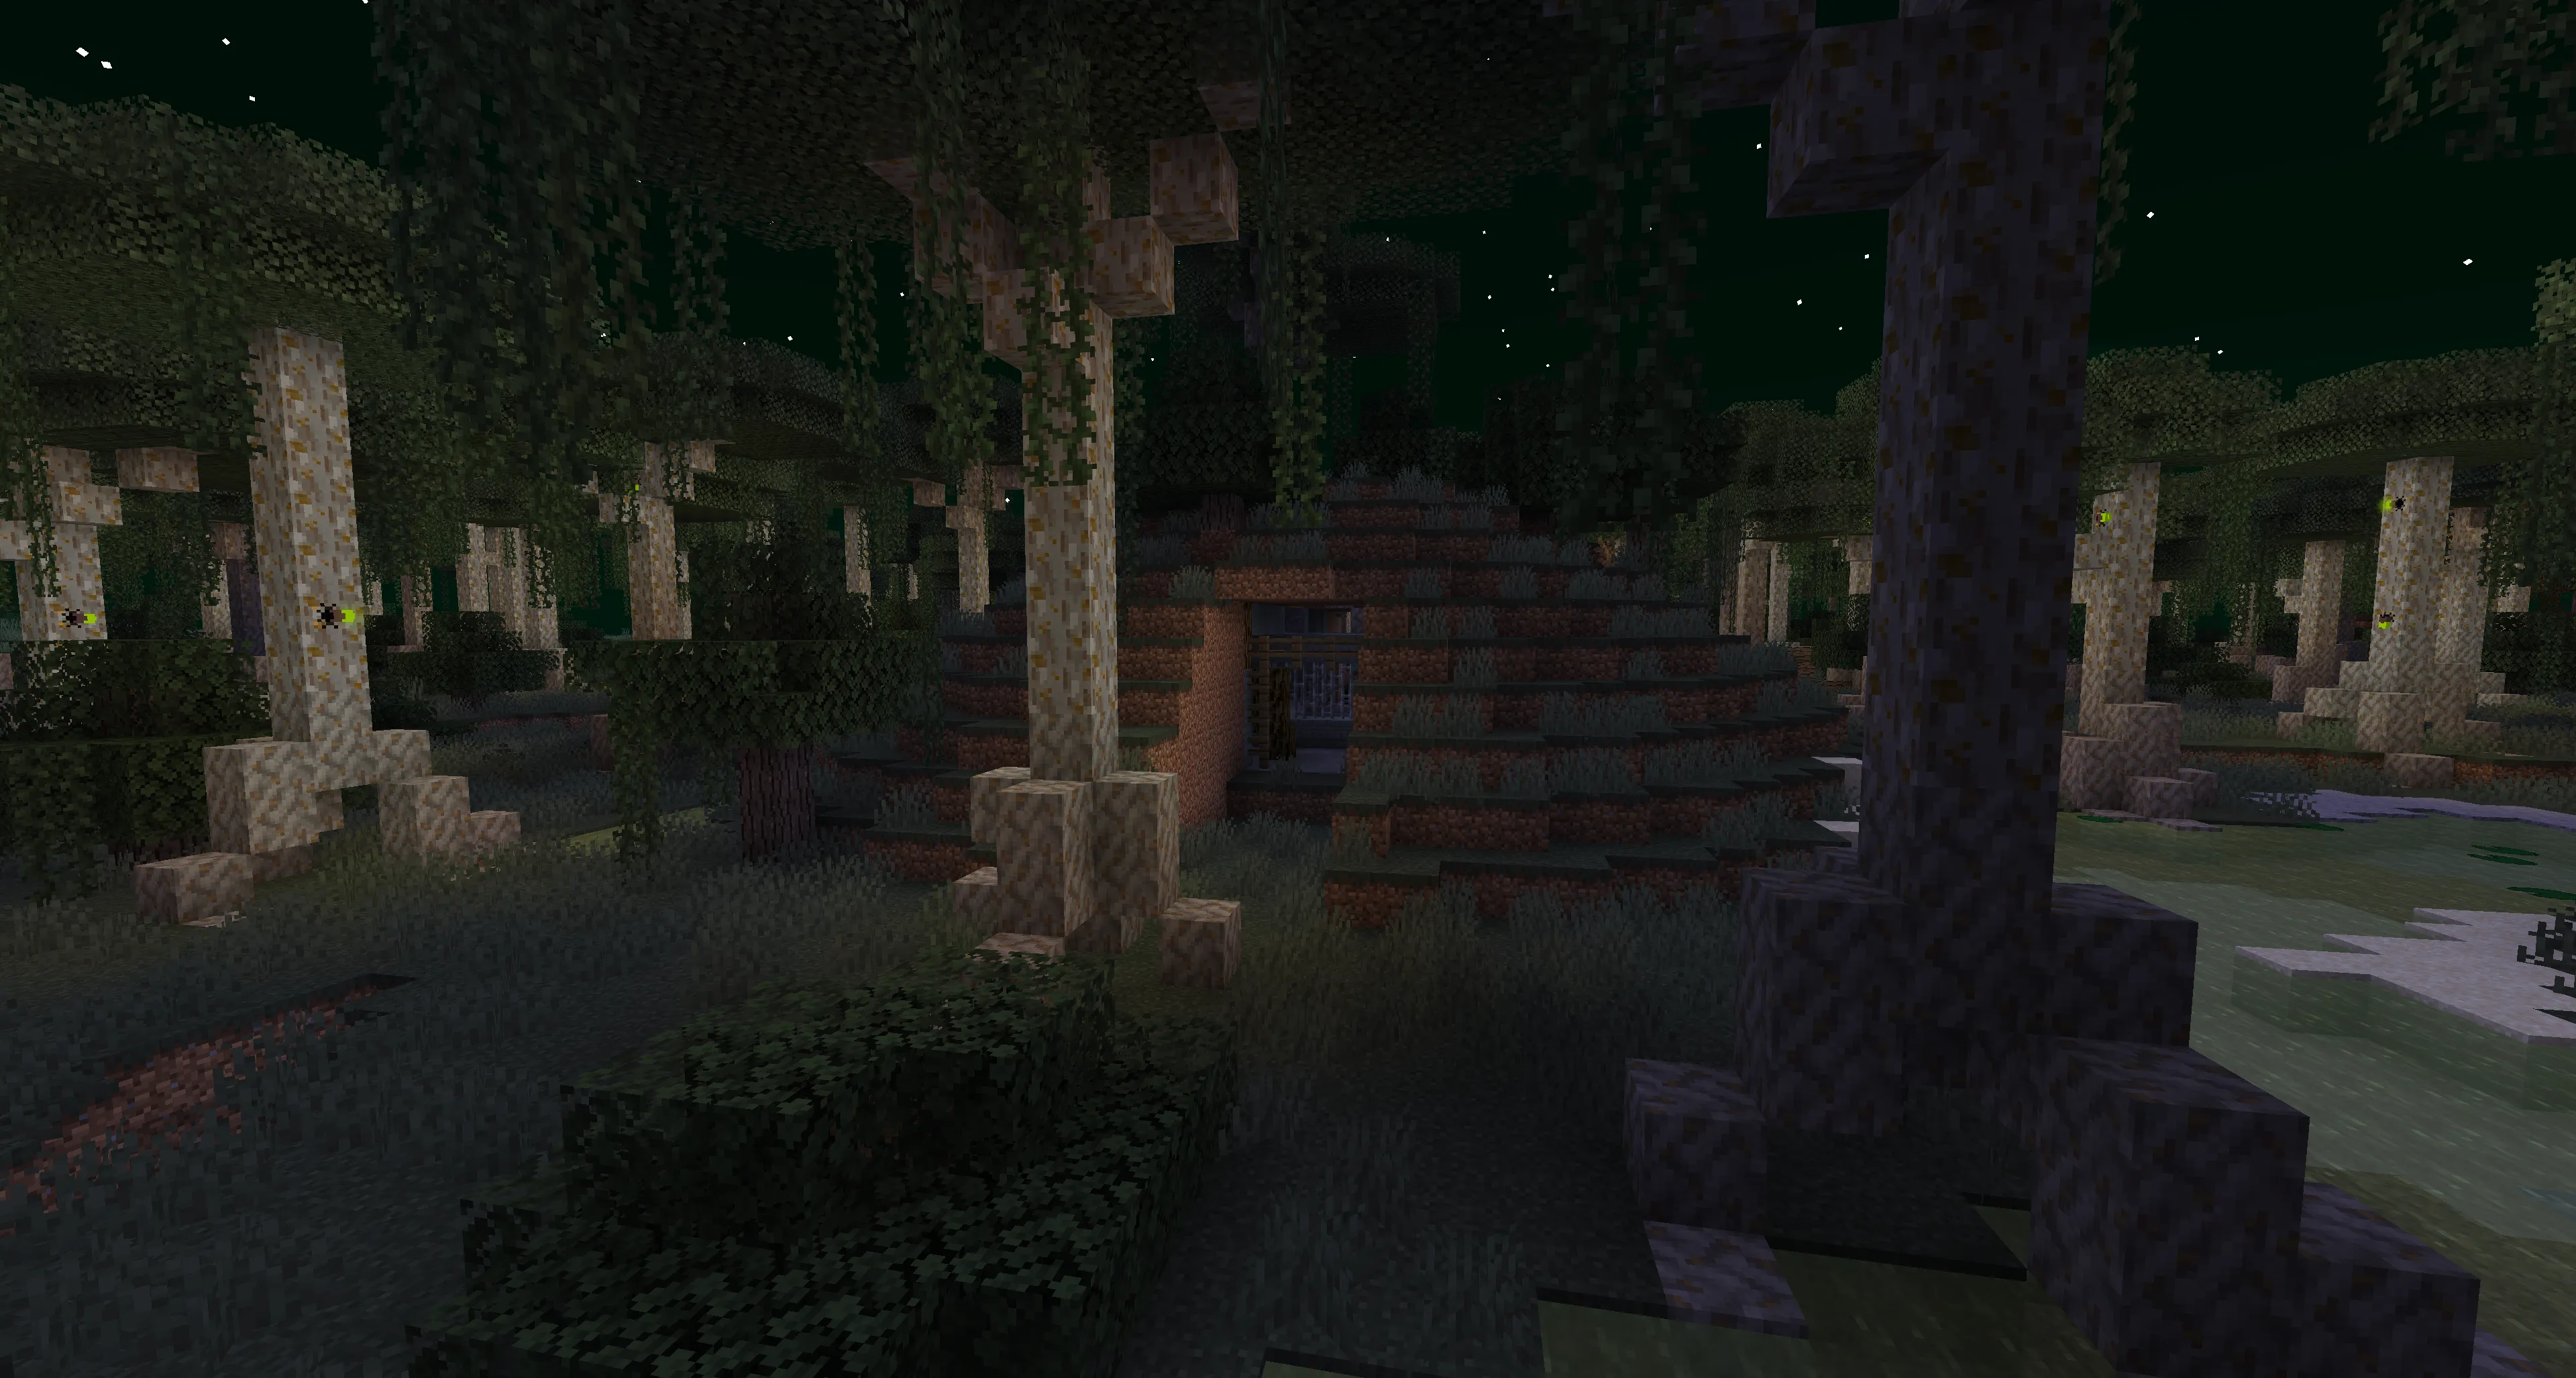 Before descending, be sure to note down or remember the entrance coordinates — that will be your exit.
The First Level of the Maze
Once inside, you’ll see several corridors — choose any.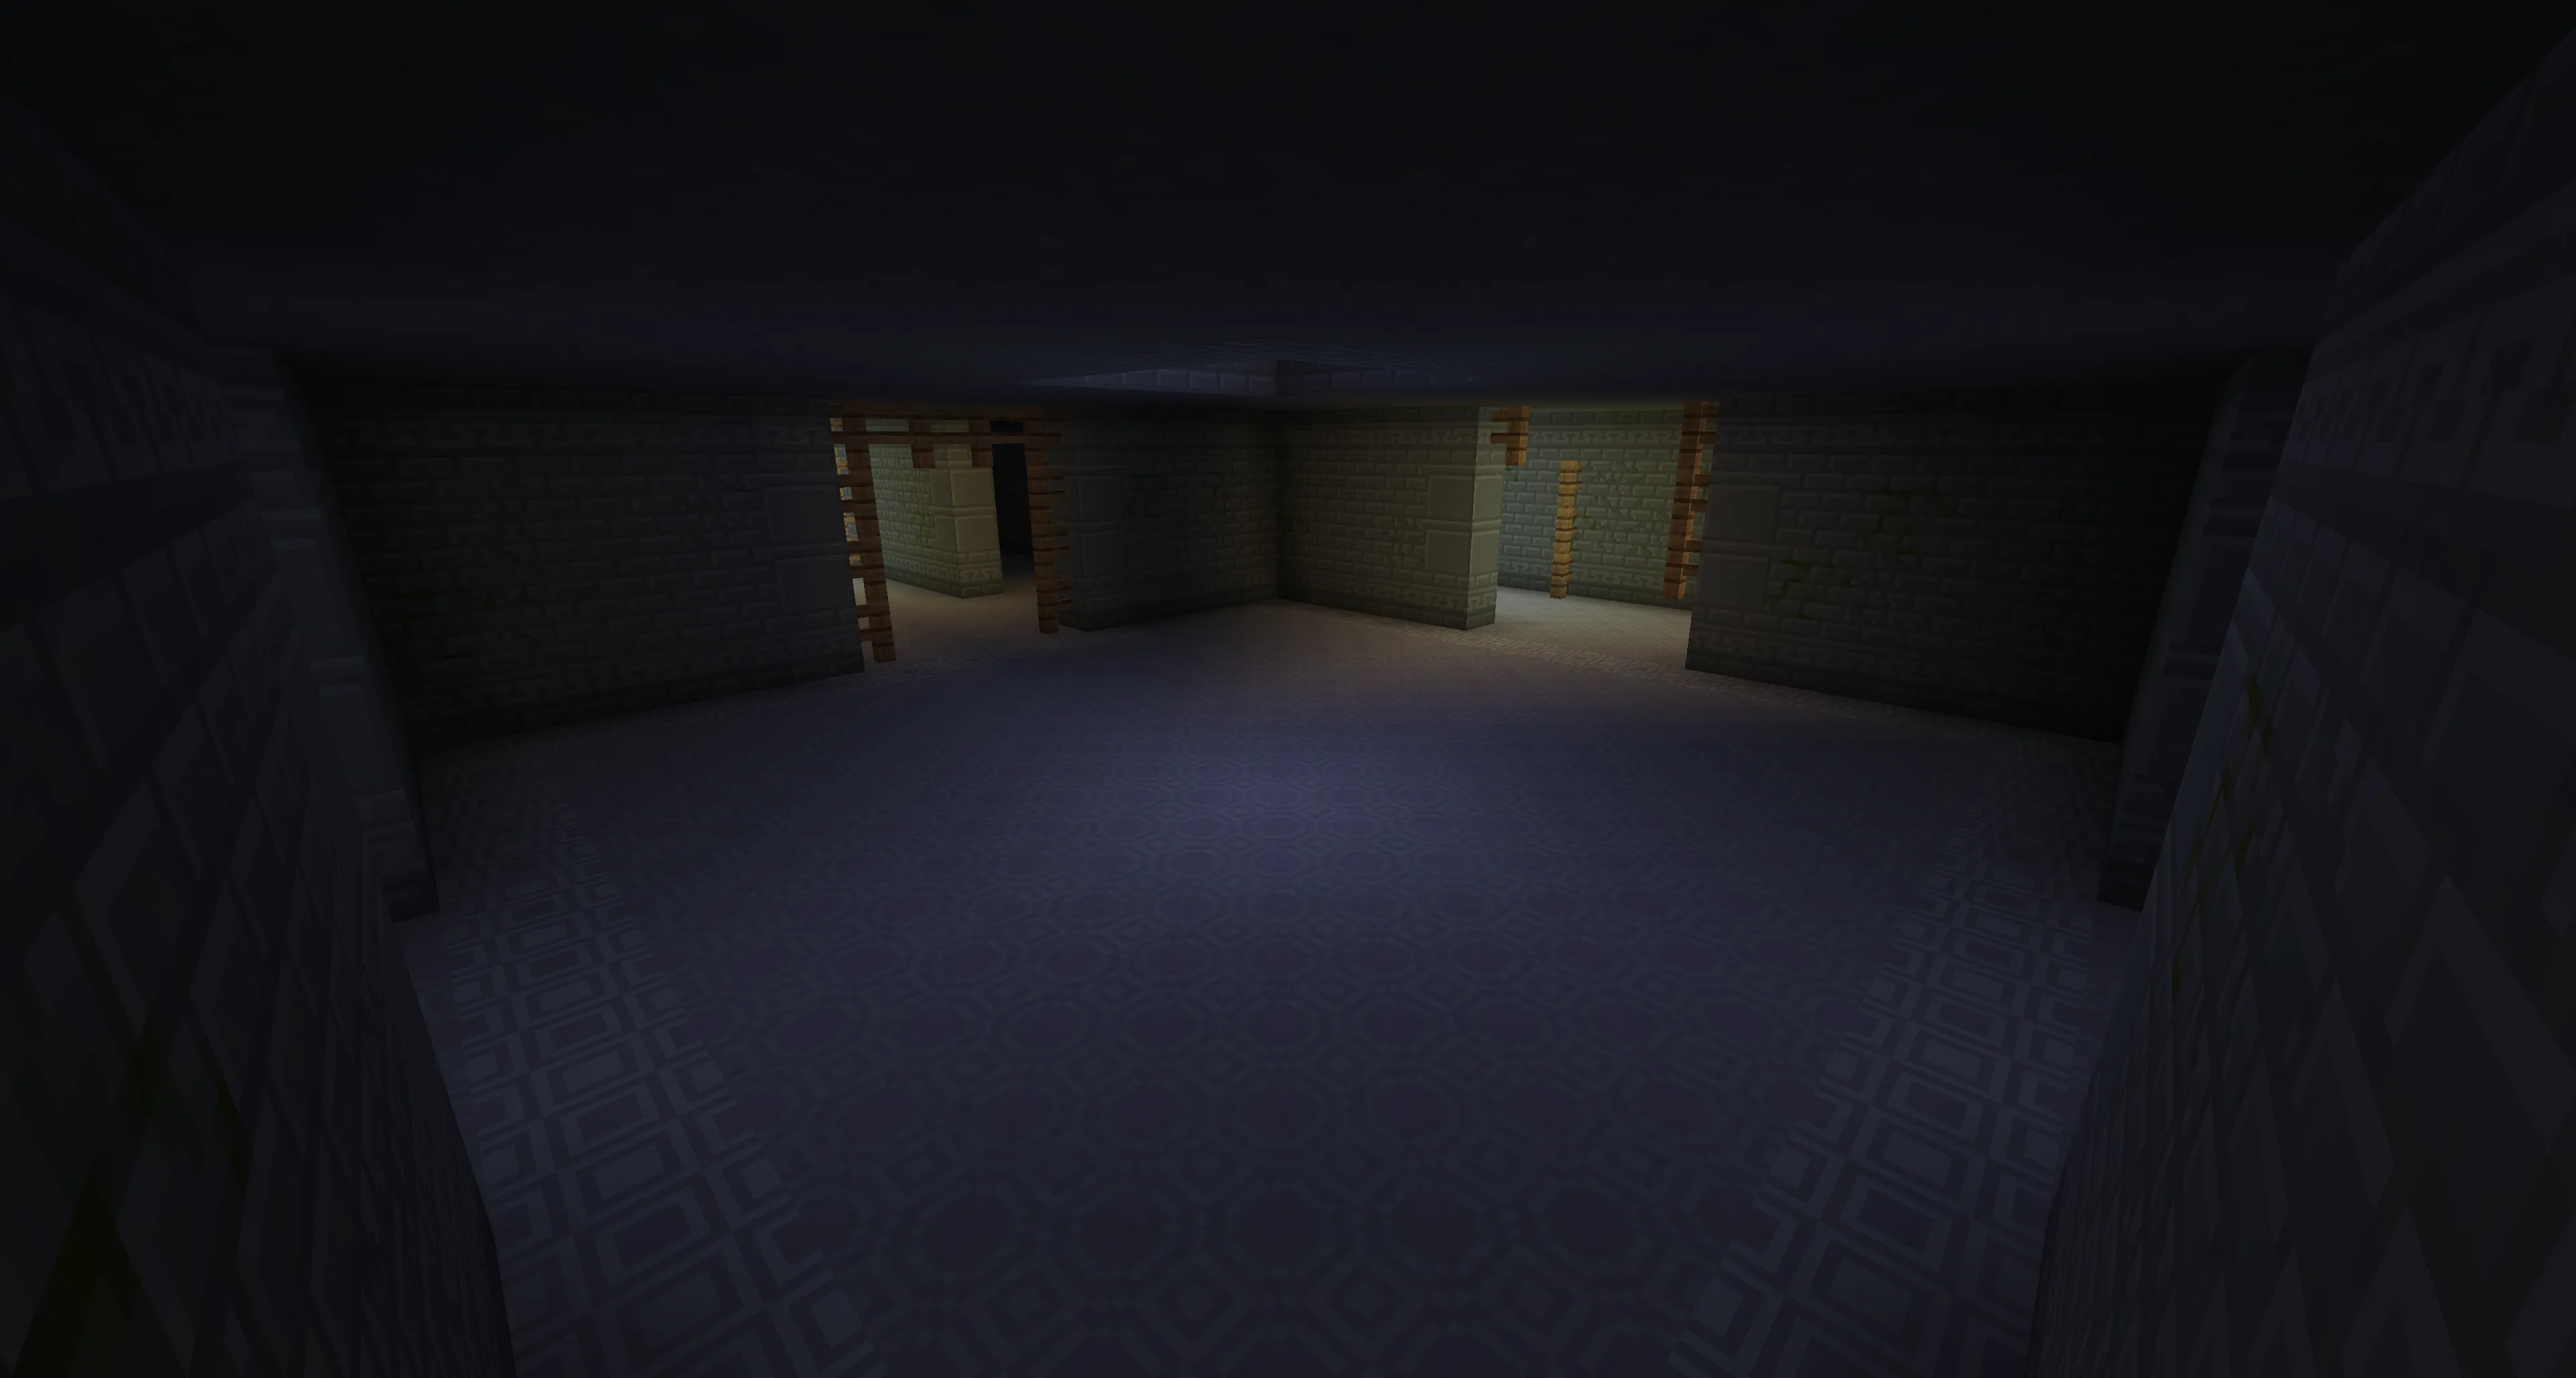 On the first level, you can find:
- Chests with resources.
- Spawners for minotaurs and other mobs.
- Labyrinth Slimes, which drop Charm of Keeping I.
- Minotaurs, which can drop a Maze map focus.
The Maze Map Focus is a valuable item because you can craft a Maze Map from it, which works like the Magic Map.
Descending to the Second Level
The first level is just the beginning. As you progress, you’ll find a room that leads down to the second and final level.
This is what the descent looks like: The Second Level of the Maze
The same rules apply:
- Look for chests, resources, and spawners.
- Obtain the Maze Map Focus and craft a Maze Map.
Your main goal is to find the boss room.
Battle with the Minoshroom (Minotaur King)
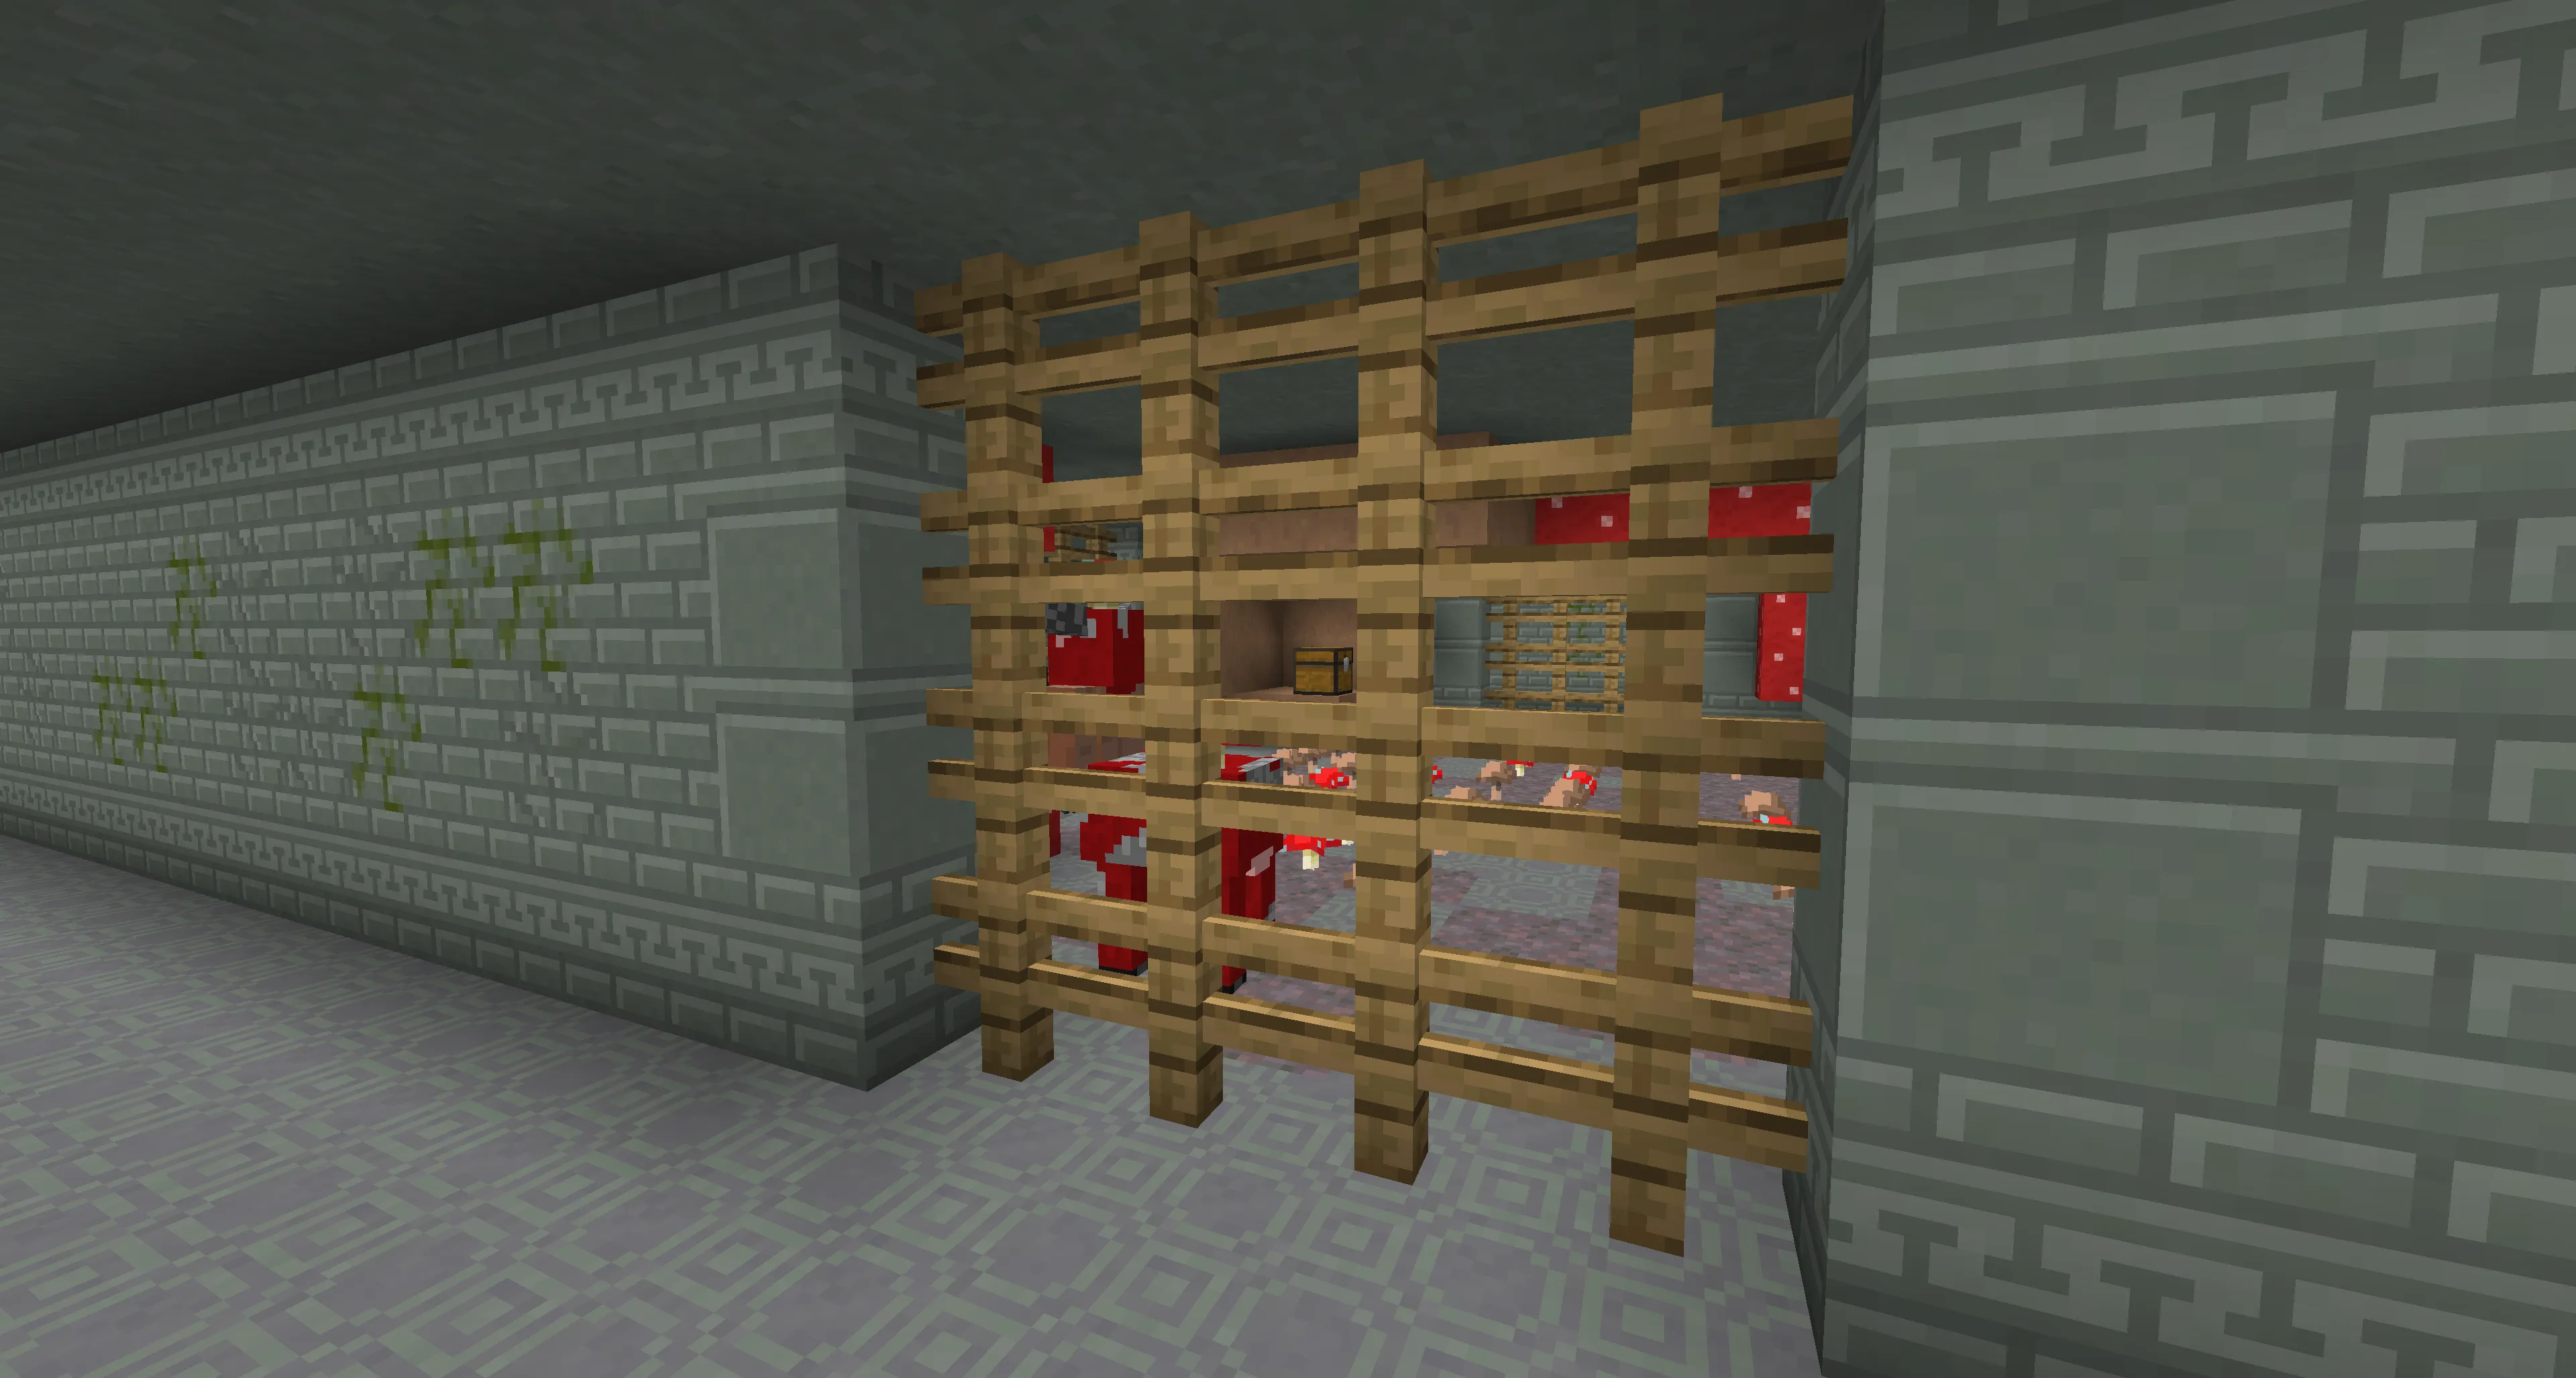
The boss room is blocked off by a wooden fence, so it’s not hard to spot.
 On the map, it’s marked like this:
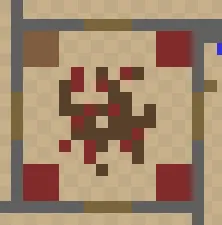
The boss hits hard, but he’s not too difficult to kill.
Reward for Victory:
- Minoshroom’s Axe (Minotaur Axe)
- Trophy
- “Meef Stroganoff” Soup
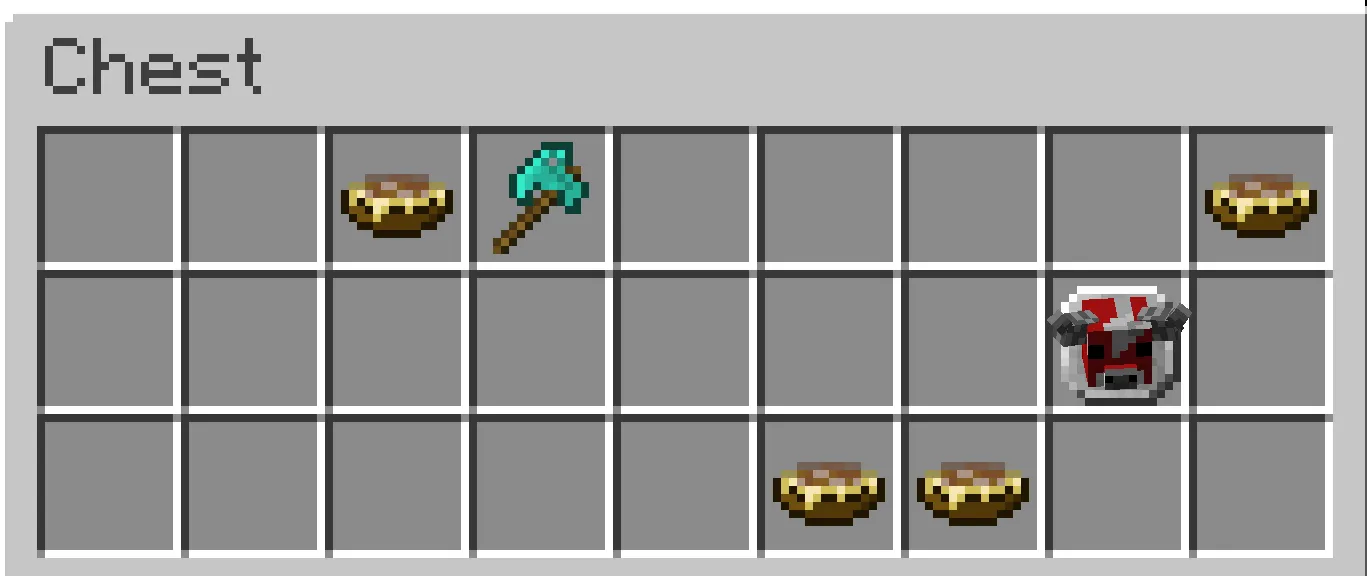 ⚠ Important! To get the advancement, you need to eat the soup.
The Minotaur Maze: Secrets and Additional Features
How to Find the Secret Room?
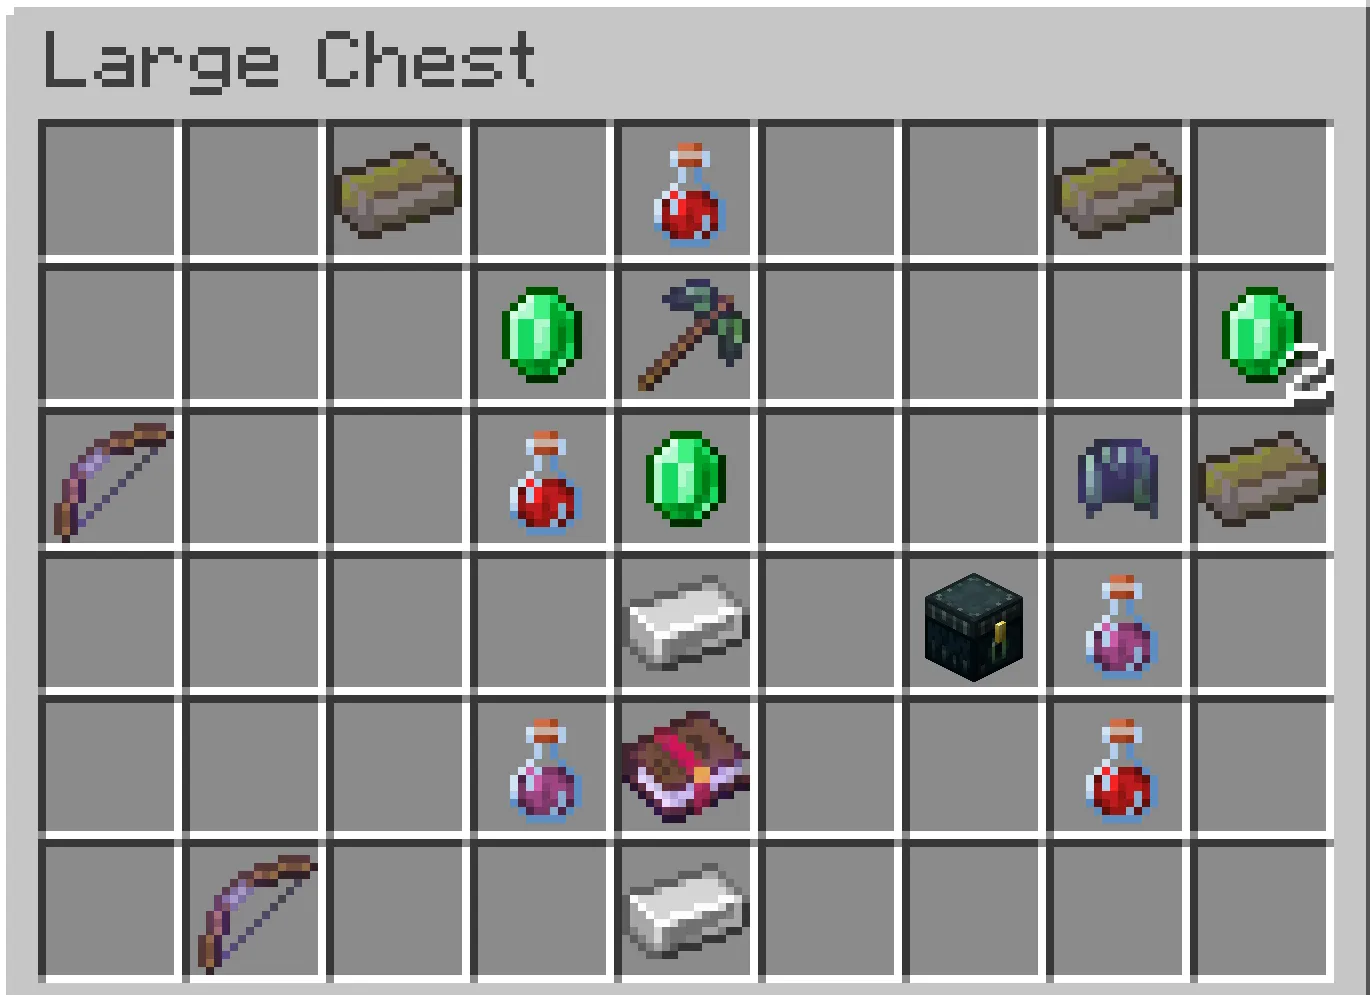
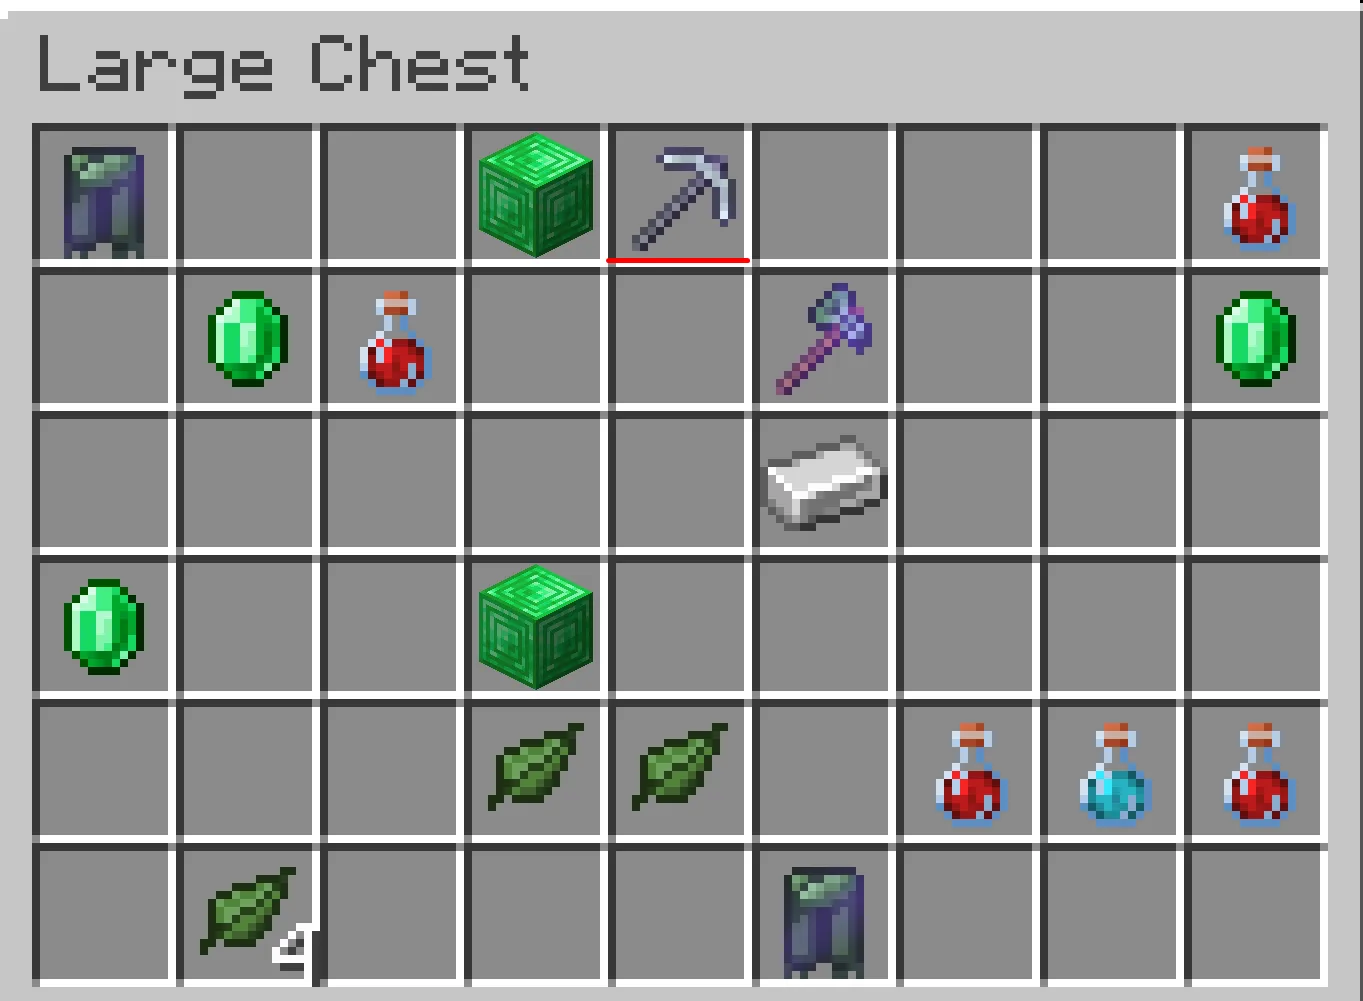
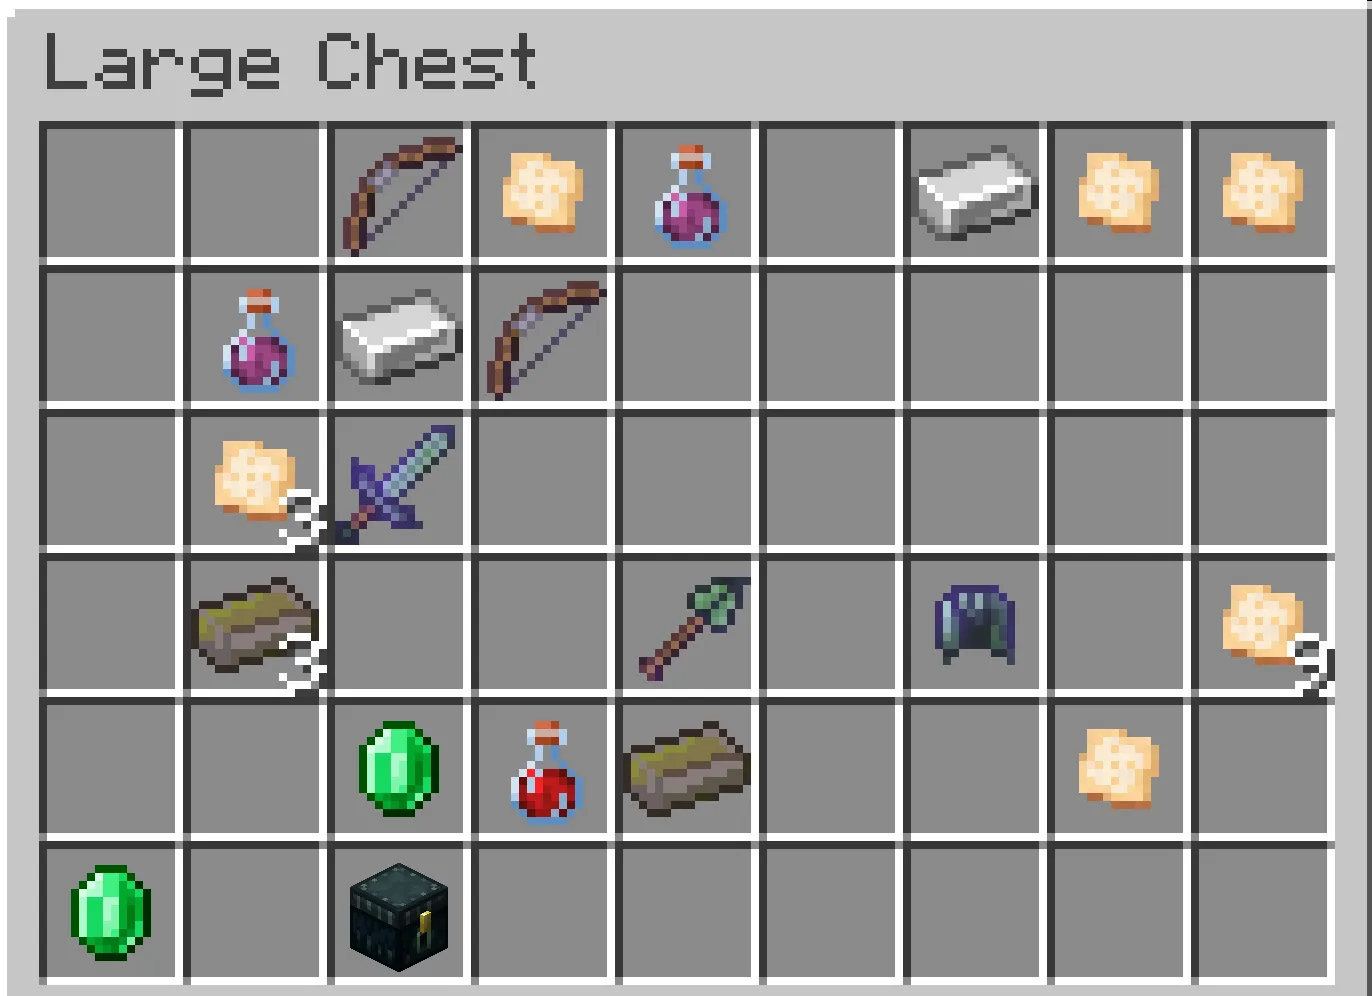
If you explored the maze using a Maze Map, you might have noticed a gray square with no entrance. This is a secret room. You can open it, but it requires some patience.
How to Get Inside?
This hidden chamber is a trap, so going straight in is unsafe.
Step 1: Preparing an Entrance
First, dig a tunnel in the center of the square 5 blocks deep.
Step 2: Disarming the Trap
At the fifth block of your tunnel, break one more block inward and remove the TNT beneath the nearest pressure plates.
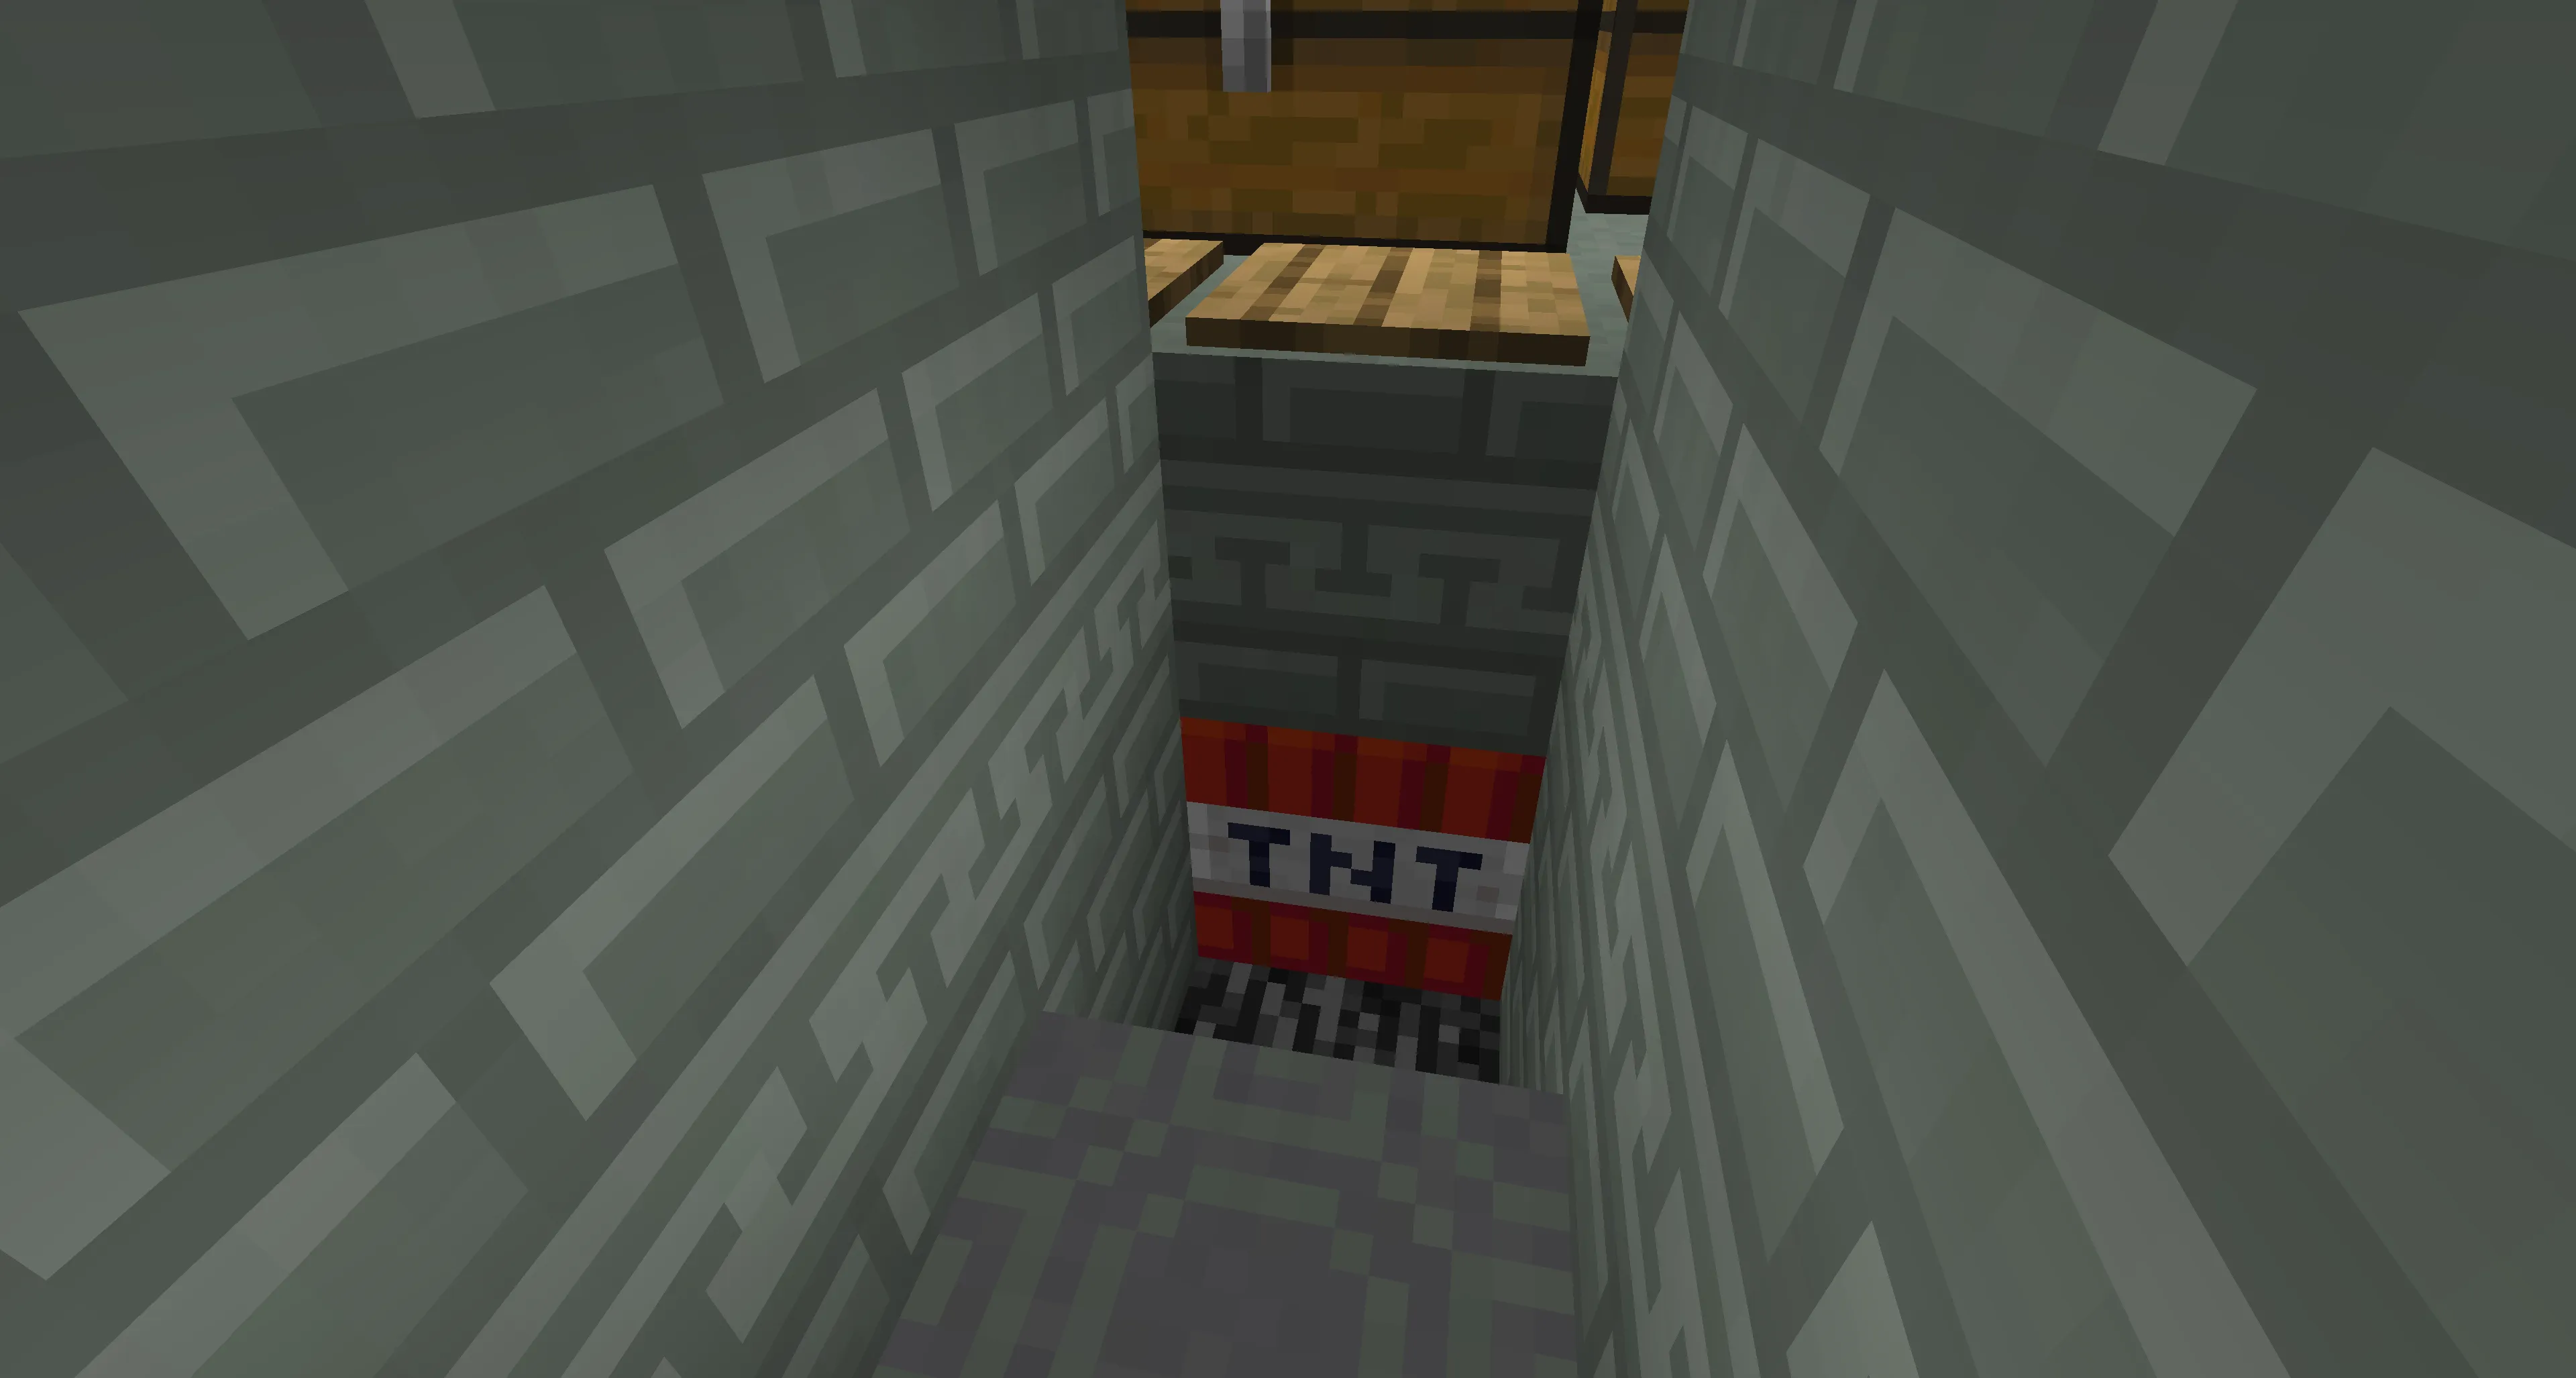
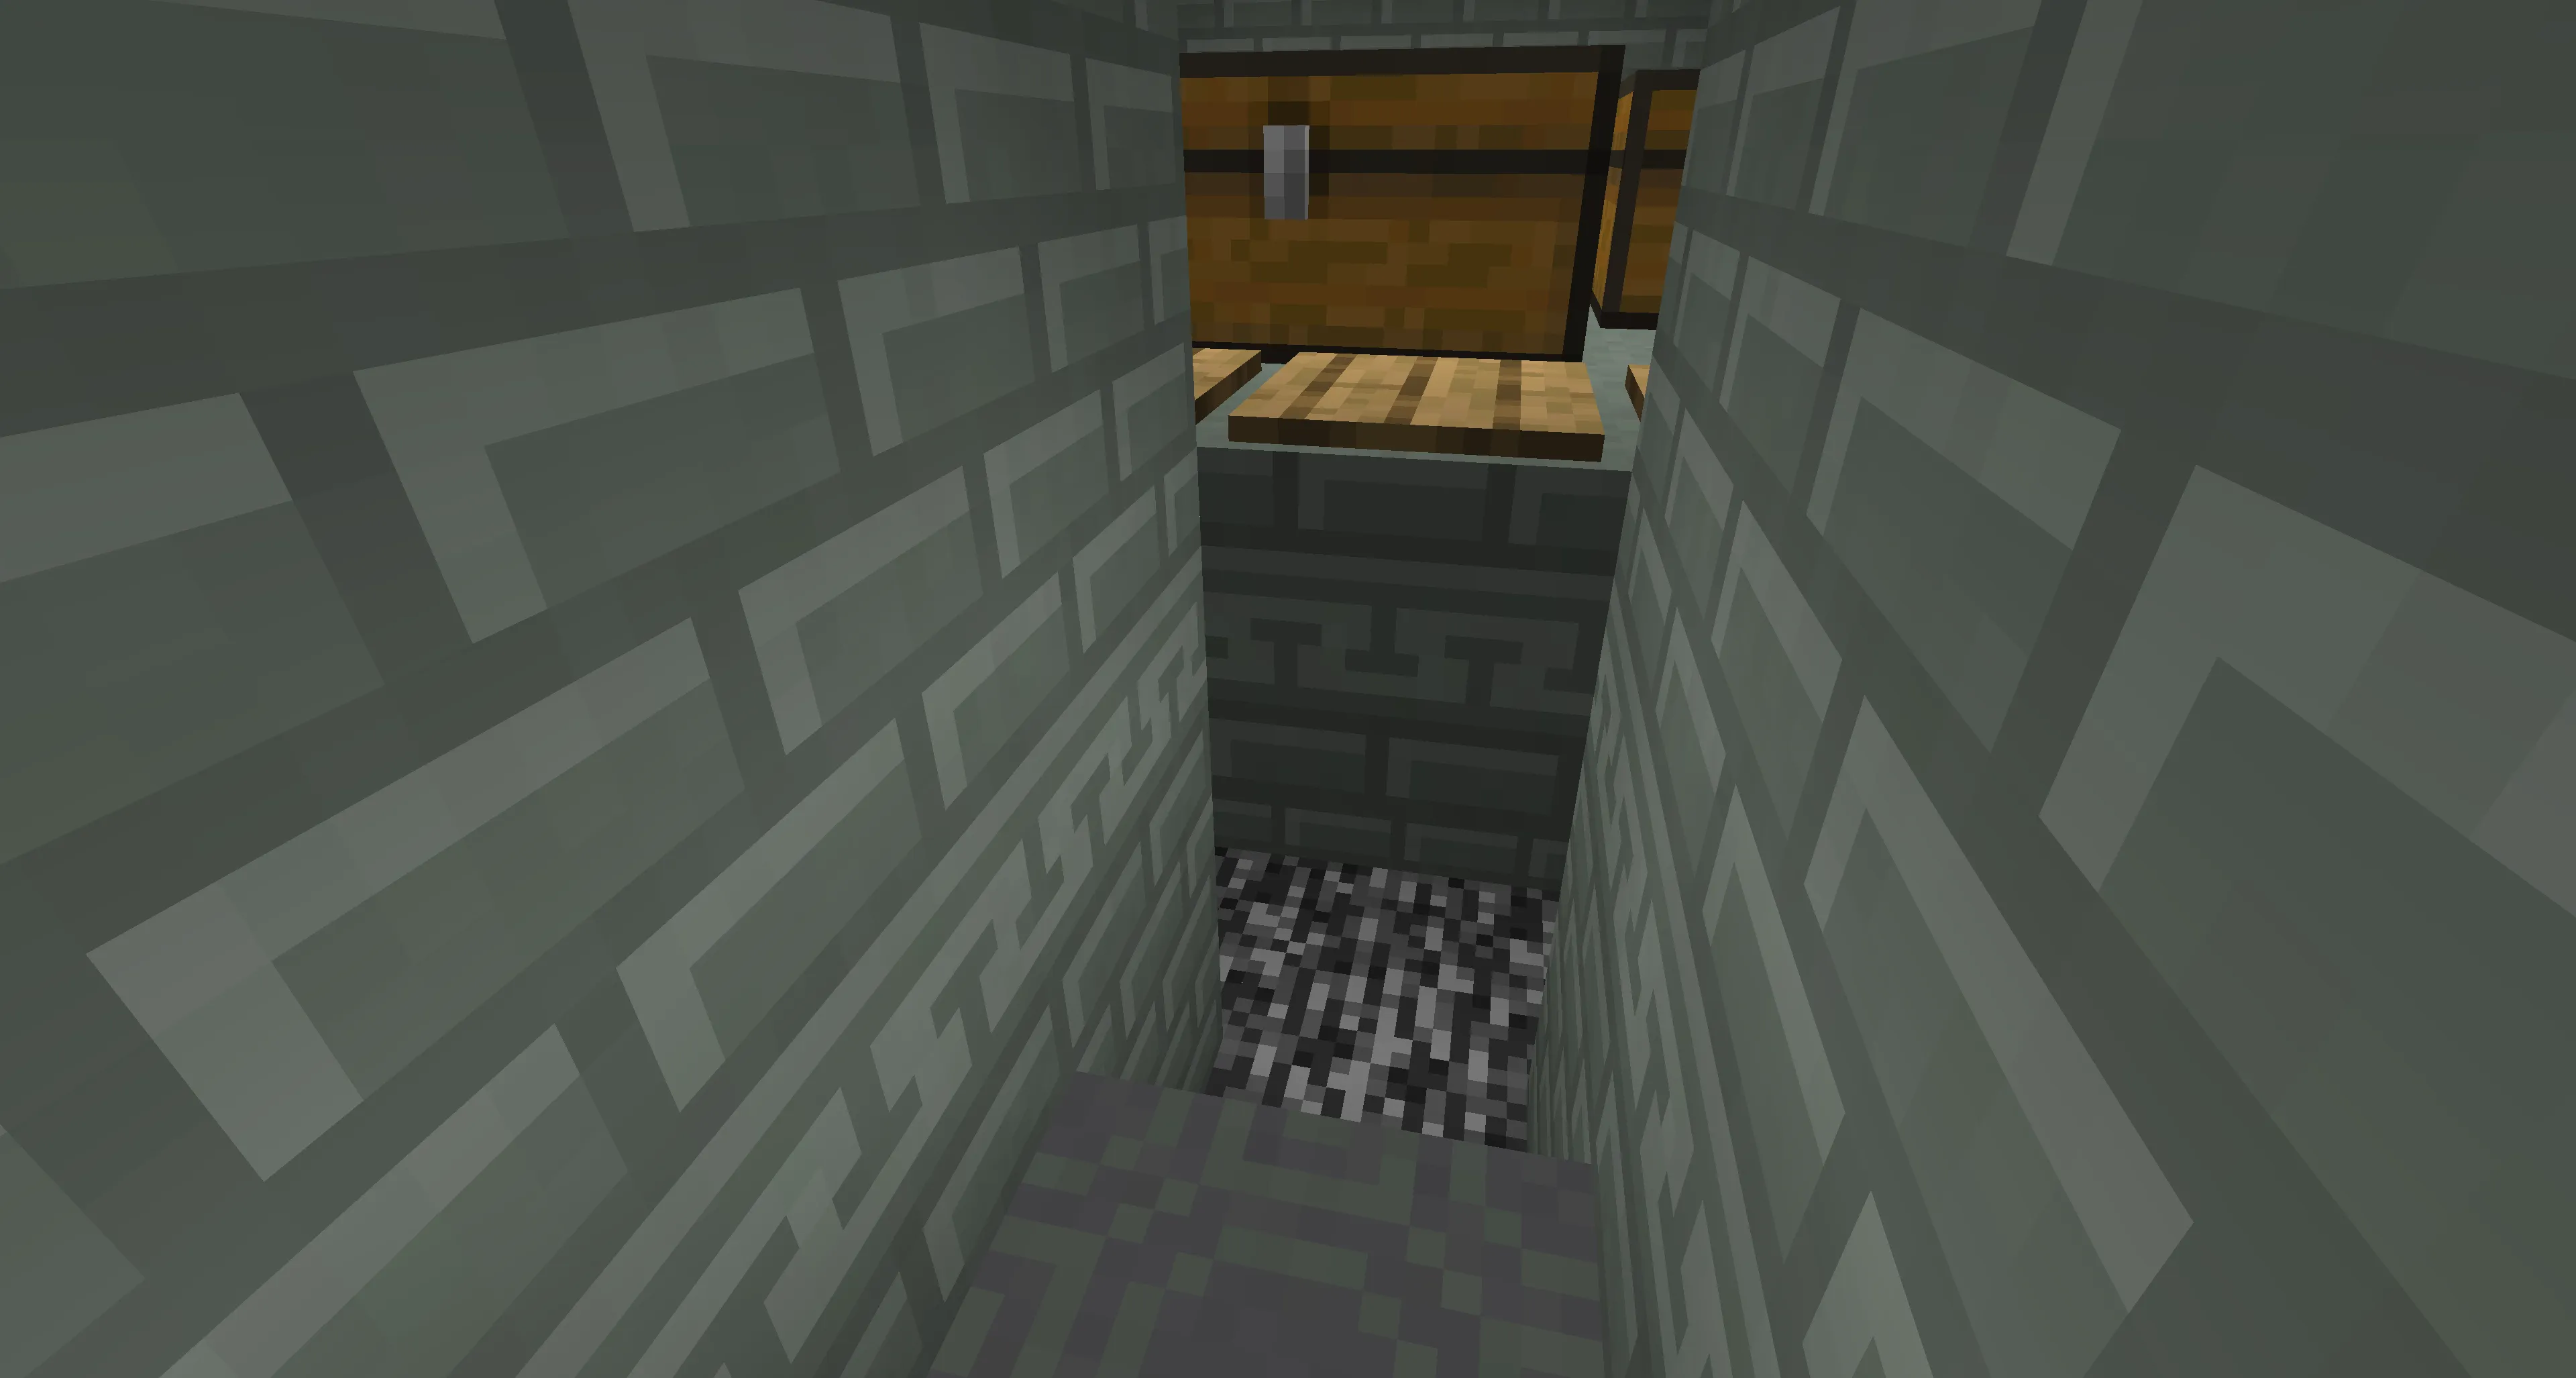
⚠ Important! If you simply break the block above the plate, the sand above will fall, triggering the trap.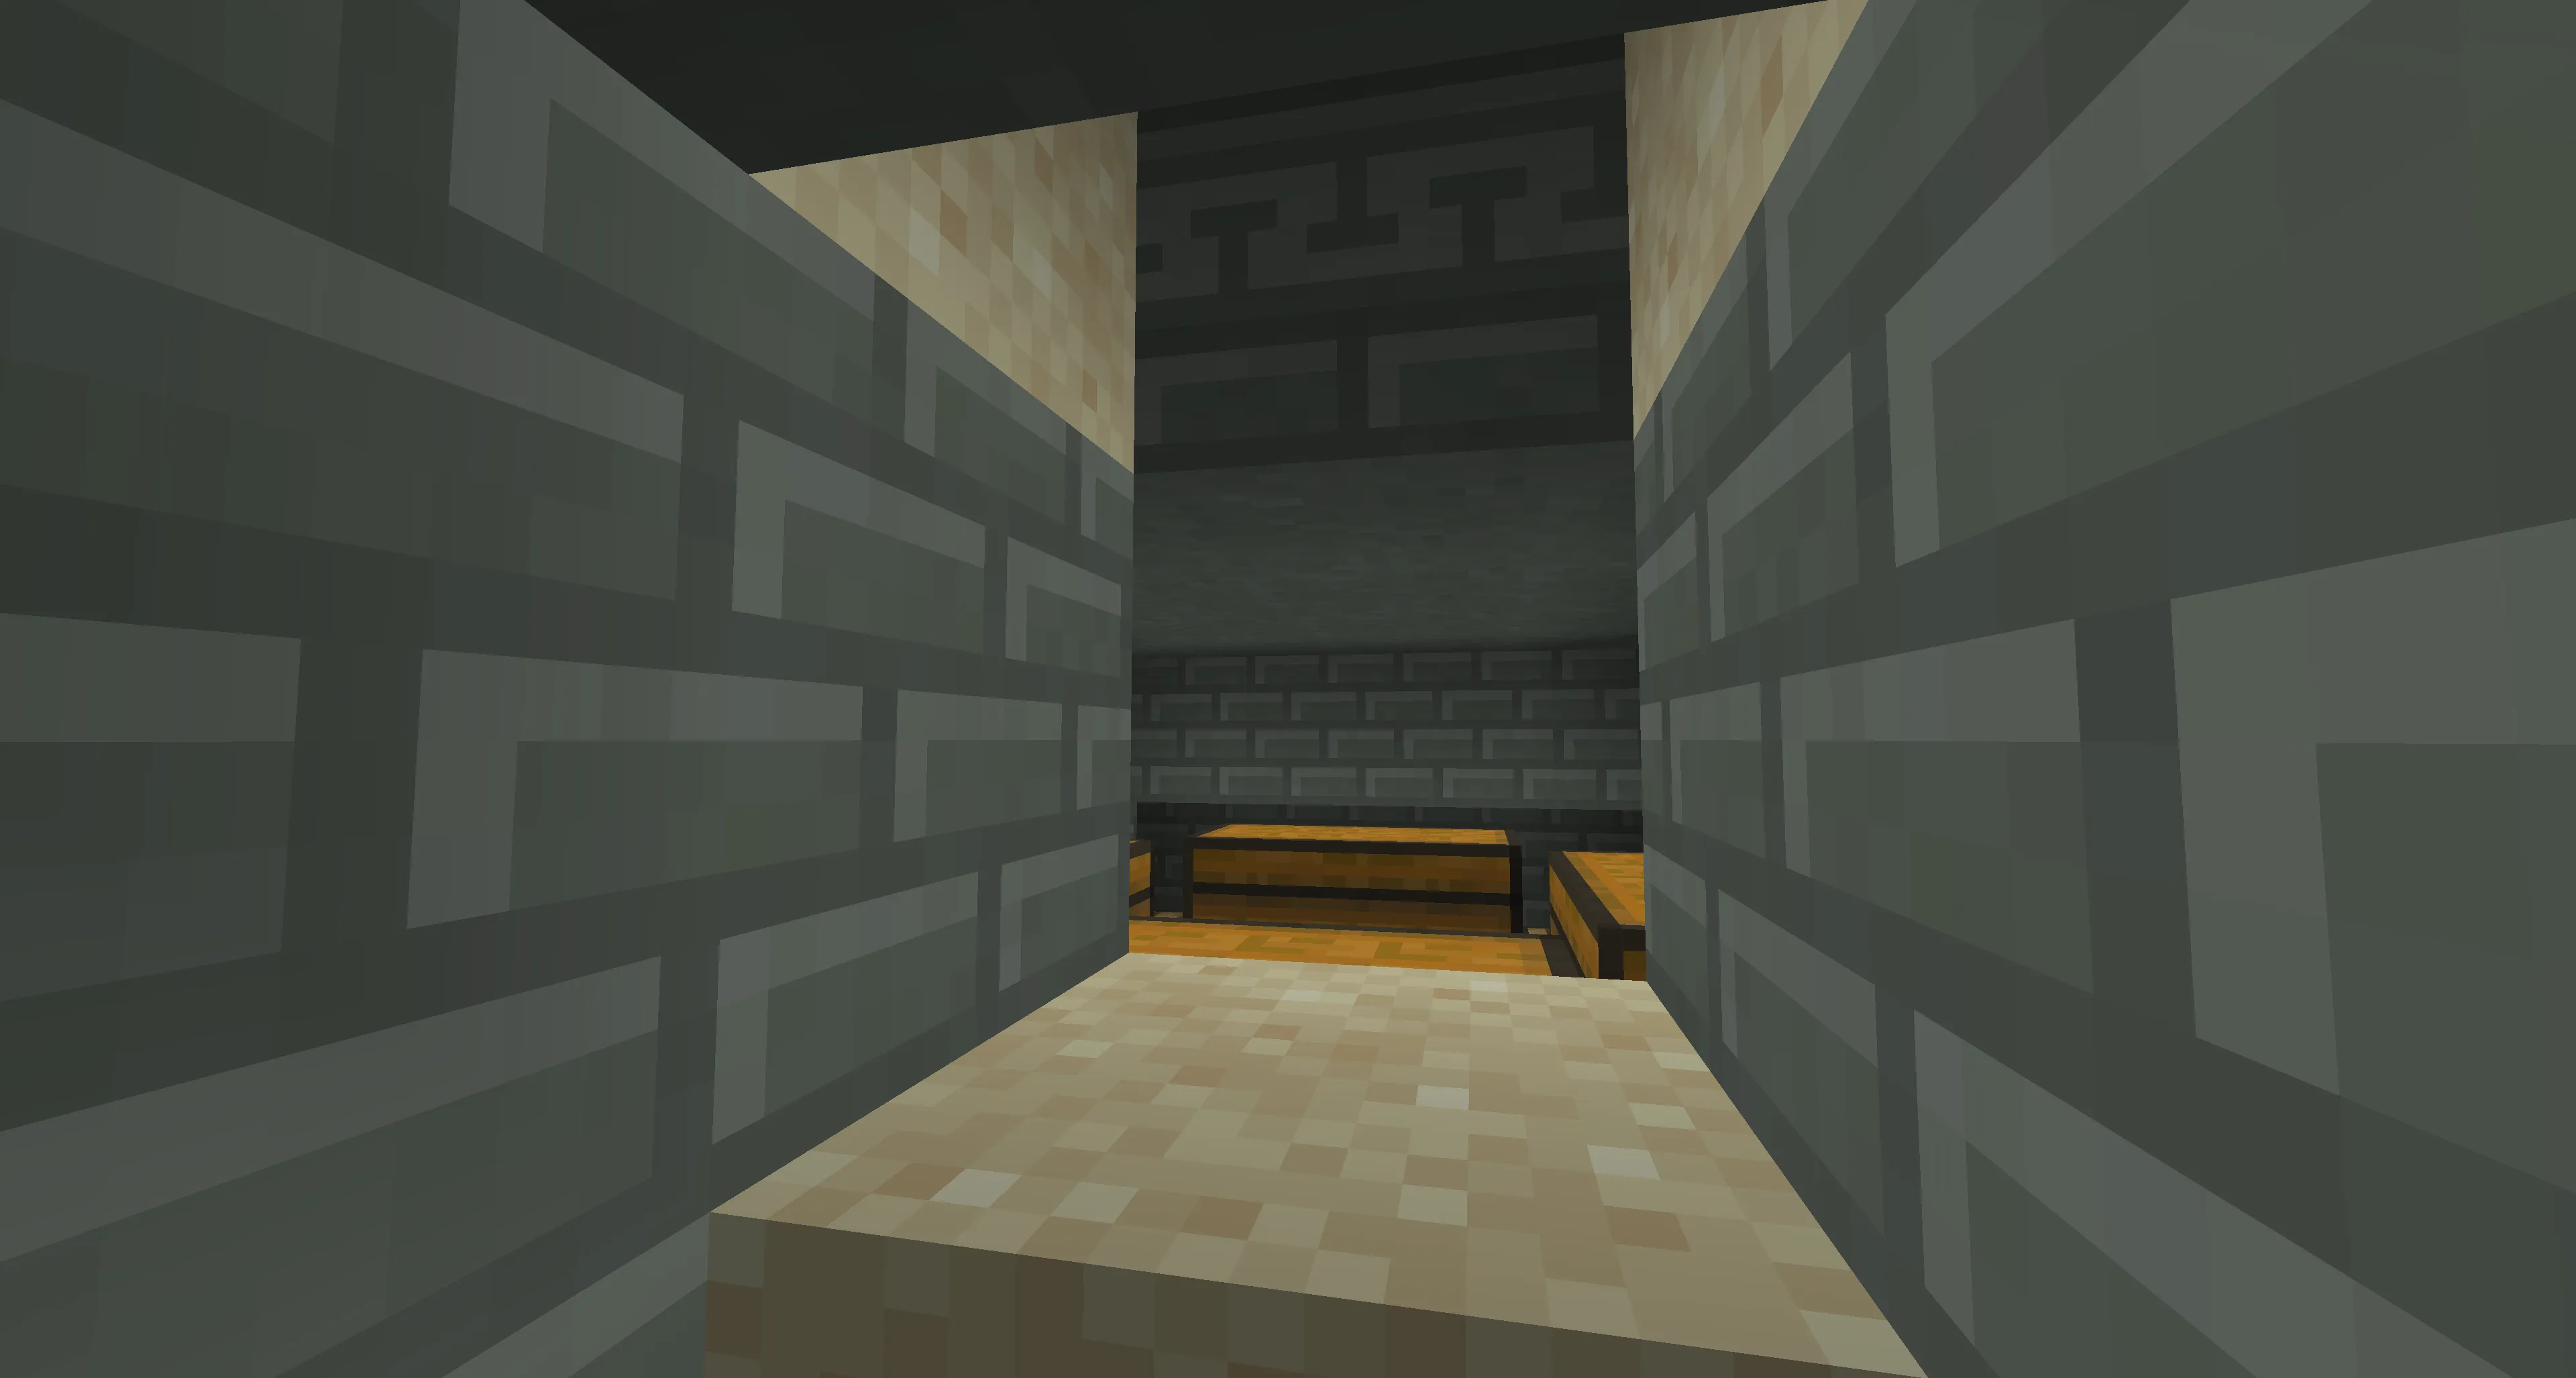 Another way is to quickly break the wooden pressure plates and pick them up to avoid the explosion.
Once the trap is disarmed, you can safely break part of the chest and go inside to collect the loot.
What’s Special About the Pickaxe?
Inside this room, you can find valuable resources, but most importantly — a unique pickaxe.
- It quickly breaks maze blocks — handy for exploring.
- A very useful tool for dungeon runs.
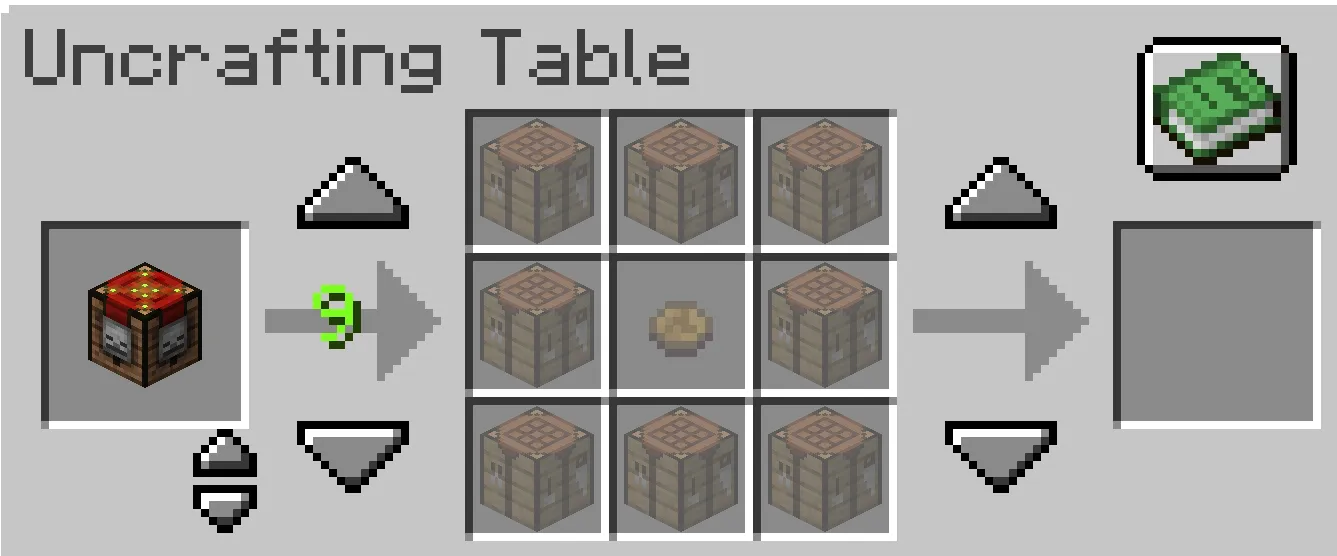
Uncrafting Table
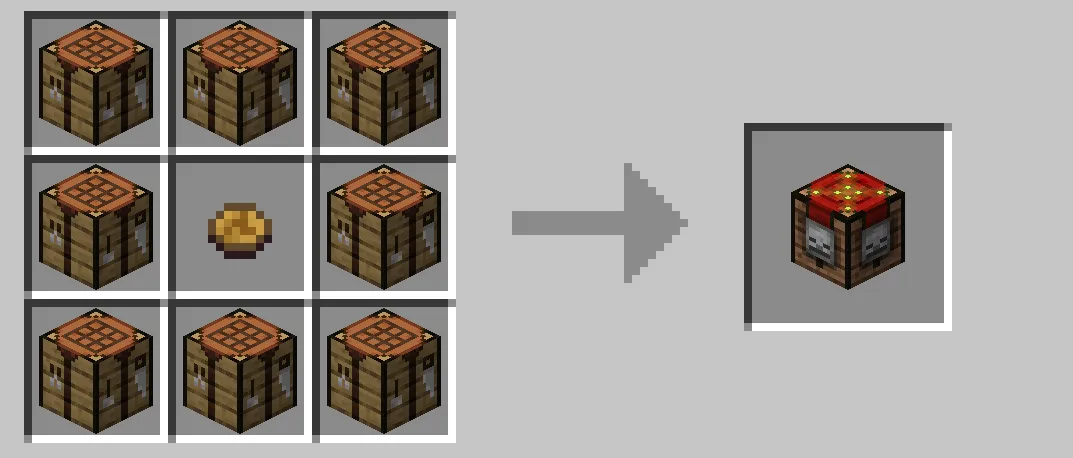
Using the Maze Map Focus, you can craft an Uncrafting Table.
Features of the Uncrafting Table:
- Allows you to disassemble crafted items back into their components.
- Consumes several levels of experience in return.
- It can also act as a regular crafting table.
The Fourth Boss – The Hydra
Where to Find the Hydra?
The Hydra’s lair is located in the center of the swamp, surrounded by Minotaur Mazes.
On the map, it’s marked with this icon: Upon arrival, you’ll see a huge cave and the Hydra itself.
How to Defeat the Hydra?
The fight with the Hydra is fairly straightforward, as long as you follow a few guidelines:
- Keep moving to avoid its attacks.
- The Hydra attacks with fire breath. You can protect yourself by using the “Meef Stroganoff” soup, which gives Fire Resistance briefly.
- You can also reflect its fireballs back at the Hydra, dealing heavy damage.
Reward for Victory
After killing the Hydra, it drops:
- Hydra Chops — restores lots of hunger and grants Regeneration.
- Fiery Blood — used in crafting.
- Hydra Trophy.
- Associated advancements.
Crafting Fiery Gear
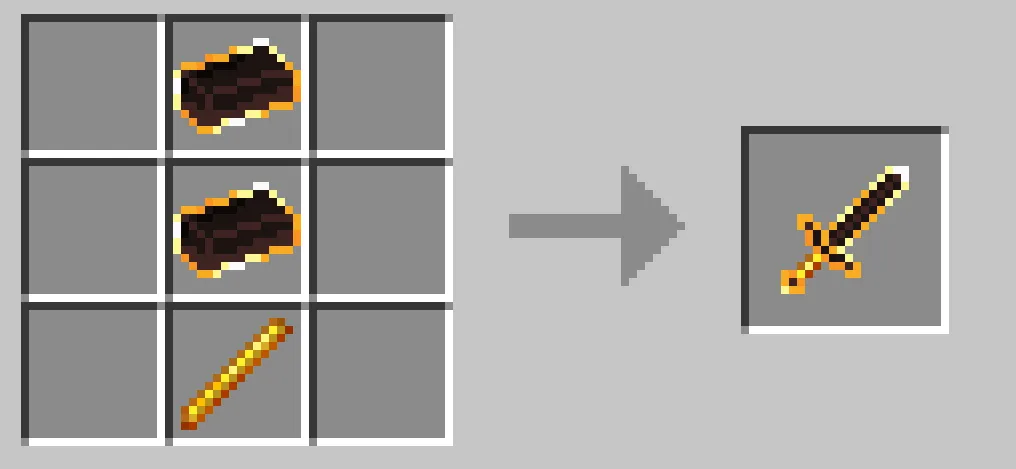
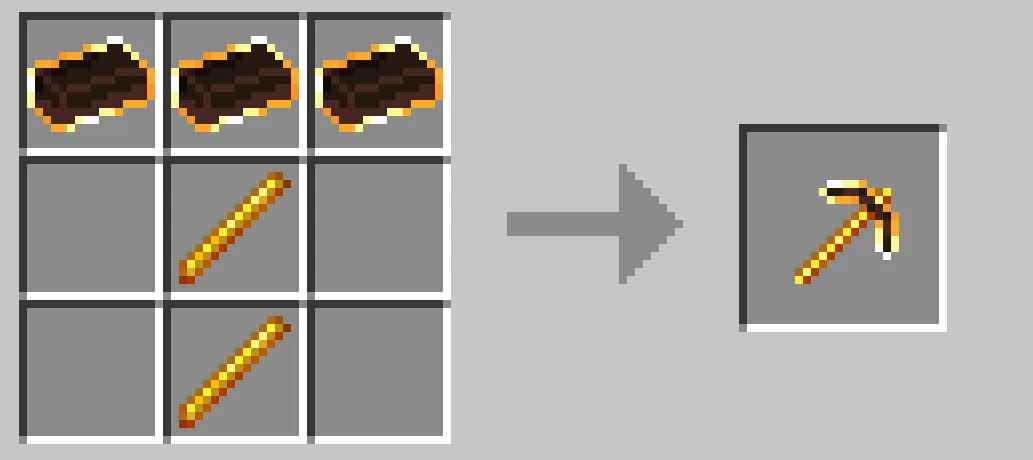
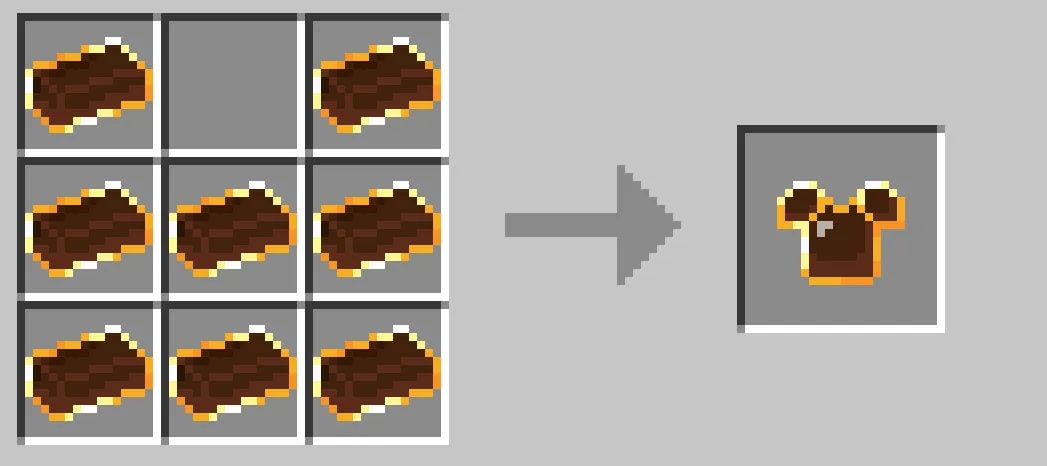
Using Fiery Blood from the Hydra, you can craft powerful items:
1. Fiery Sword
- Sets the target on fire when hitting.
![]()
2. Fiery Pickaxe
- Automatically smelts any ore you mine.
![]()
3. Fiery Armor
- Sets attackers on fire when they hit you.
- Crafted the same way as normal armor.
![]()
The Fifth Boss – The Knights’ Phantom (Ghosts)
How to Find the Knight Phantom’s Stronghold?
This fight differs from previous ones: now we have the Dark Forest and an underground Phantom Stronghold.
⚠ This biome is extremely dark, so it’s recommended to:
- Use Night Vision potions or bring plenty of torches.
On the map, the stronghold is marked by this icon: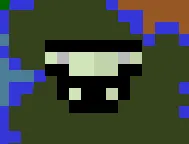
How to Get Inside?
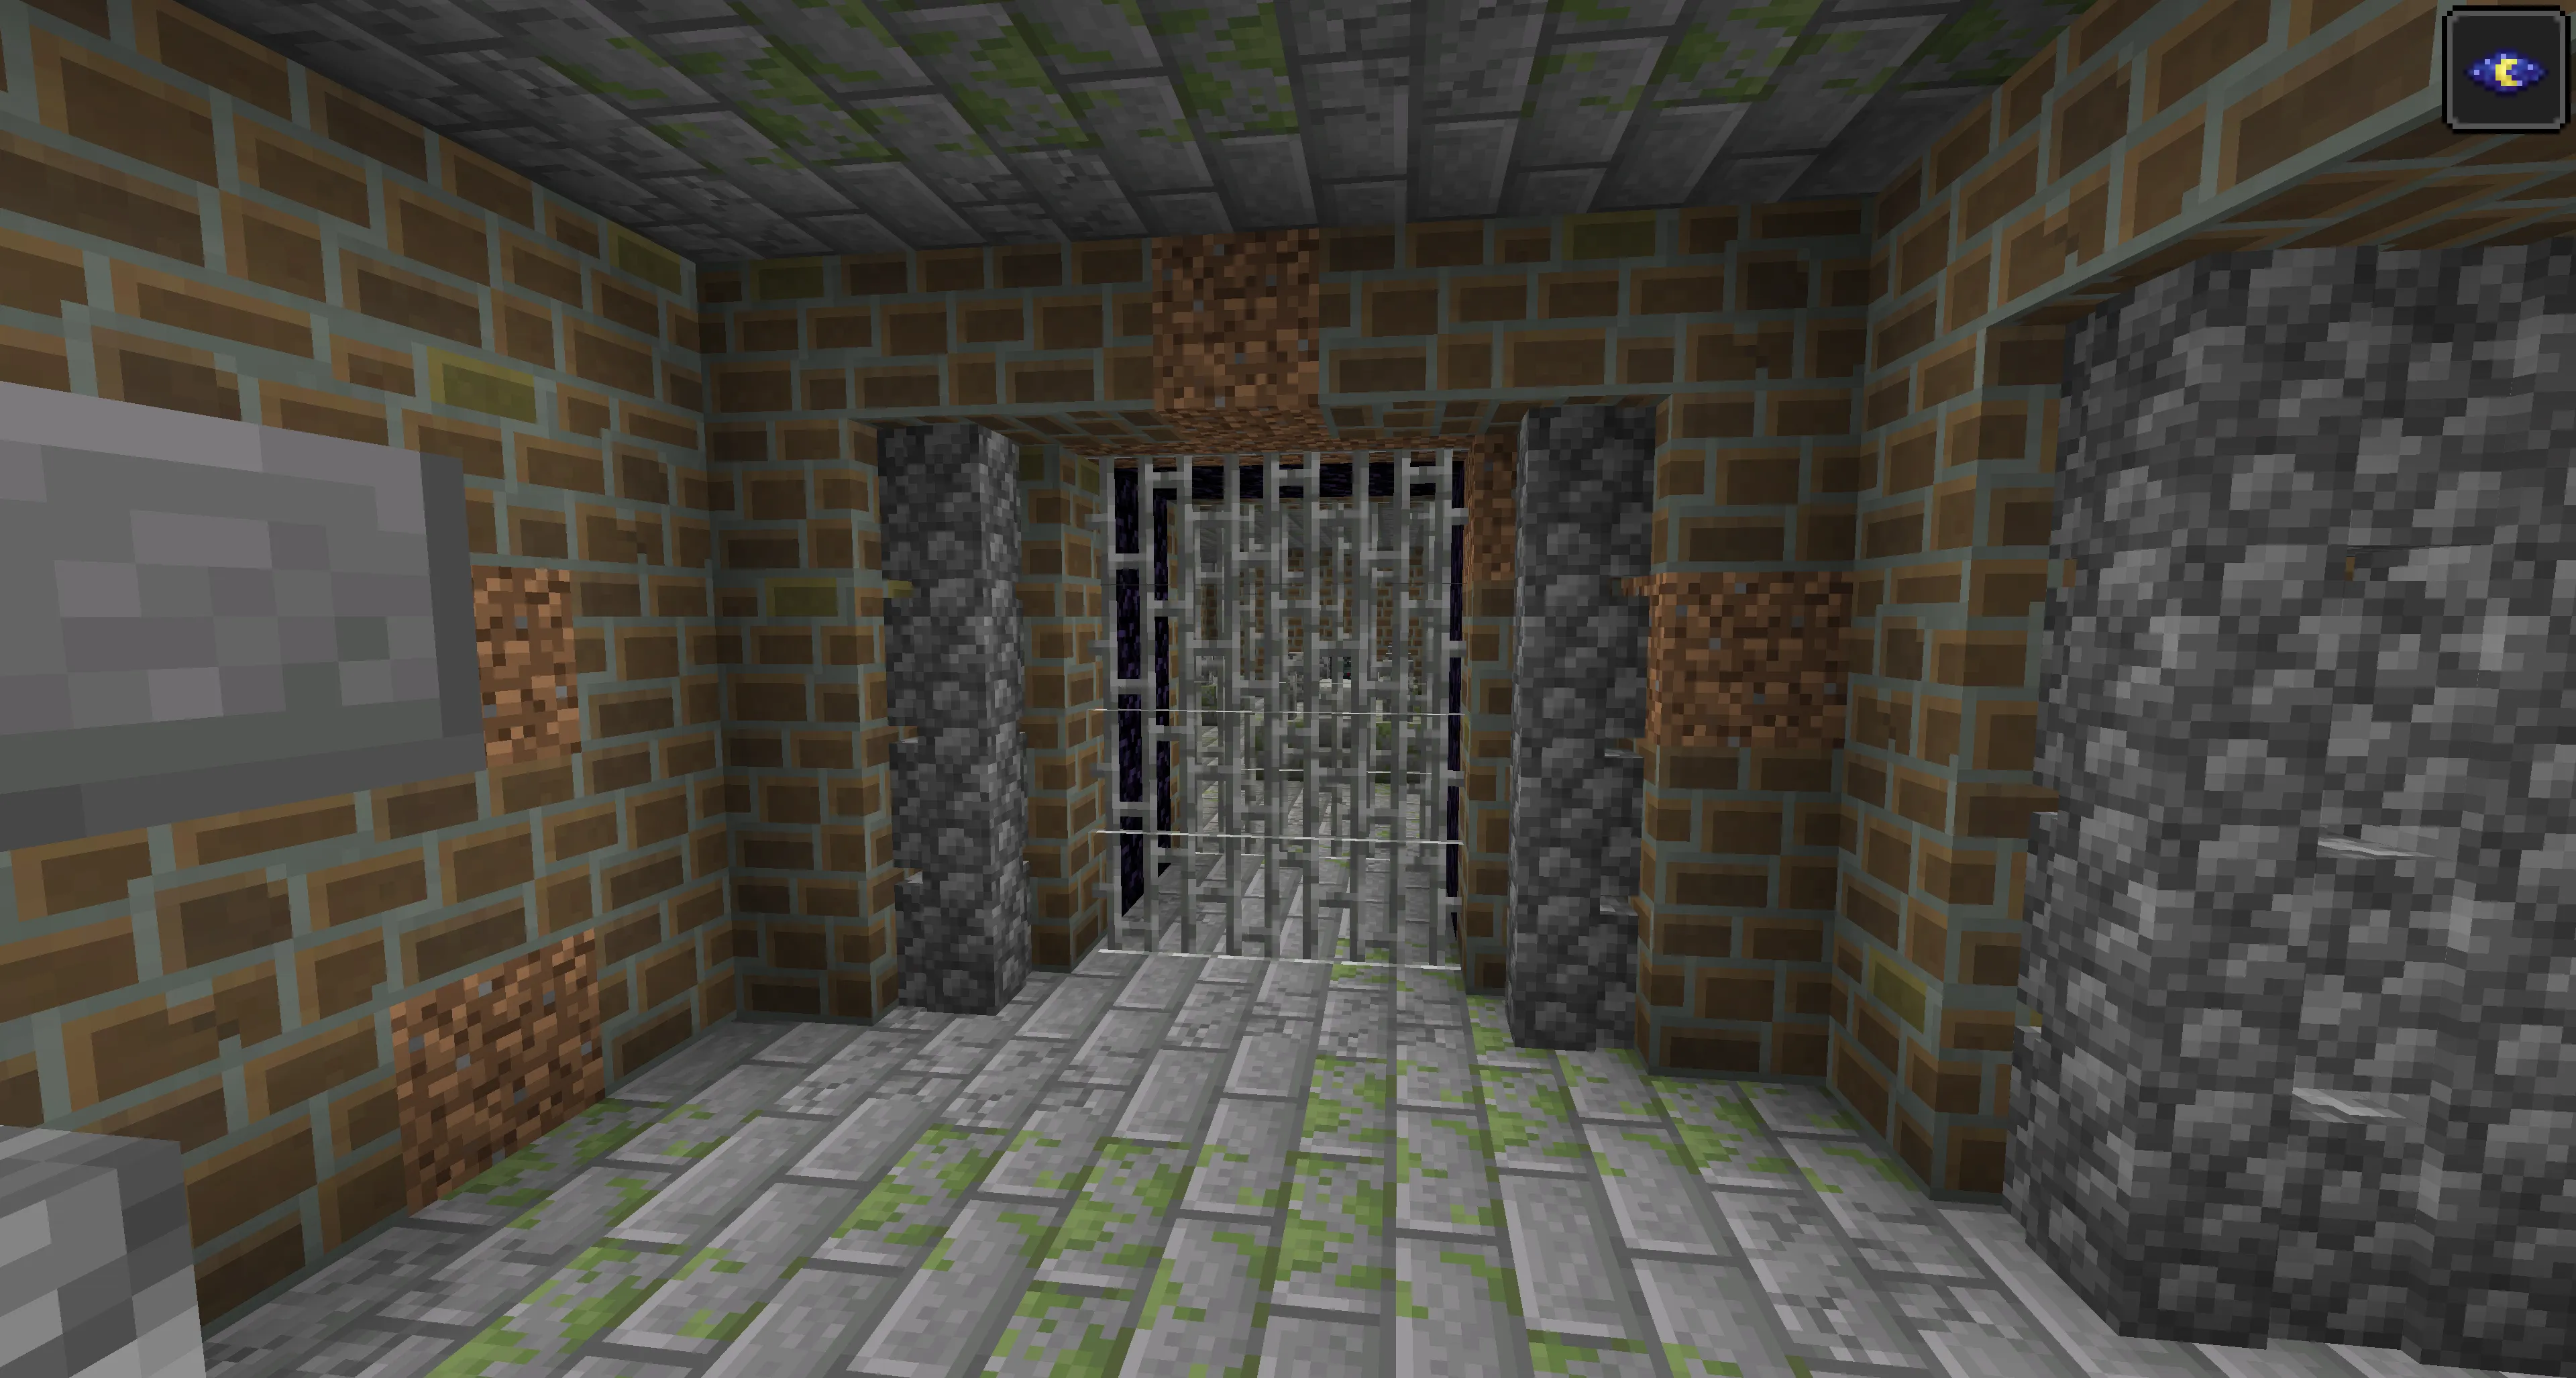
When you arrive, look under the canopy of the forest for the entrance to the stronghold. It looks like this: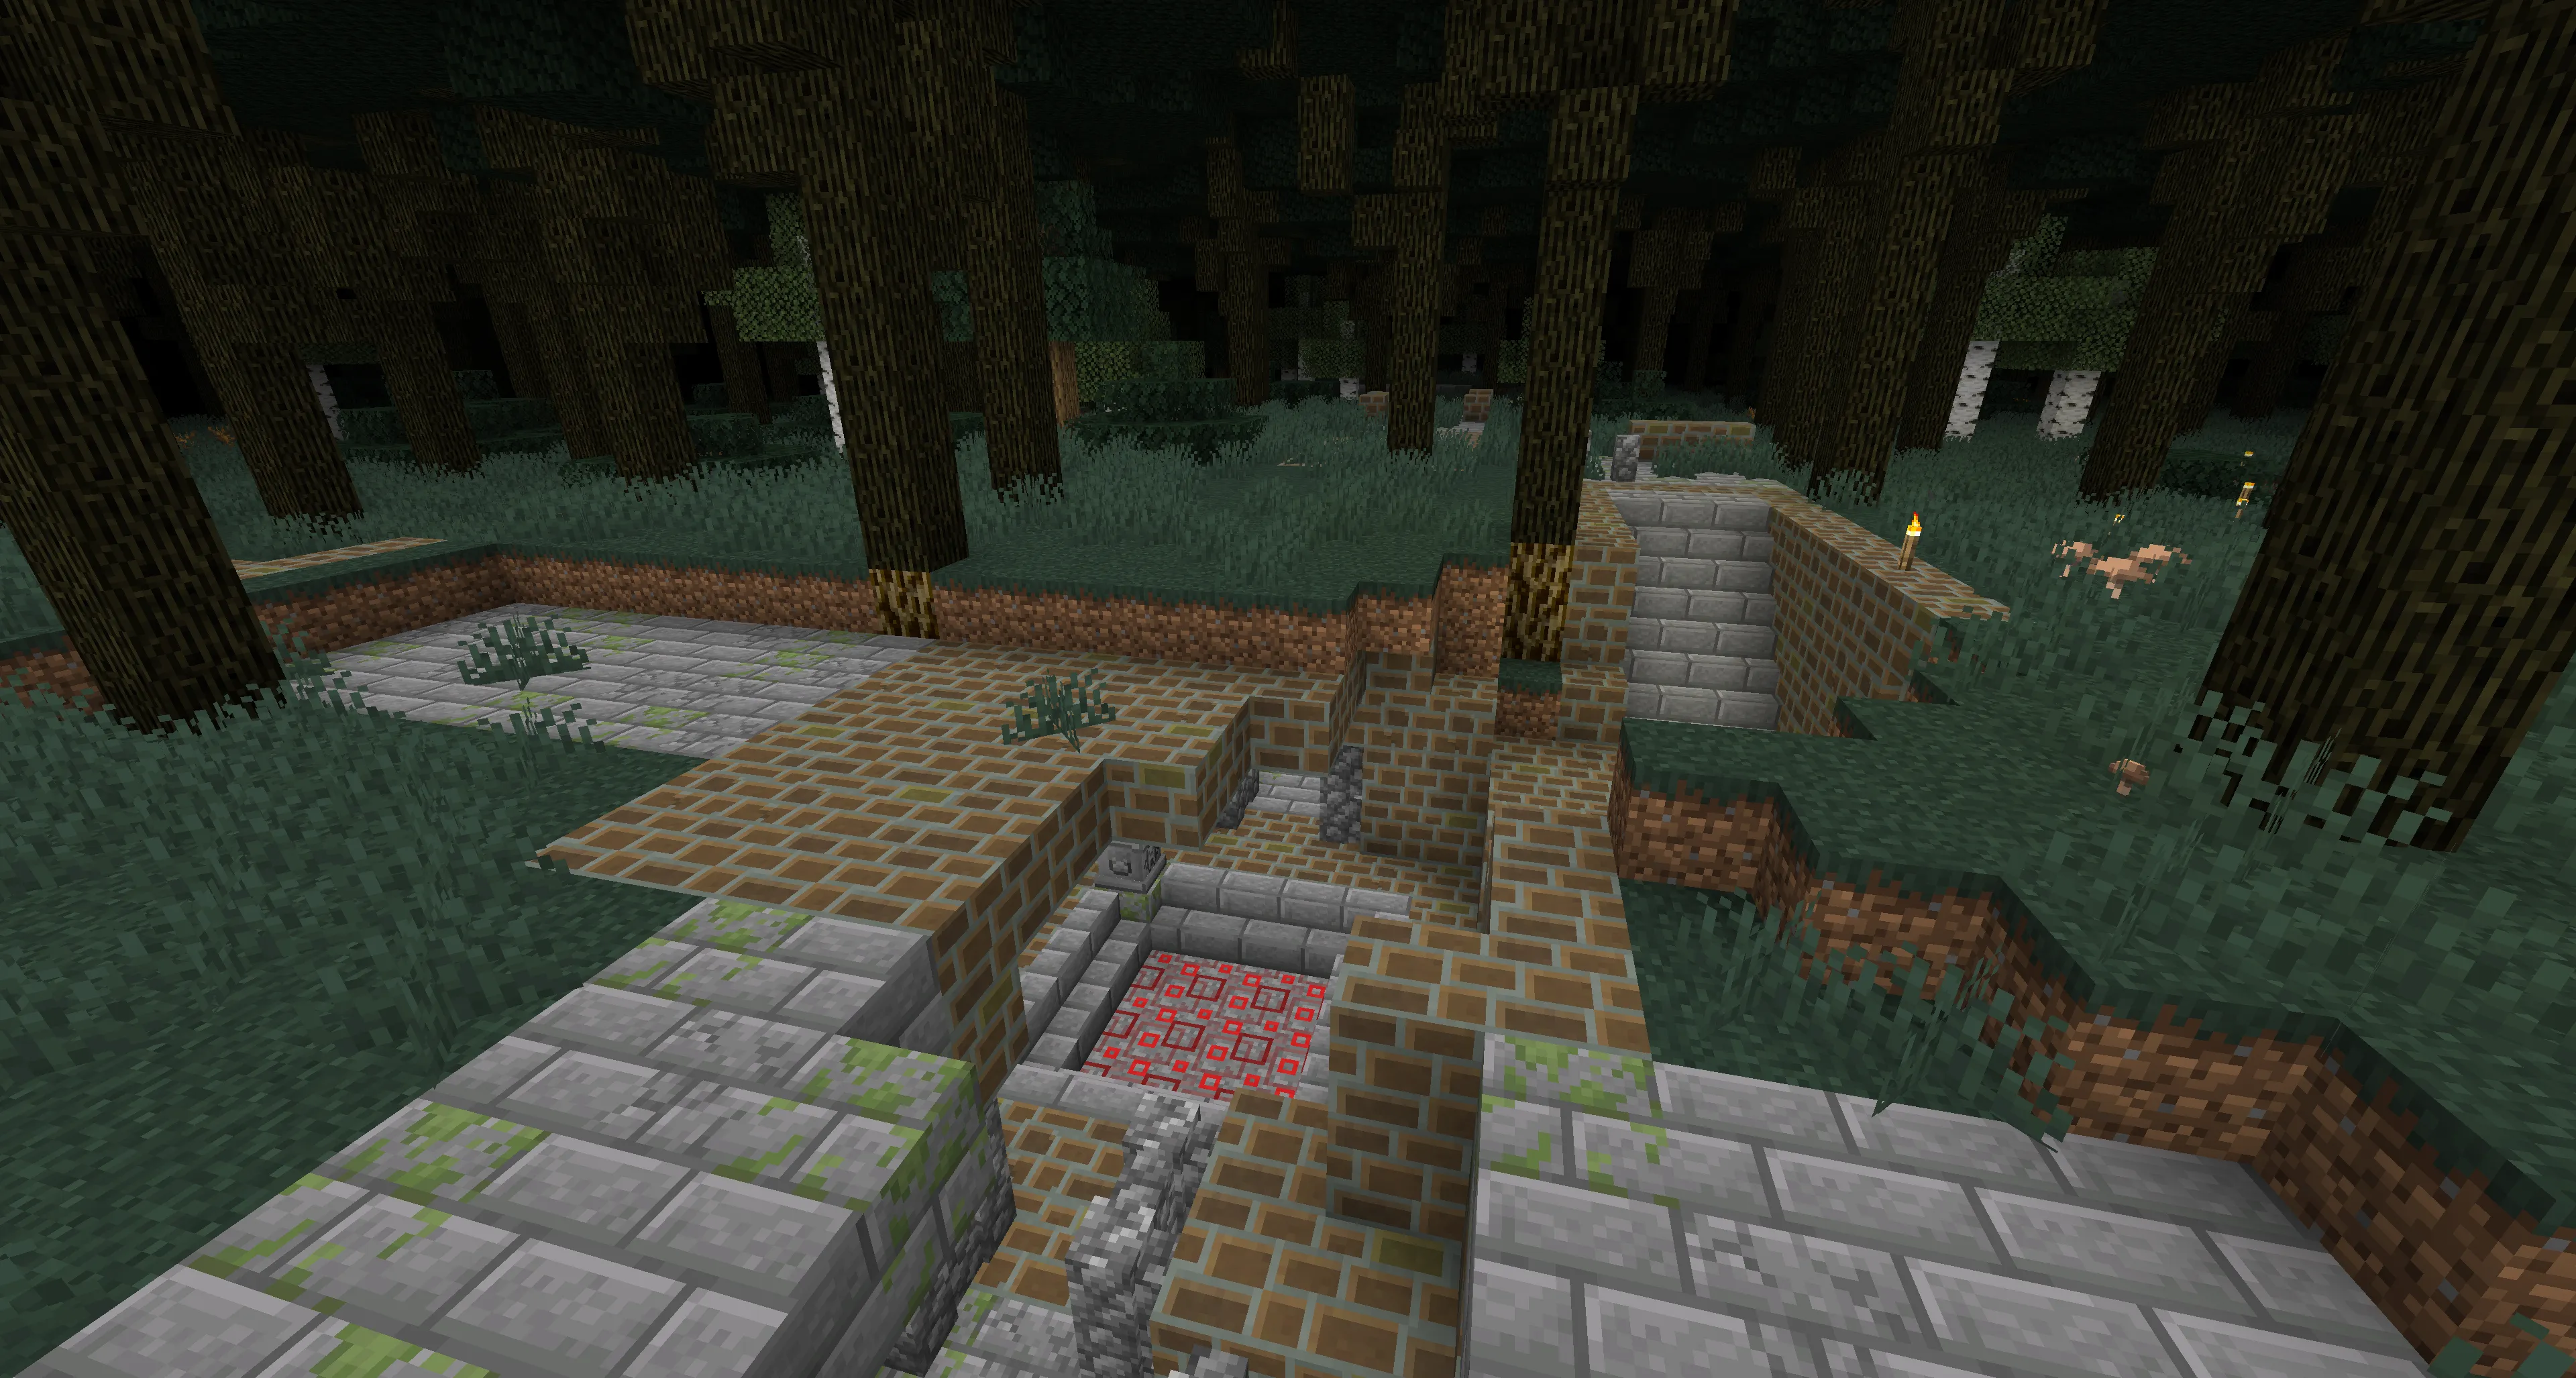 To open it, place any trophy you obtained previously onto the pedestal.
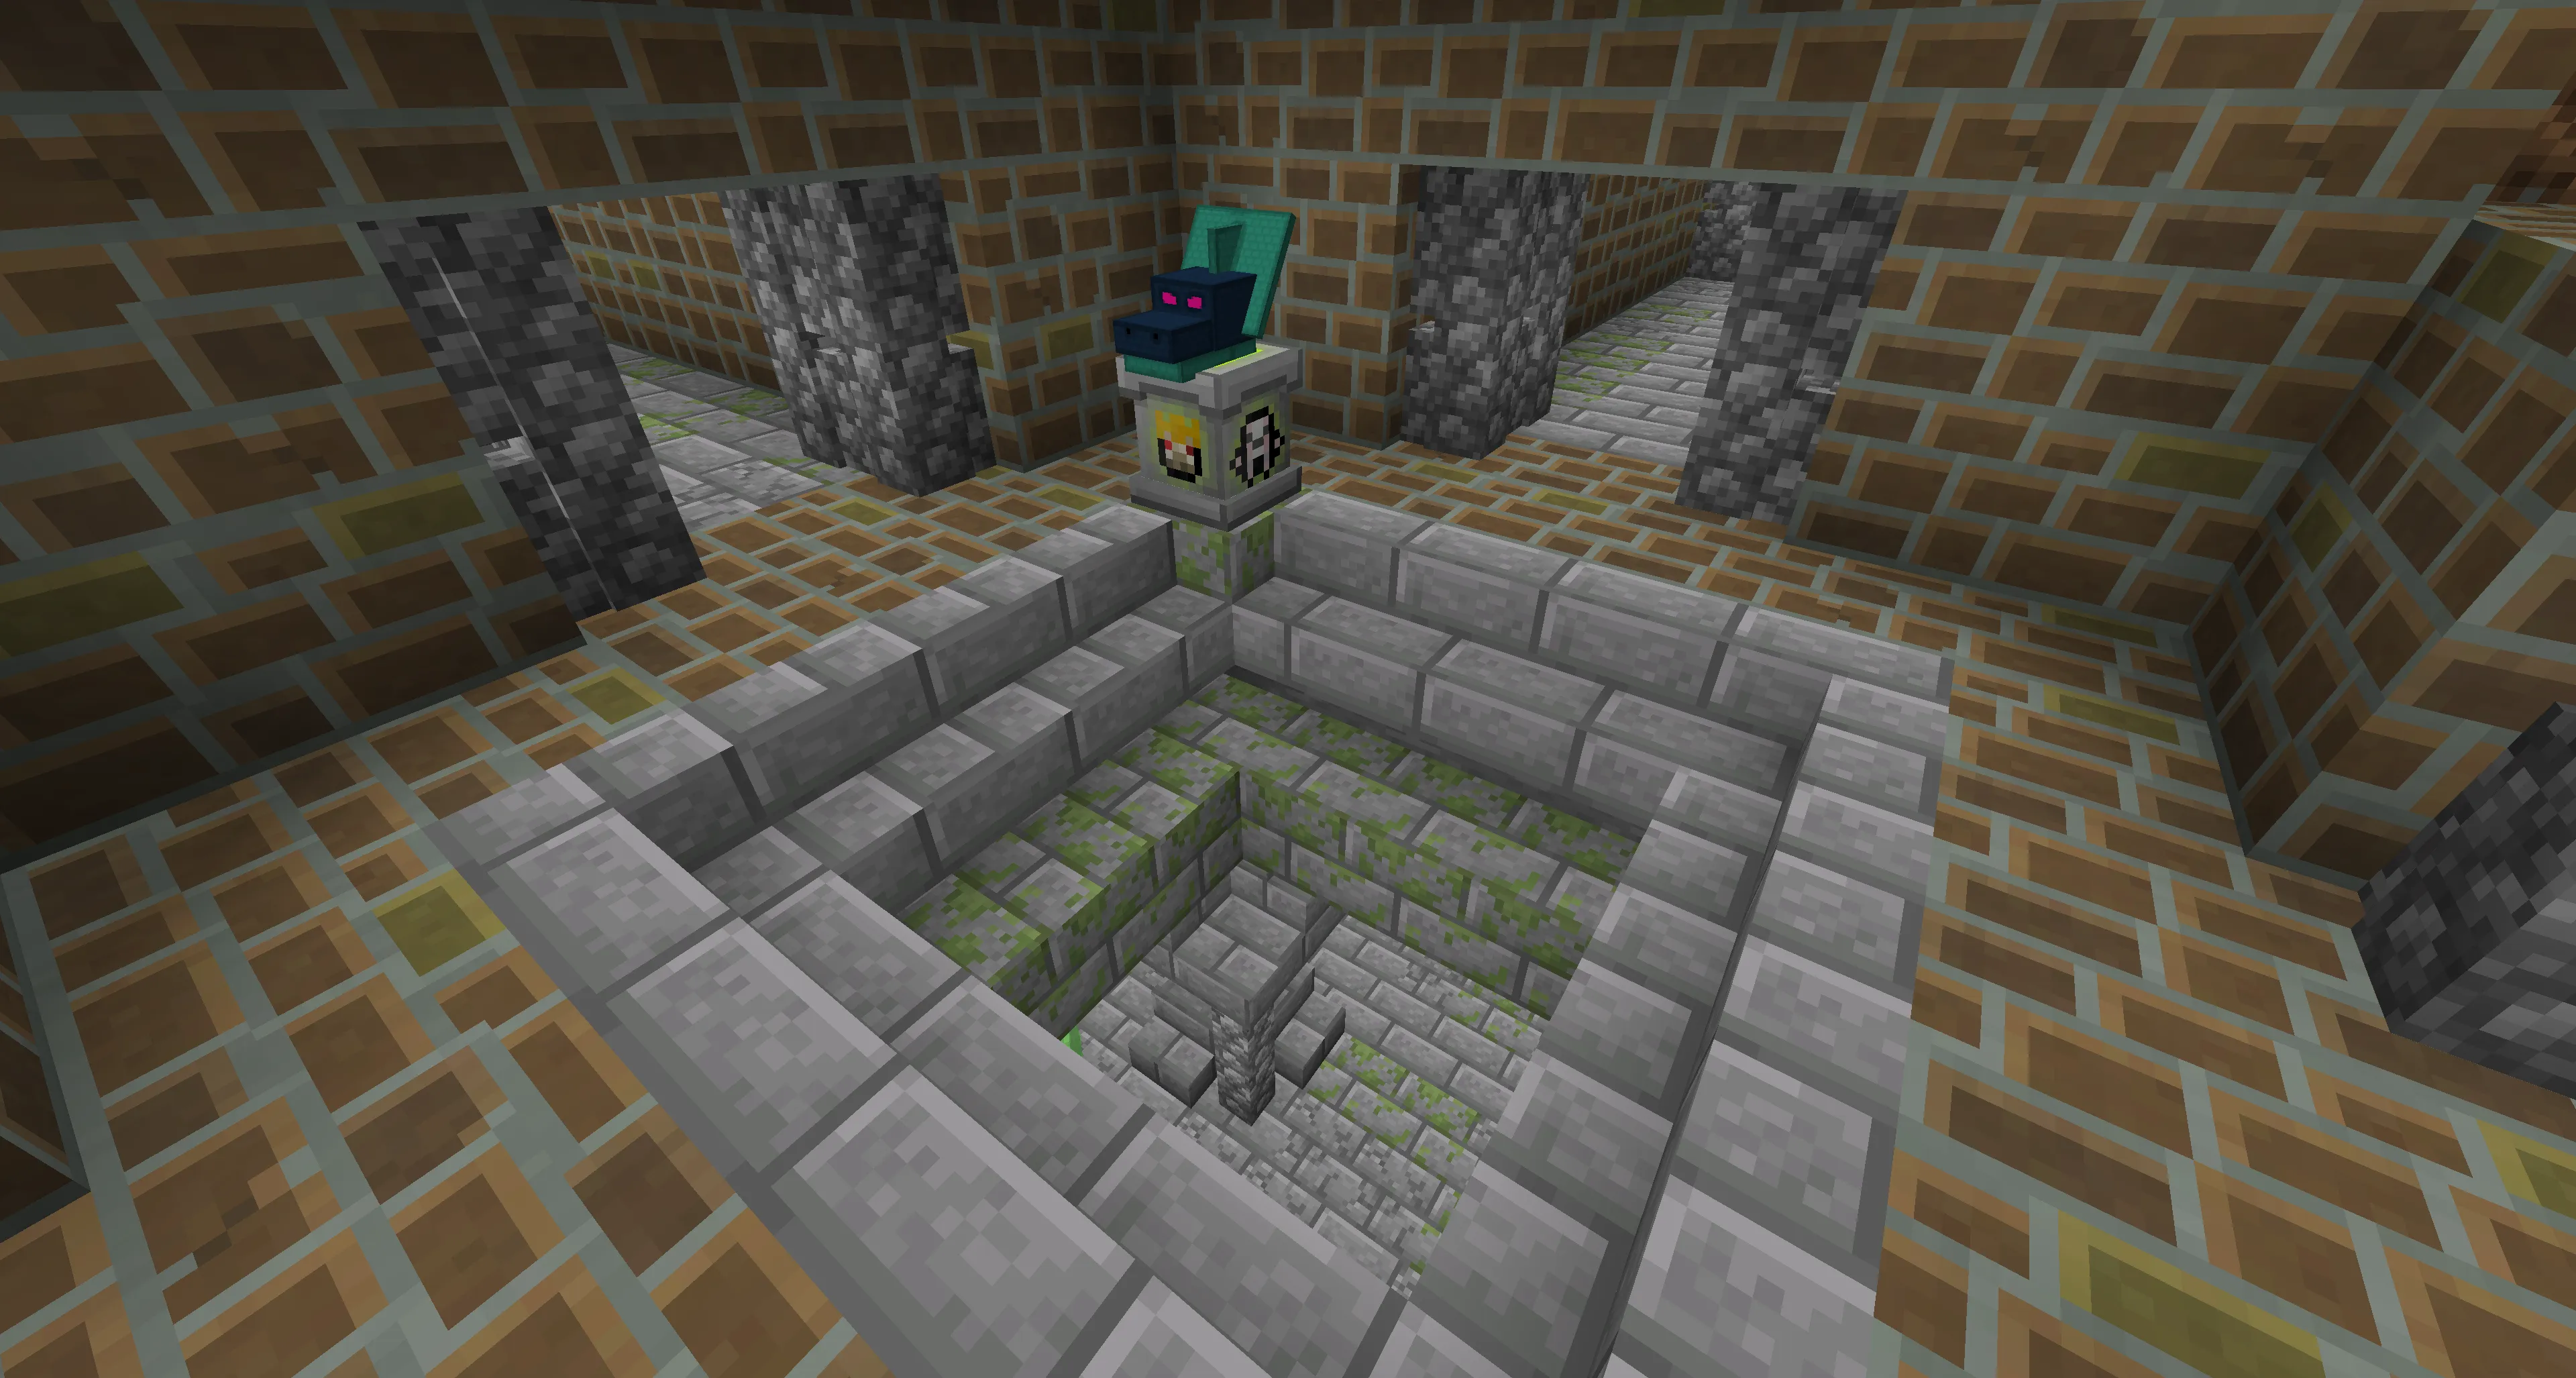 After that, the path to the dungeon will open.
Fighting the Knight Phantoms
As you explore the dungeon, you’ll find the entrance to the Phantom Knights’ tomb.
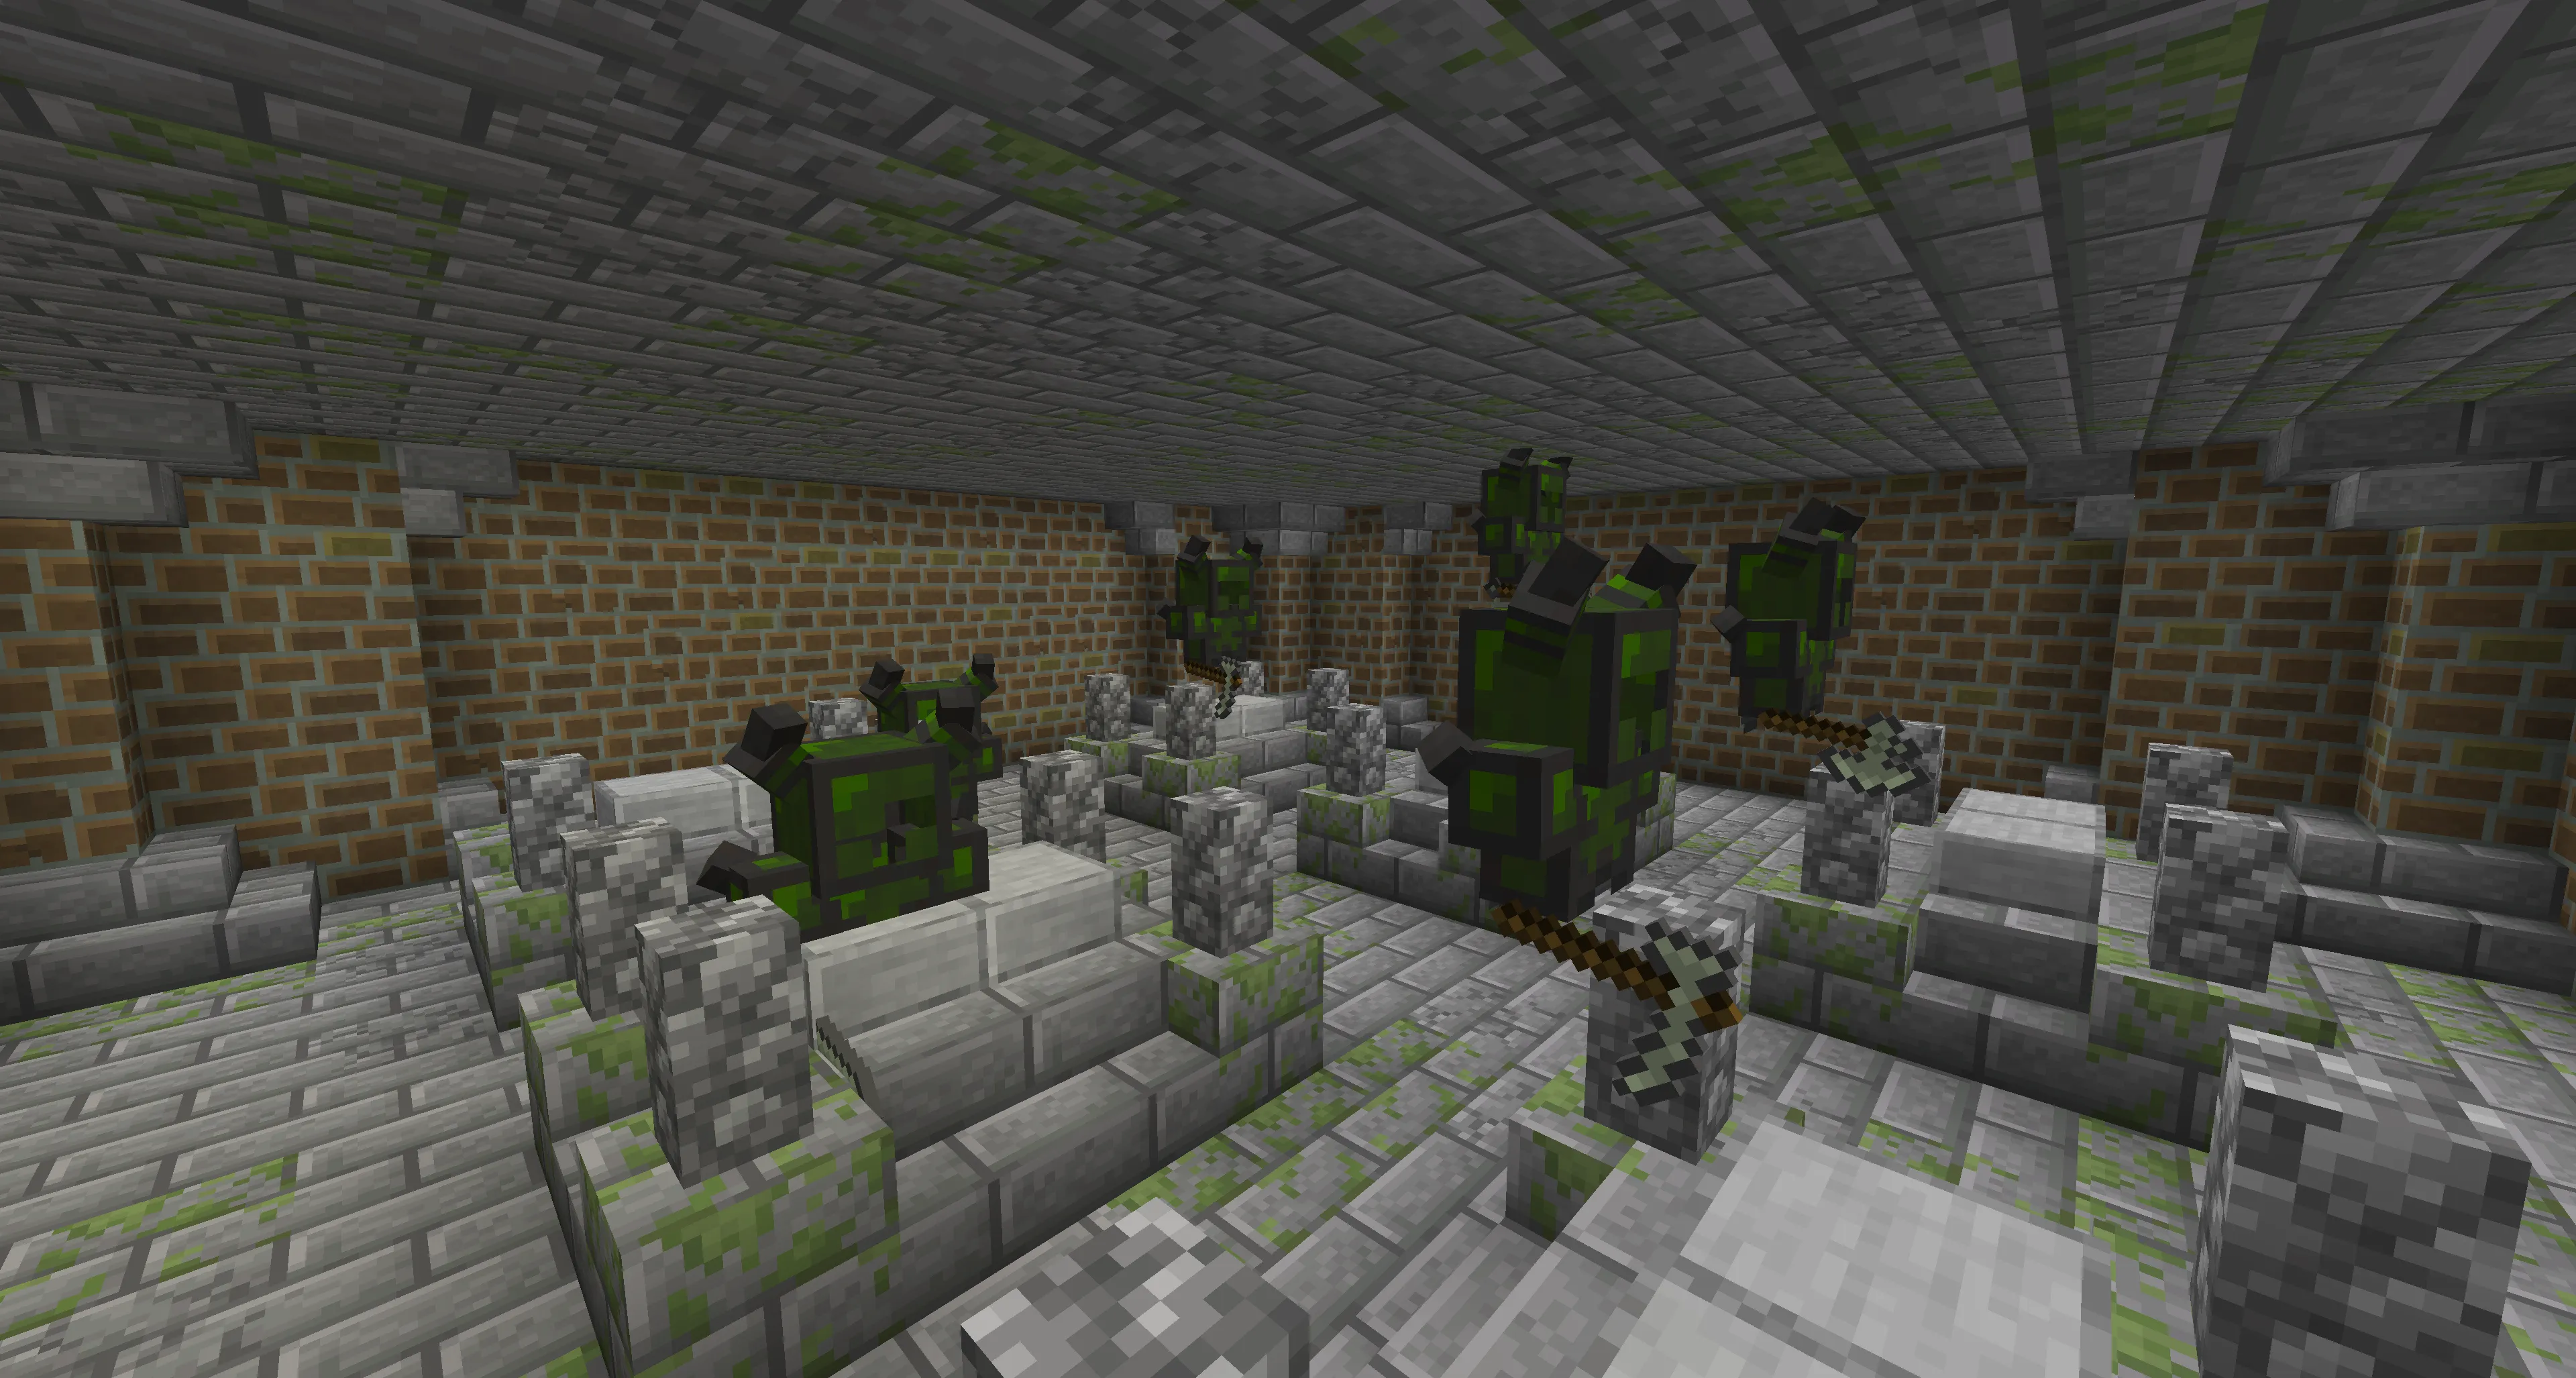
⚠ Important! The Phantoms only appear once you enter the room.
How to Attack the Phantoms?
- In their usual form, the Phantom Knights are invulnerable.
- From time to time, they materialize to attack — that’s when you can damage them.
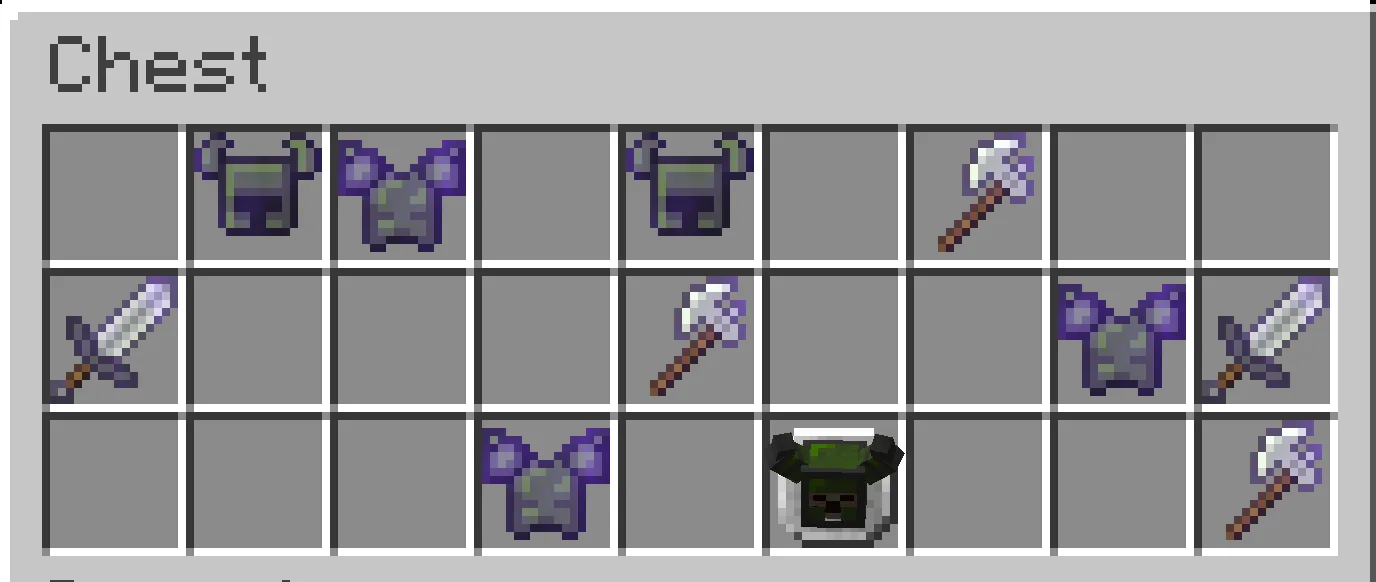
After defeating them, a chest will appear with armor and tools.
The Sixth Boss – The Ur-Ghast
How to Find the Ur-Ghast Tower?
The Ur-Ghast Tower is found at the center of the Dark Forest.
⚠ Recommendations:
- Obtain flight ability – the fight takes place high up.
- Bring a bow – ranged attacks help a lot.
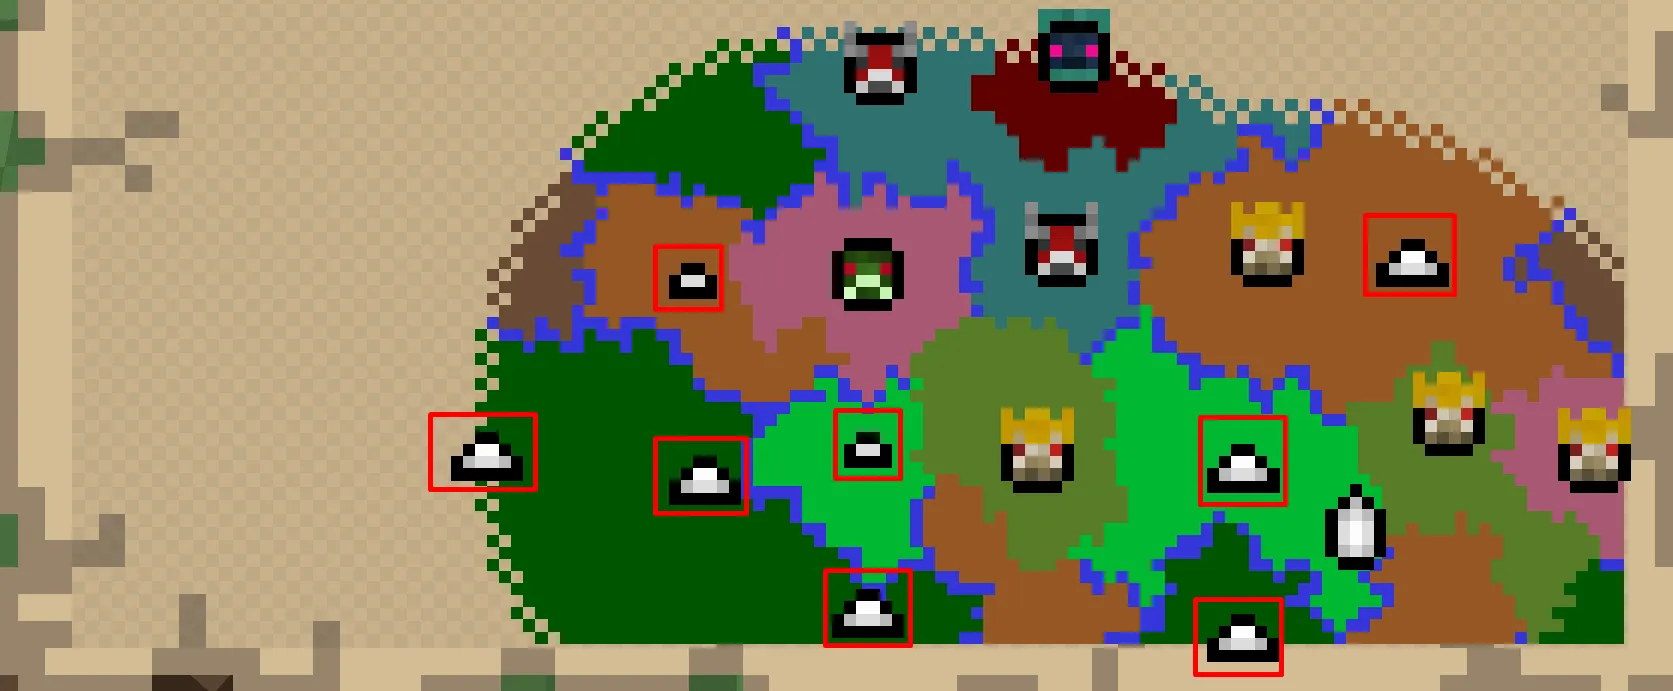
On the map, it is marked with this icon:
How to Enter the Tower?
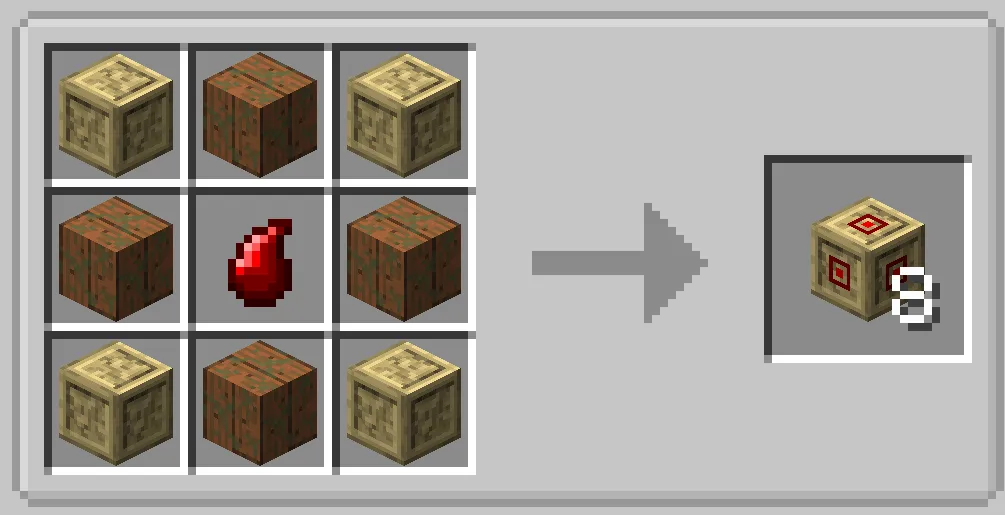
Upon arrival, you’ll see a tall tower.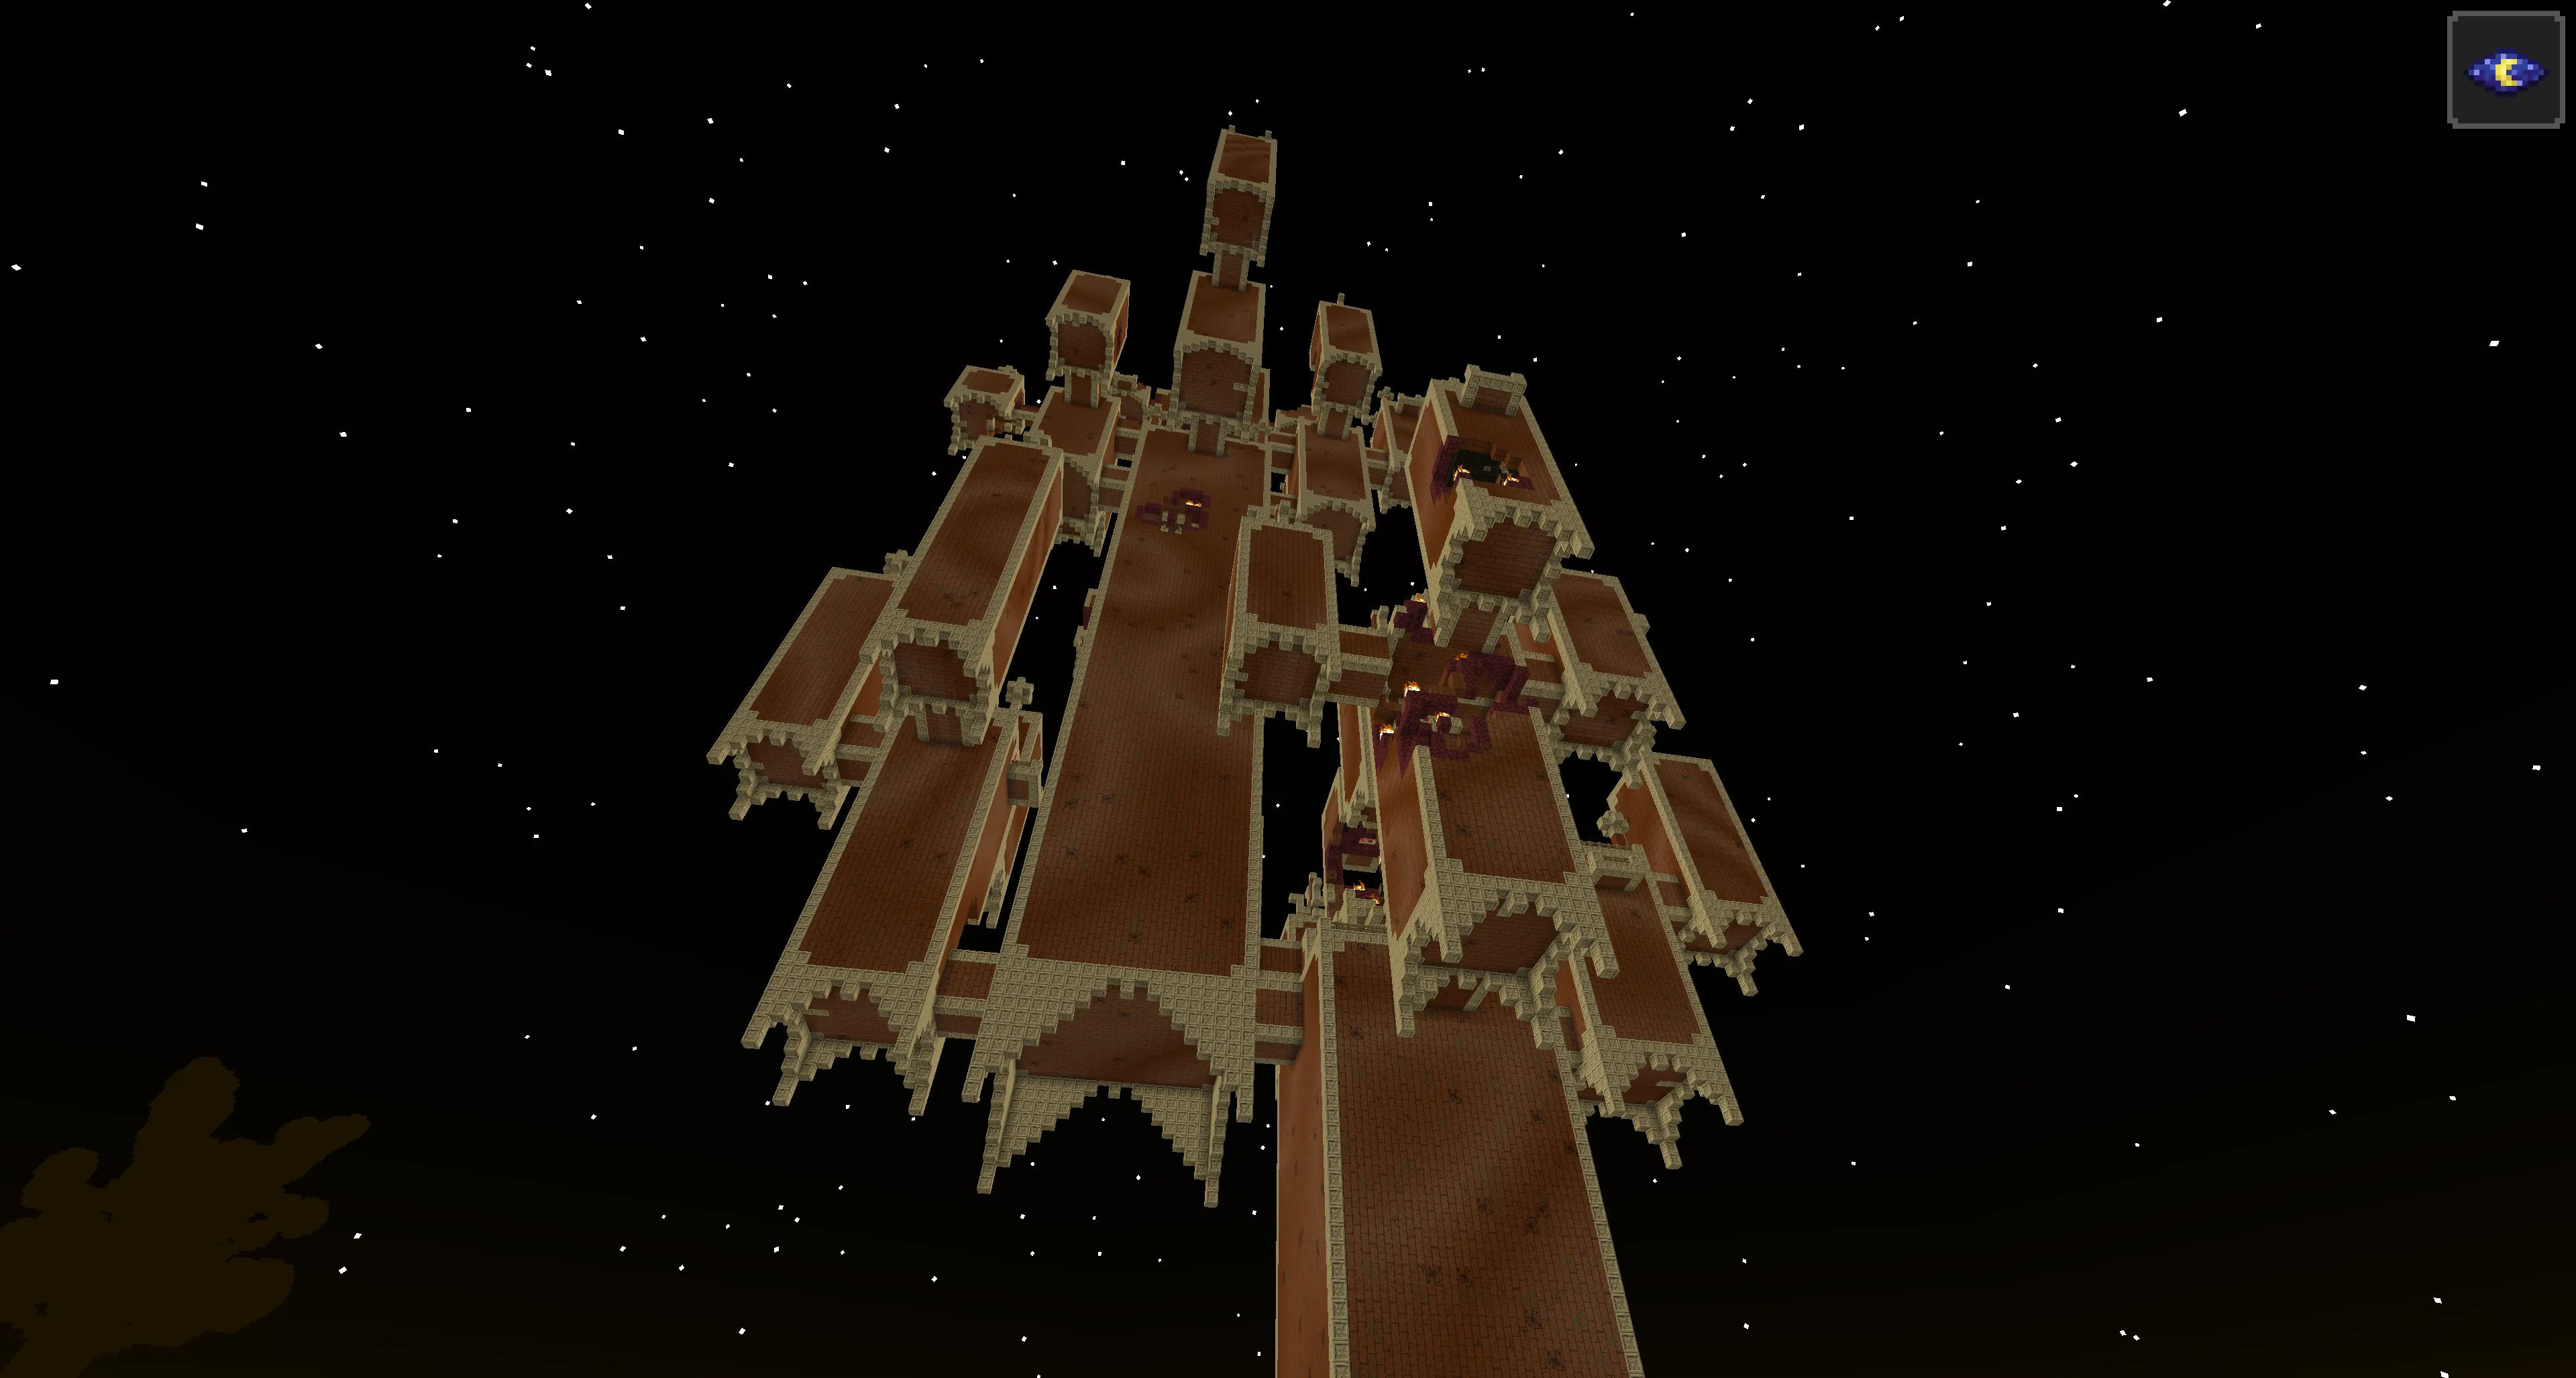 The entrance is at the bottom — the red blocks disappear when you right-click them and reappear after a short time.
Exploring the Tower
The tower is massive, and exploring it takes a lot of time.
- Your main goal is the top floor.
- It’s filled with mobs and puzzles, but you can ignore many of them.
- You’ll come across Carminite Reactors — their behavior might surprise you!
- Sometimes you’ll encounter locked doors that require 4 keys — found in adjacent towers.

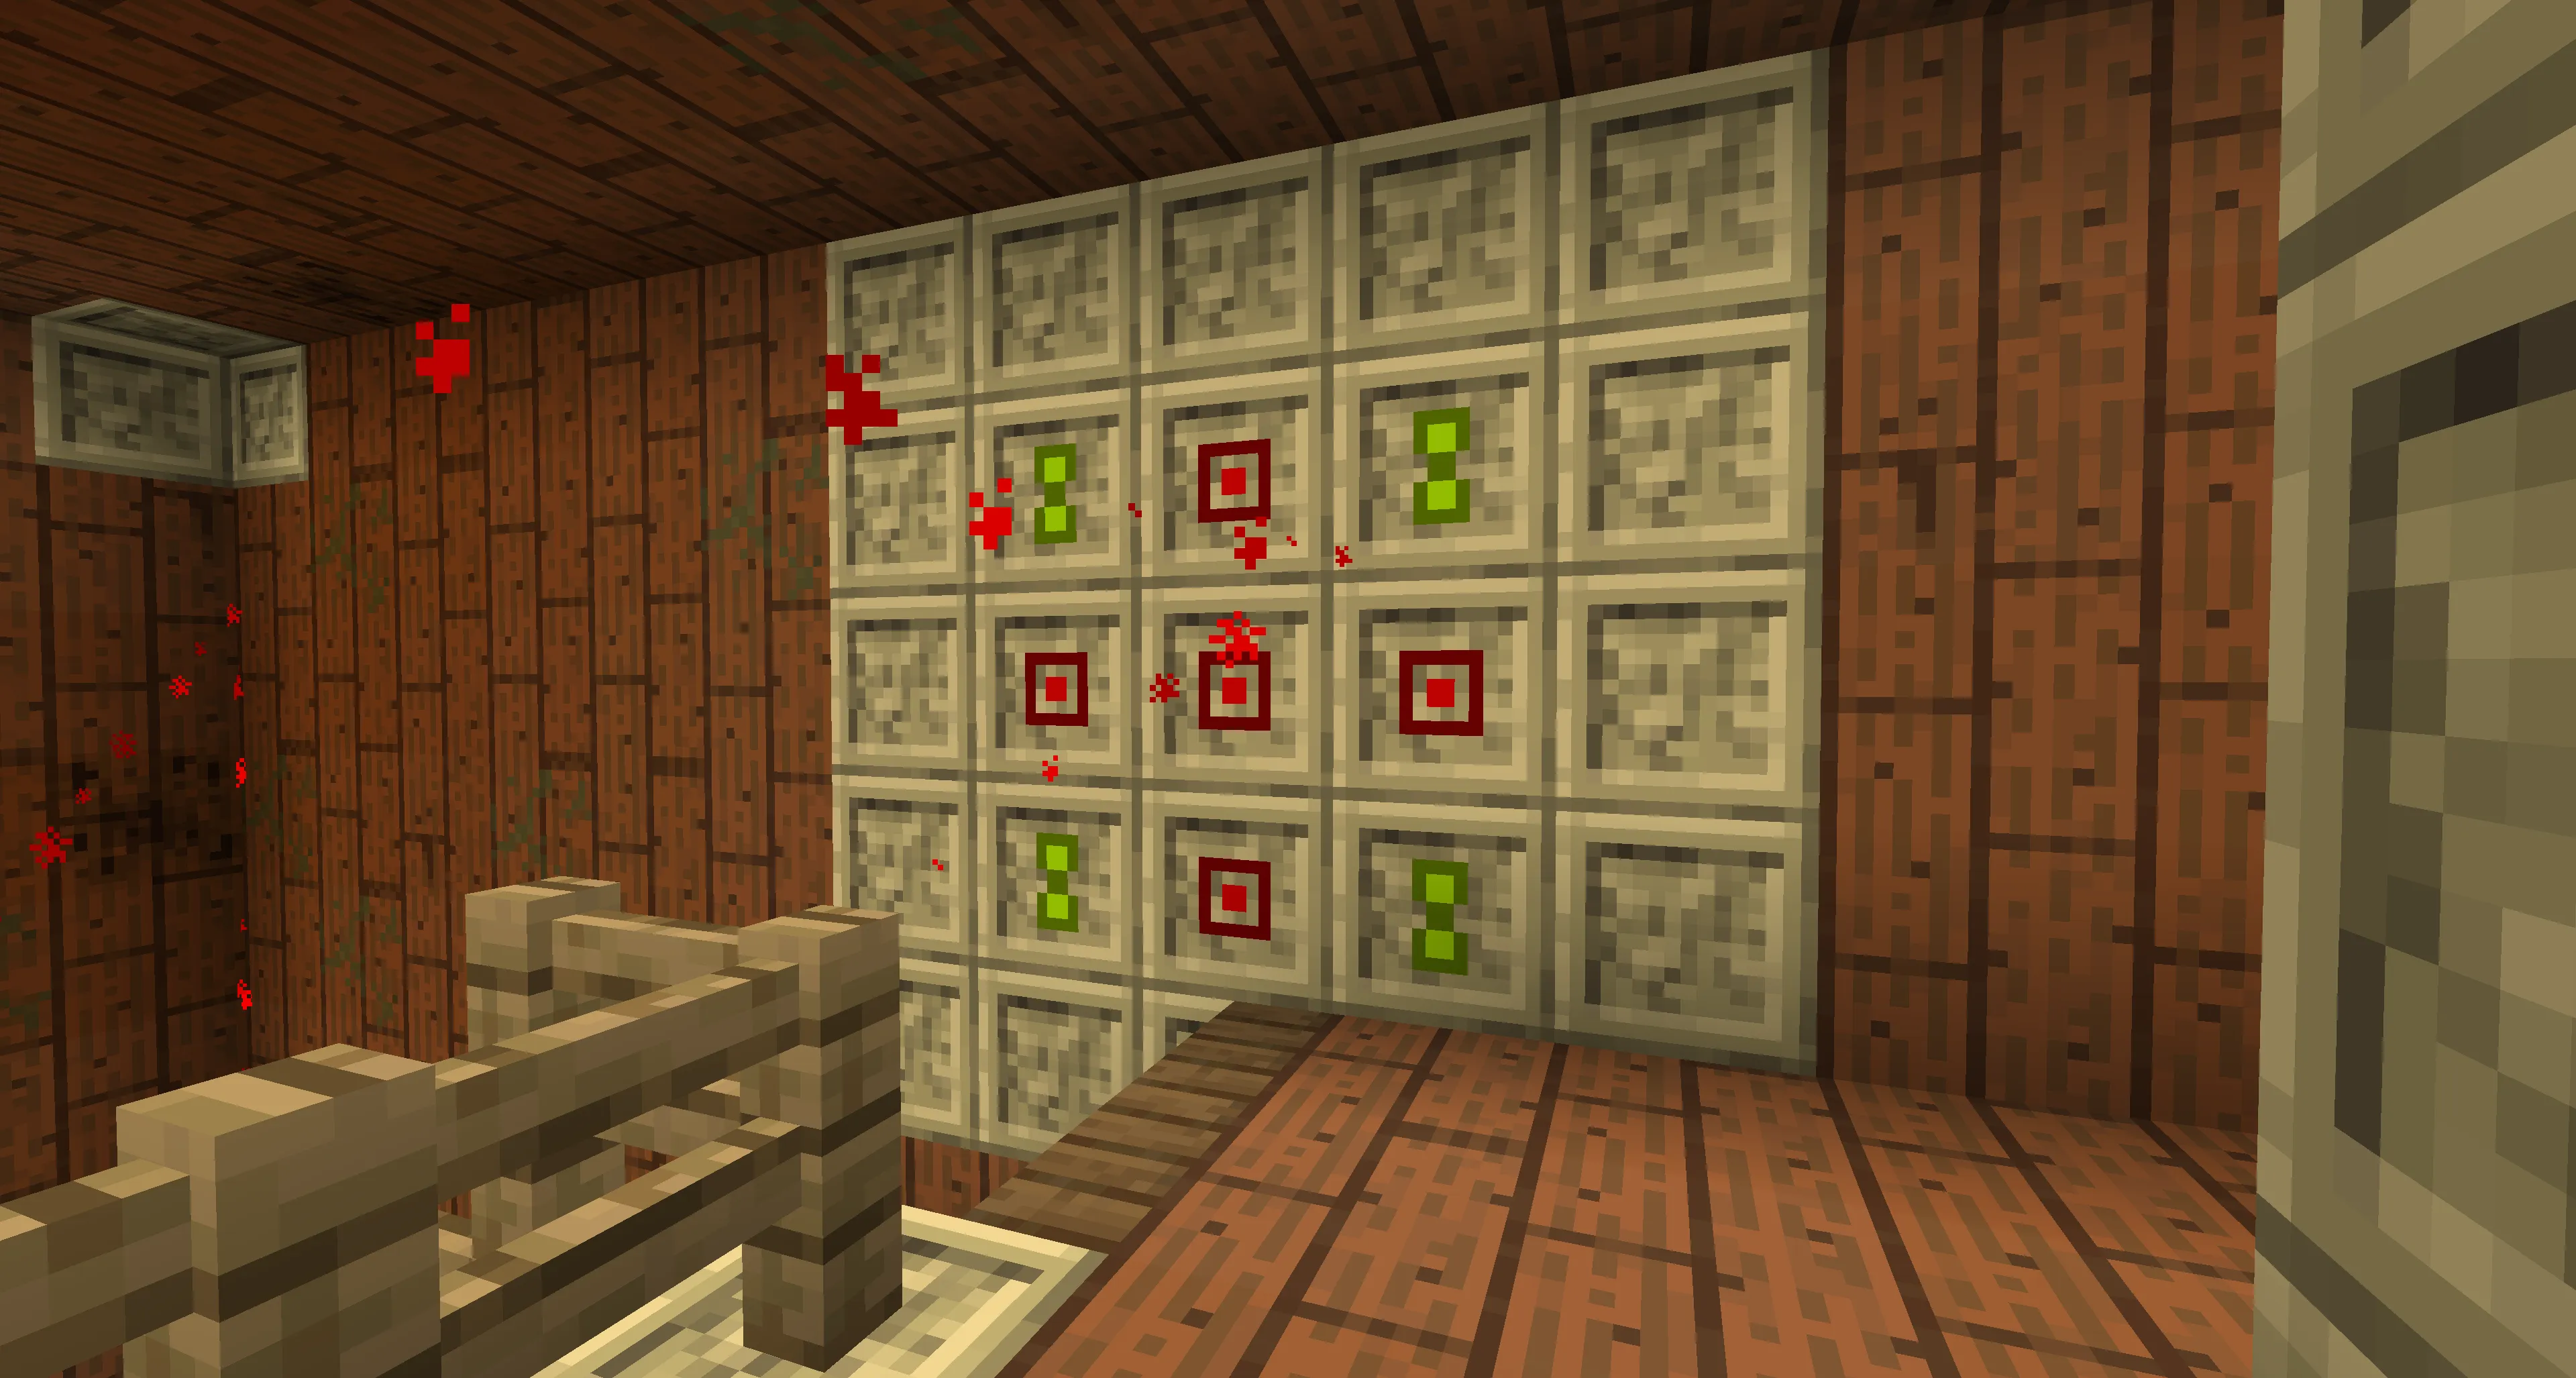
The Battle with the Ur-Ghast
On the top floor, you’ll find the Ur-Ghast spawner. It activates as soon as you enter.
How to Defeat the Ur-Ghast?
The boss has two phases that alternate:
Phase One – Offensive
- The boss launches fireballs.
- You can shoot it with a bow or knock fireballs back (if you dare).
- After a few hits, it transitions to phase two.
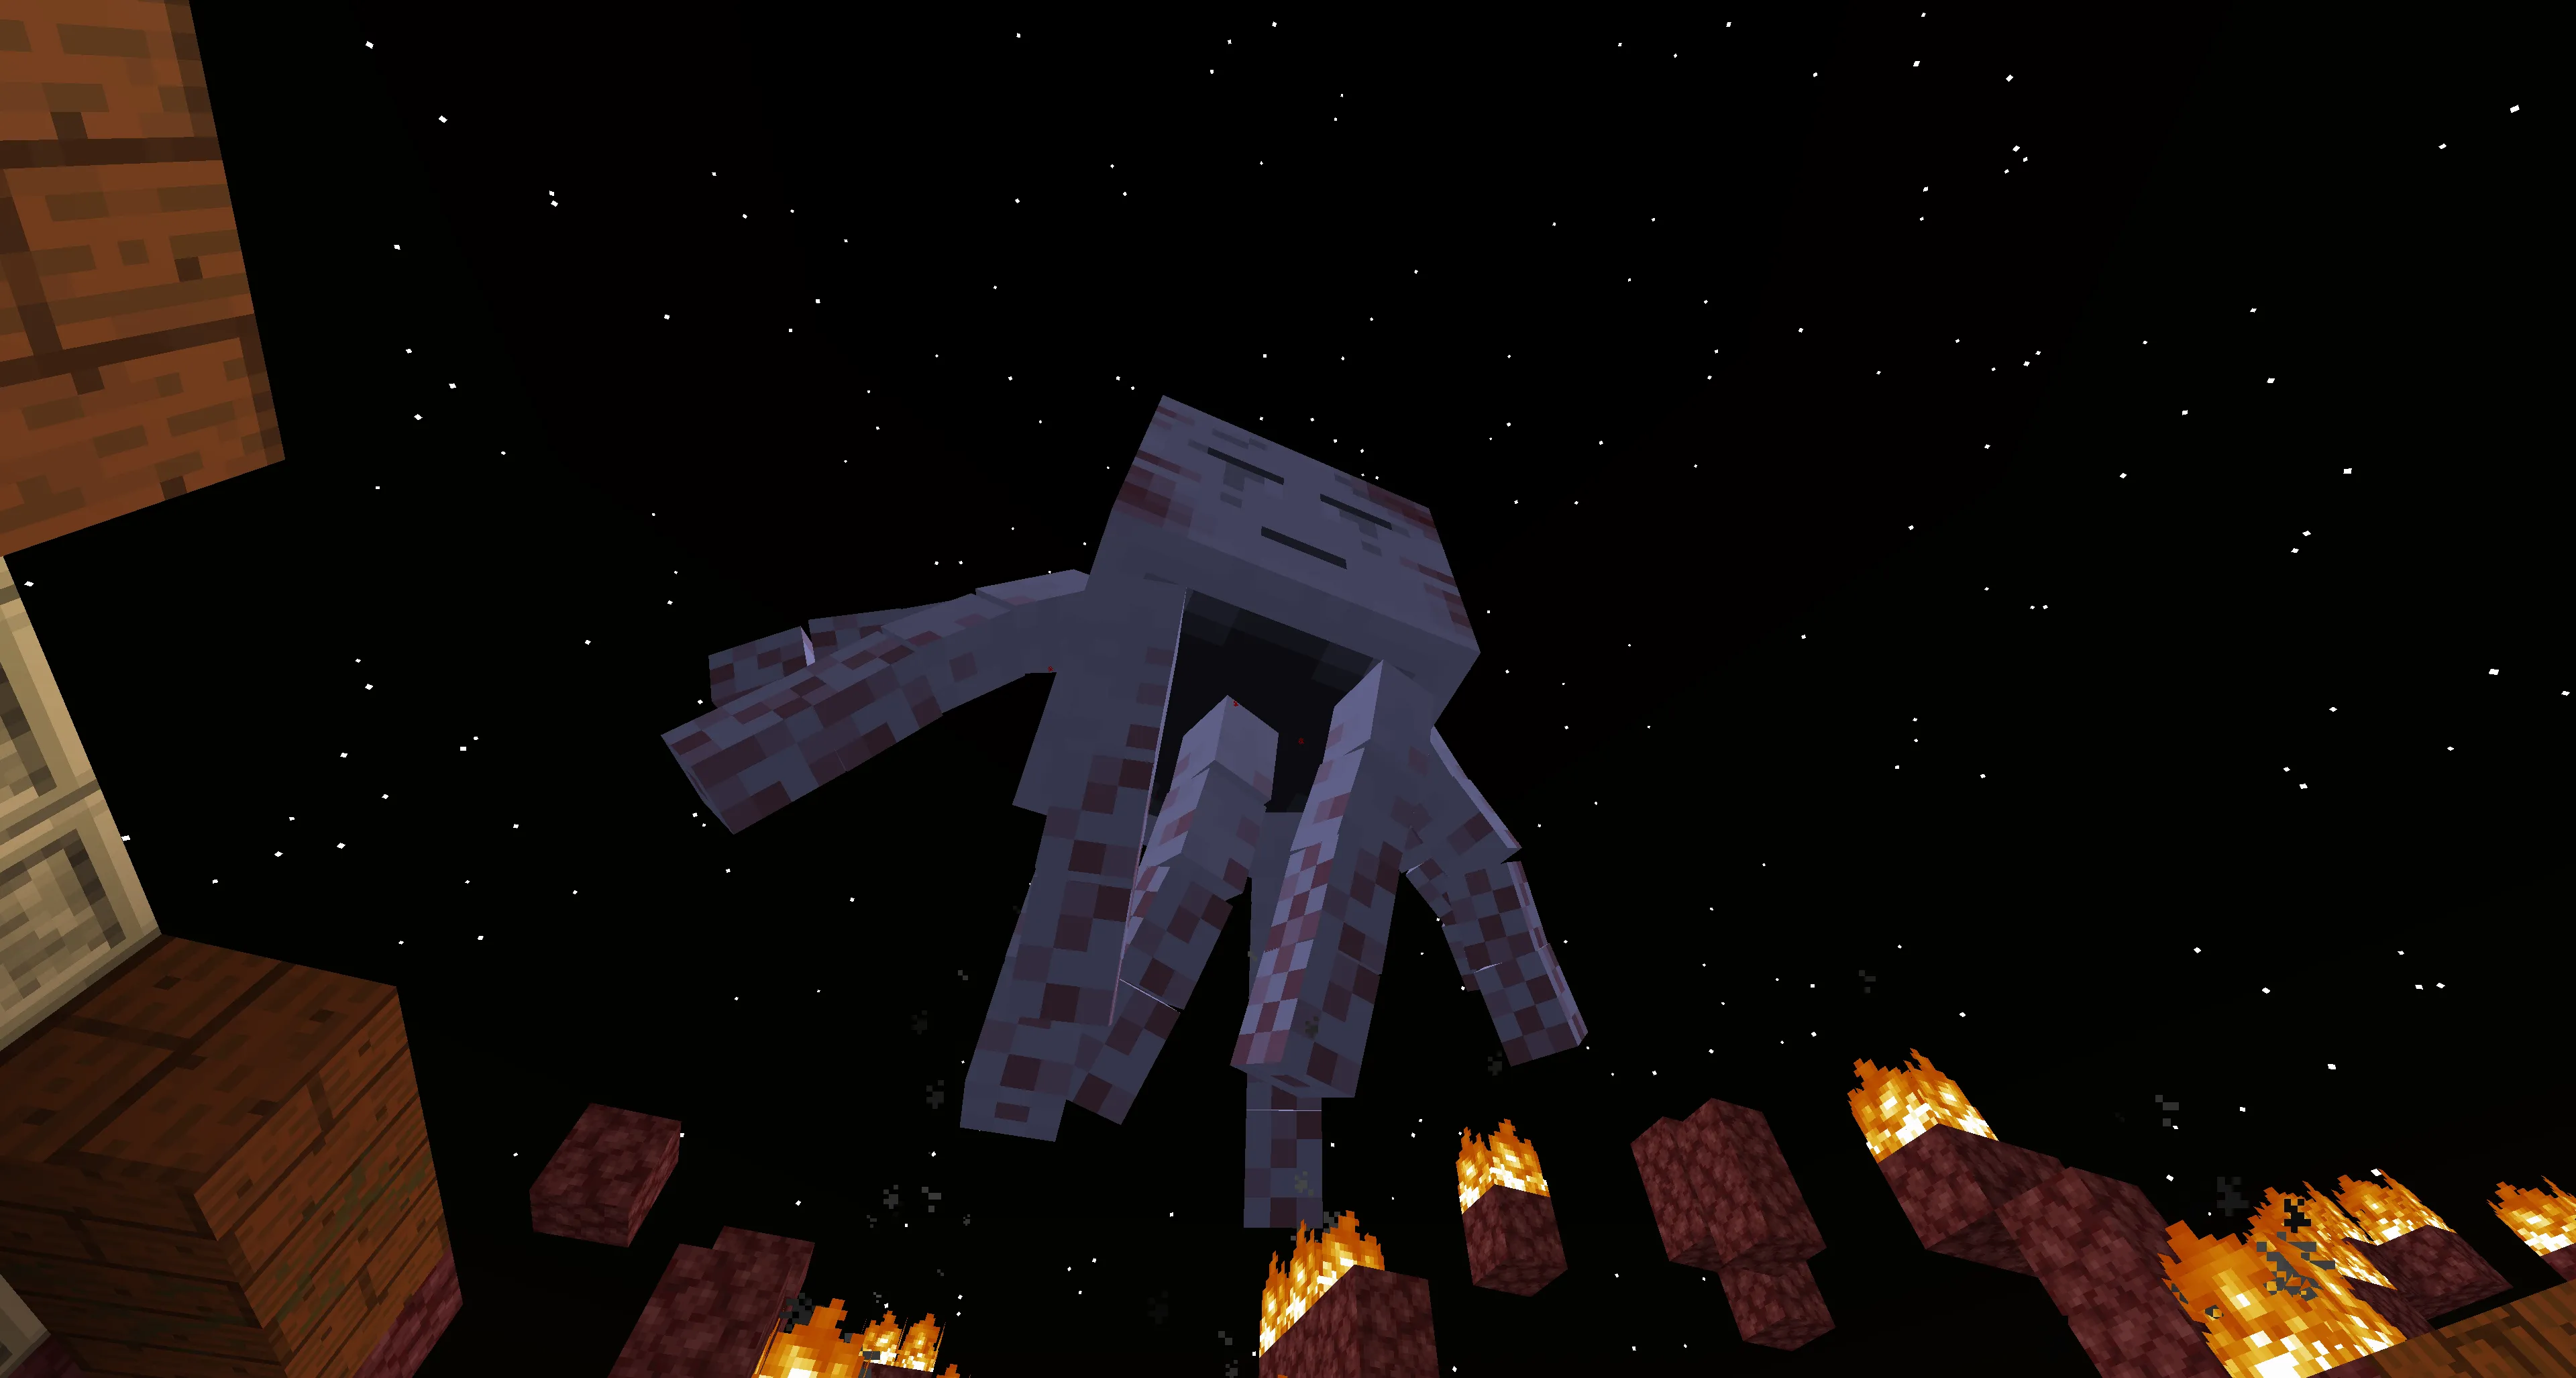 Phase Two – Defensive
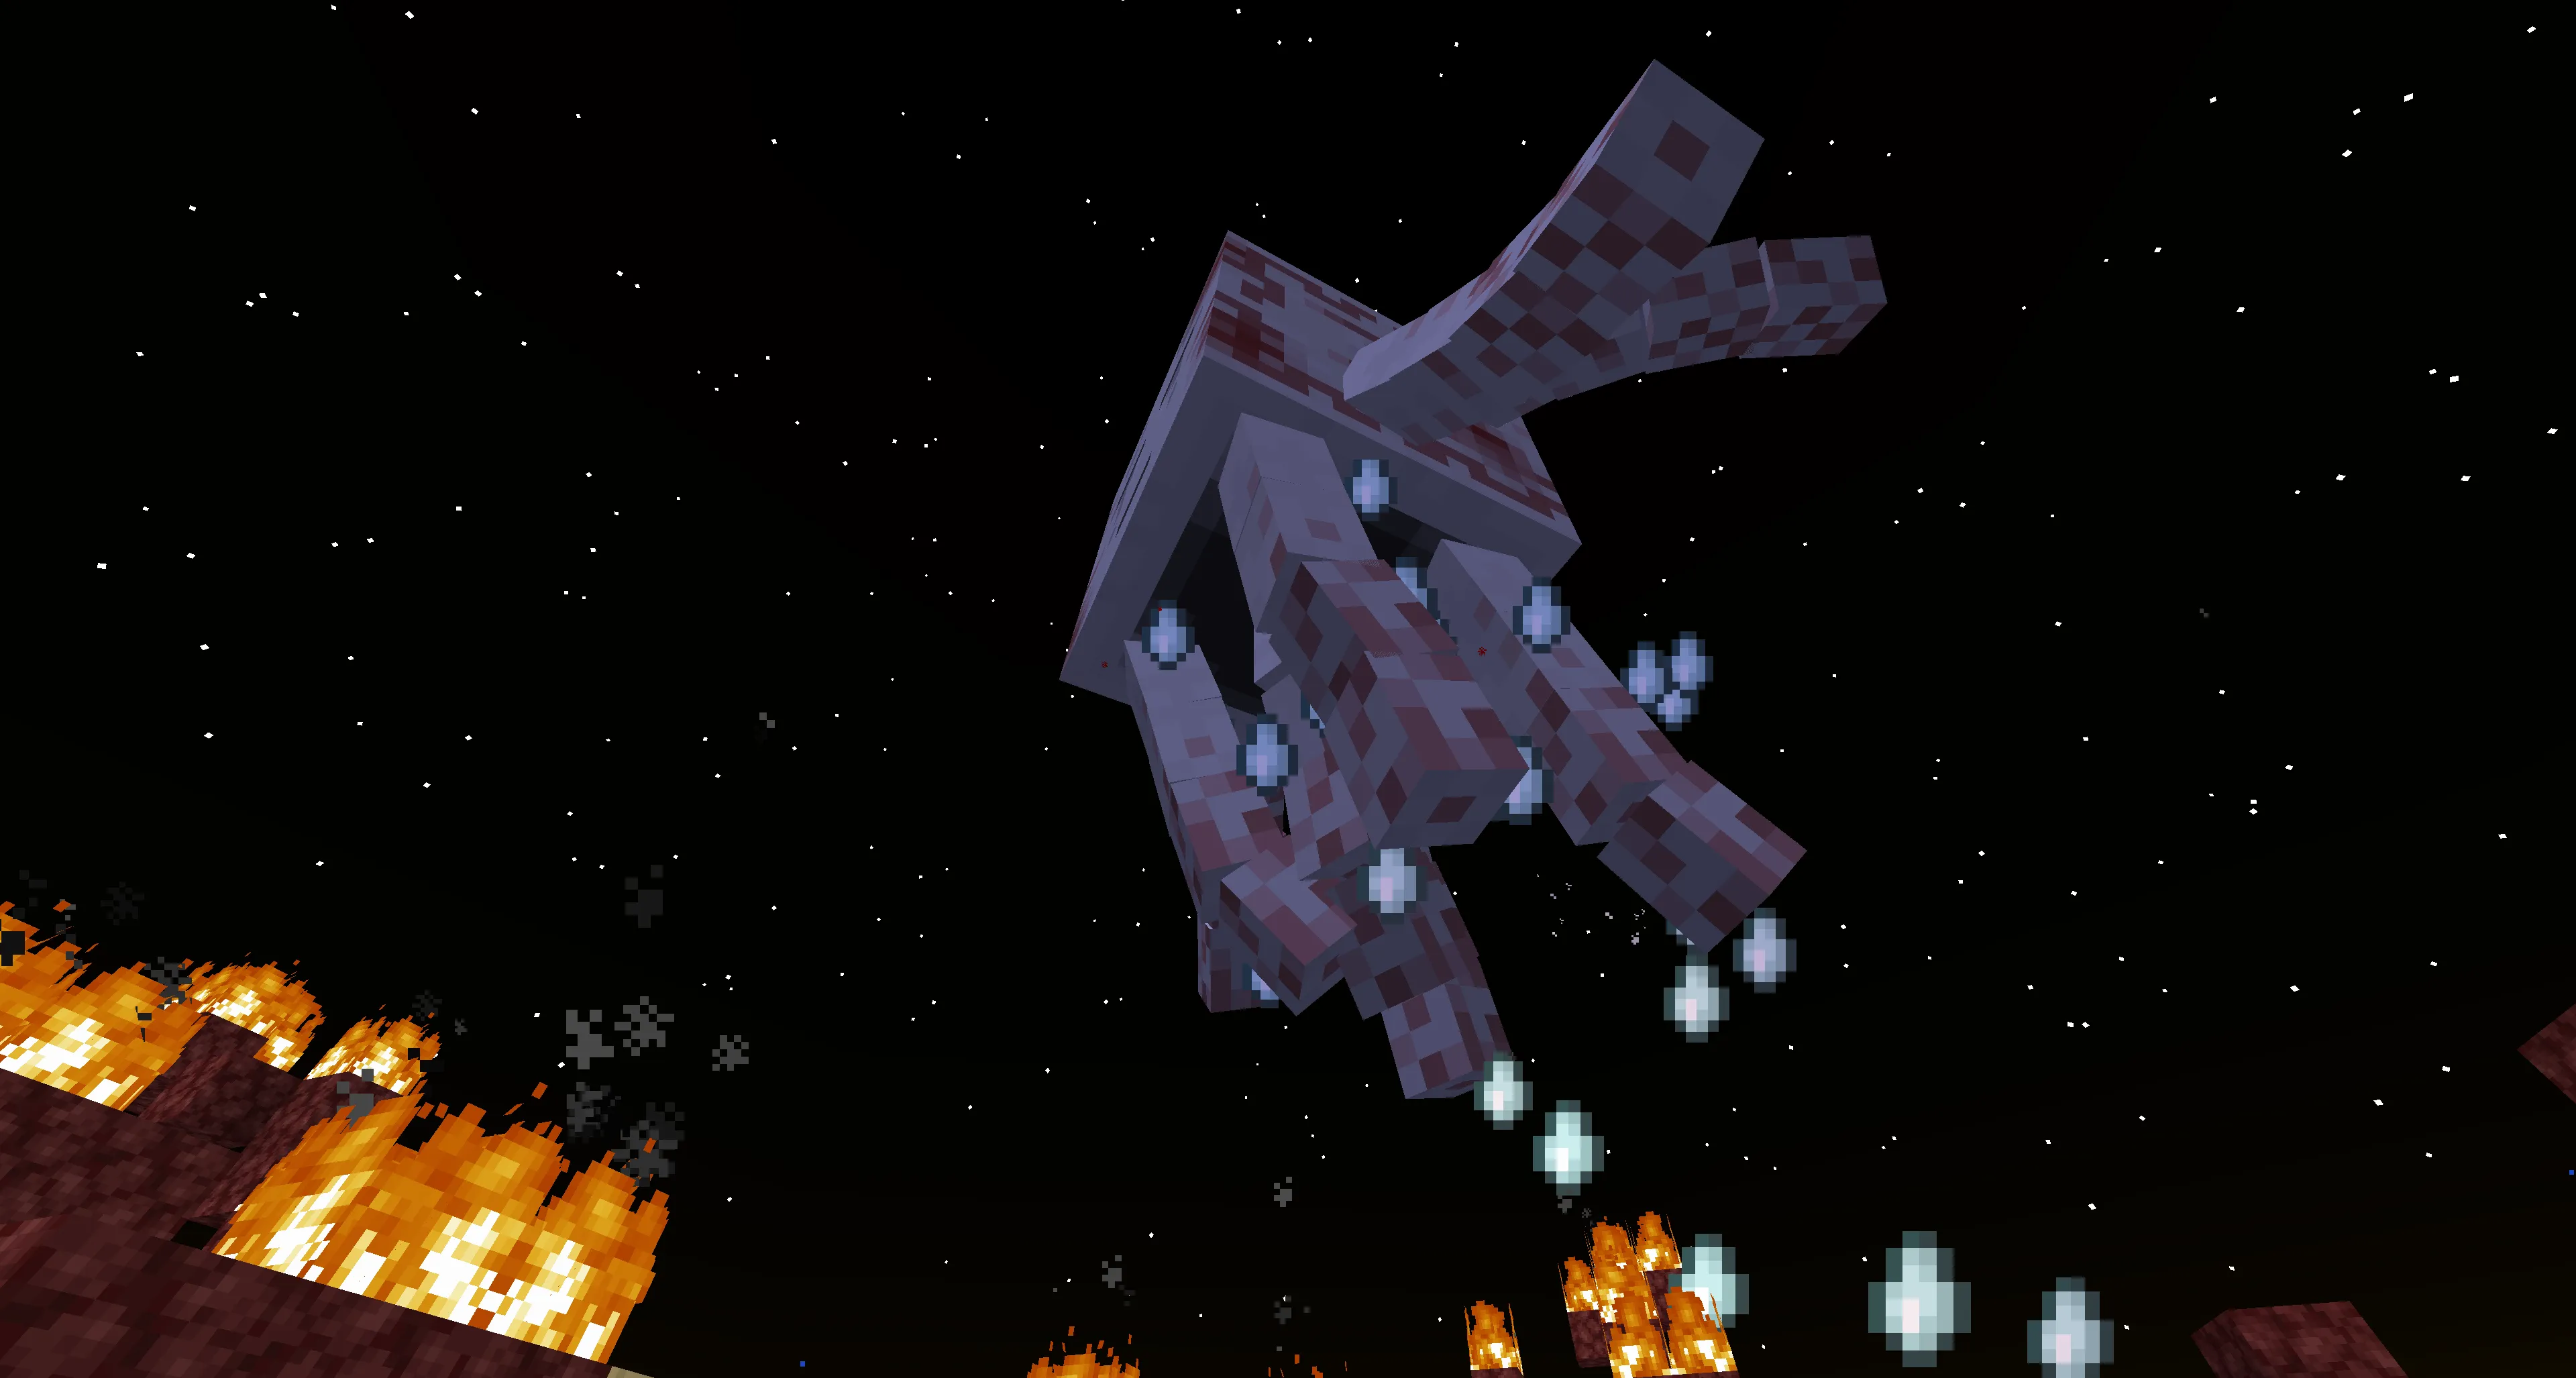
- The Ur-Ghast starts crying, releasing dozens of large ghast tears that fall and deal damage.
- He is invulnerable to normal attacks during this phase.
- Your task is to activate the trap for the Ur-Ghast.
![]()
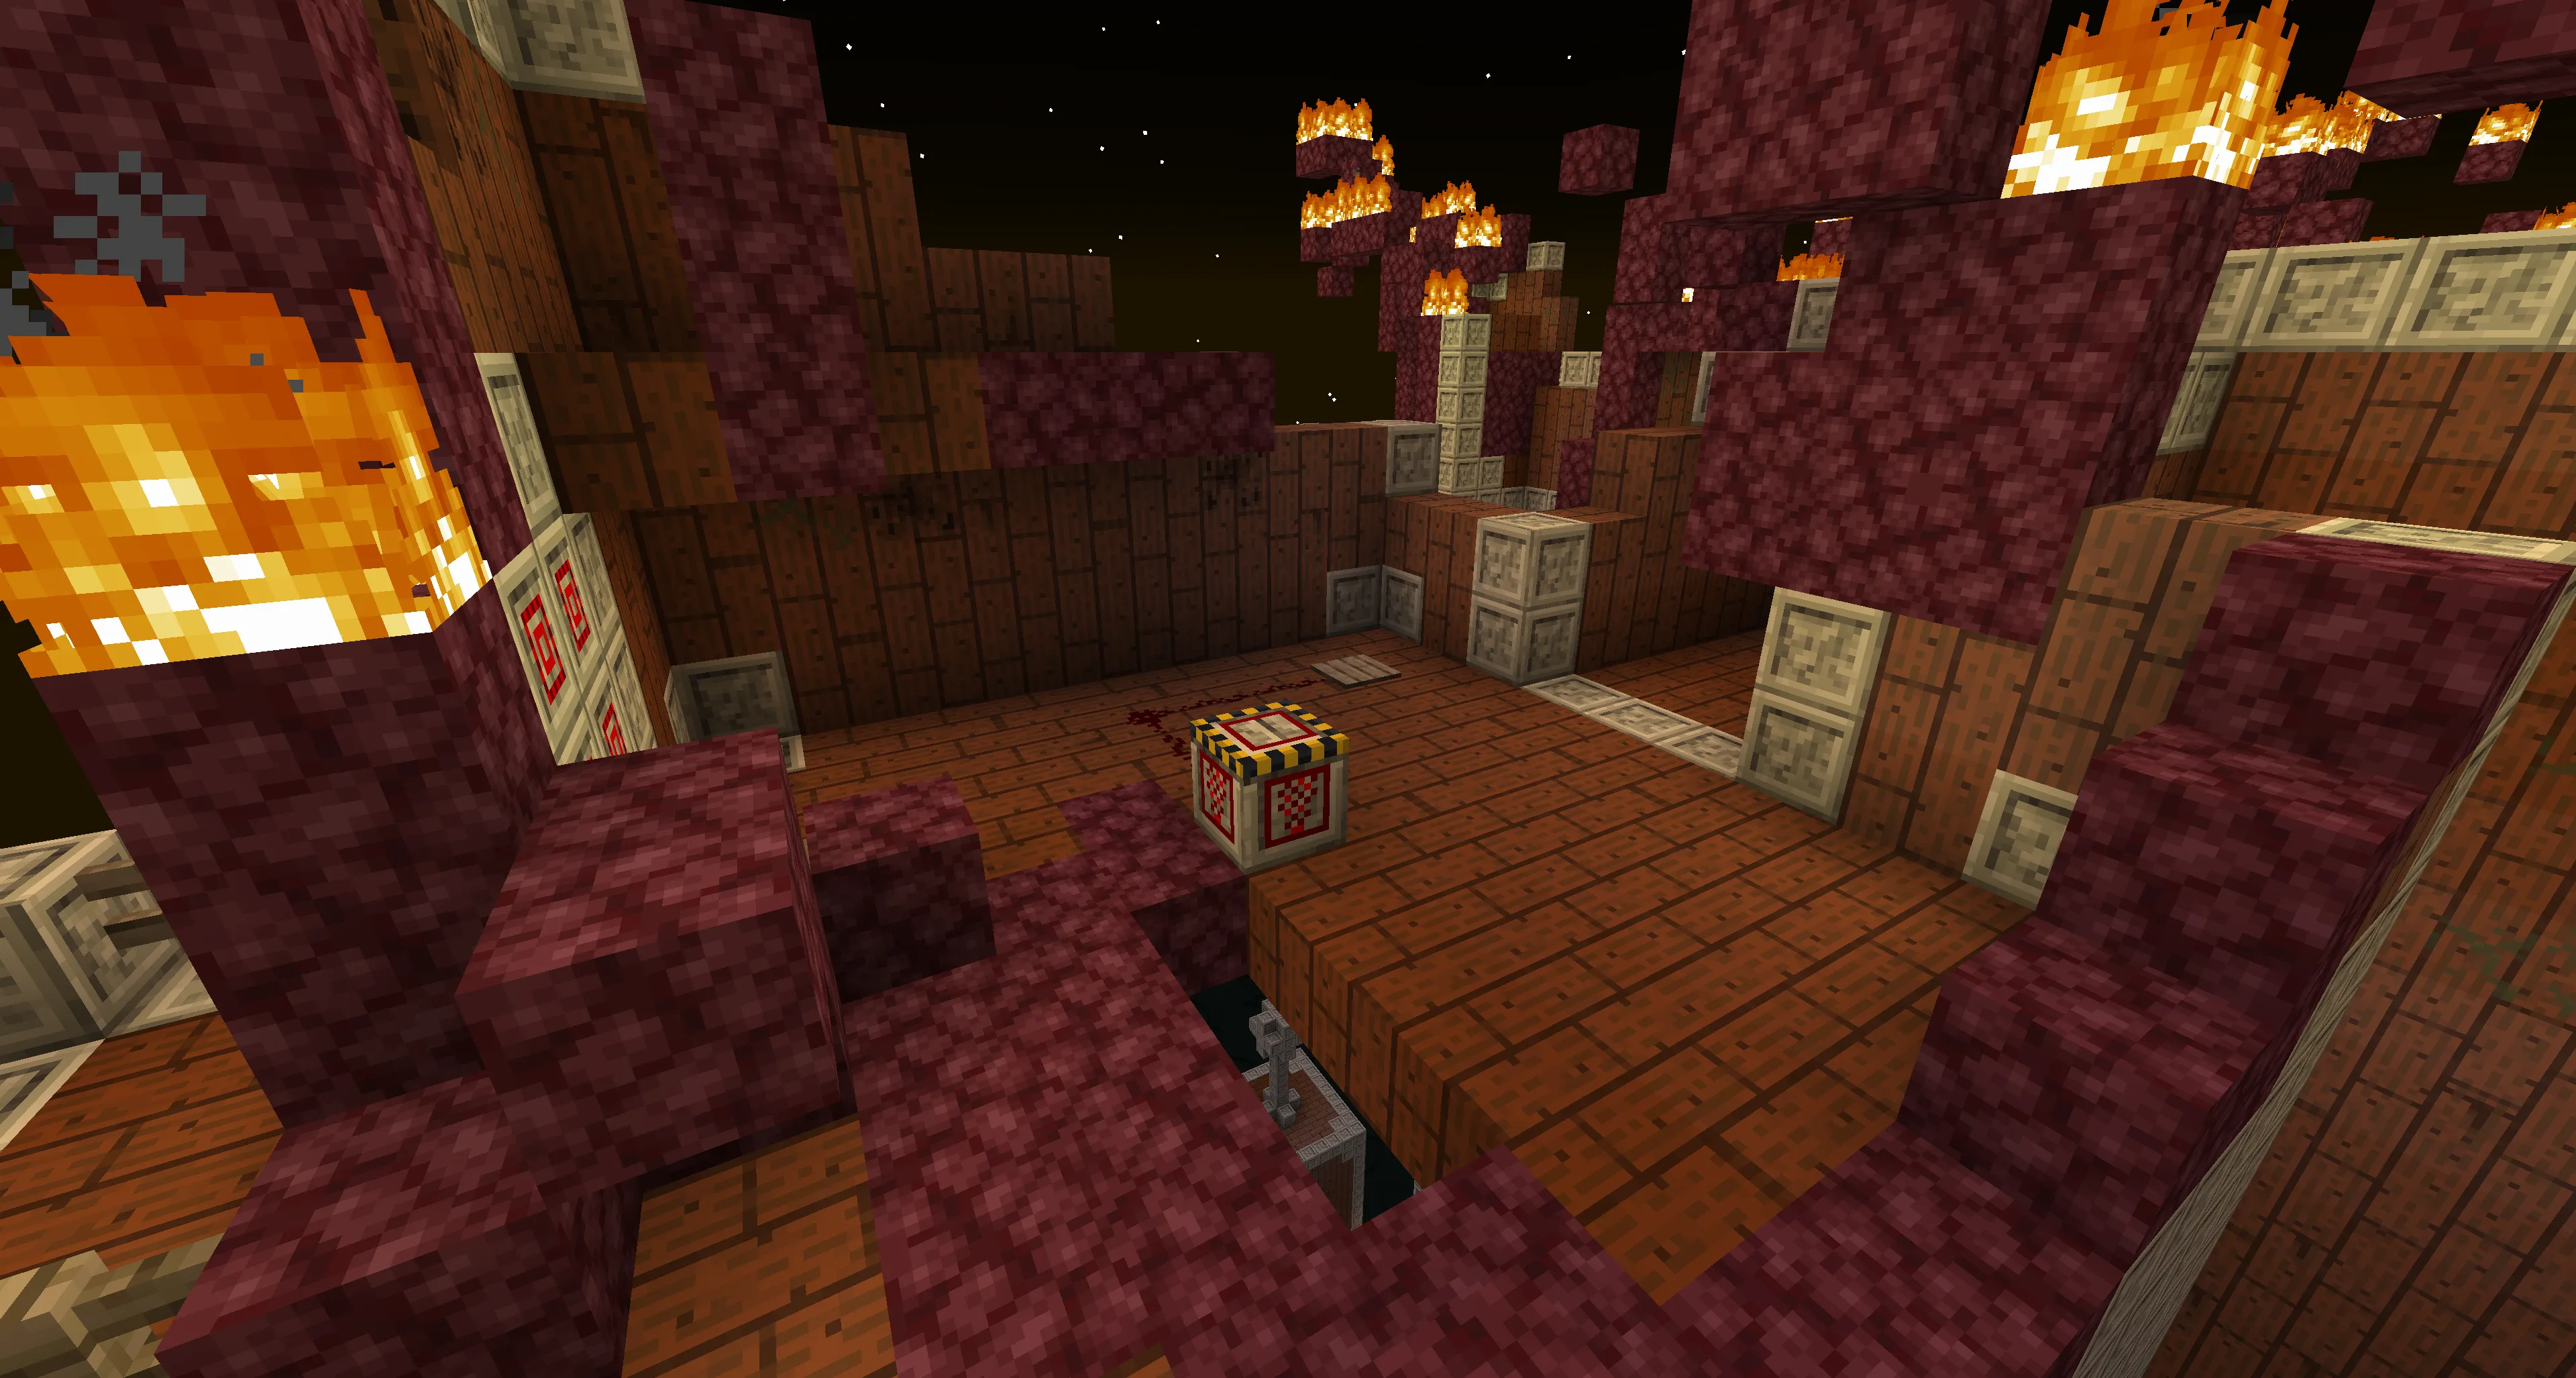
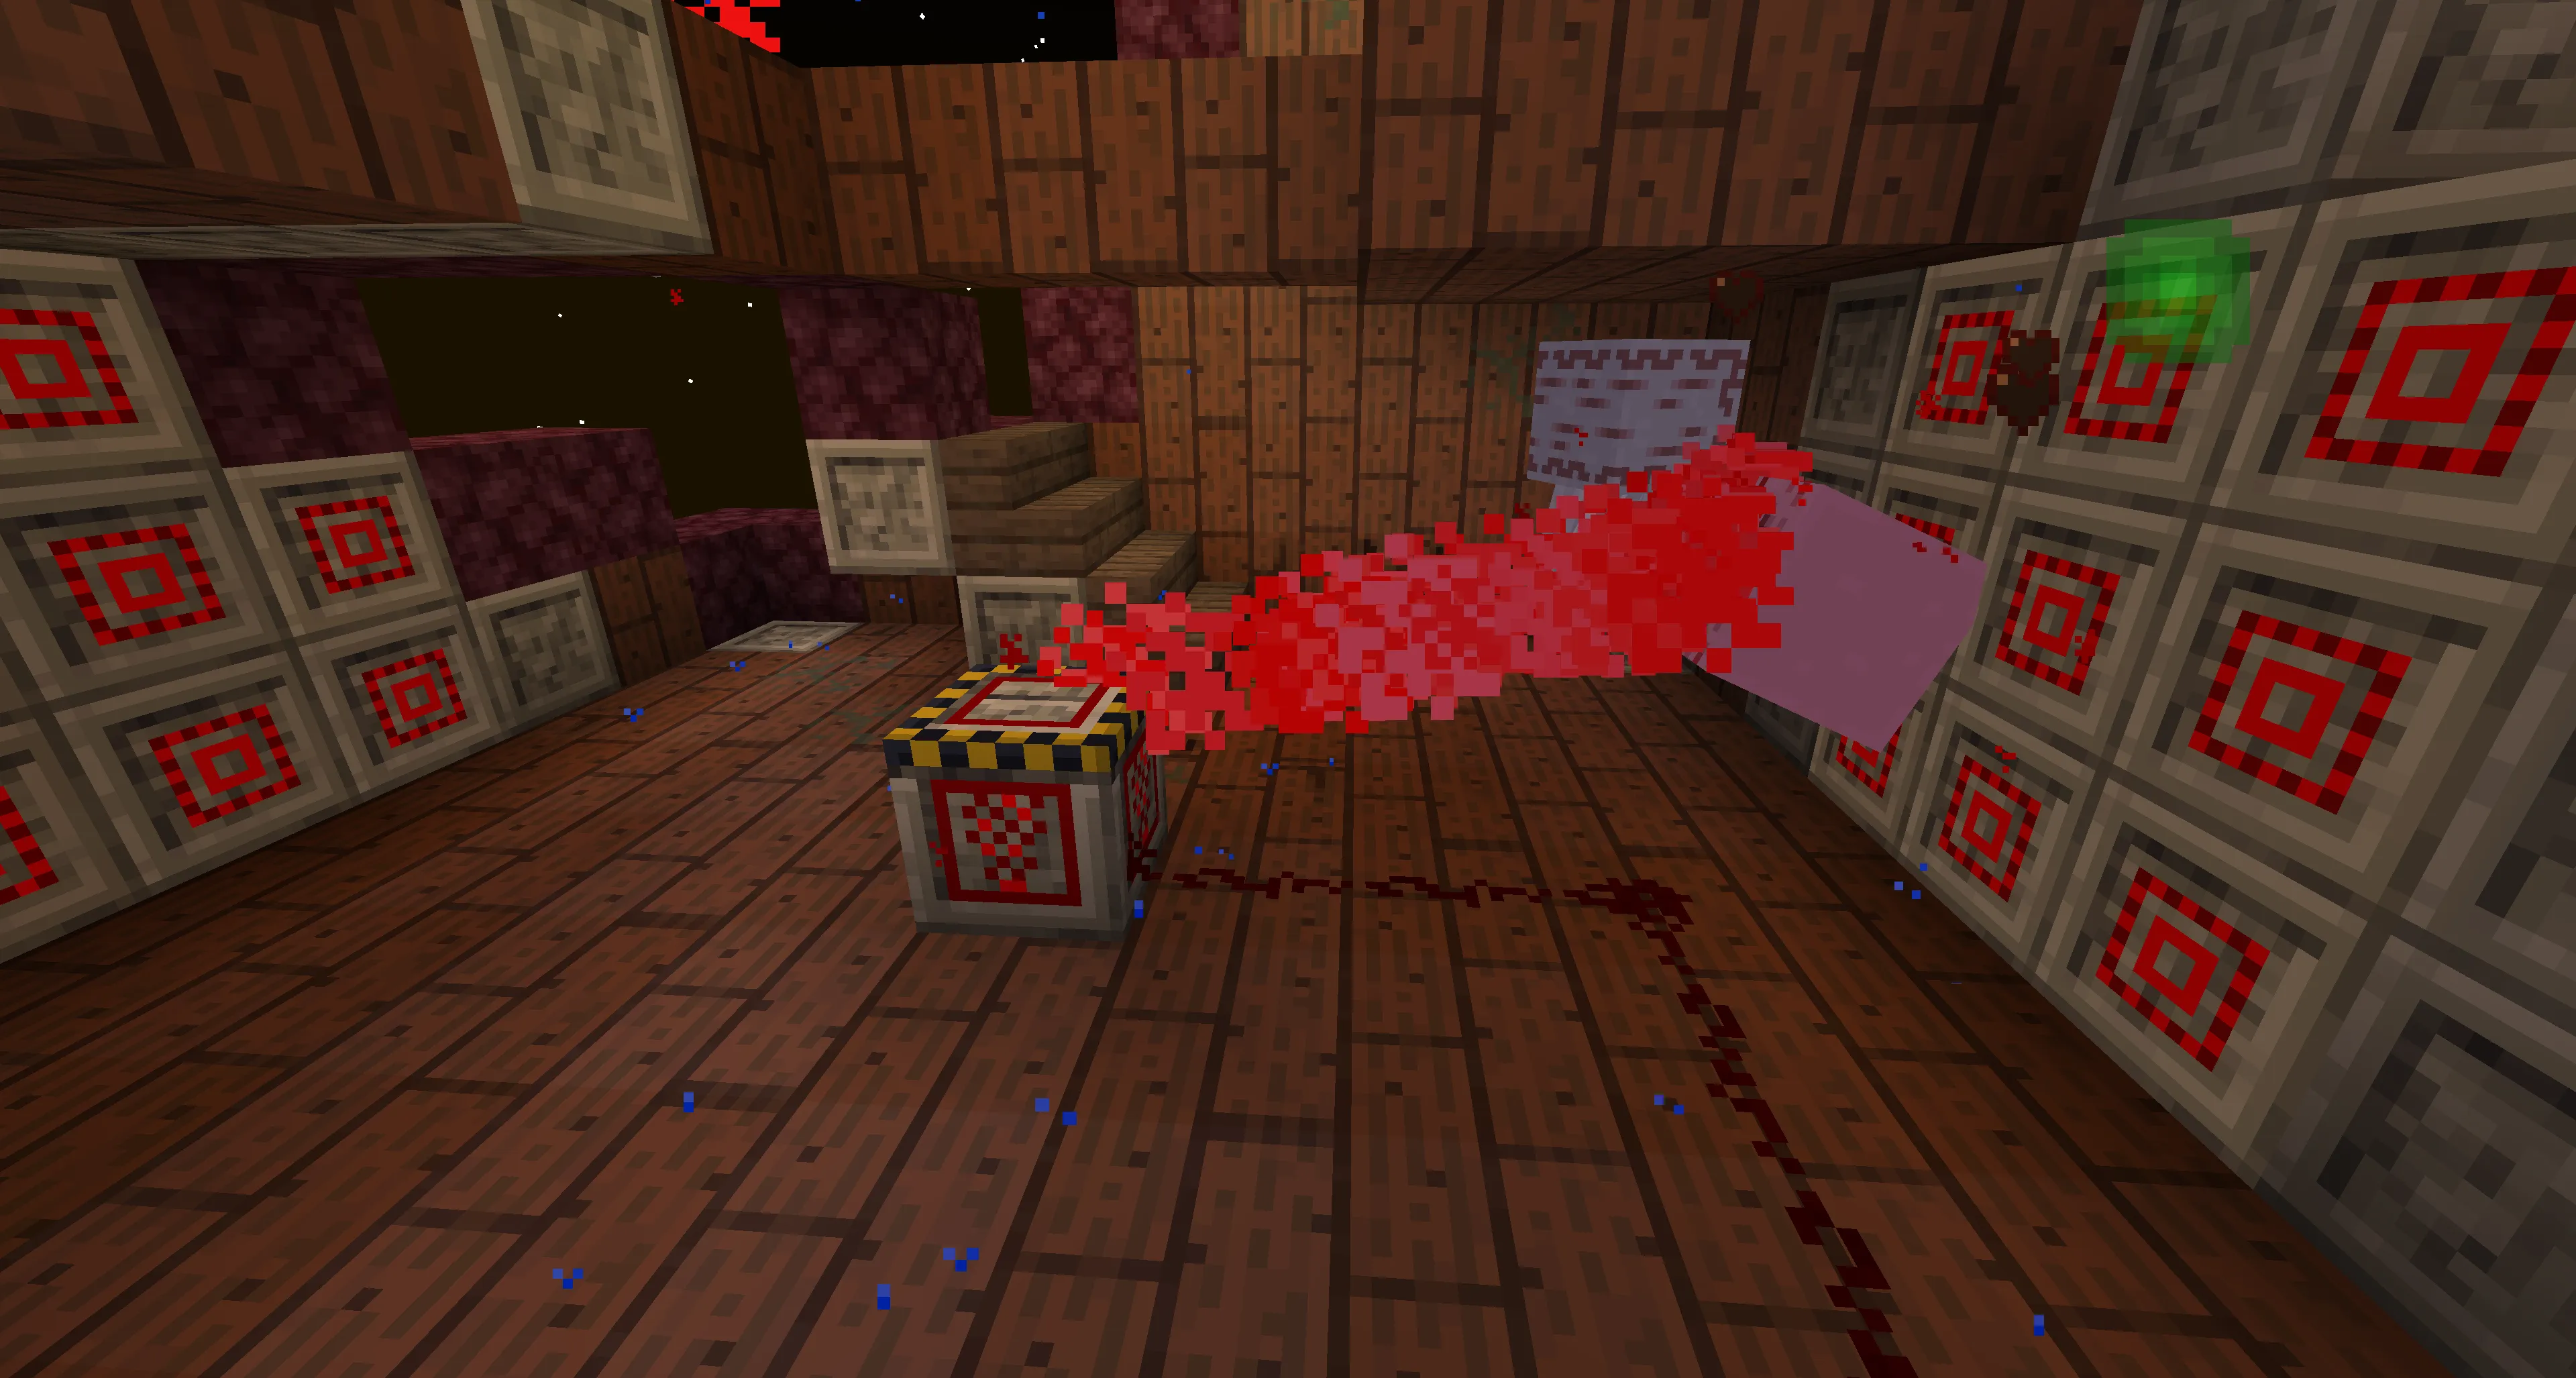
How the Trap Works
- There are traps around the arena’s edges, powered by redstone signals.
- To power them, you need to kill the small ghasts that appear around.
- You should activate a trap when the Ur-Ghast is above it.
- The Ur-Ghast gets pulled in, takes damage, and you can slash it with a sword during that moment.
- After the trap’s charge is used, the boss returns to phase one.
Reward for Defeating the Ur-Ghast
After killing the Ur-Ghast, you get:
- Fiery Tears (similar to Fiery Blood from the Hydra) — used in crafting.
- Carminite — the main material for the tower’s mechanisms.
- Ur-Ghast Trophy.
Carminite Crafting
Carminite is used to create devices found in the Ur-Ghast tower.
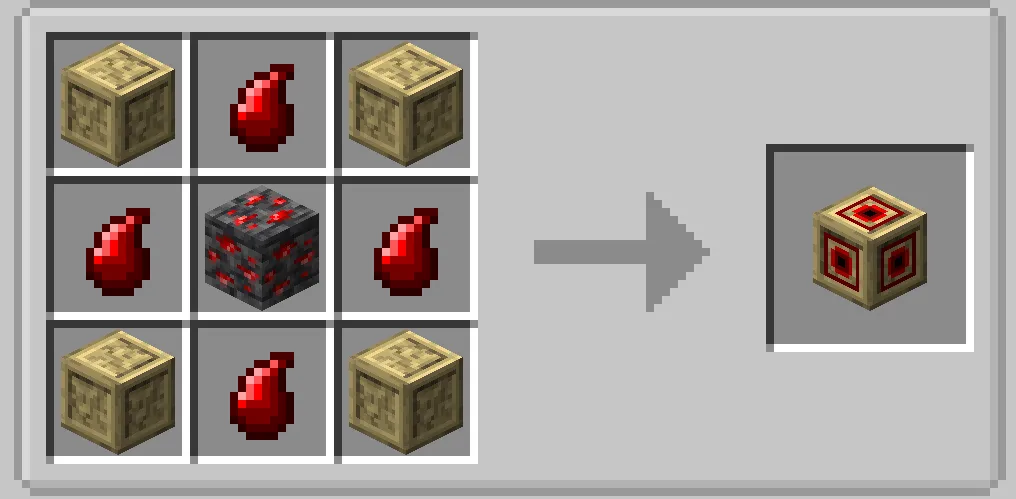
1. Vanishing Block
- Disappears on right-click, opening a path.
![]()
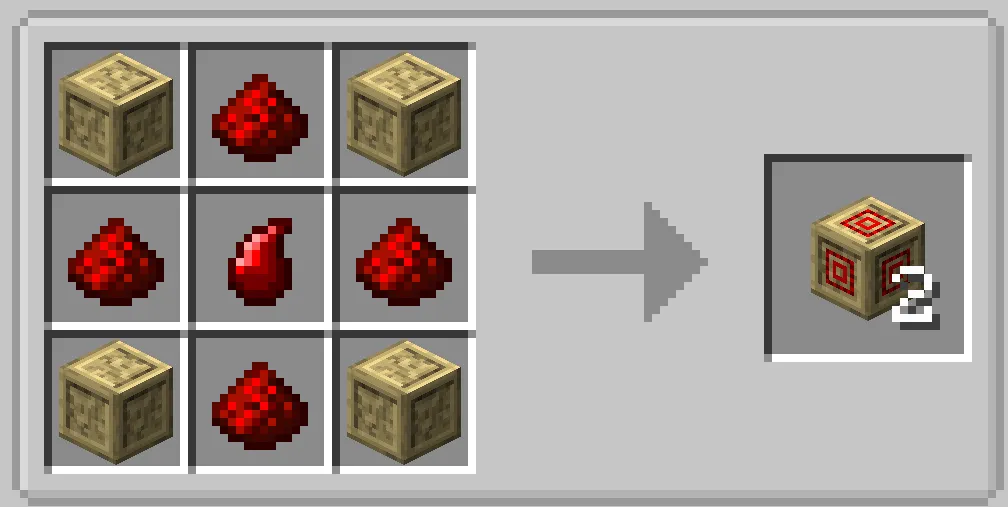
2. Reappearing Block
- Disappears when right-clicked and reappears a few seconds later.
![]()
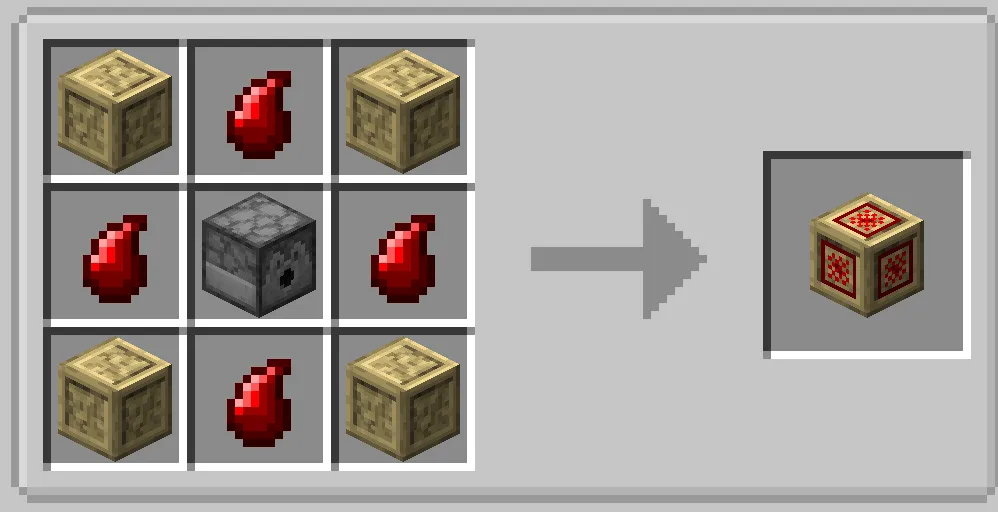
3. Carminite Builder
- Activated by redstone.
- Creates a temporary bridge in the direction of the redstone signal.
![]()
4. Carminite Reactor
- For those who might need it :D
![]()
The Seventh Boss – The Alpha Yeti
How to Find the Yeti’s Lair?
The Alpha Yeti lives in the snowy biome, often at its edges.
This is the legendary Yeti some people seek all their lives, but we find with a map in mere minutes.
On the map, the lair is marked with this icon:
What Does the Lair Look Like?
The lair is a square snowy mound.
Inside you’ll find:
- Normal Yetis (aggressive but weak).
- Alpha Yeti – the boss in the center.
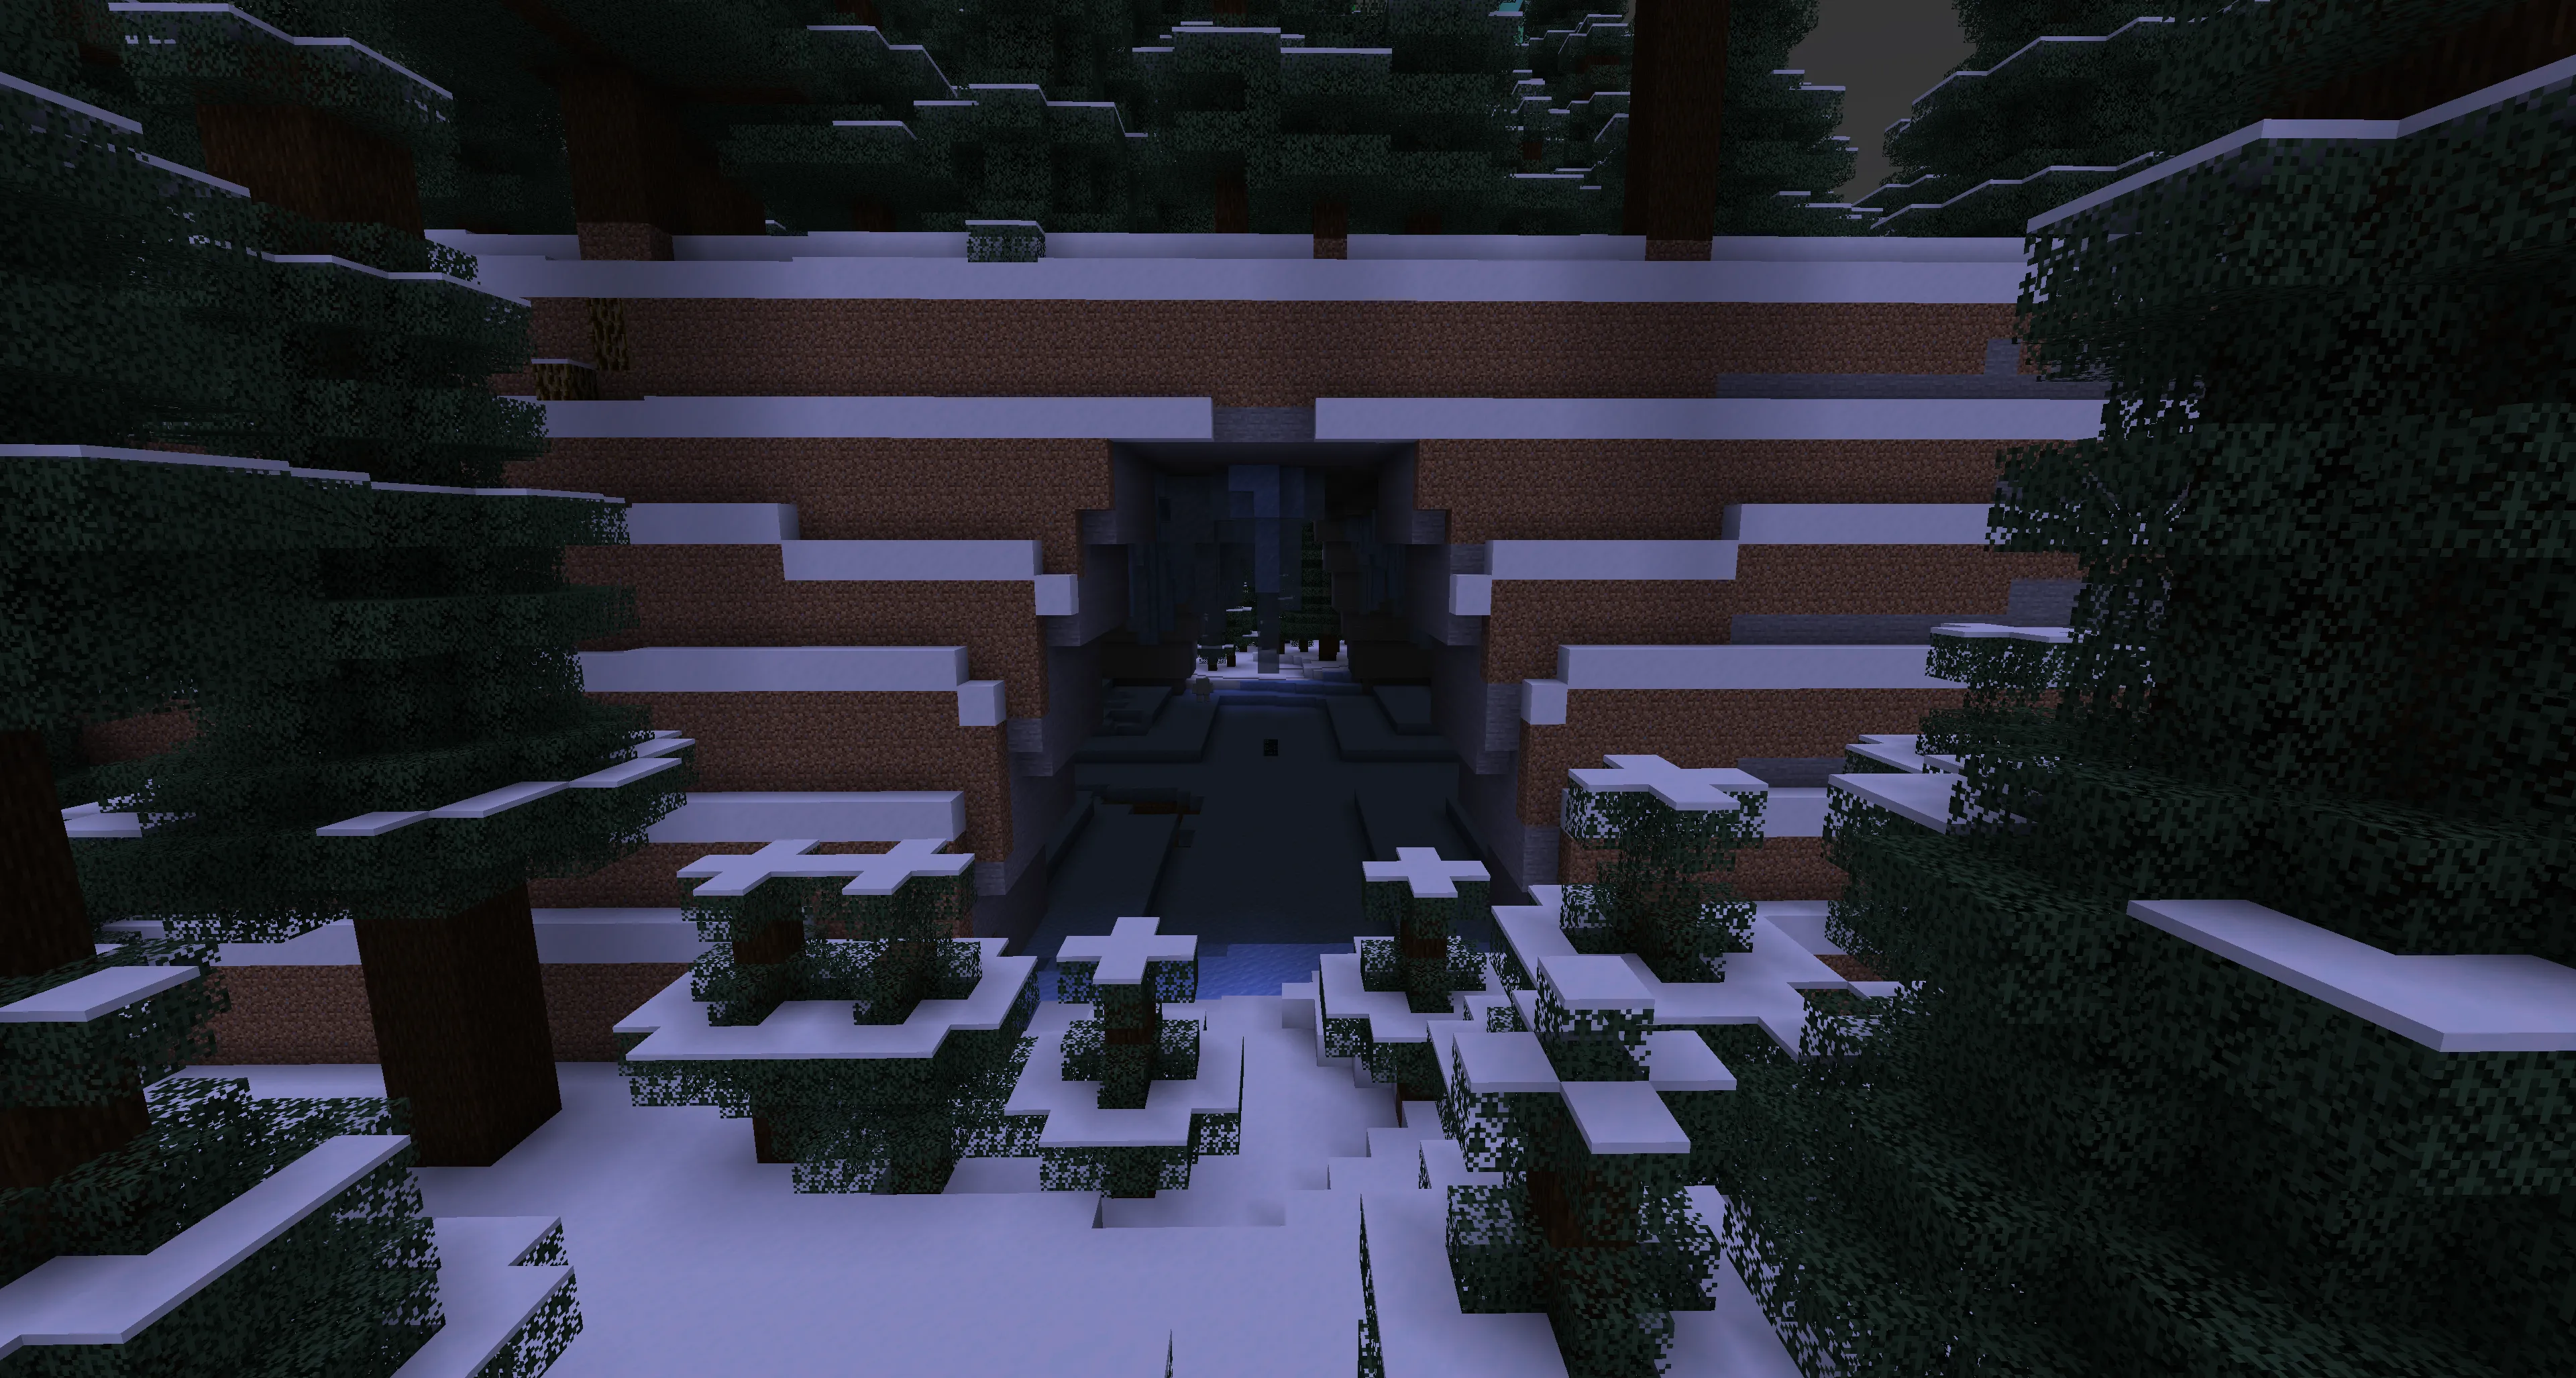
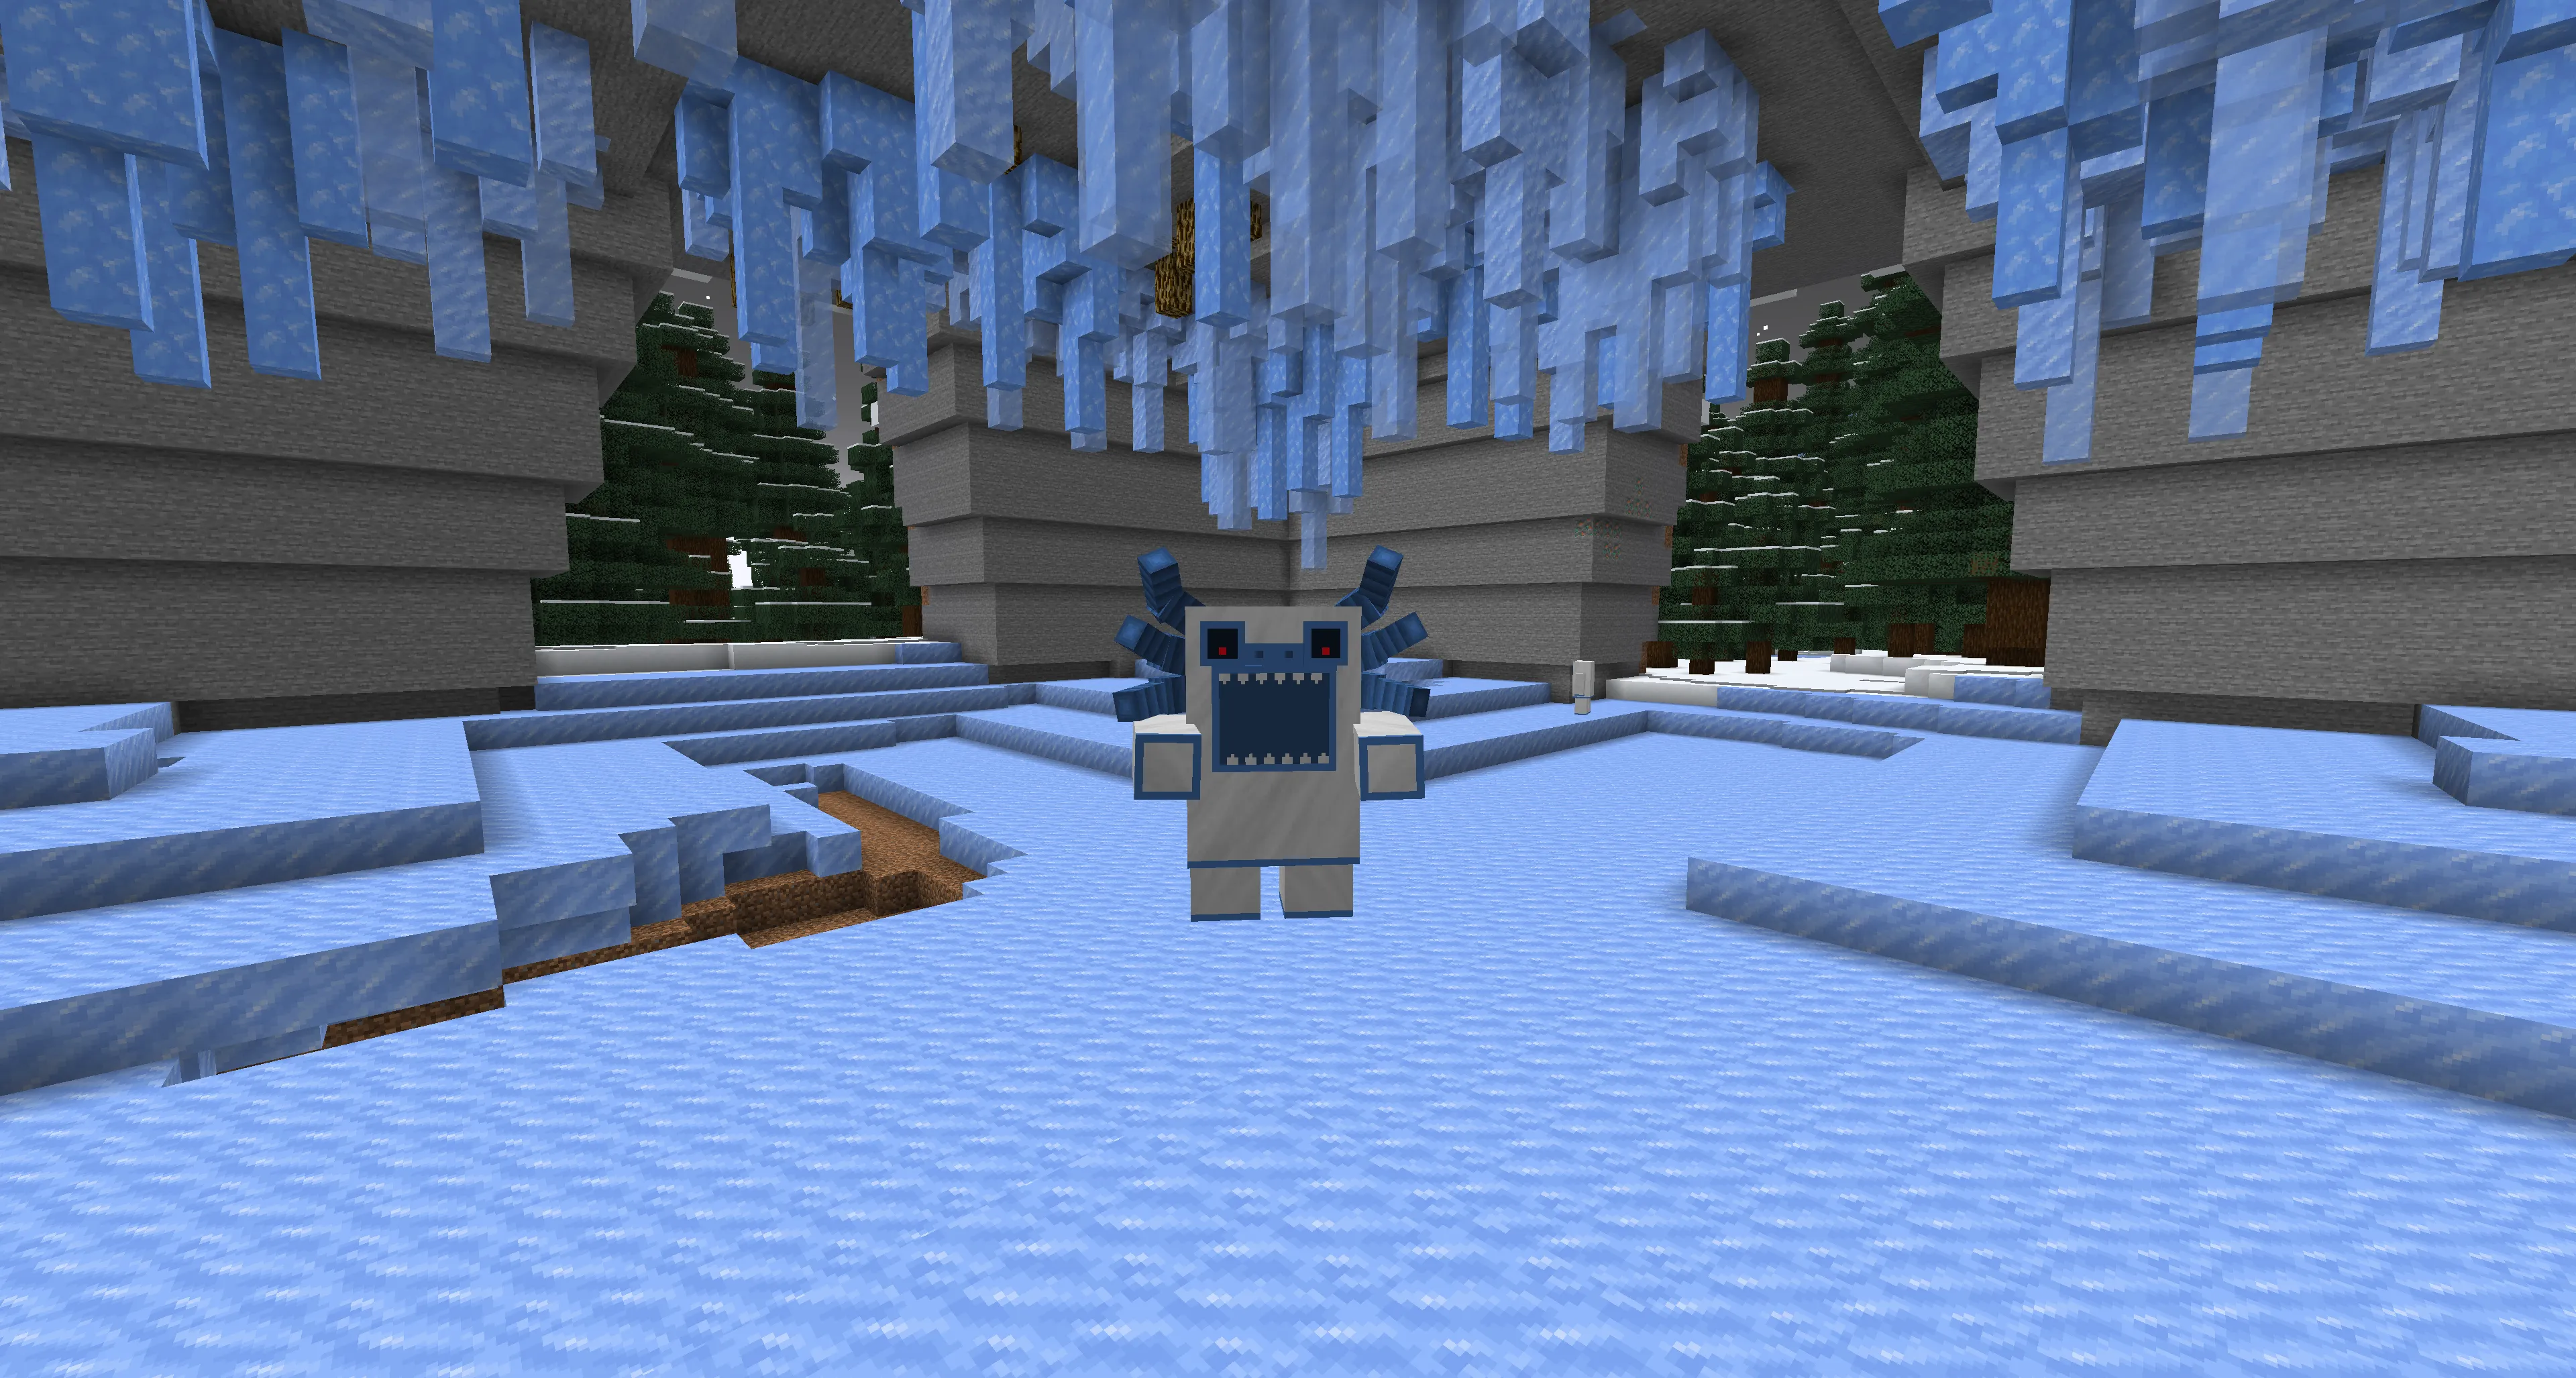
How to Defeat the Alpha Yeti?
The fight is quite simple, but here are some tips:
- Start by attacking with a sword — dealing melee damage up close.
- When the Yeti enters rage mode, it swings its arms and knocks you back.
- At this point, you have two options:
- Use a bow from a distance.
- Wait until it calms down, then finish it off with your sword.
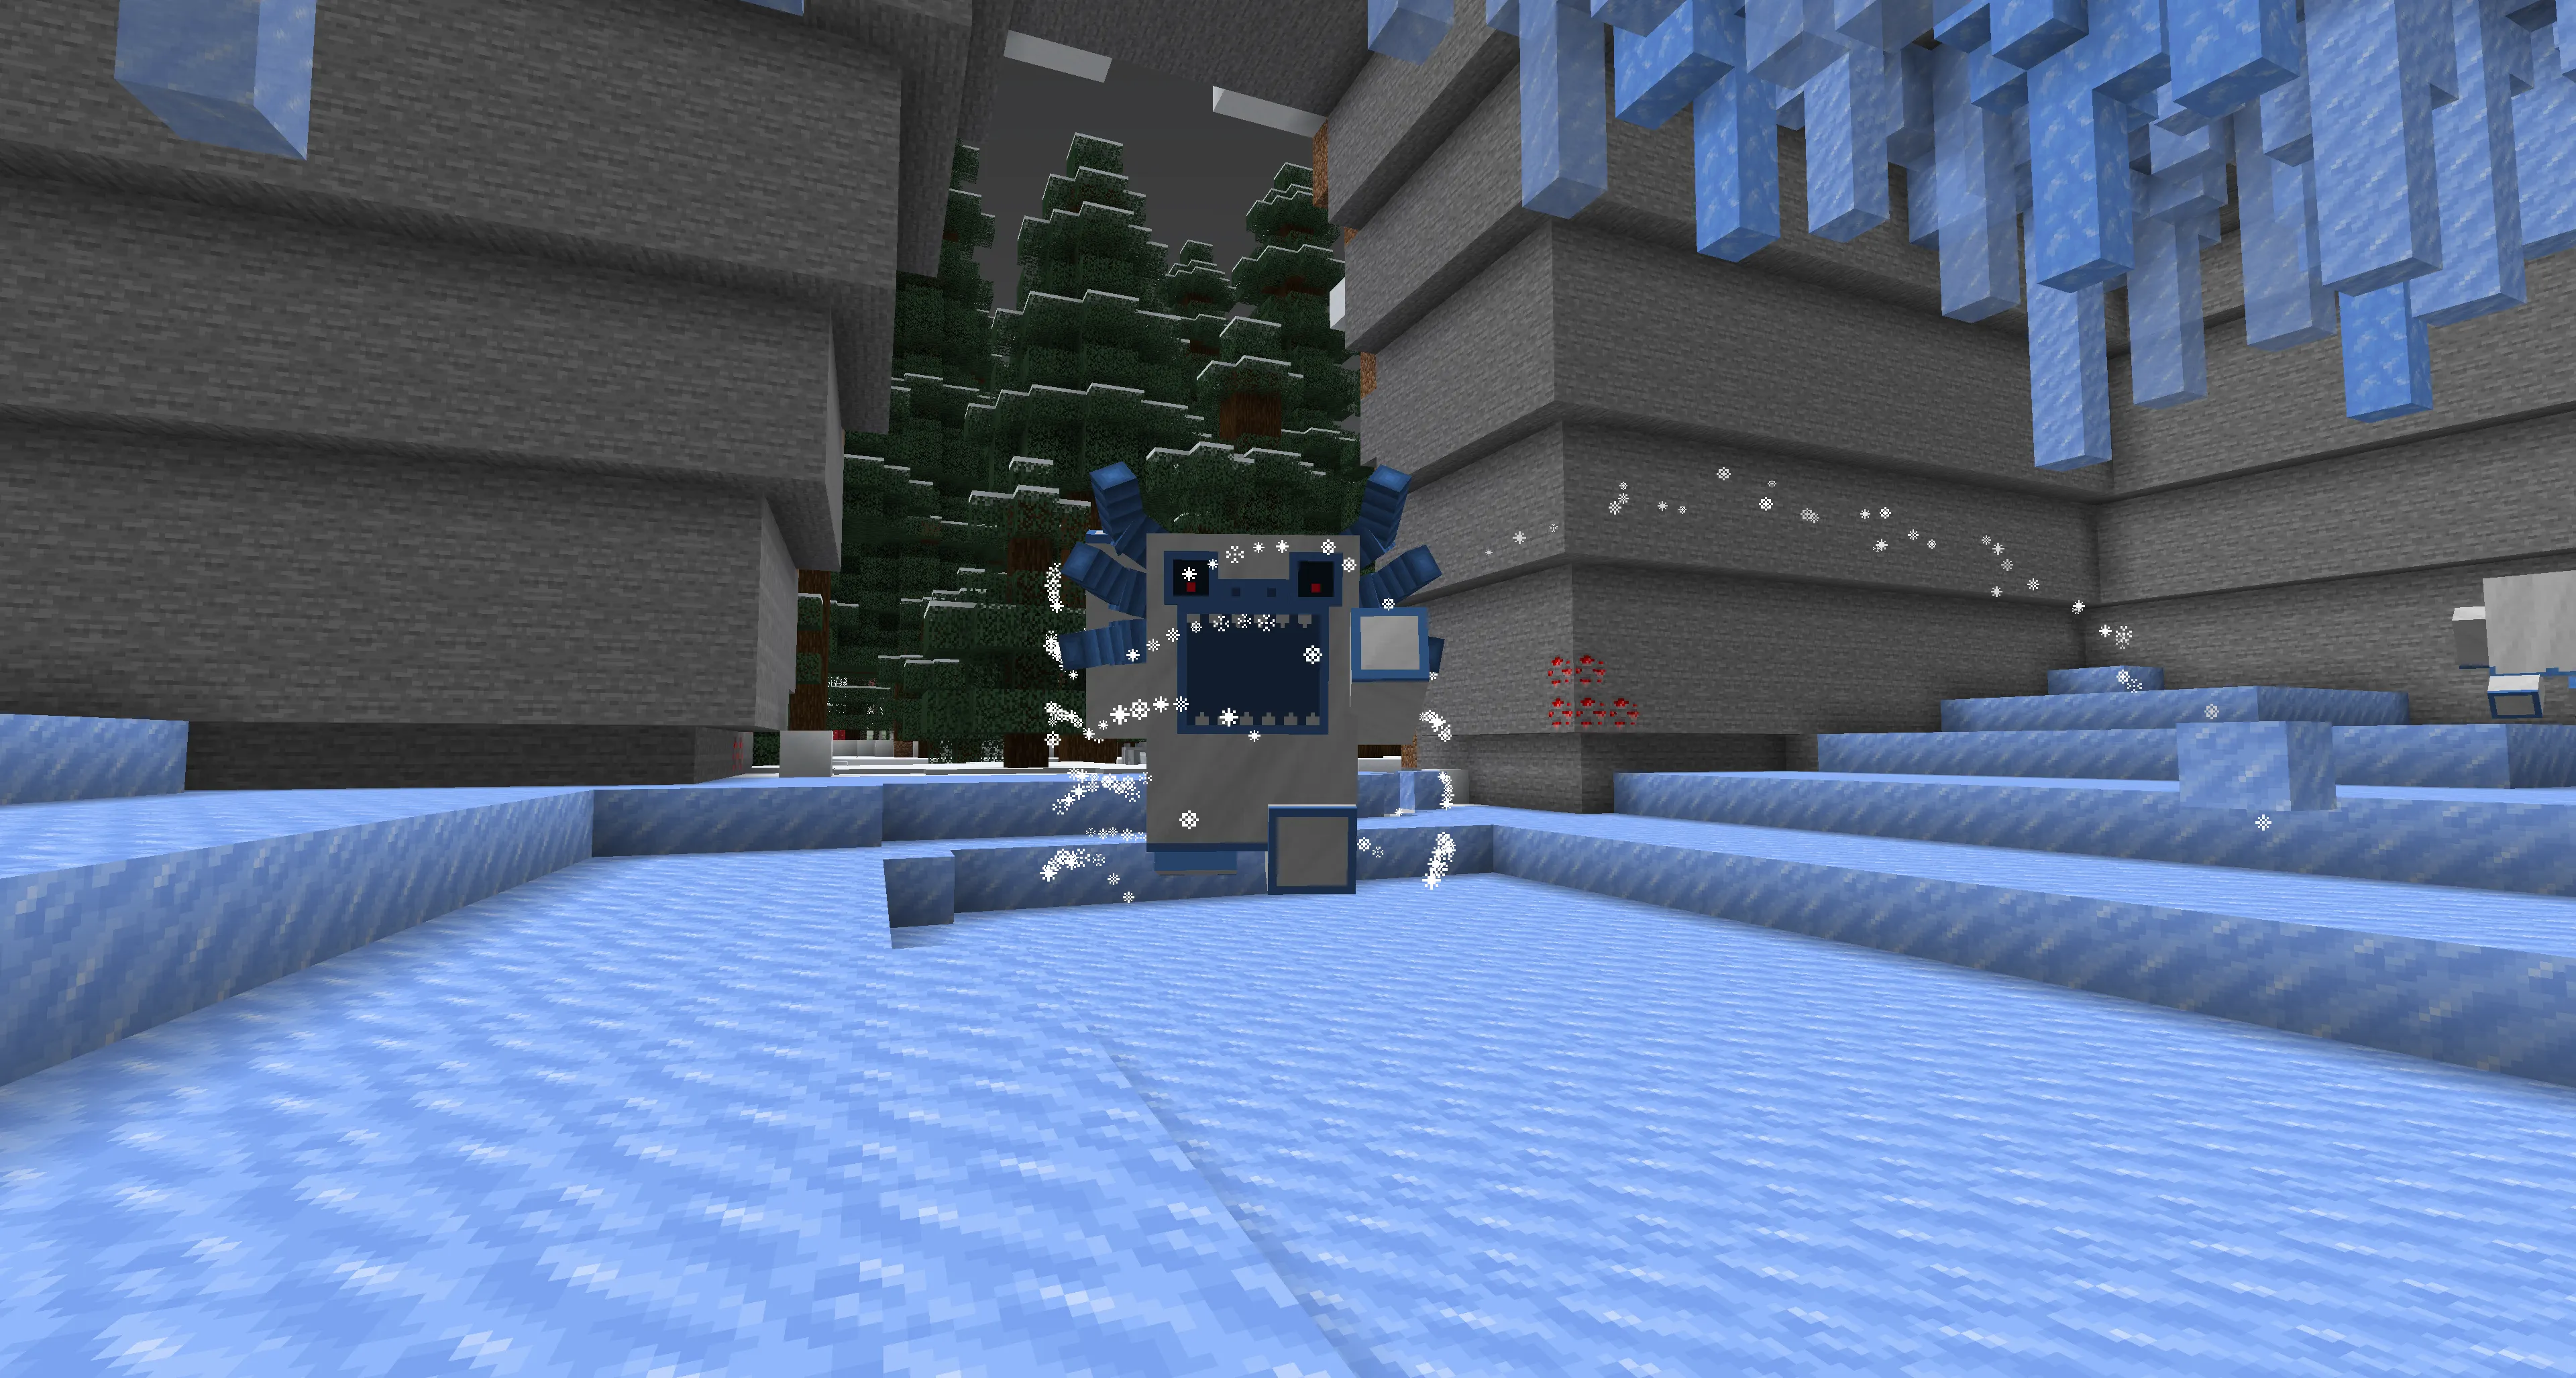
Reward for Victory
After killing the Alpha Yeti, it drops:
- Fur — used to craft special armor.
- Snow Bombs — they slow enemies and can turn water into ice.
The Eighth Boss – The Snow Queen
How to Find the Snow Queen’s Palace?
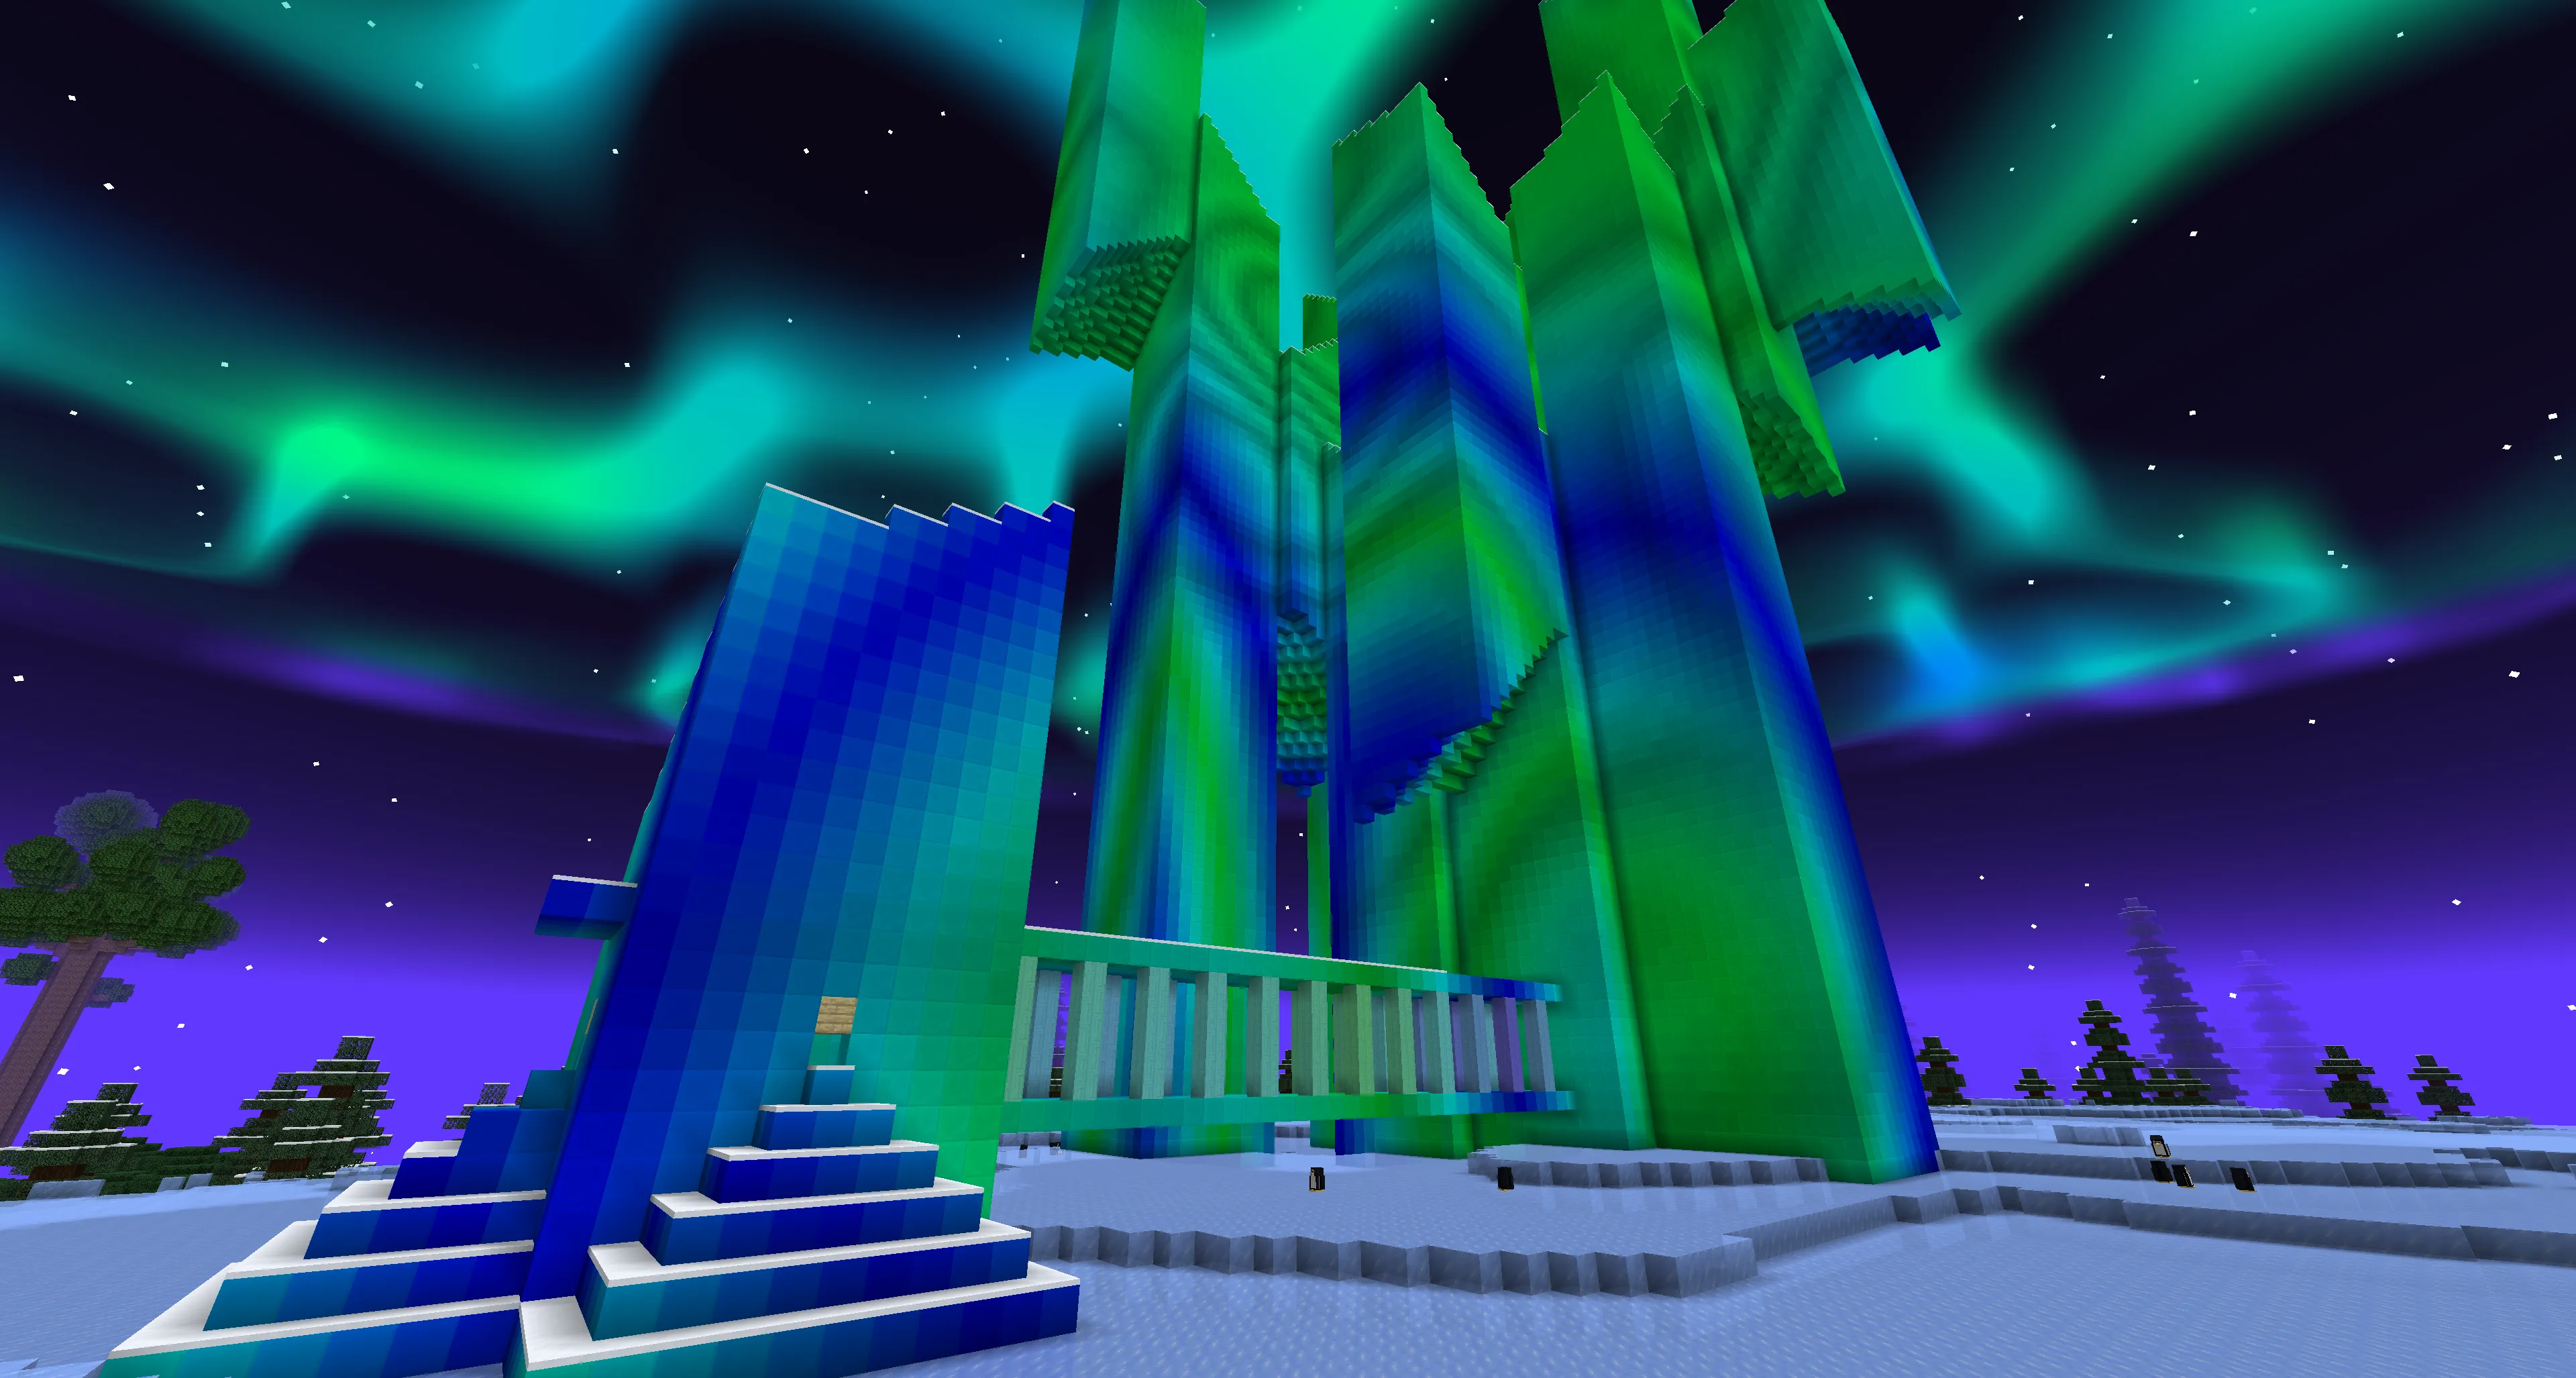
The Snow Queen resides in an ice palace located in the center of the snowy biome of the Twilight Forest.
On the map, the palace is marked with this icon:
How to Enter the Palace?
The palace looks impressive and is easy to spot.
- The entrance is near the stairs.
- As you move upwards, you’ll eventually find ice stairs leading directly to the boss.
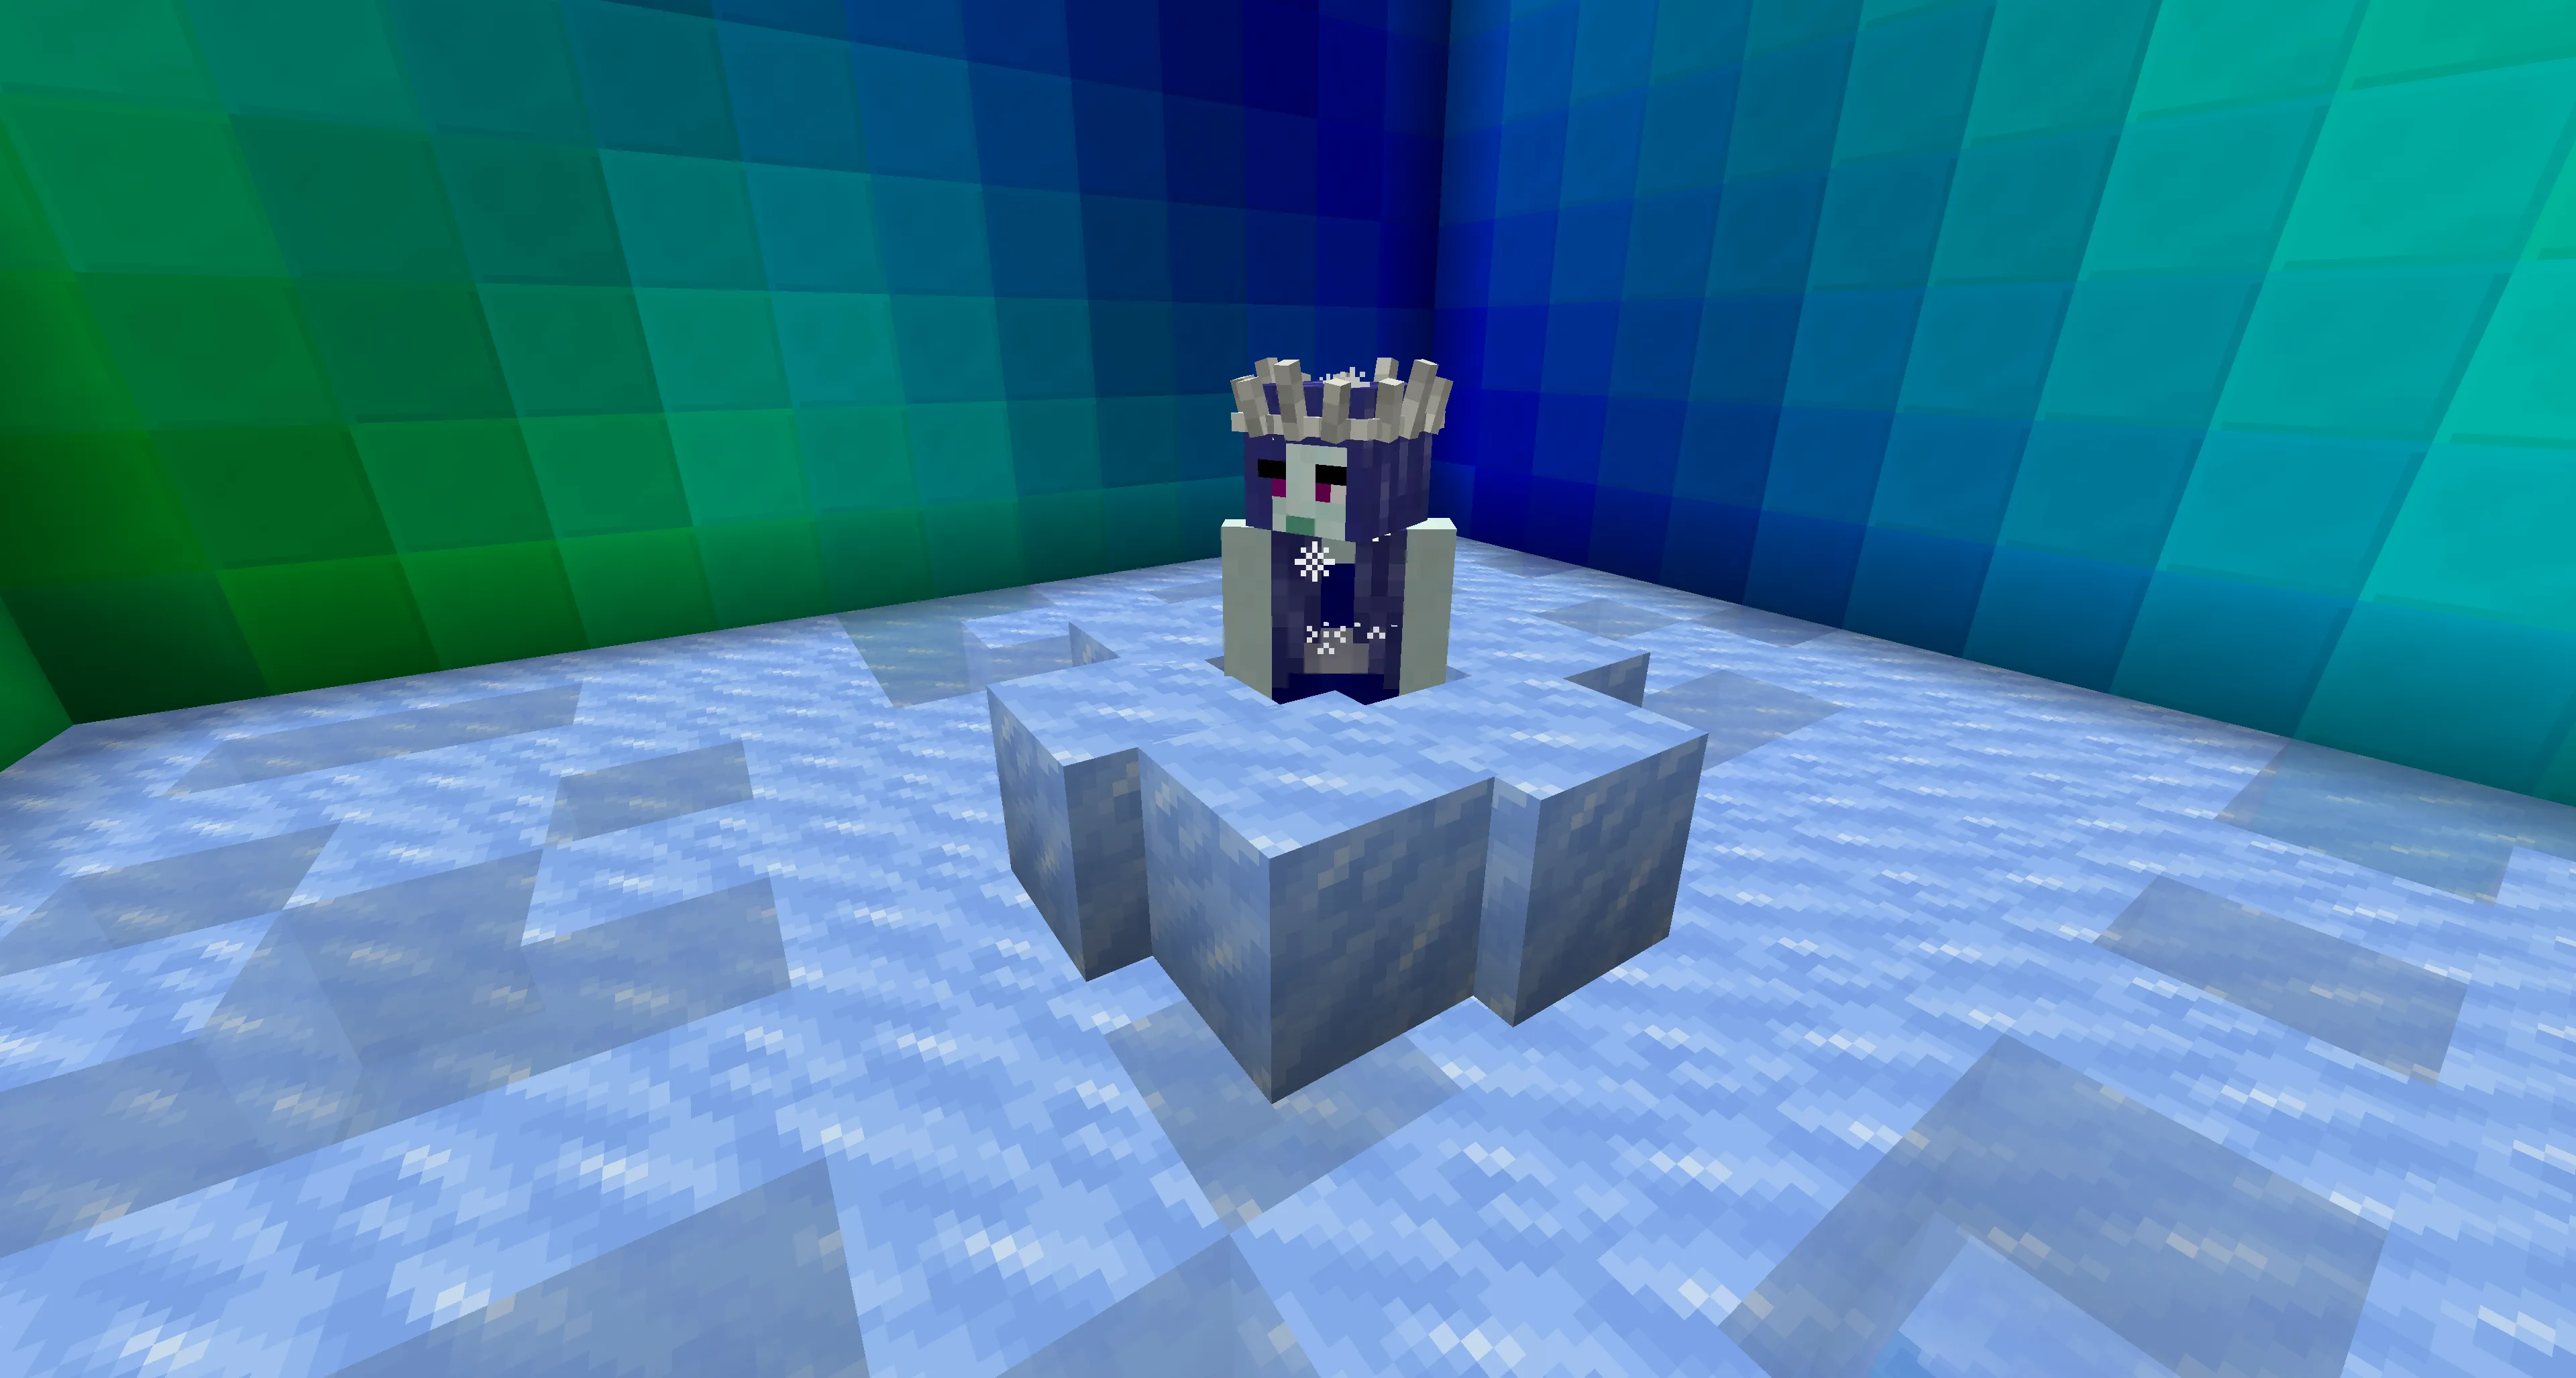
- At the very top, the Snow Queen awaits you.
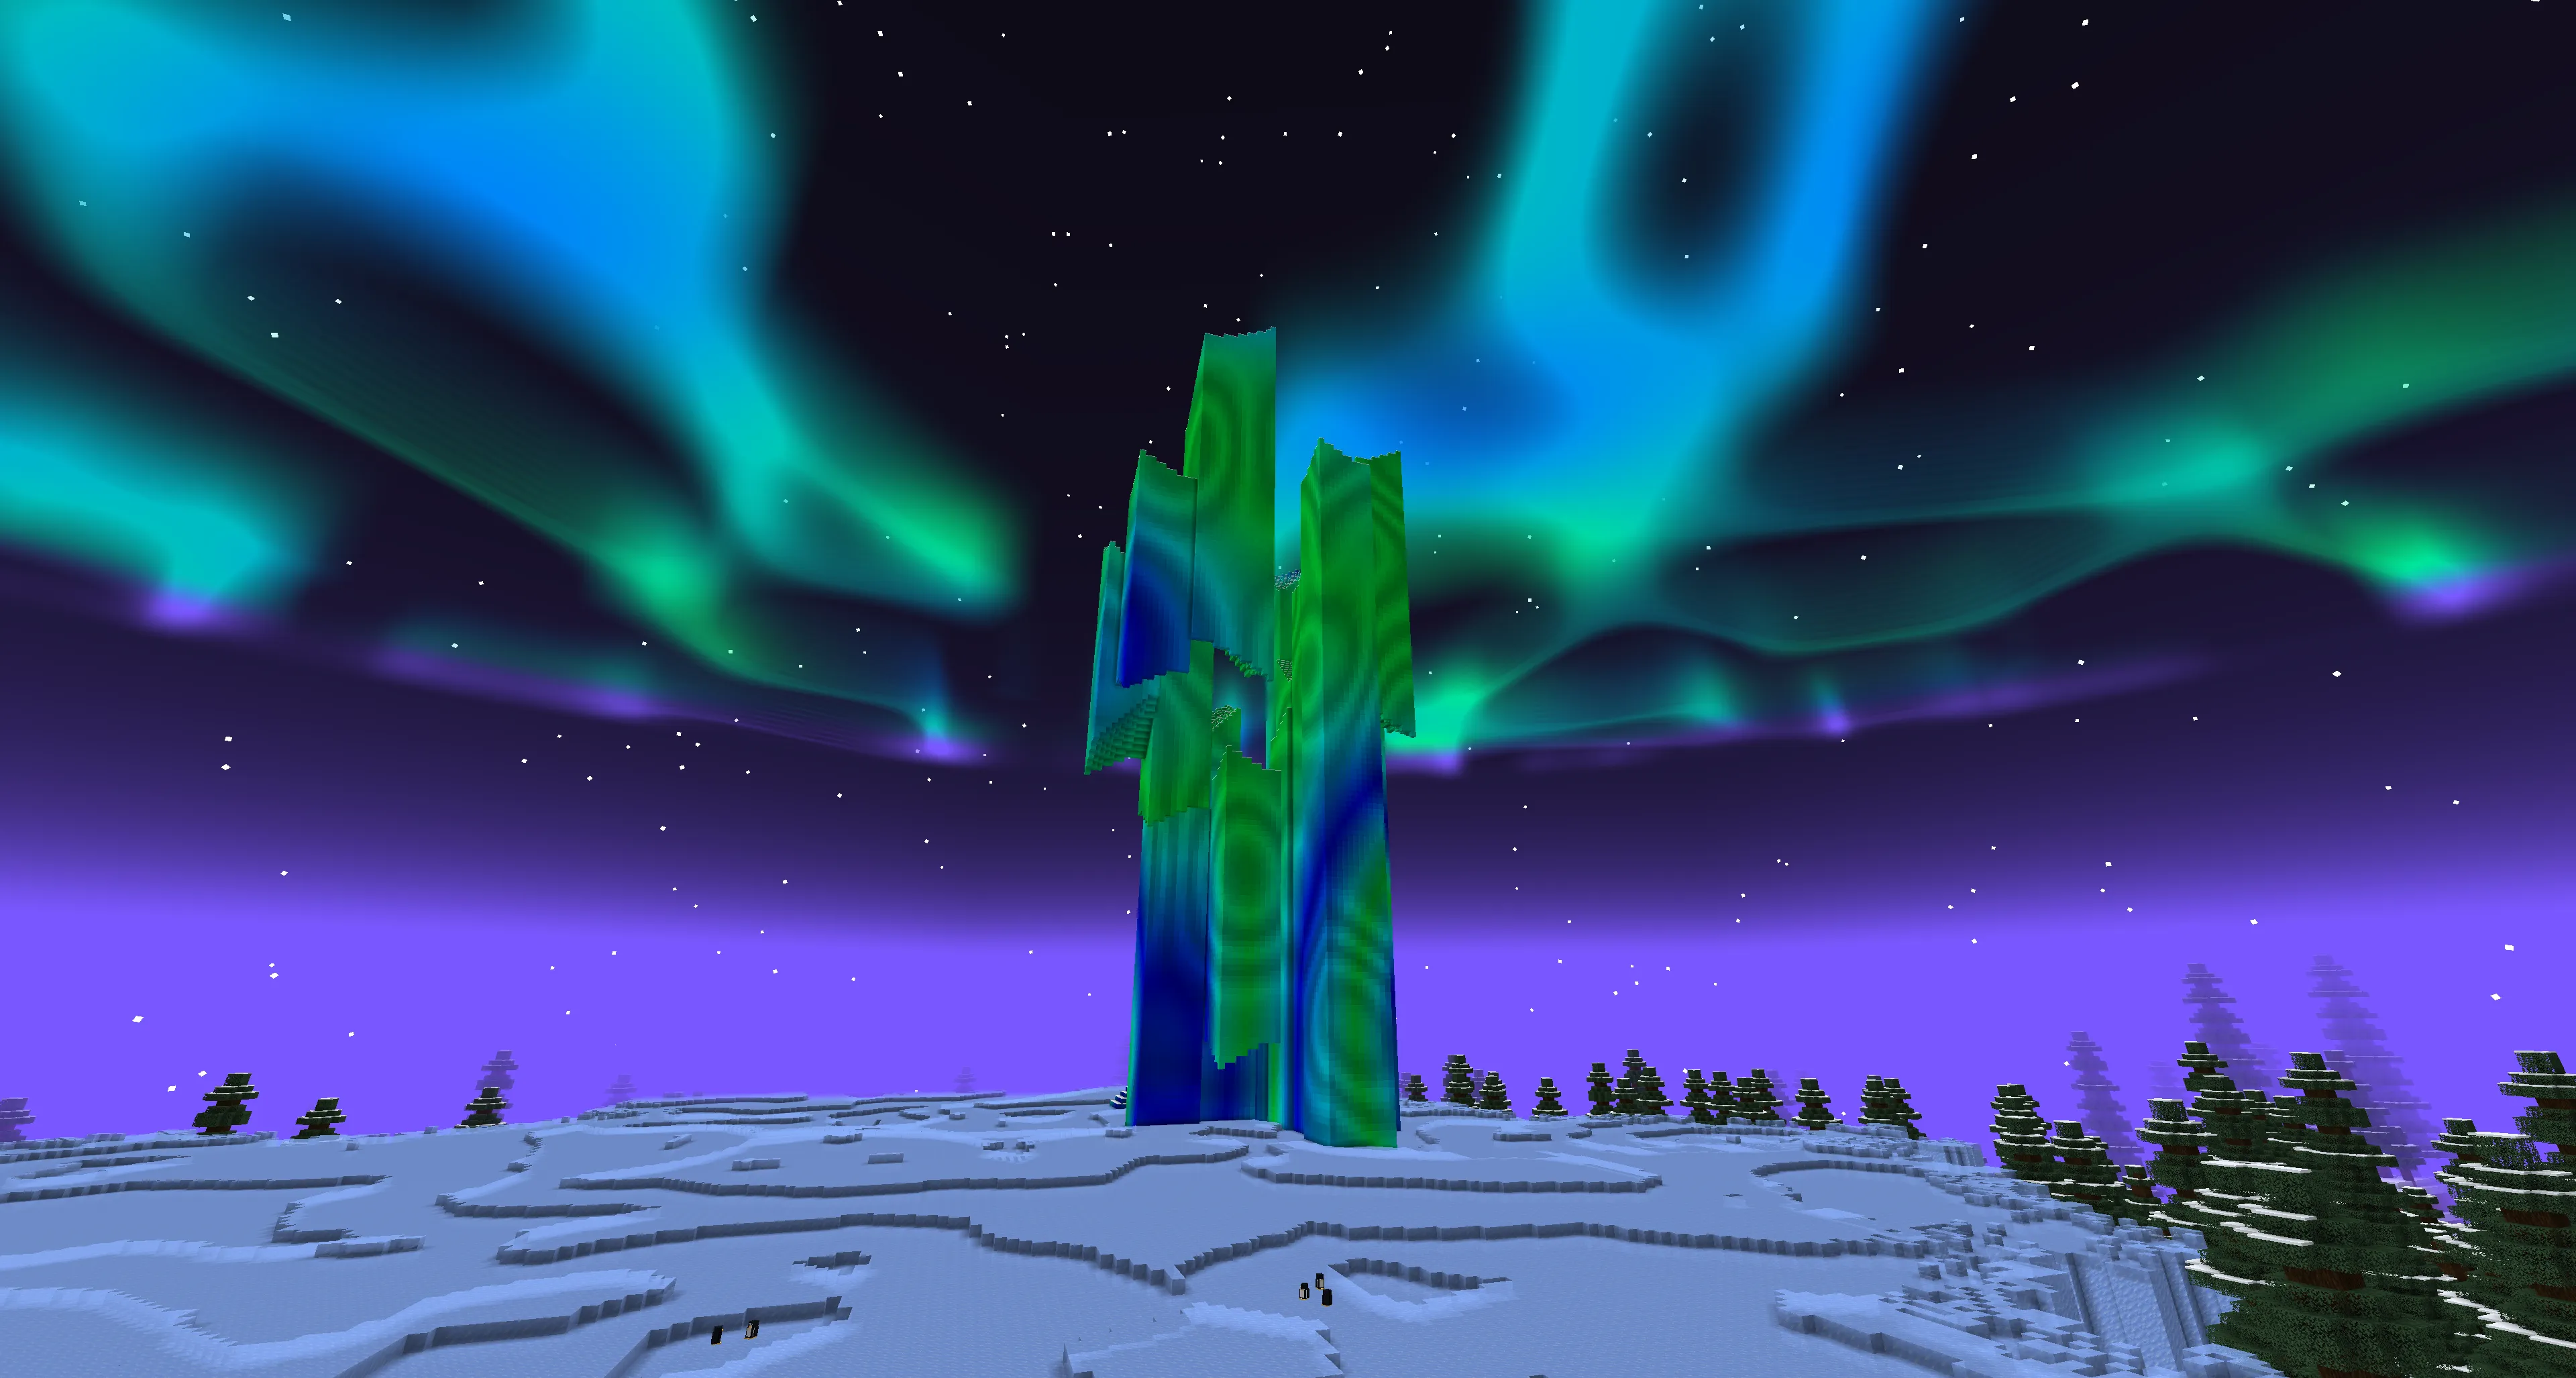
How to Defeat the Snow Queen?
The fight against the Snow Queen has a unique feature:
- She floats around you on an ice crystal.
- The ice crystal absorbs all damage and does not break.
- Wait for the Queen to descend, then attack only her.
Reward for Victory
The Snow Queen’s loot is useful, though some items you might discard immediately:
- Trophy – needed only for advancements.
- Bows – the most valuable rewards!
![]()
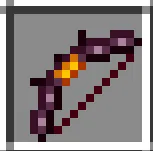
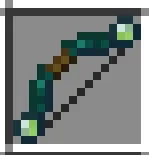
After defeating her, you’ll receive one of two bows (chosen randomly):
Tri-Bow
- Shoots three arrows at once.
![]()
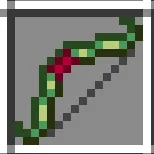
Seeker Bow
- Arrows have slight homing on the target.
- The tracking is not perfect, but still helpful.
![]()
Additional Palace Bows
You can also find two more unique bows in the palace’s chests:
Ender Bow
- Swaps your position with the target on impact.
![]()
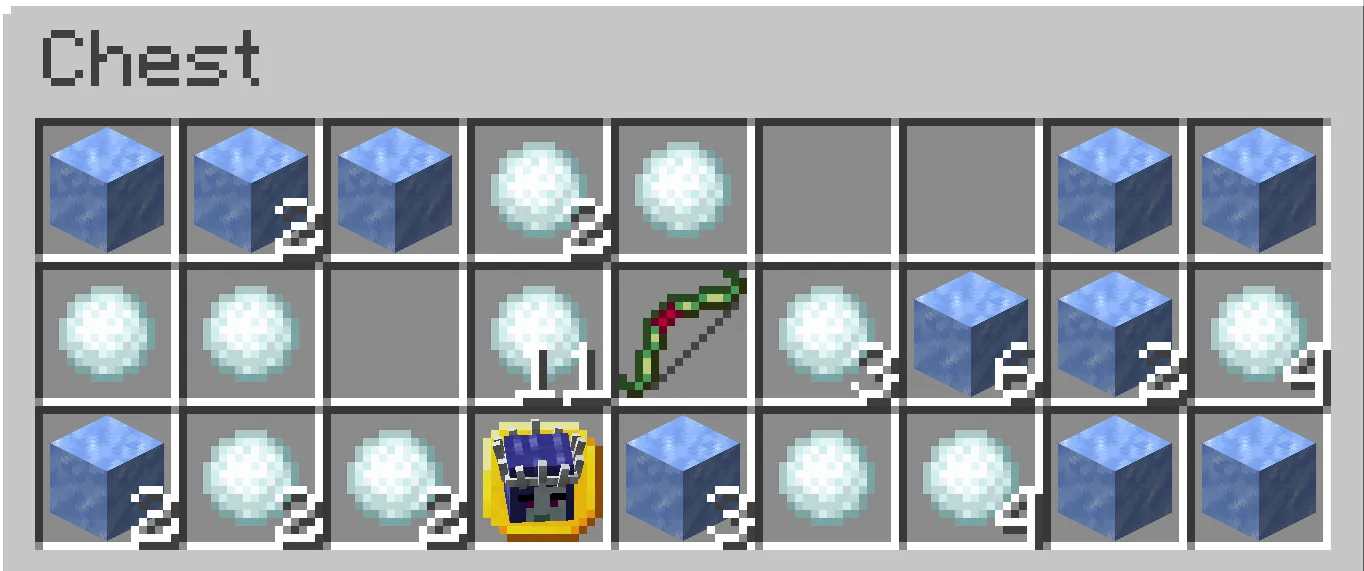
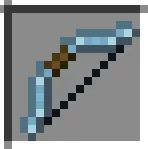
Ice Bow
- Applies a freezing effect to enemies.
![]()
The Ninth (Final) Boss – The Giants
How to Find the Giants?
The final bosses live high in the clouds, and reaching them won’t be easy.
On the map, it looks like this: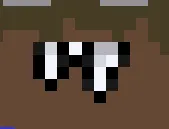
How to Get Up onto the Clouds?
When you arrive, look up — you’ll see a cloud island with a giant tree and a small house.
There are two ways to reach it:
“Old-fashioned Method”
- Pillar up with blocks near the cloud’s edge.
- In case you fall, pour some water near the pillar.
The Method Intended by the Mod Creator
- Look for a pit beneath the cloud. (PHOTO)
![]()
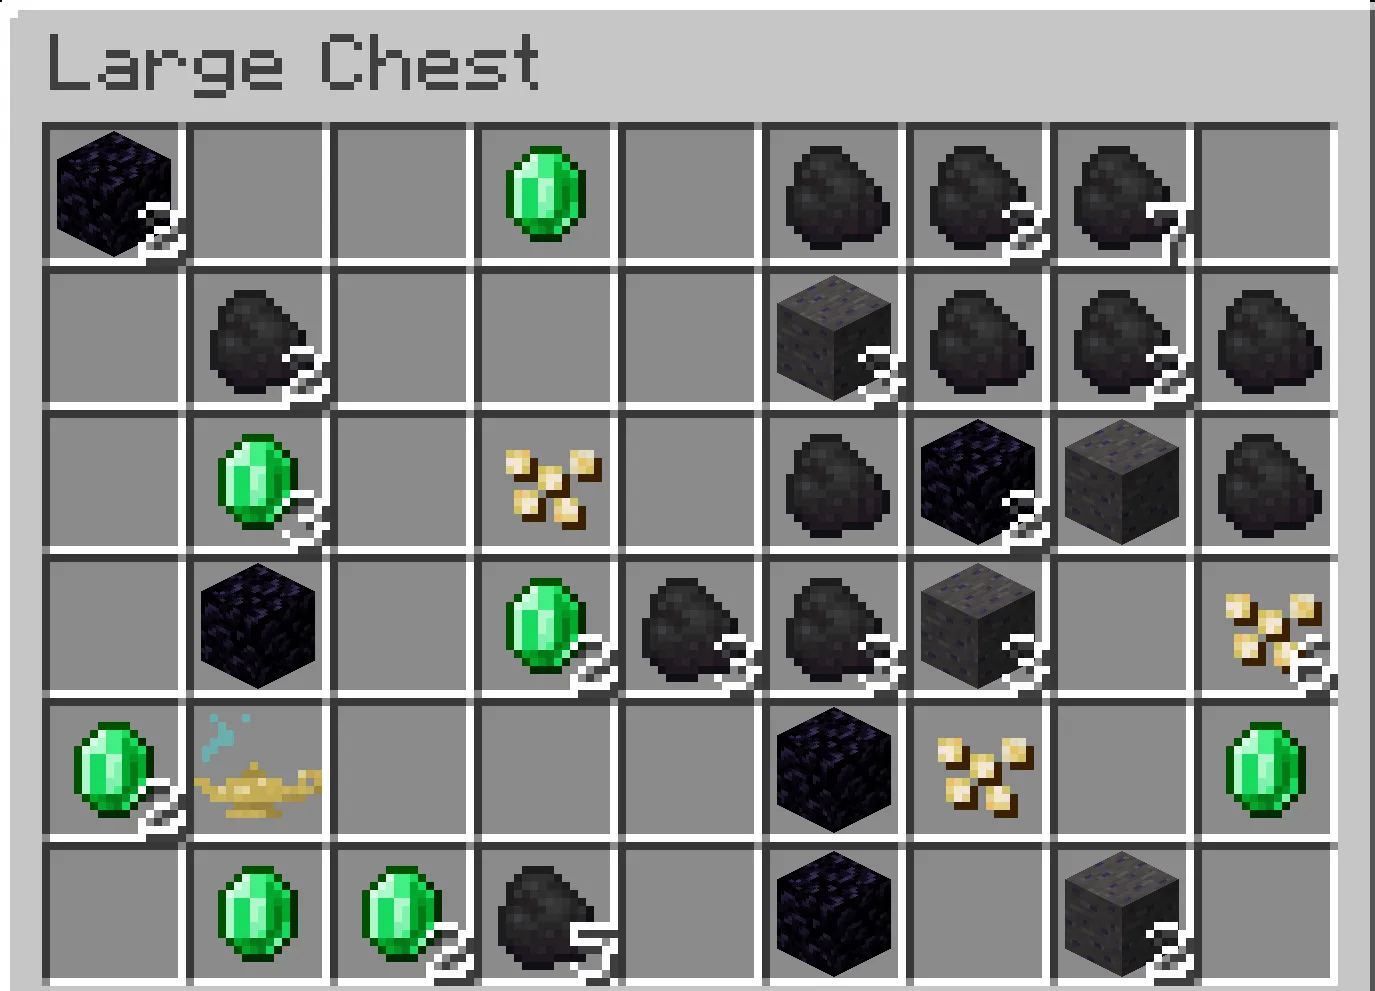
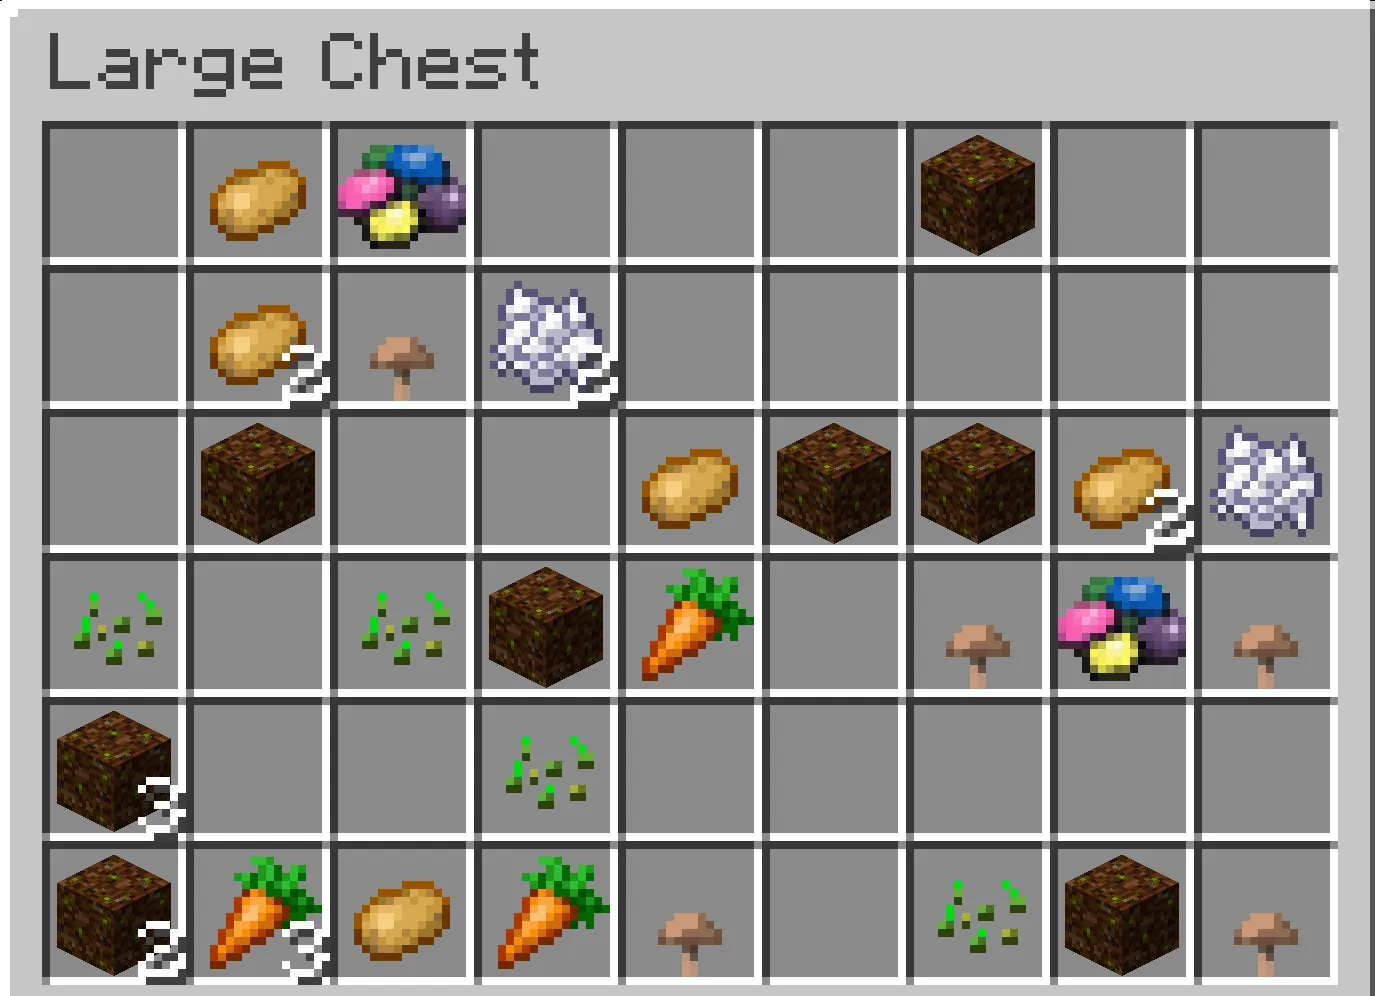
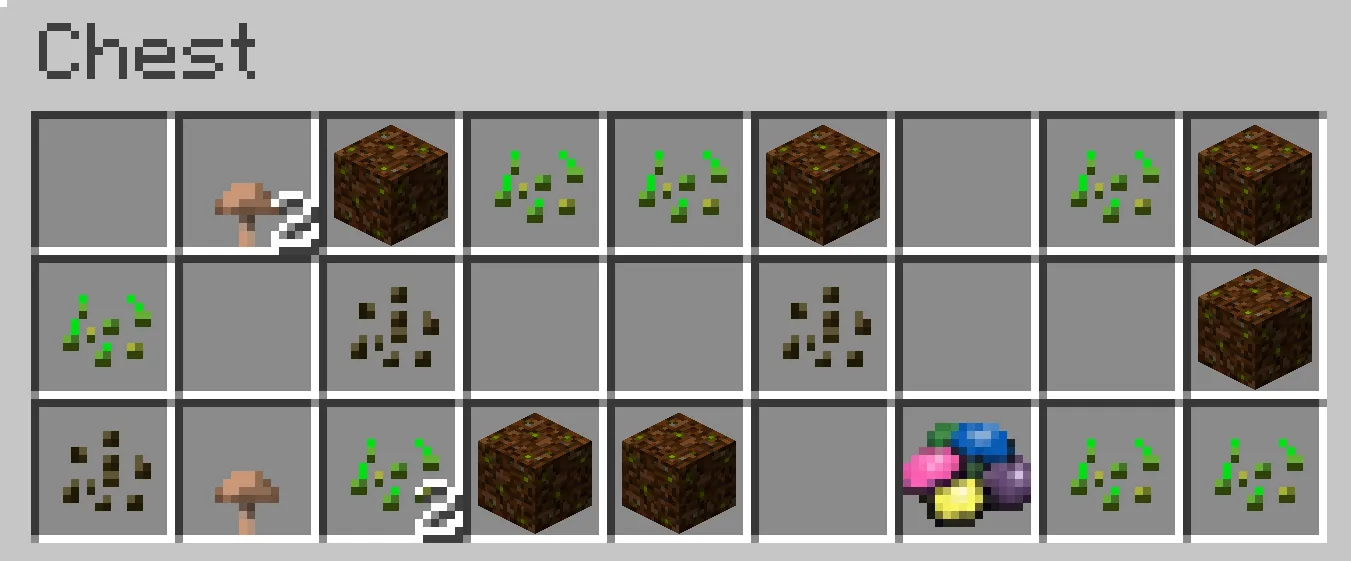
Go deeper until you find a large obsidian box.![]() Break it open — there’s a chest containing magic beans and enchanted soil.
Break it open — there’s a chest containing magic beans and enchanted soil.![]() Plant the magic beans in the soil, and a giant beanstalk will grow, letting you climb up easily.
Plant the magic beans in the soil, and a giant beanstalk will grow, letting you climb up easily. ![]()
![]()
Battle with the Giants
On the cloud, you’ll see a giant tree and a house.
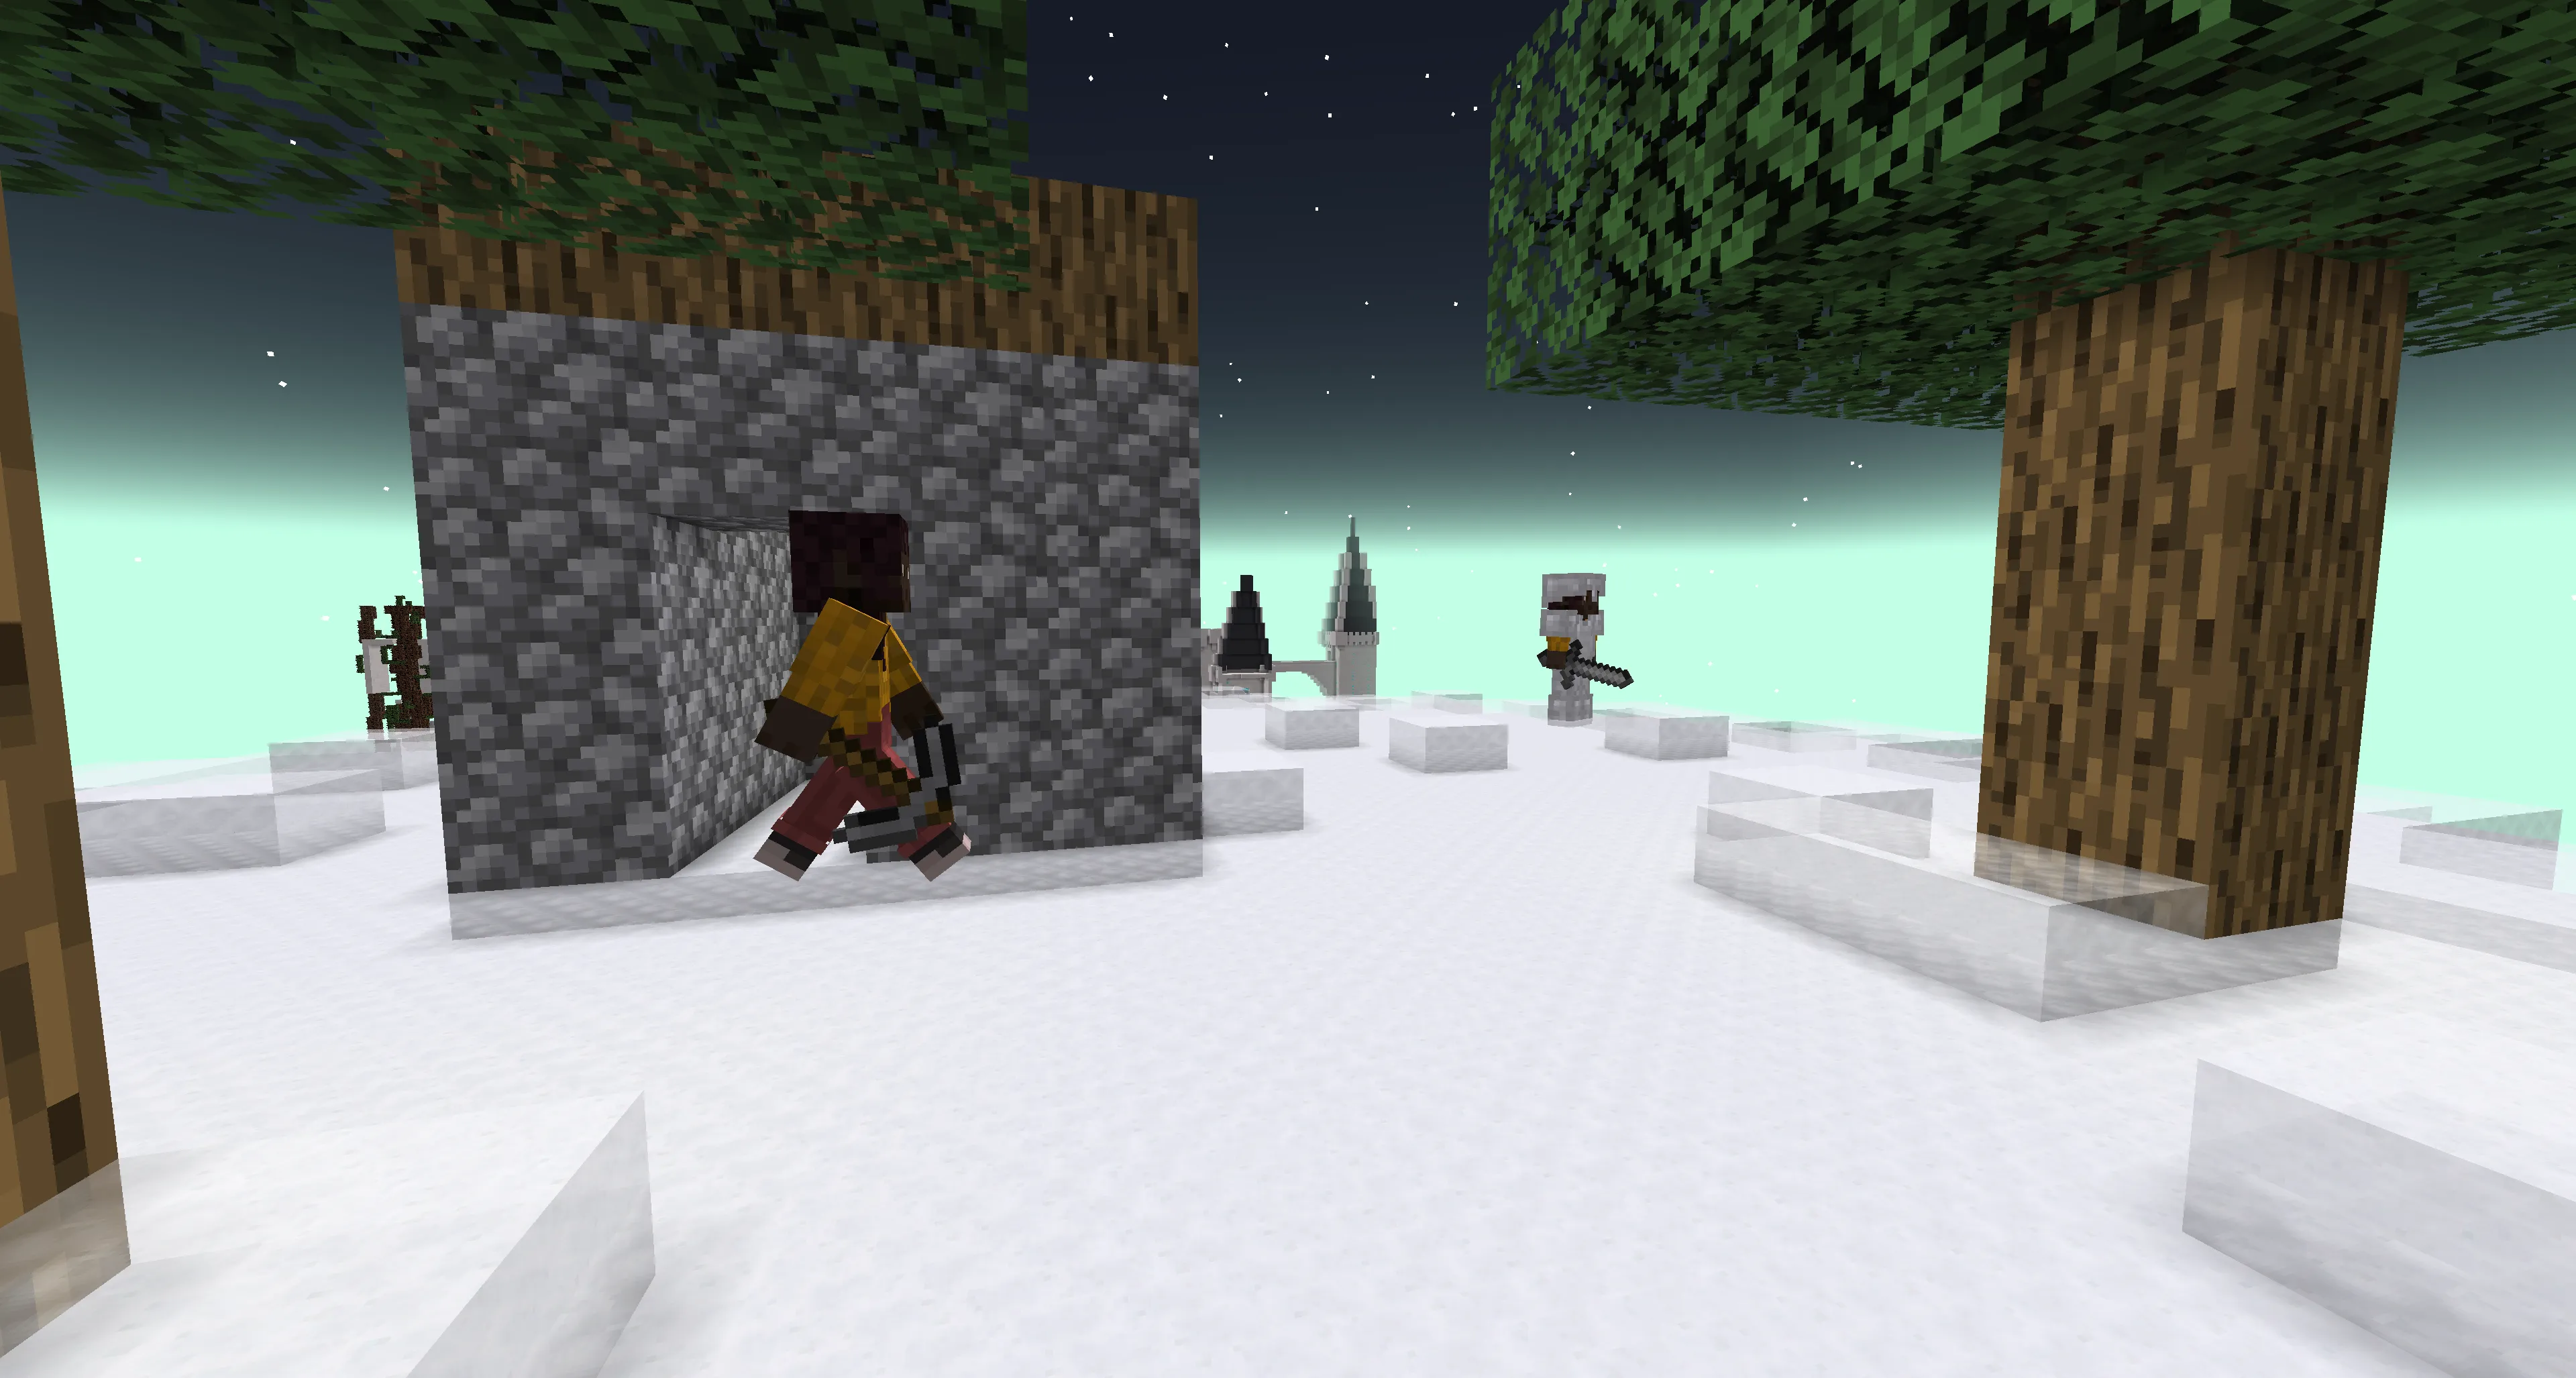
Inside are two giants, each wearing your own skin (so you don’t feel great hitting them!).
Combat Tactics
- The giants don’t have special attacks. Just fight them while avoiding damage.
![]()
Reward for Victory
After defeating them, you receive two unique items:
Giant Pickaxe – can break giant blocks, allowing you to craft giant tools.
Giant Sword – just a huge sword.
Additional Content – The White Castle
At this point, you’ve encountered all the bosses in the mod.
But there is one more location — the White Castle.
This castle is empty, but if you’re interested in exploring it:
- Go into the Troll Caves.
- Find a giant obsidian box.
- Break it with the Giant Pickaxe.
- You’ll find two chests inside — one of them holds a lamp.
![]()
The lamp burns away the thorns surrounding the castle.![]()
![]()
THAT’S IT! Congratulations, you’ve completed the Twilight Forest! ^_^

Published by: Watermelon

 Break it open — there’s a chest containing magic beans and enchanted soil.
 Plant the magic beans in the soil, and a giant beanstalk will grow, letting you climb up easily.