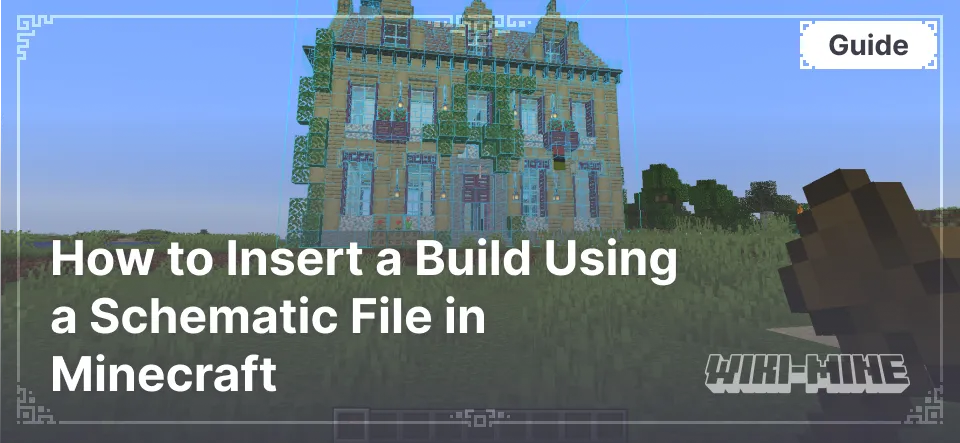
How to Insert a Build Using a Schematic File in Minecraft
00:08, 28 December 2024

Schematic files (.schematic) are used to save and insert builds in Minecraft. They allow you to quickly add pre-made structures and creations to your worlds. This guide explains how to insert a build using plugins and mods like WorldEdit.
Article Navigation
What You Need to Insert a Build
- Schematic File: Download or create a schematic file of the build.
- WorldEdit: A mod or plugin that supports working with
.schematicfiles. - Compatible Minecraft Version: Ensure the WorldEdit version and the map are compatible with your game version.
Inserting a Build Using WorldEdit (Mod for Singleplayer)
Step 1: Installing WorldEdit
- Download the WorldEdit mod for your Minecraft version.
- Install WorldEdit using a mod loader (Forge, Fabric, or NeoForge).
- Launch Minecraft to ensure the mod is installed correctly.
Step 2: Moving the .schematic File
- Go to your
.minecraftfolder. - Locate the
schematicsfolder (create it manually if it doesn't exist). - Place the
.schematicfile into theschematicsfolder.
Step 3: Loading and Pasting the Build
- Launch Minecraft and load your world.
- Open the chat and type the command
/schematic load <filename>(omit the.schematicextension). - Move to the location where you want to place the build.
- Use the command
//pasteto insert the build into the selected area. - If necessary, use the command
//undoto reverse the action.
Inserting a Build Using WorldEdit (Plugin for Servers)
Step 1: Installing the Plugin
- Download the WorldEdit plugin from our website link.
- Place the
.jarplugin file into your server'spluginsfolder. - Restart the server to activate the plugin.
Step 2: Moving the .schematic File
- Locate the
schematicsfolder in your server's root directory (create it if it doesn't exist). - Copy the
.schematicfile into theschematicsfolder.
Step 3: Loading and Pasting the Build
- Log into the server and ensure you have administrator permissions.
- Type the command
/schematic load <filename>. - Go to the desired location and execute the command
//paste. - If something goes wrong, use
//undoto reverse the changes.
Alternative Methods for Inserting Builds
Using Litematica (Mod for Fabric)
- Install Litematica via Fabric.
- Download the
.schematicfile and place it in theschematicsfolder inside.minecraft. - Load your world, open the Litematica menu (default key
M), and select the desired file. - Follow the on-screen instructions to insert the build.
Using MCEdit (External Editor)
- Download and install MCEdit.
- Load your map in MCEdit.
- Import the
.schematicfile via the program menu. - Place the build and save the changes.
- Launch Minecraft to verify the result.
Frequently Asked Questions
Why Does the Build Have Errors?
- Ensure the
.schematicfile version matches the WorldEdit or other tool's version. - Check if the map supports the blocks used (especially if mods are involved).
Can I Use .schematic Files in Minecraft Bedrock Edition?
- No, the
.schematicformat is designed for Java Edition. Bedrock Edition uses other formats, such as.mcstructure.
How Do I Remove a Build if It Was Inserted Incorrectly?
- Use the command
//undoimmediately after pasting. - If the changes are already saved, manually remove the unwanted parts using WorldEdit tools.
Conclusion
Inserting builds using .schematic files is a convenient way to quickly add unique structures to your Minecraft world. Use the appropriate tool, such as WorldEdit or Litematica, to achieve the best results. Always check version compatibility and create backups of your maps before making changes.

Published by: Slime
Category: Guides
Score 0 (0 votes)


