Atlas Shader: Realistic Lighting for Better Immersion
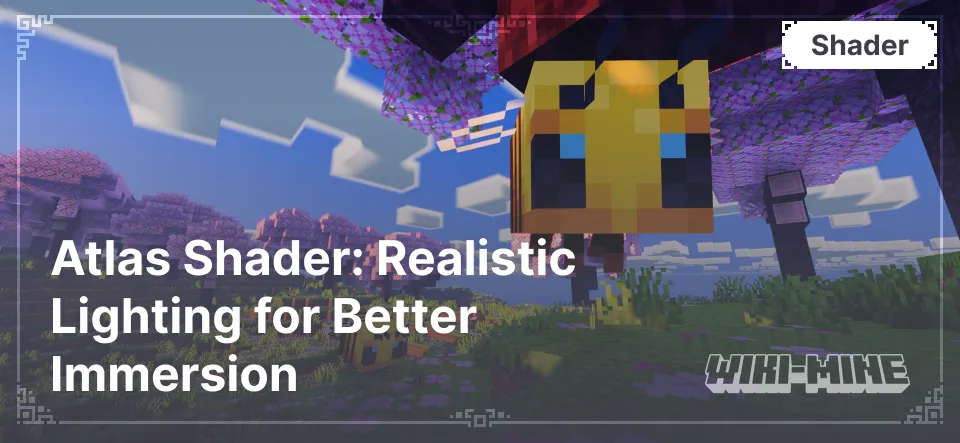
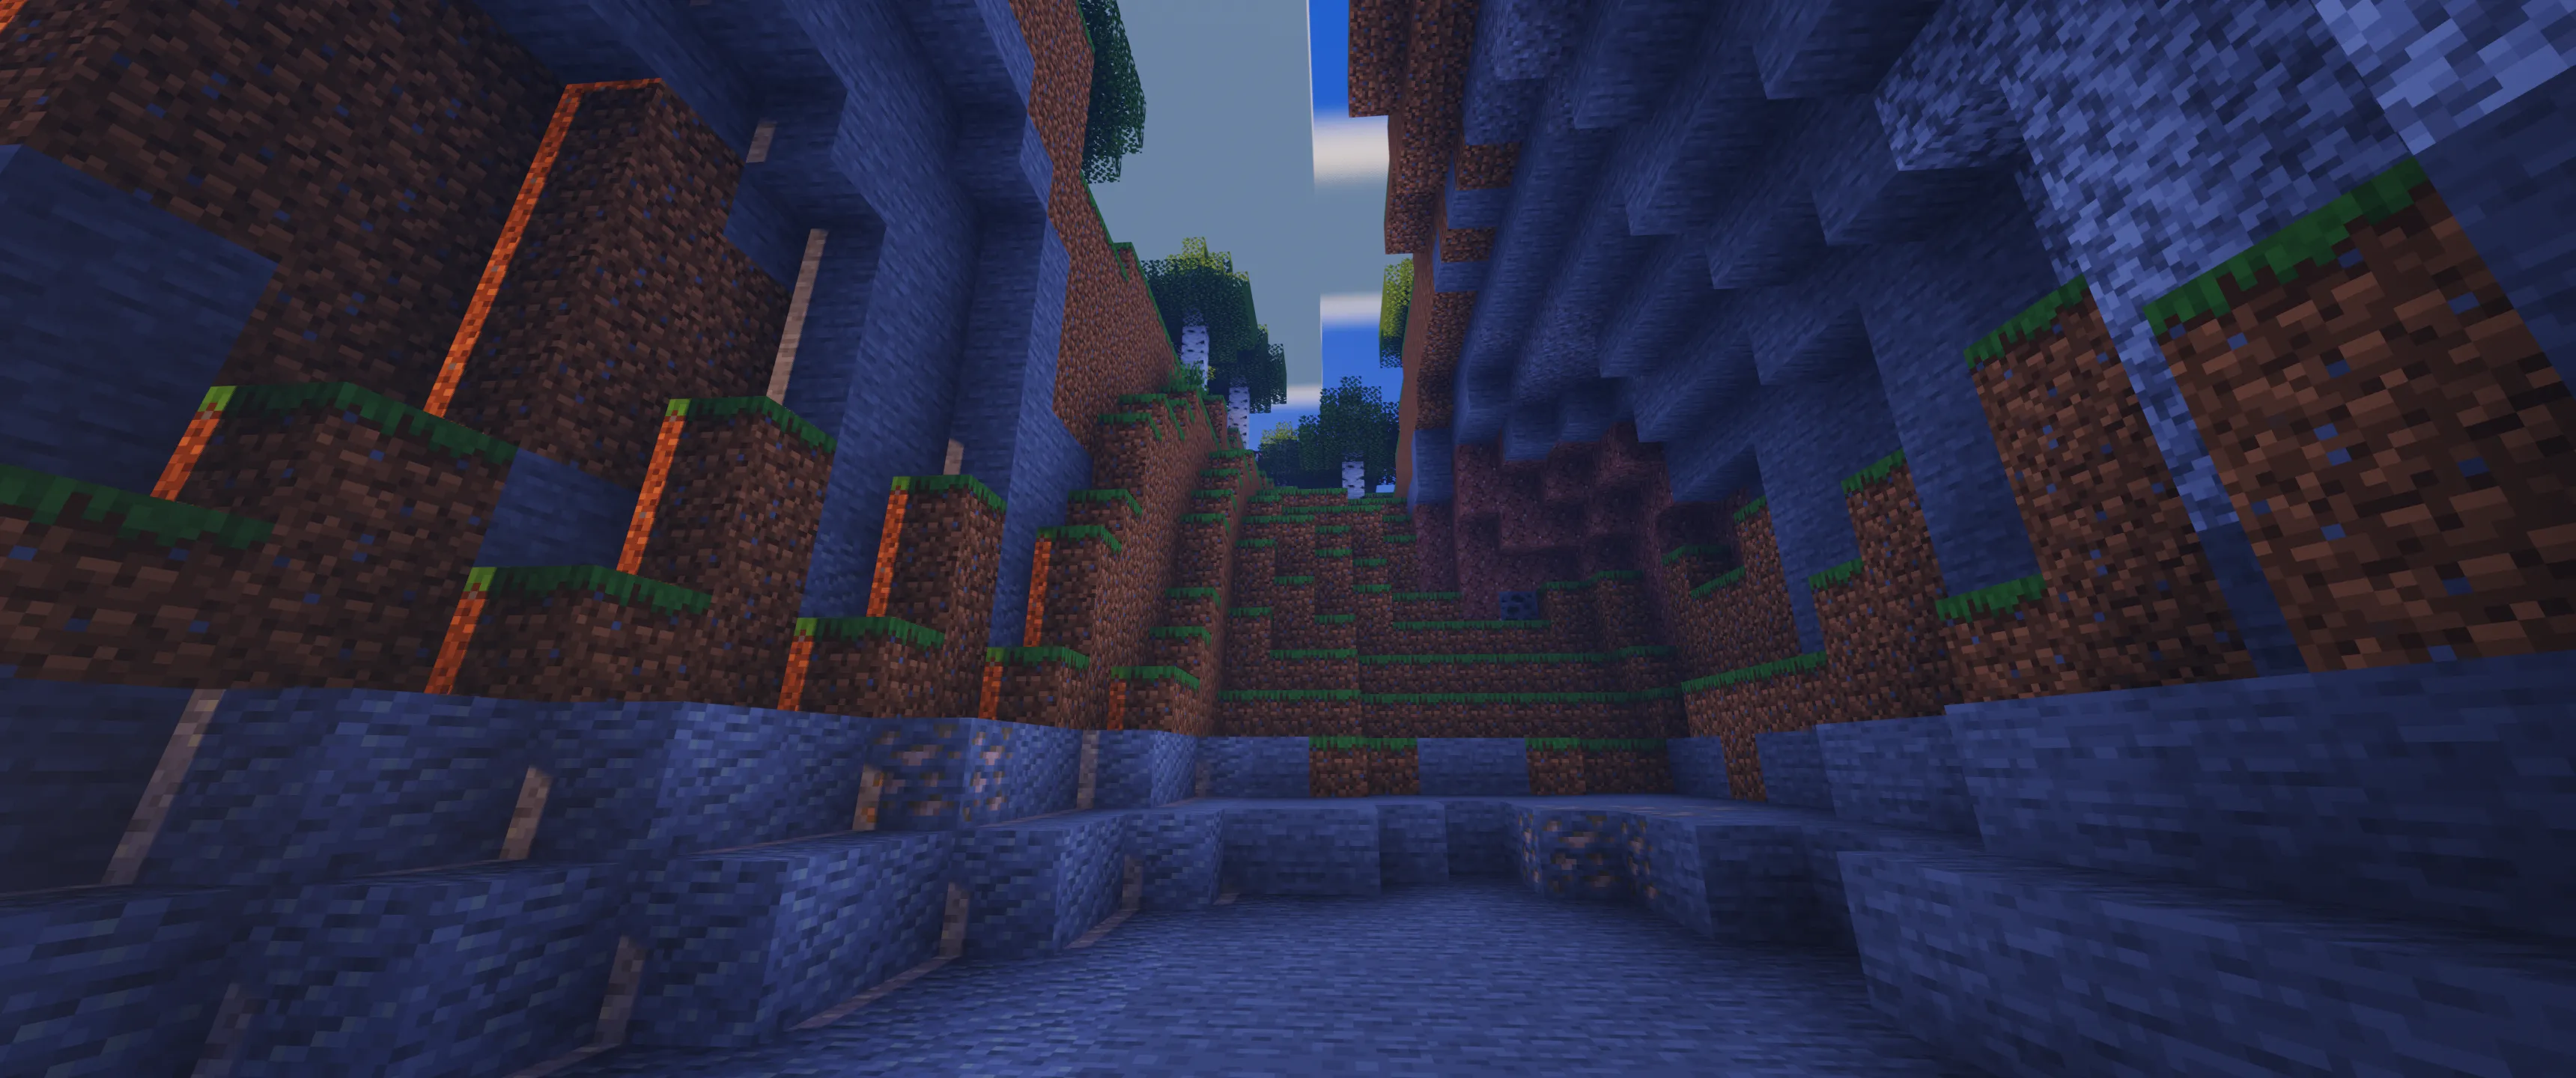
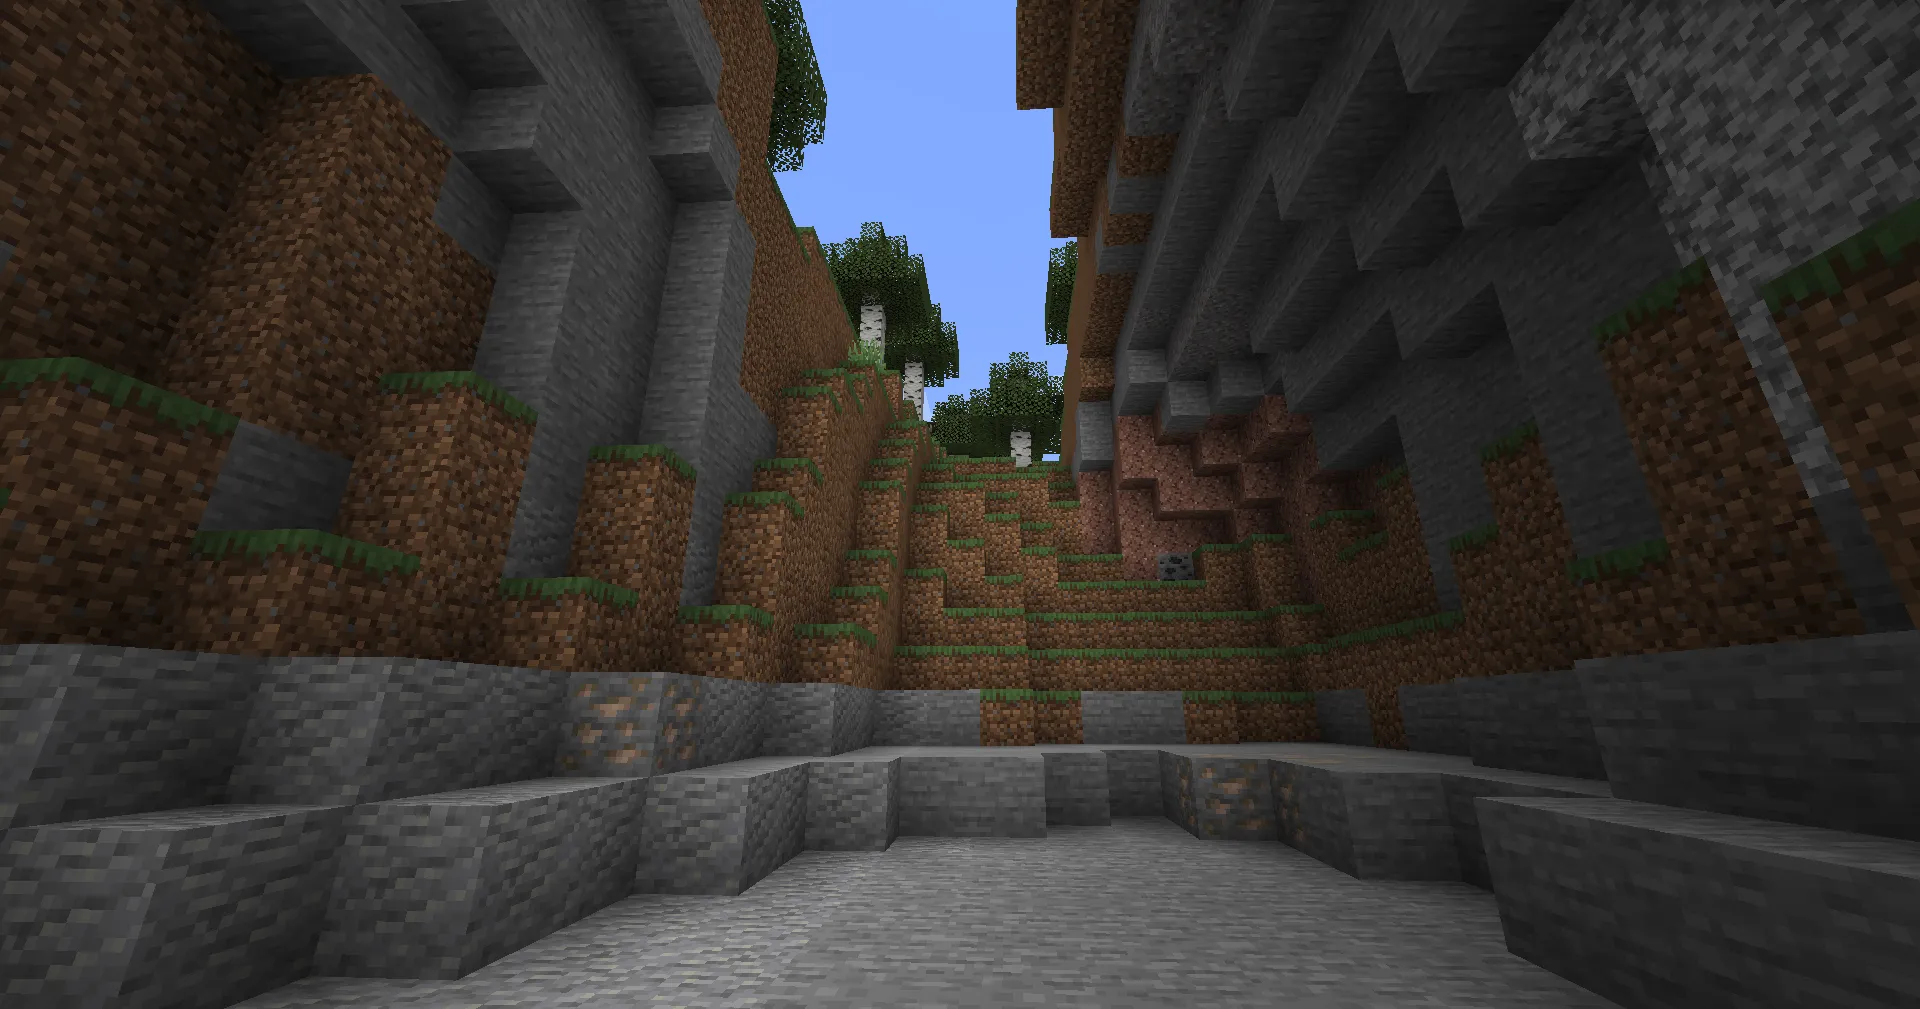
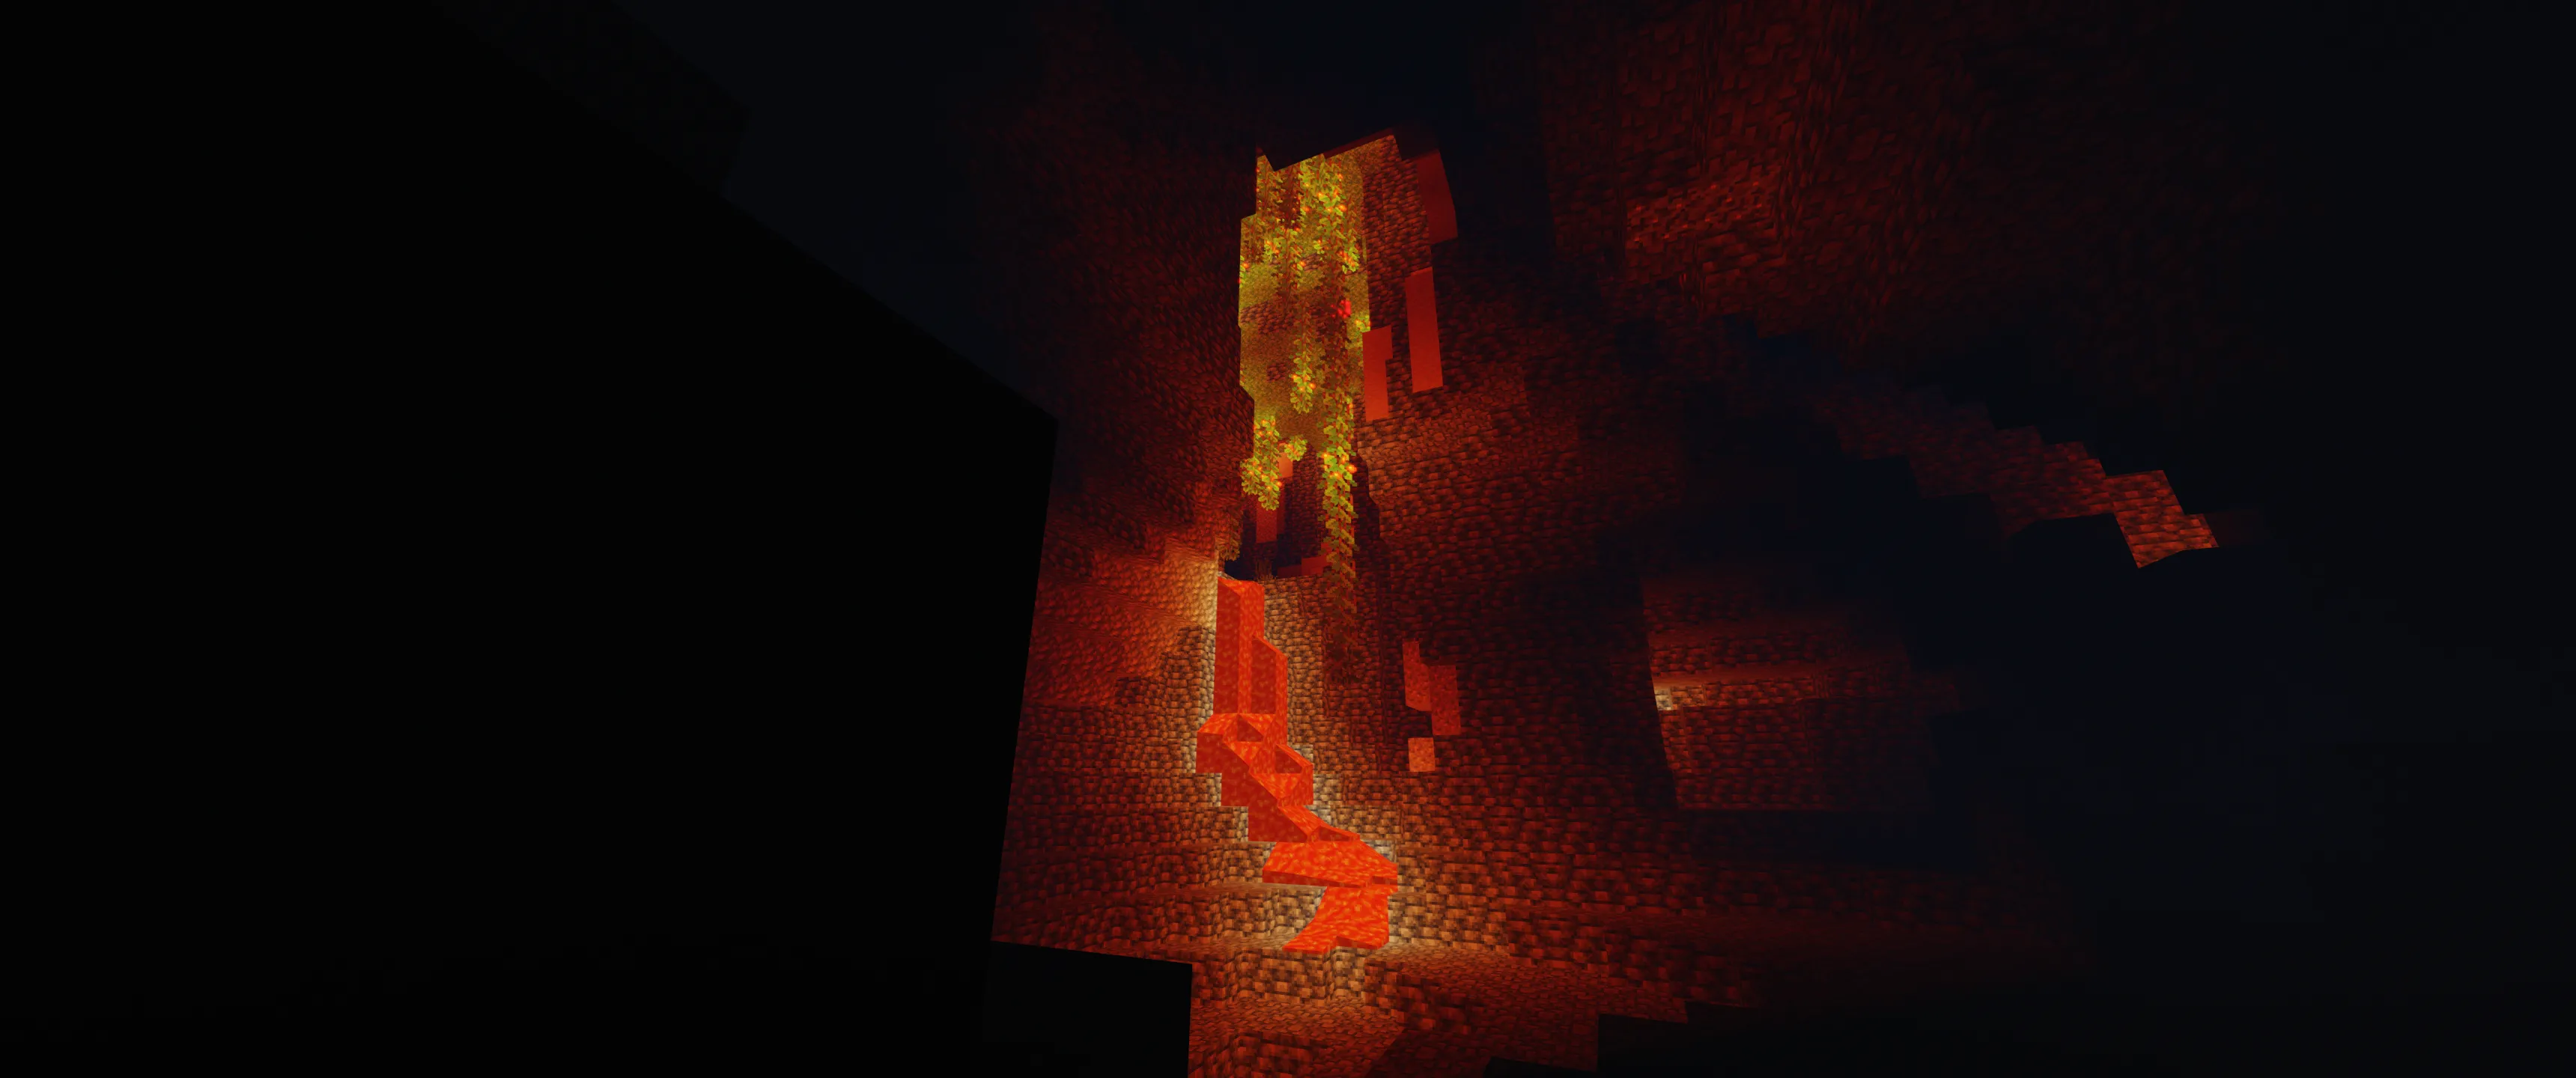
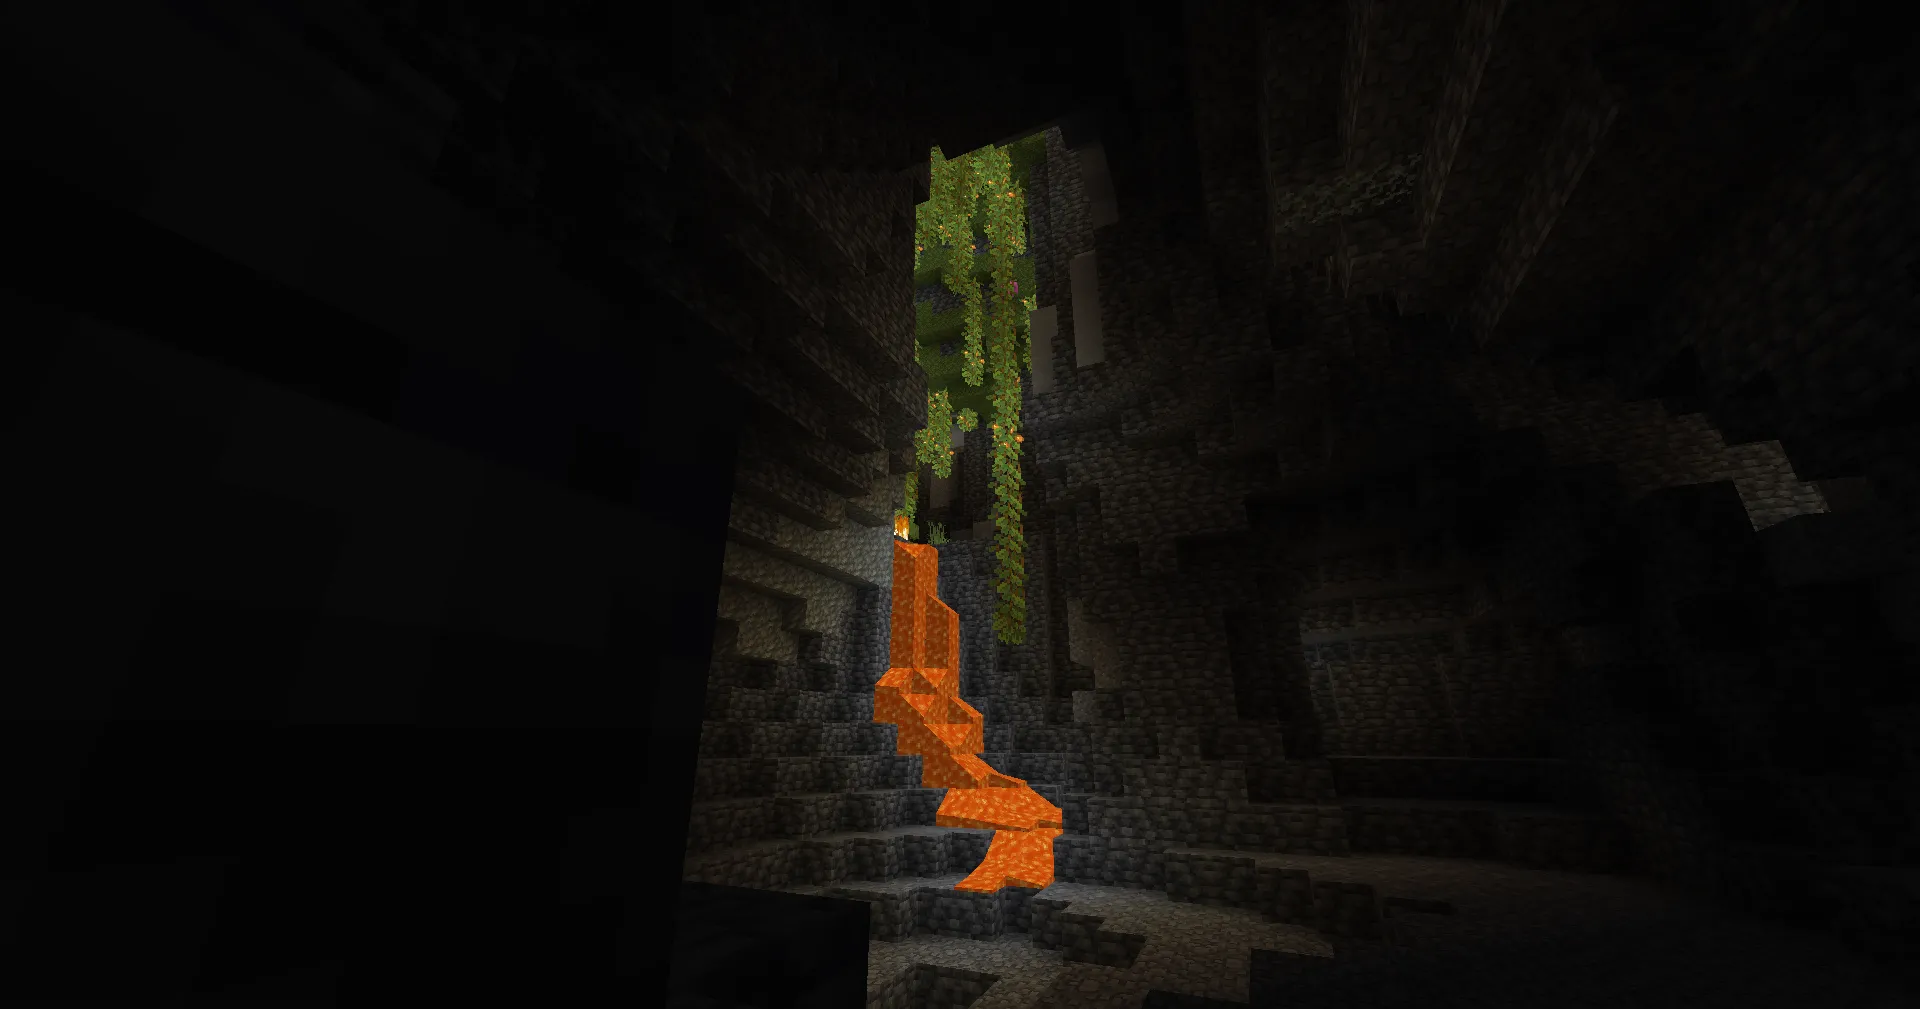
Atlas Shader — is one of the most popular shaders for Minecraft, offering significant visual enhancements. It is designed for those who want to make the game more realistic and immersive. This shader is suitable for players seeking maximum graphics quality as well as those who value customizable settings. Below, we will break down its key features, compatibility, and advantages.
Article Navigation
Key Features of Atlas Shader
Advantages:
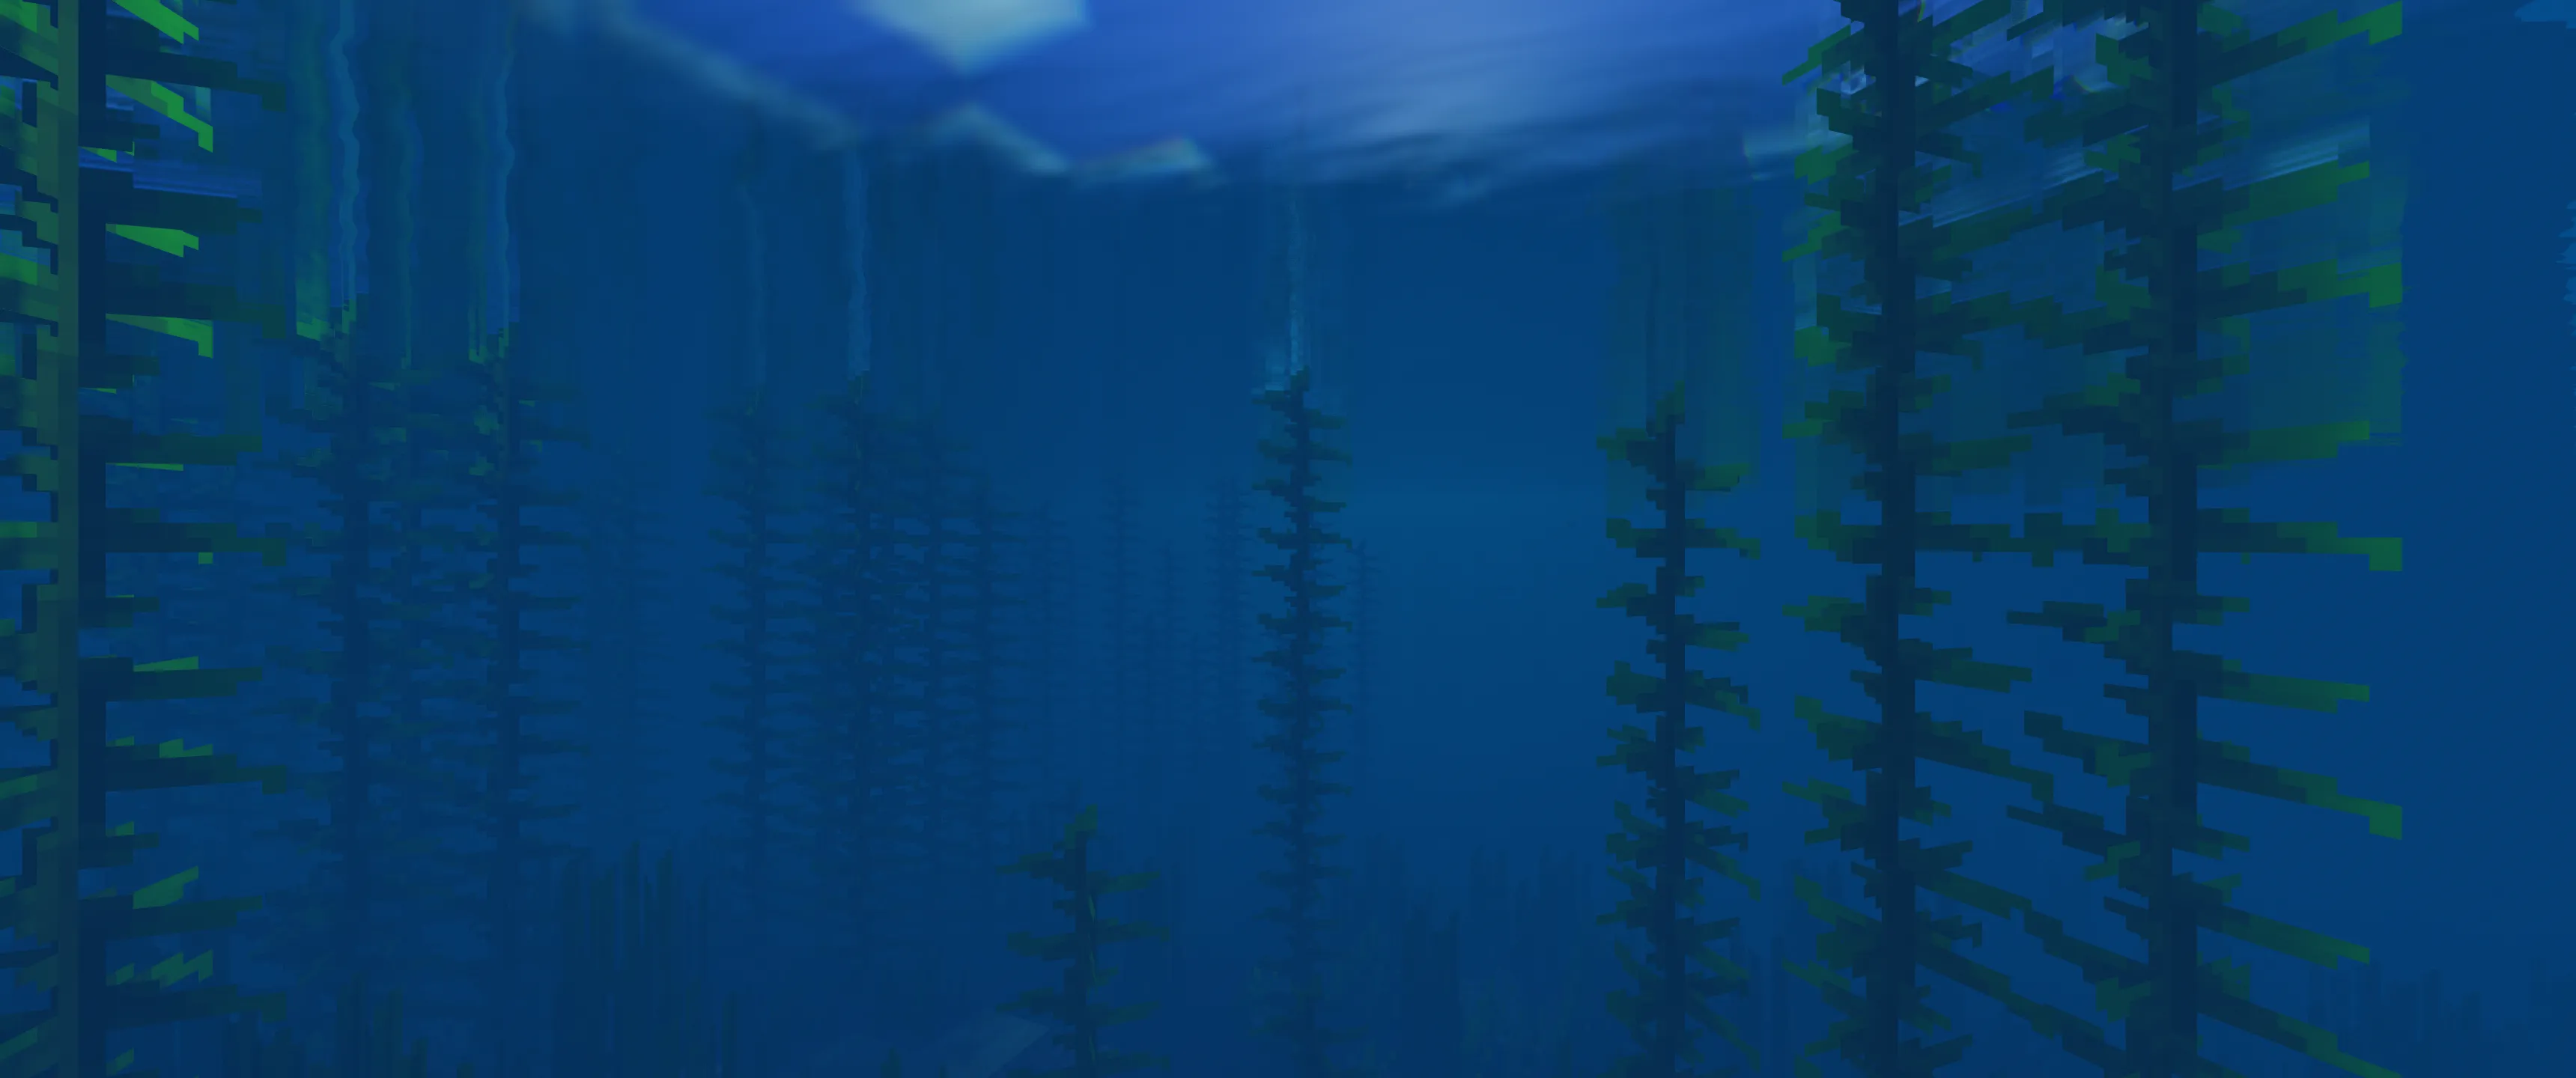
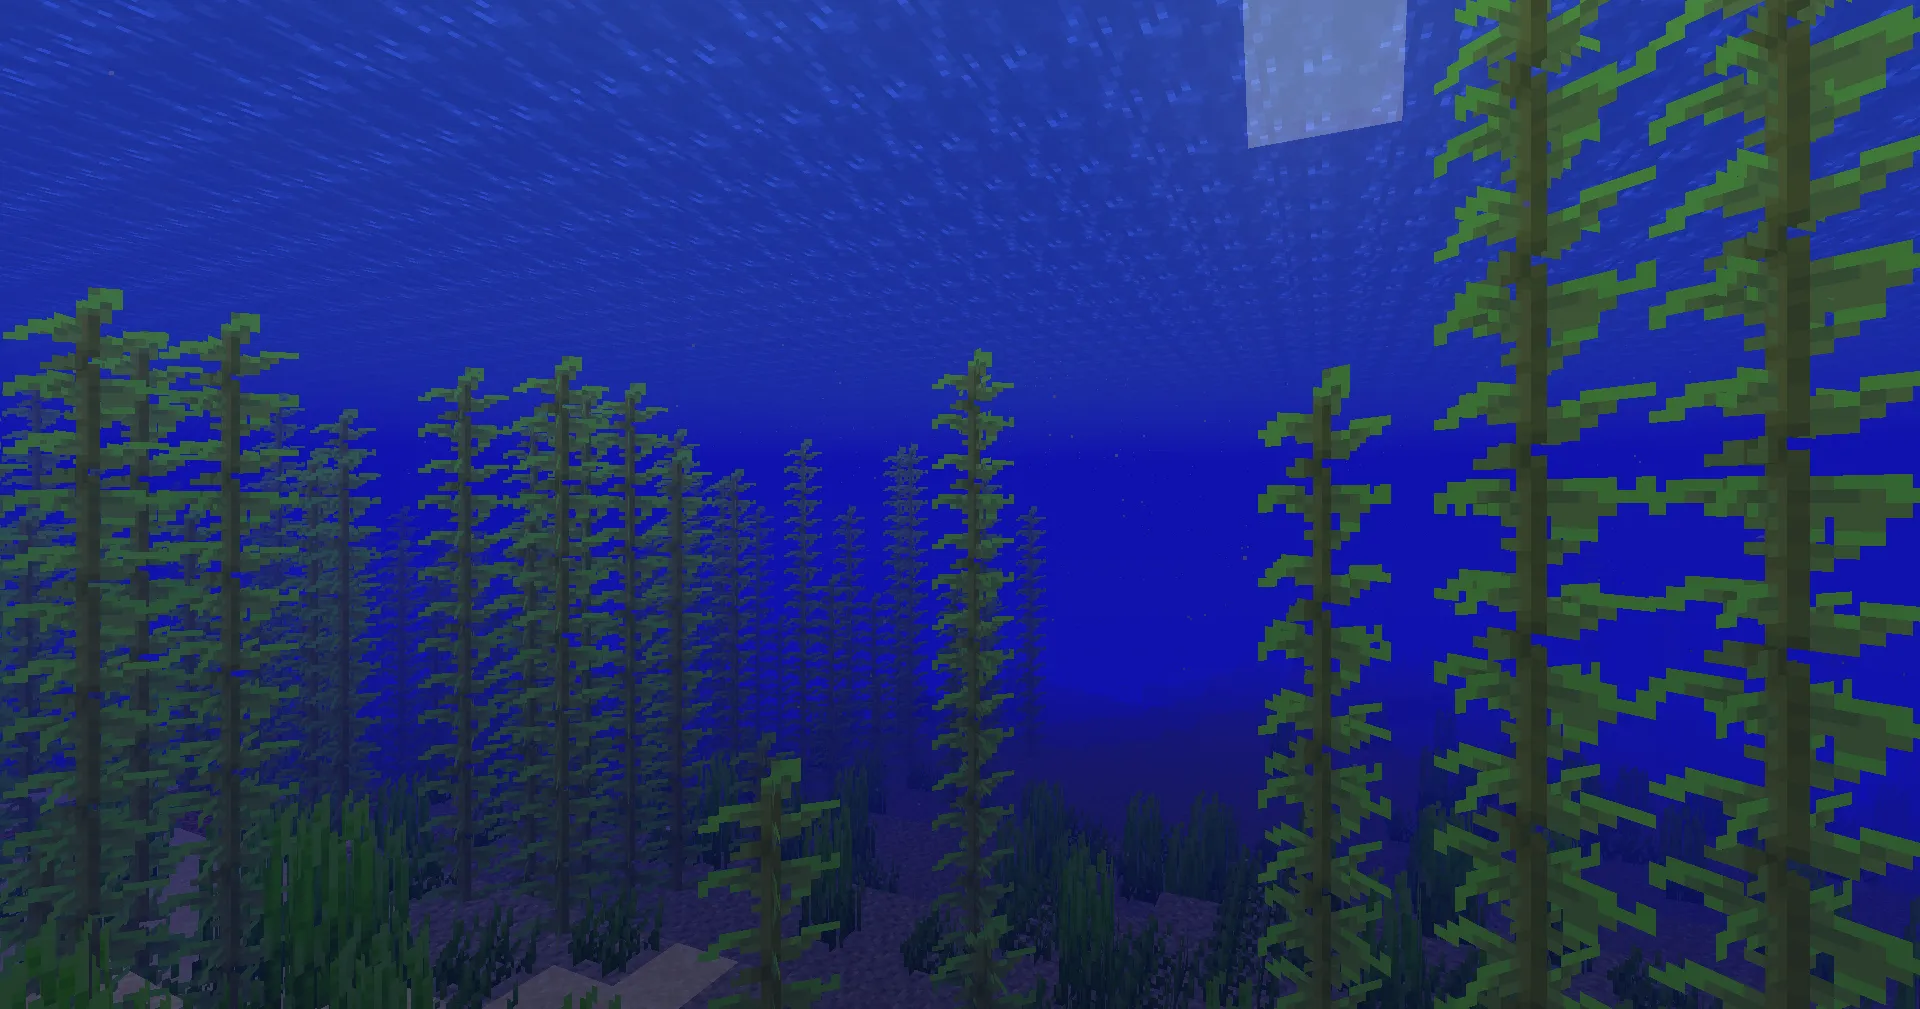
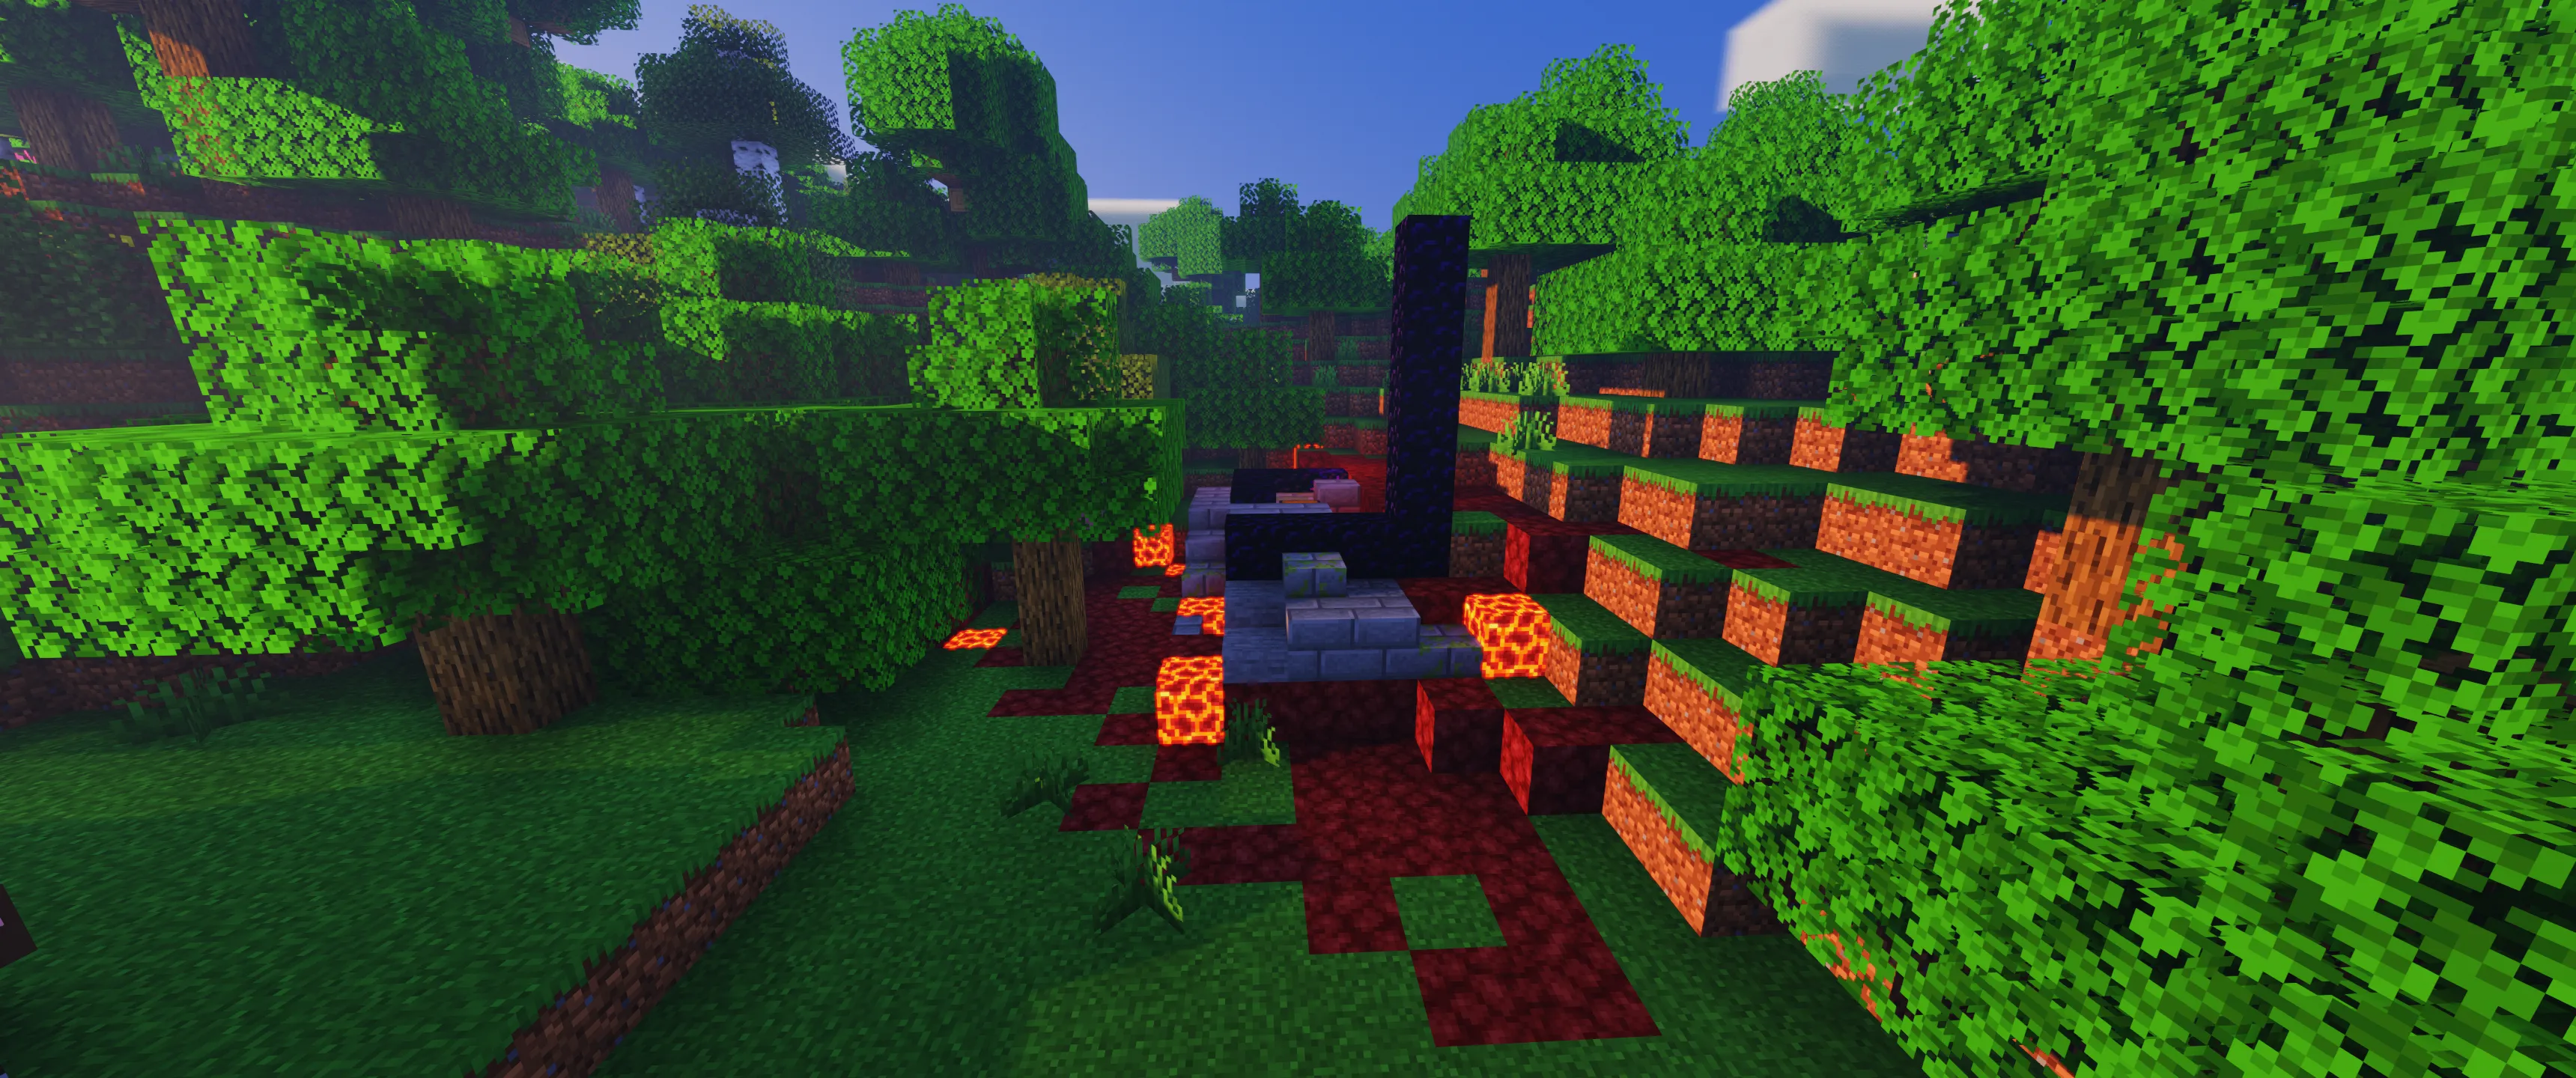
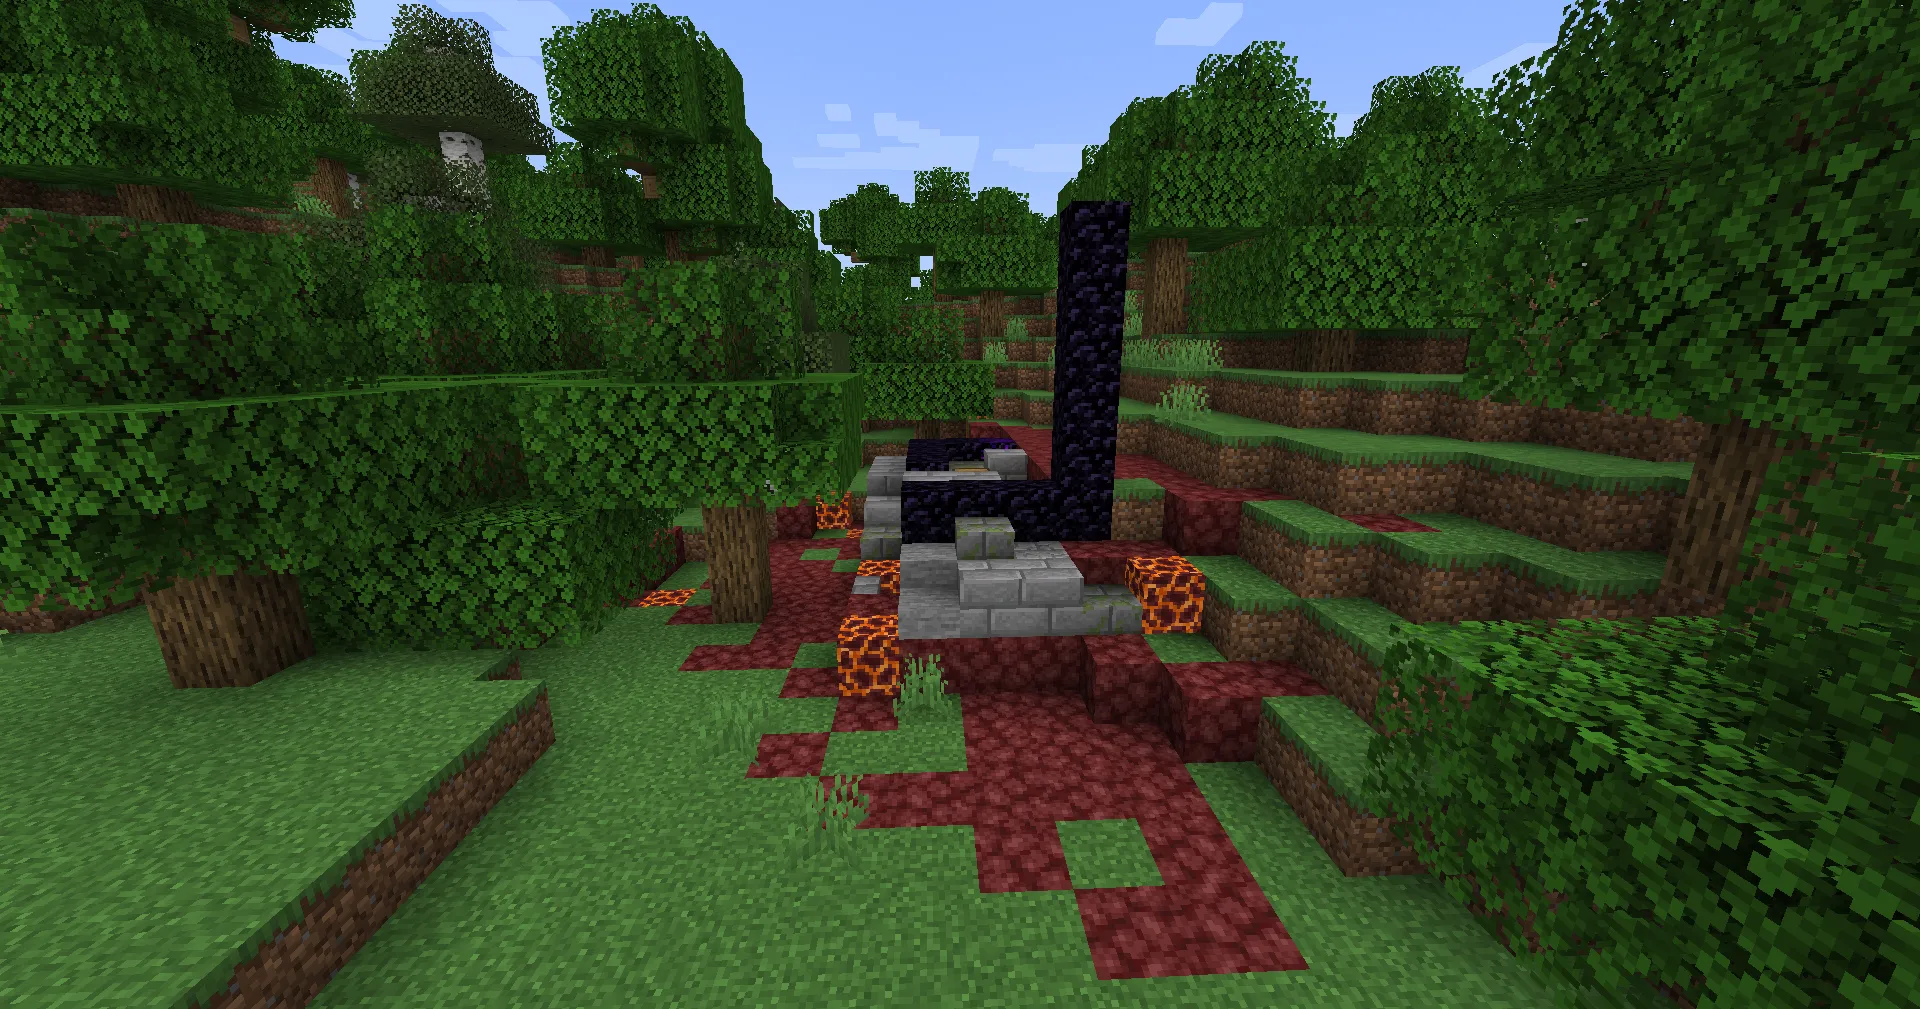
Enhanced Lighting: realistic shadows, soft lighting, and volumetric light rays.
High-Quality Reflections: mirror-like surfaces, realistic water, and environmental reflections.
Dynamic Weather: detailed effects for rain, fog, and sunlight glare.
Flexible Settings: fine-tuning options to suit your hardware.
Graphical Improvements:
Lighting: smooth shadows and "God Rays" effects for sunlight.
Realistic Water: added waves, transparency, and environmental reflections.
Weather Effects: enhanced visibility during rain, dense fog, and puddle reflections on the ground.
Atmosphere: soft sky gradients and dynamic color changes based on the time of day.
Compatibility:
Atlas Shader supports Minecraft versions from 1.16 to 1.20+. It works with OptiFine and Iris mods, ensuring smooth and stable performance on Fabric and Forge.
Differences from Other Shaders:
Flexible settings allow graphics adaptation for low-end PCs.
Unique weather effect enhancements.
Balance between performance and graphical quality.
Comparison with Other Shaders
| Parameter | Atlas Shader | SEUS Renewed | BSL Shader |
|---|---|---|---|
| Minecraft Version | 1.16 – 1.20+ | 1.12 – 1.18 | 1.16 – 1.20+ |
| Performance | Mid/High-End PCs | Mid-End PCs | Low/Mid-End PCs |
| Lighting Quality | High | Medium | High |
| Water Realism | Very High | High | Medium |
| Weather Effects | Supported | Limited | Supported |
| Mod Compatibility | OptiFine, Iris | OptiFine | OptiFine, Iris |
| Settings Flexibility | High | Medium | High |
| Features | Realistic weather effects | Simple interface | Beautiful skies |
FAQ: Answers to Frequently Asked Questions
1. Why isn’t the shader working?
Make sure you are using OptiFine or Iris for your Minecraft version.
Check your graphics settings: they should be set to "Fancy".
2. The shader causes FPS drops. What should I do?
Reduce the render distance.
Disable additional effects like shadows or complex reflections.
3. Is Atlas Shader compatible with mods?
Yes, it works well with popular mods, including OptiFine, Iris, and world-generation mods.
