Boovlermentary: Fast and Beautiful
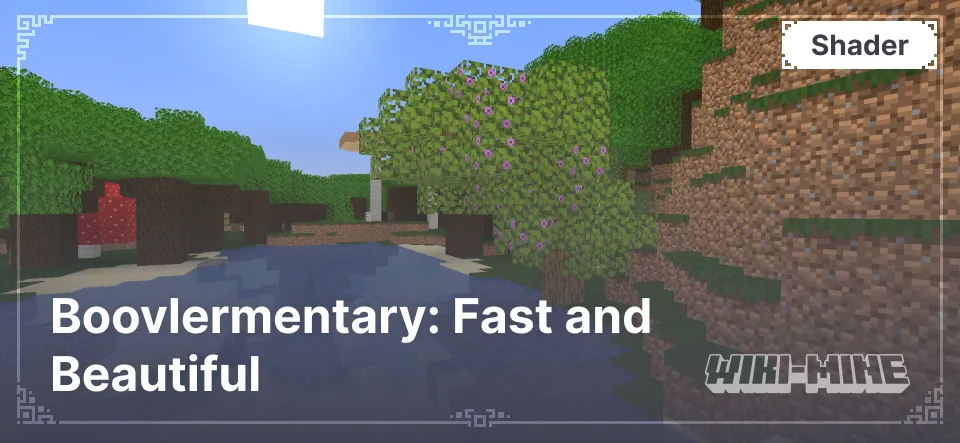
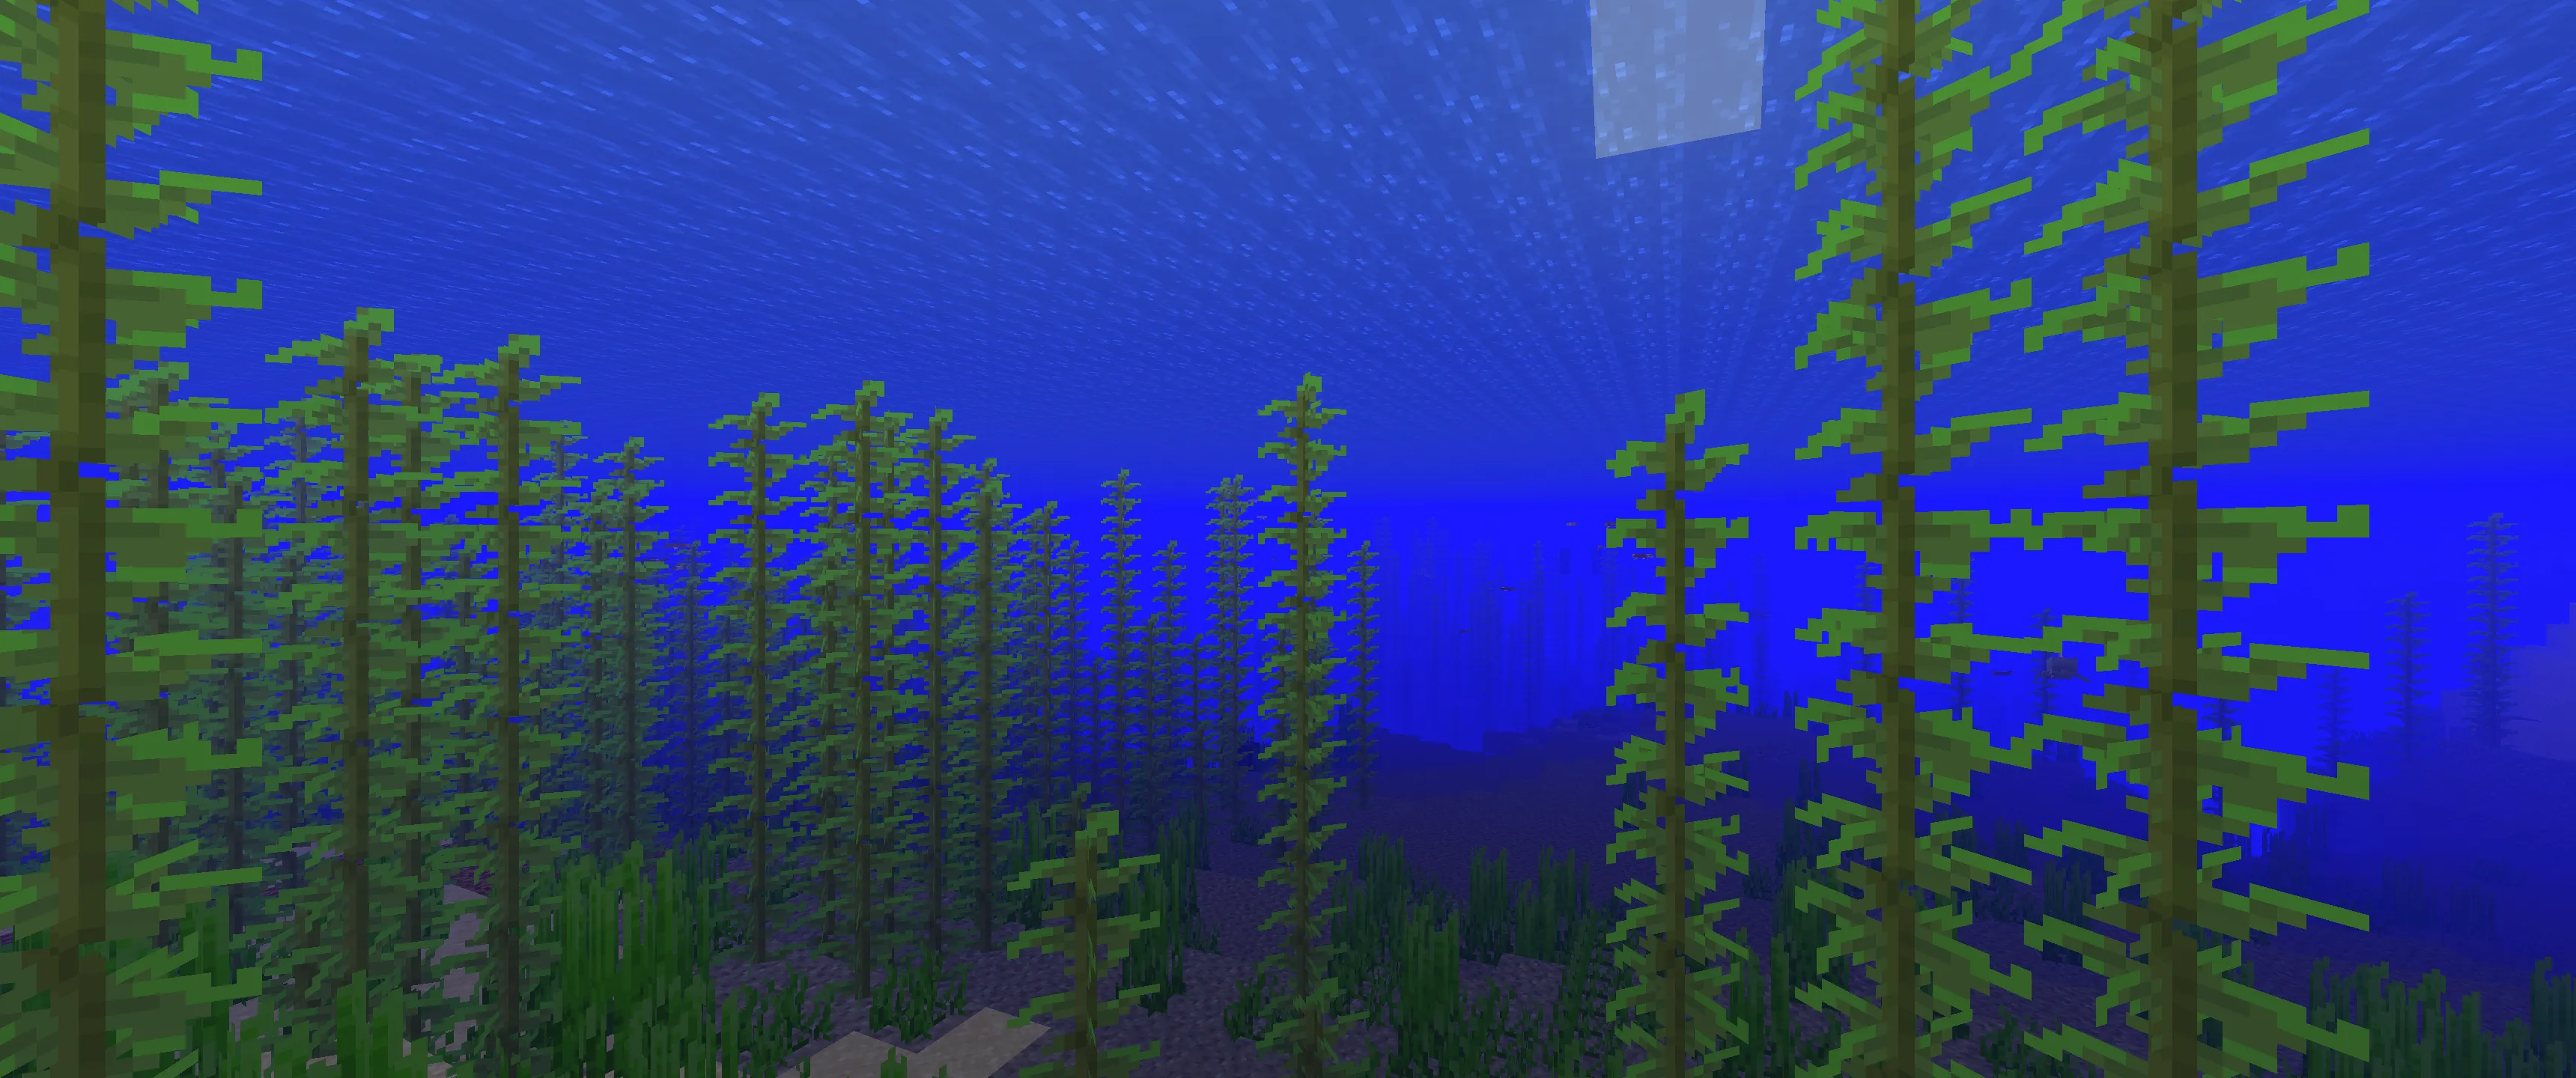
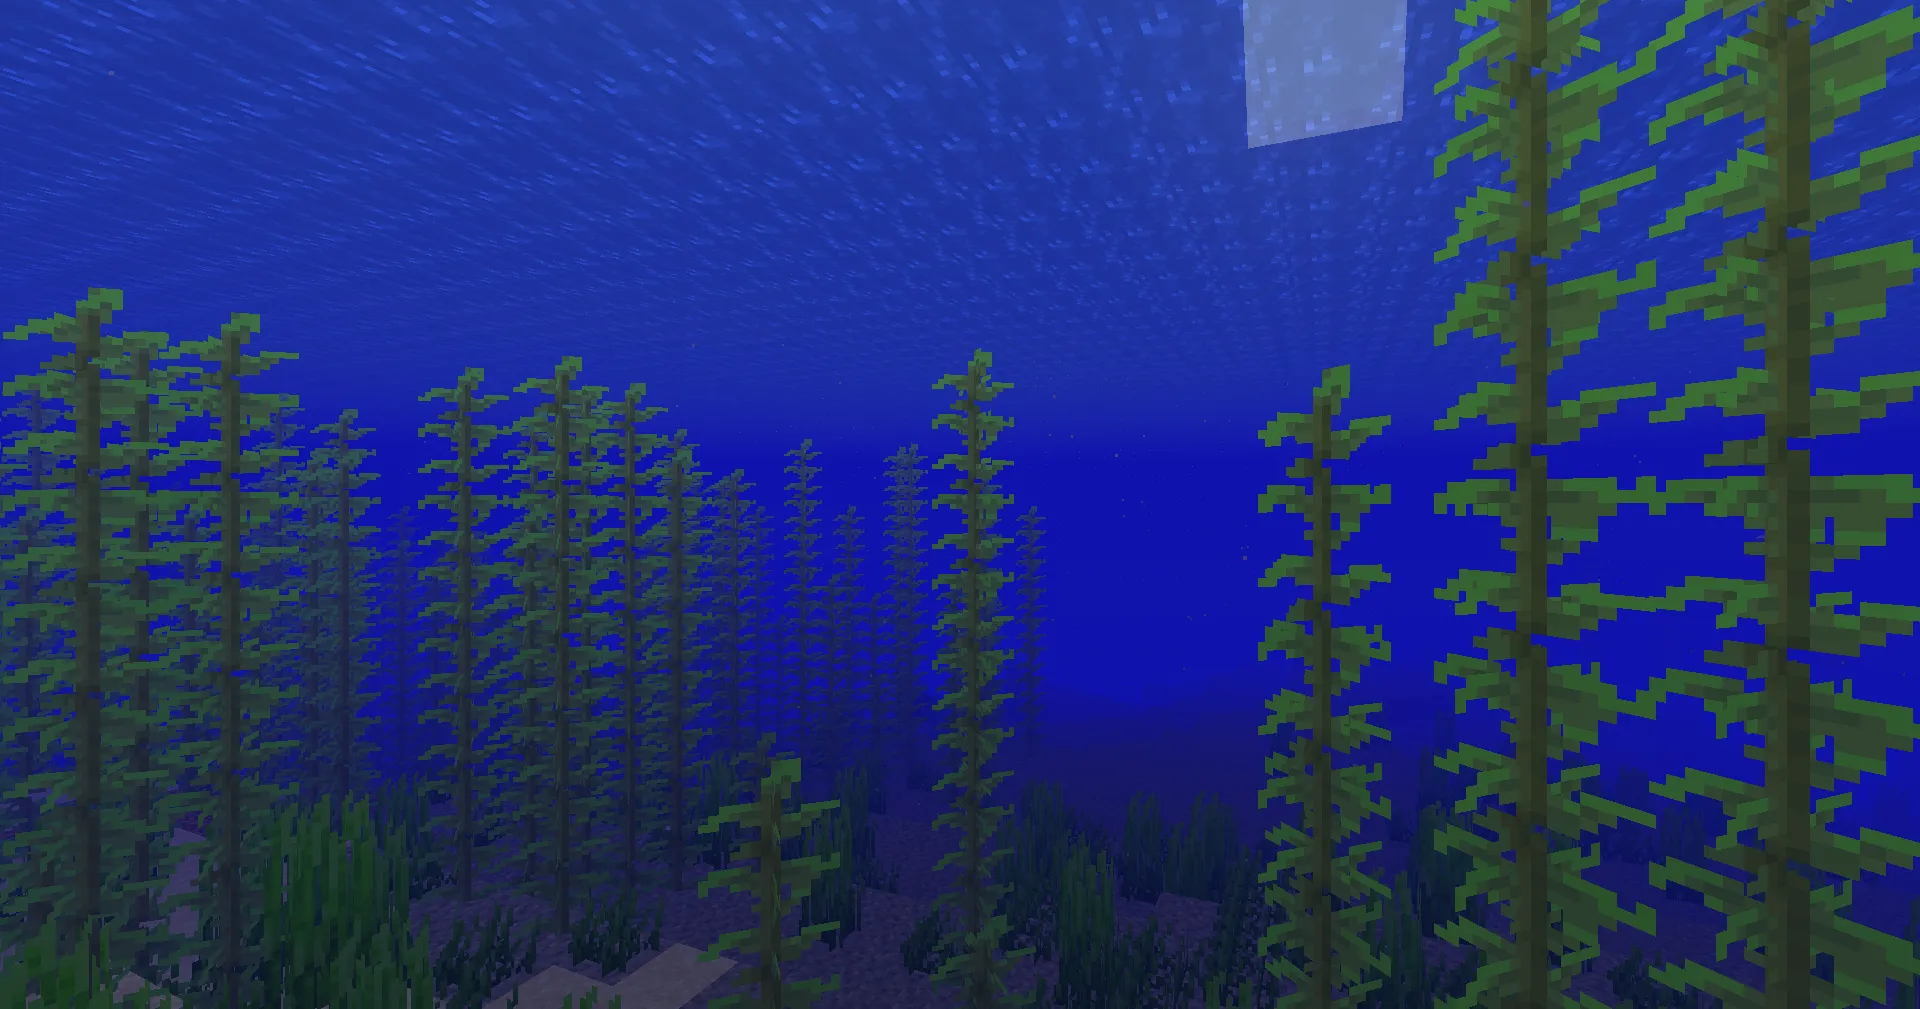
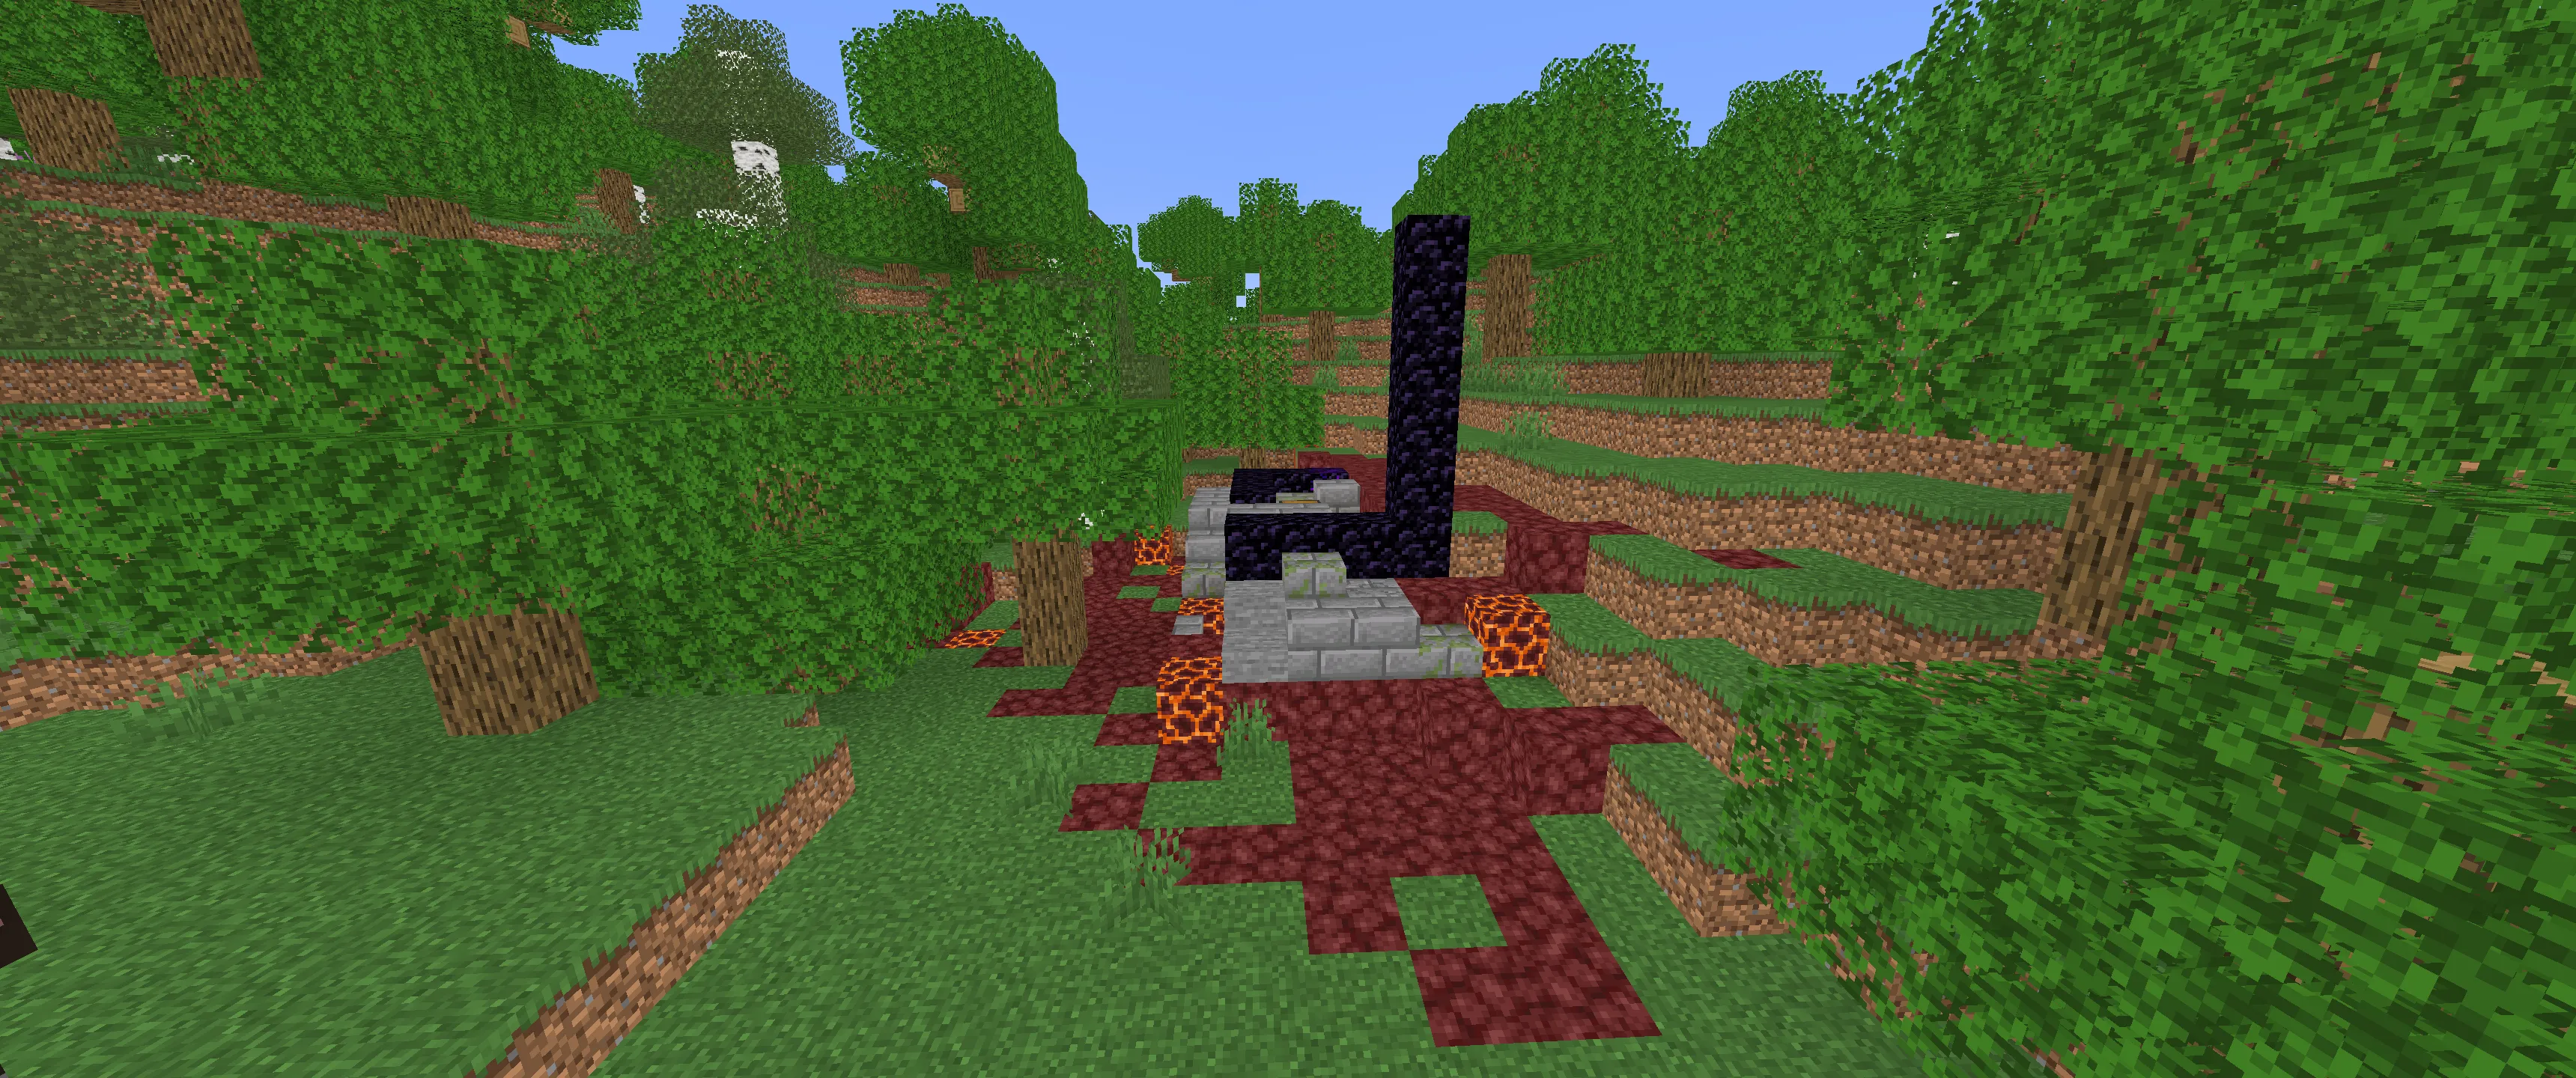
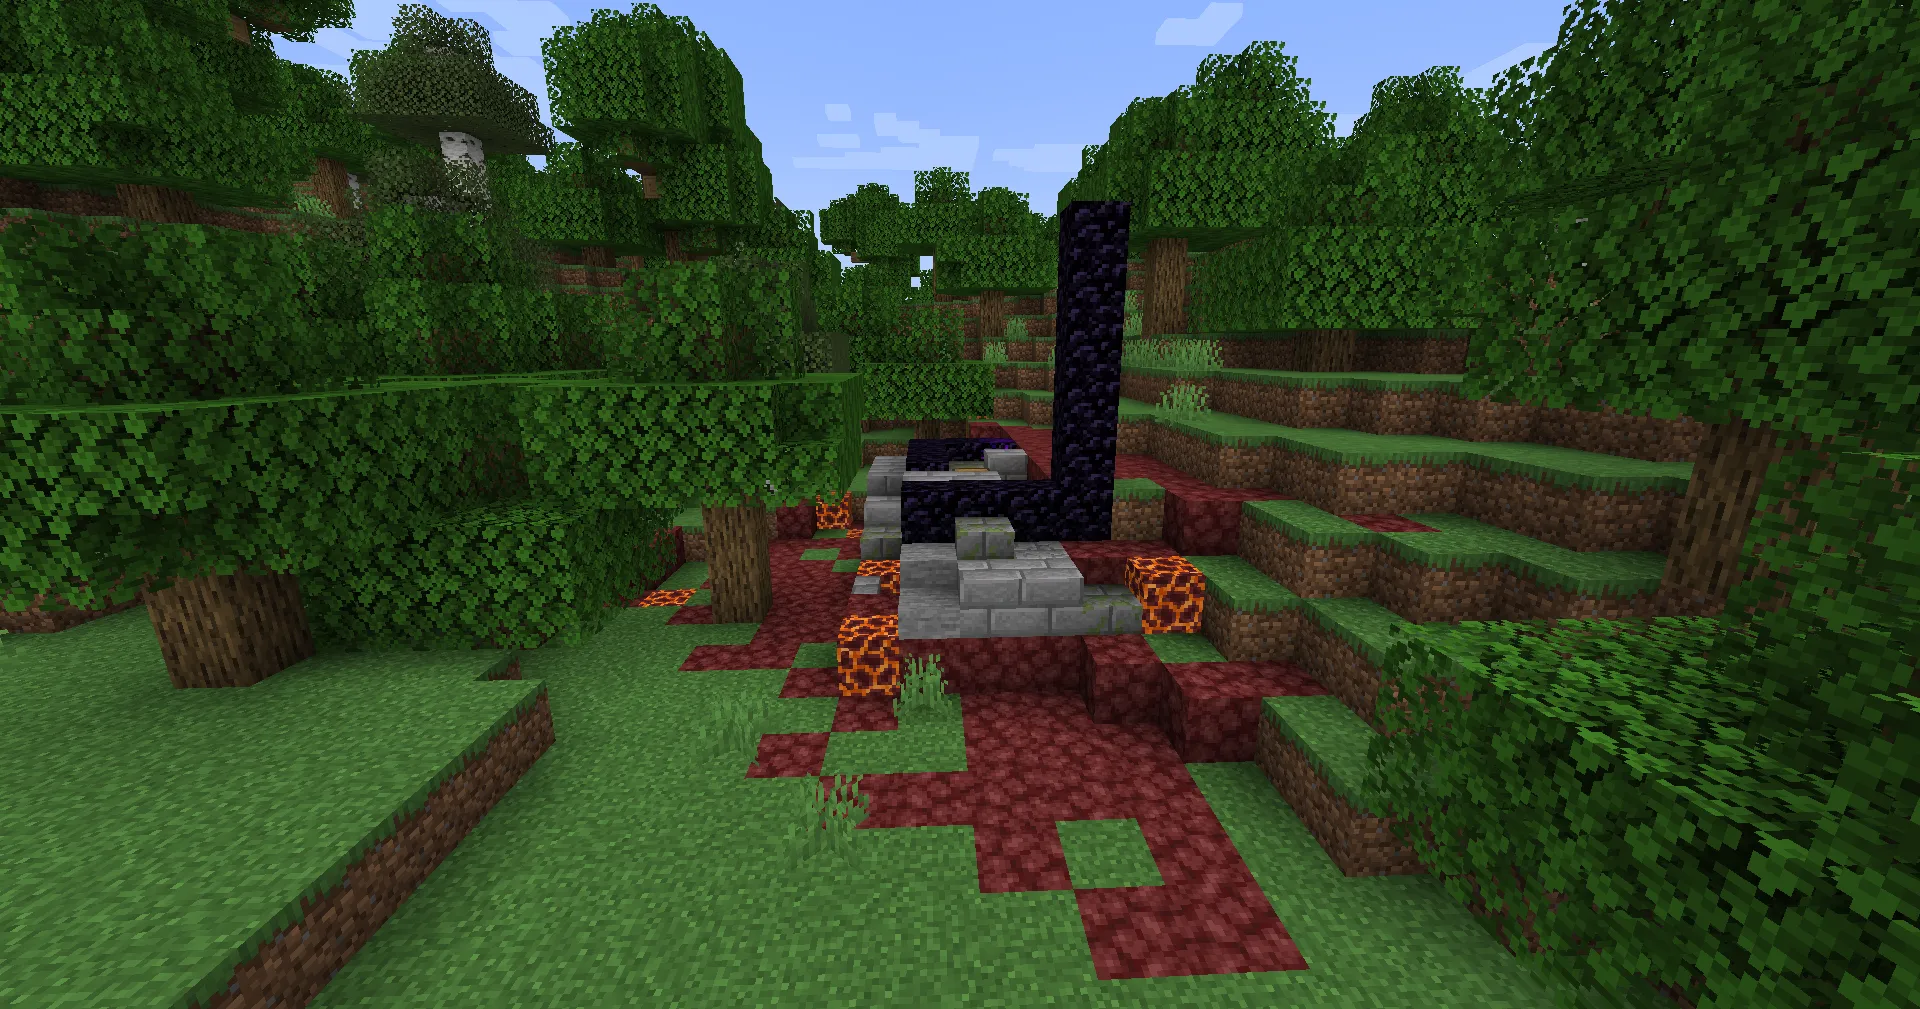
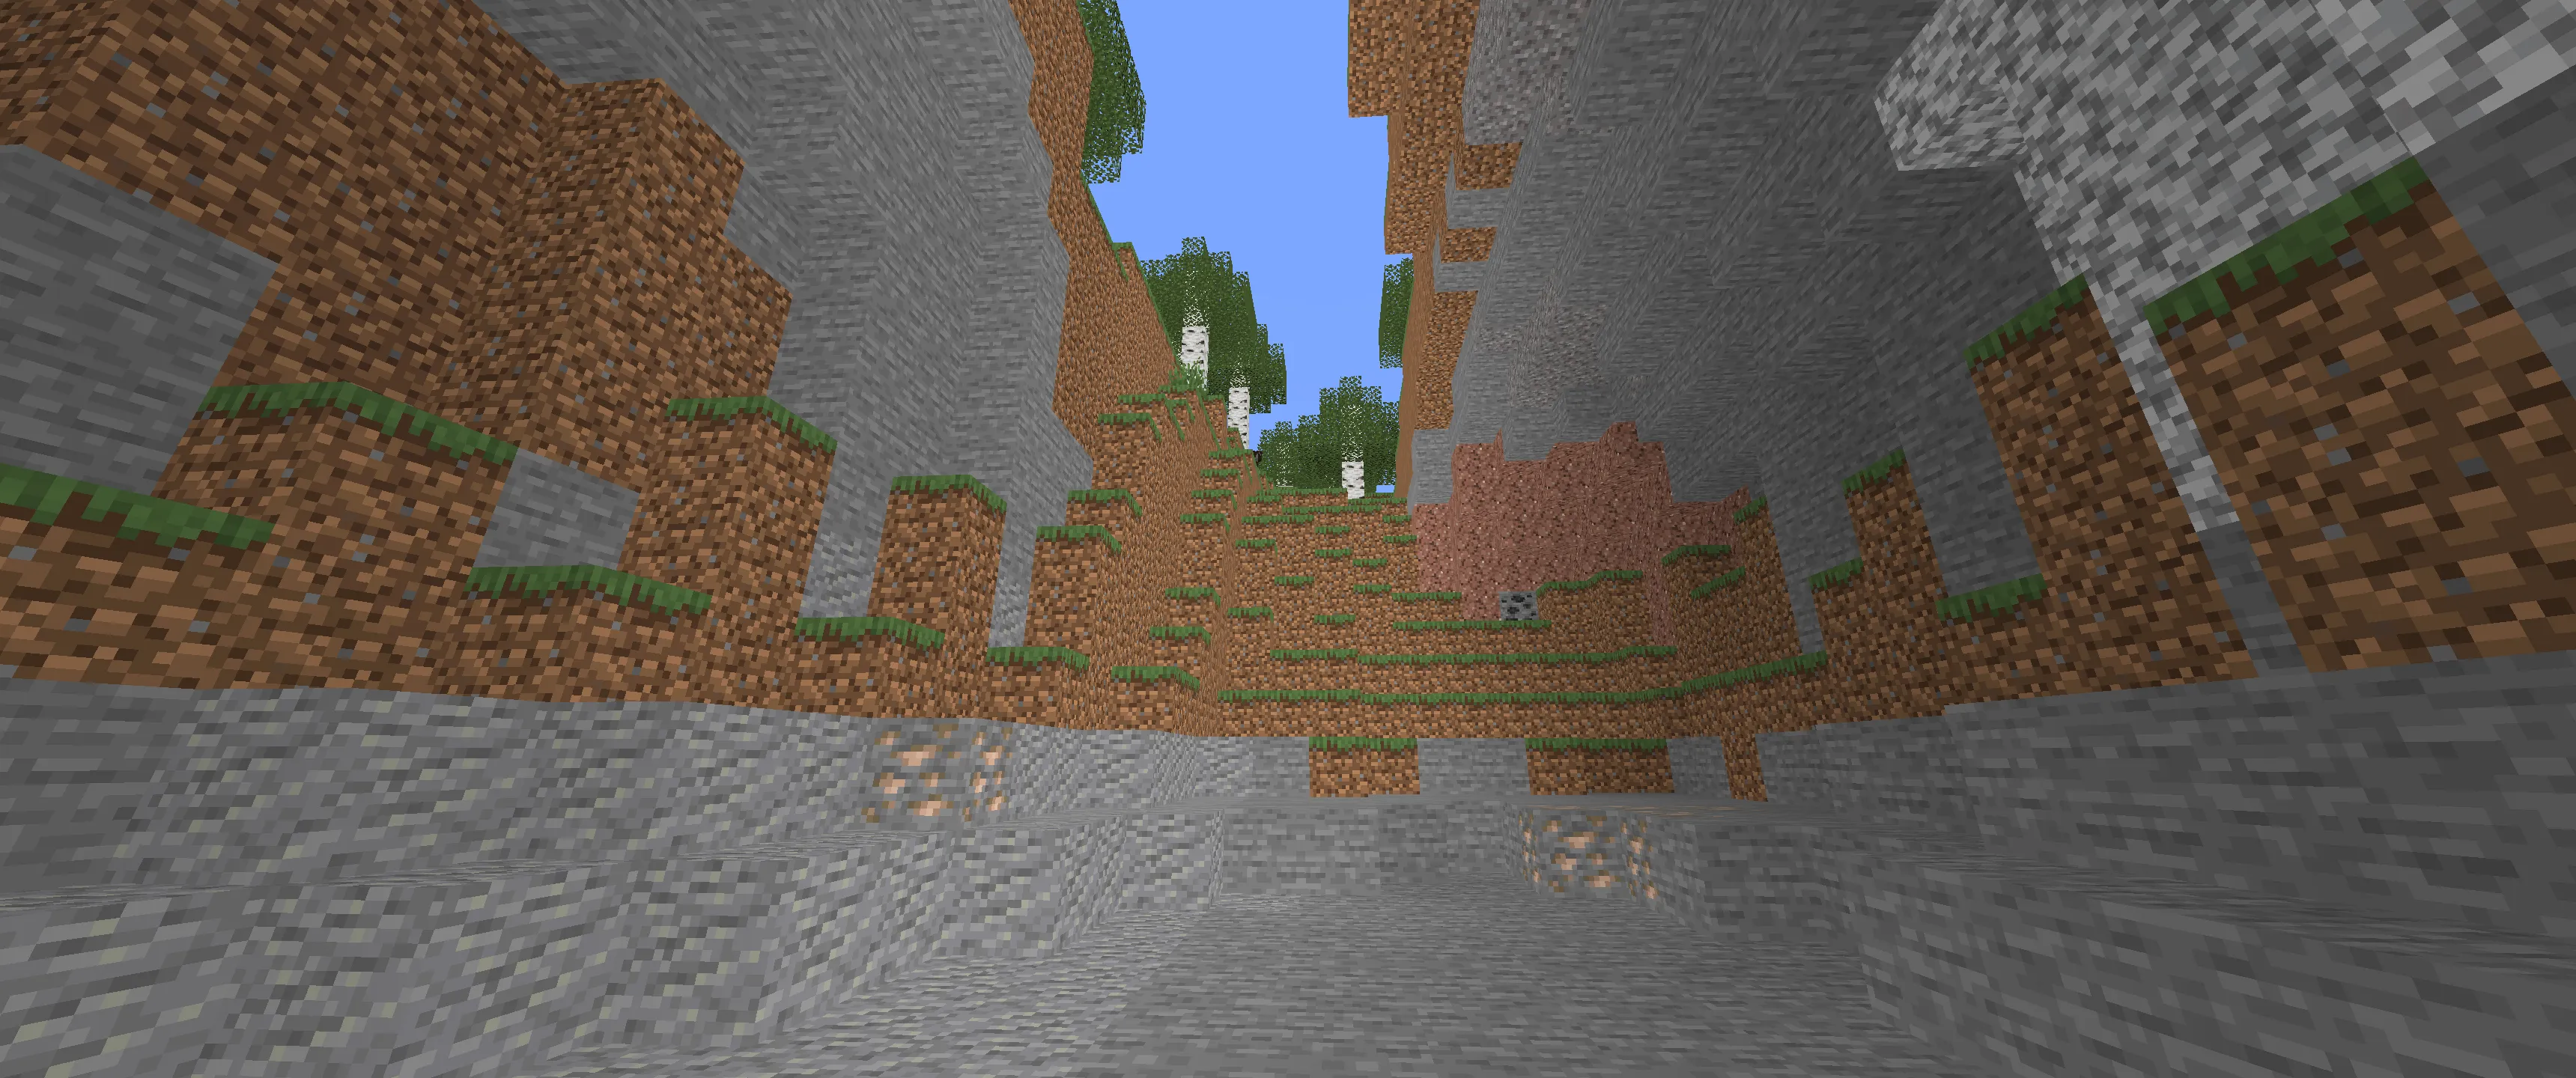
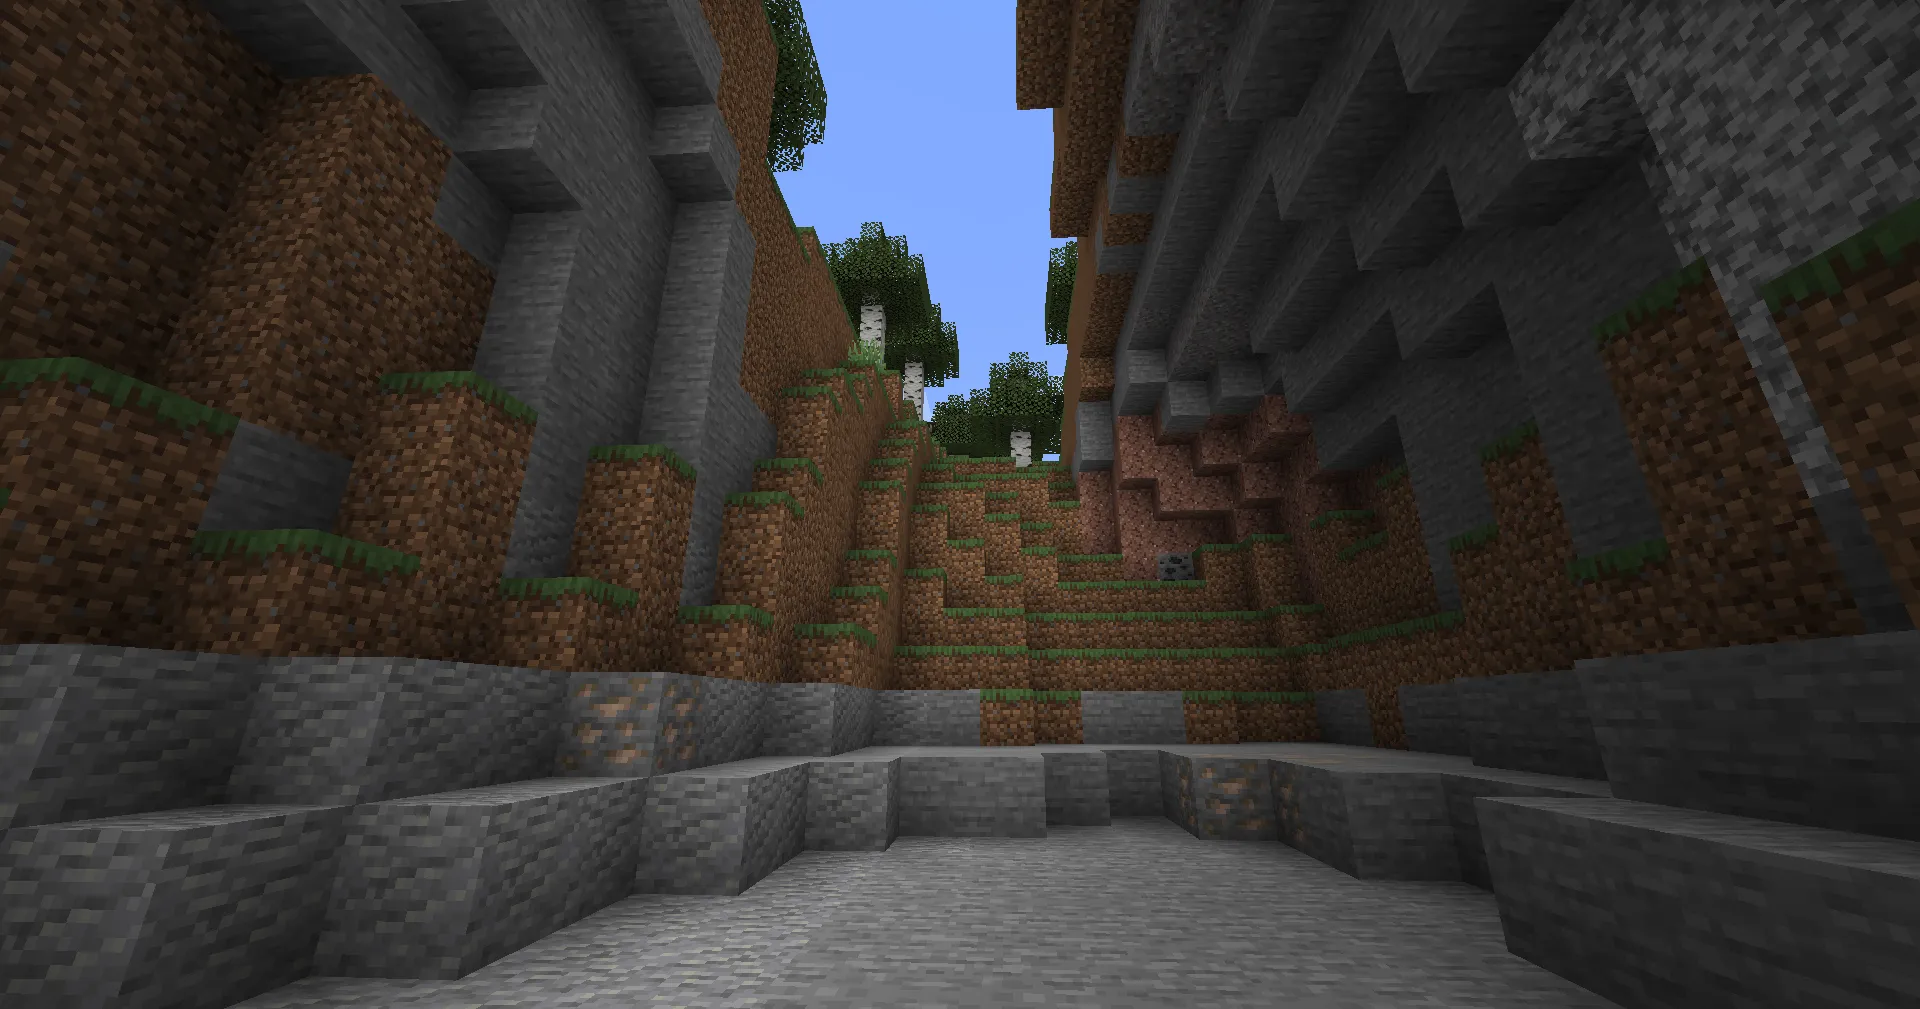
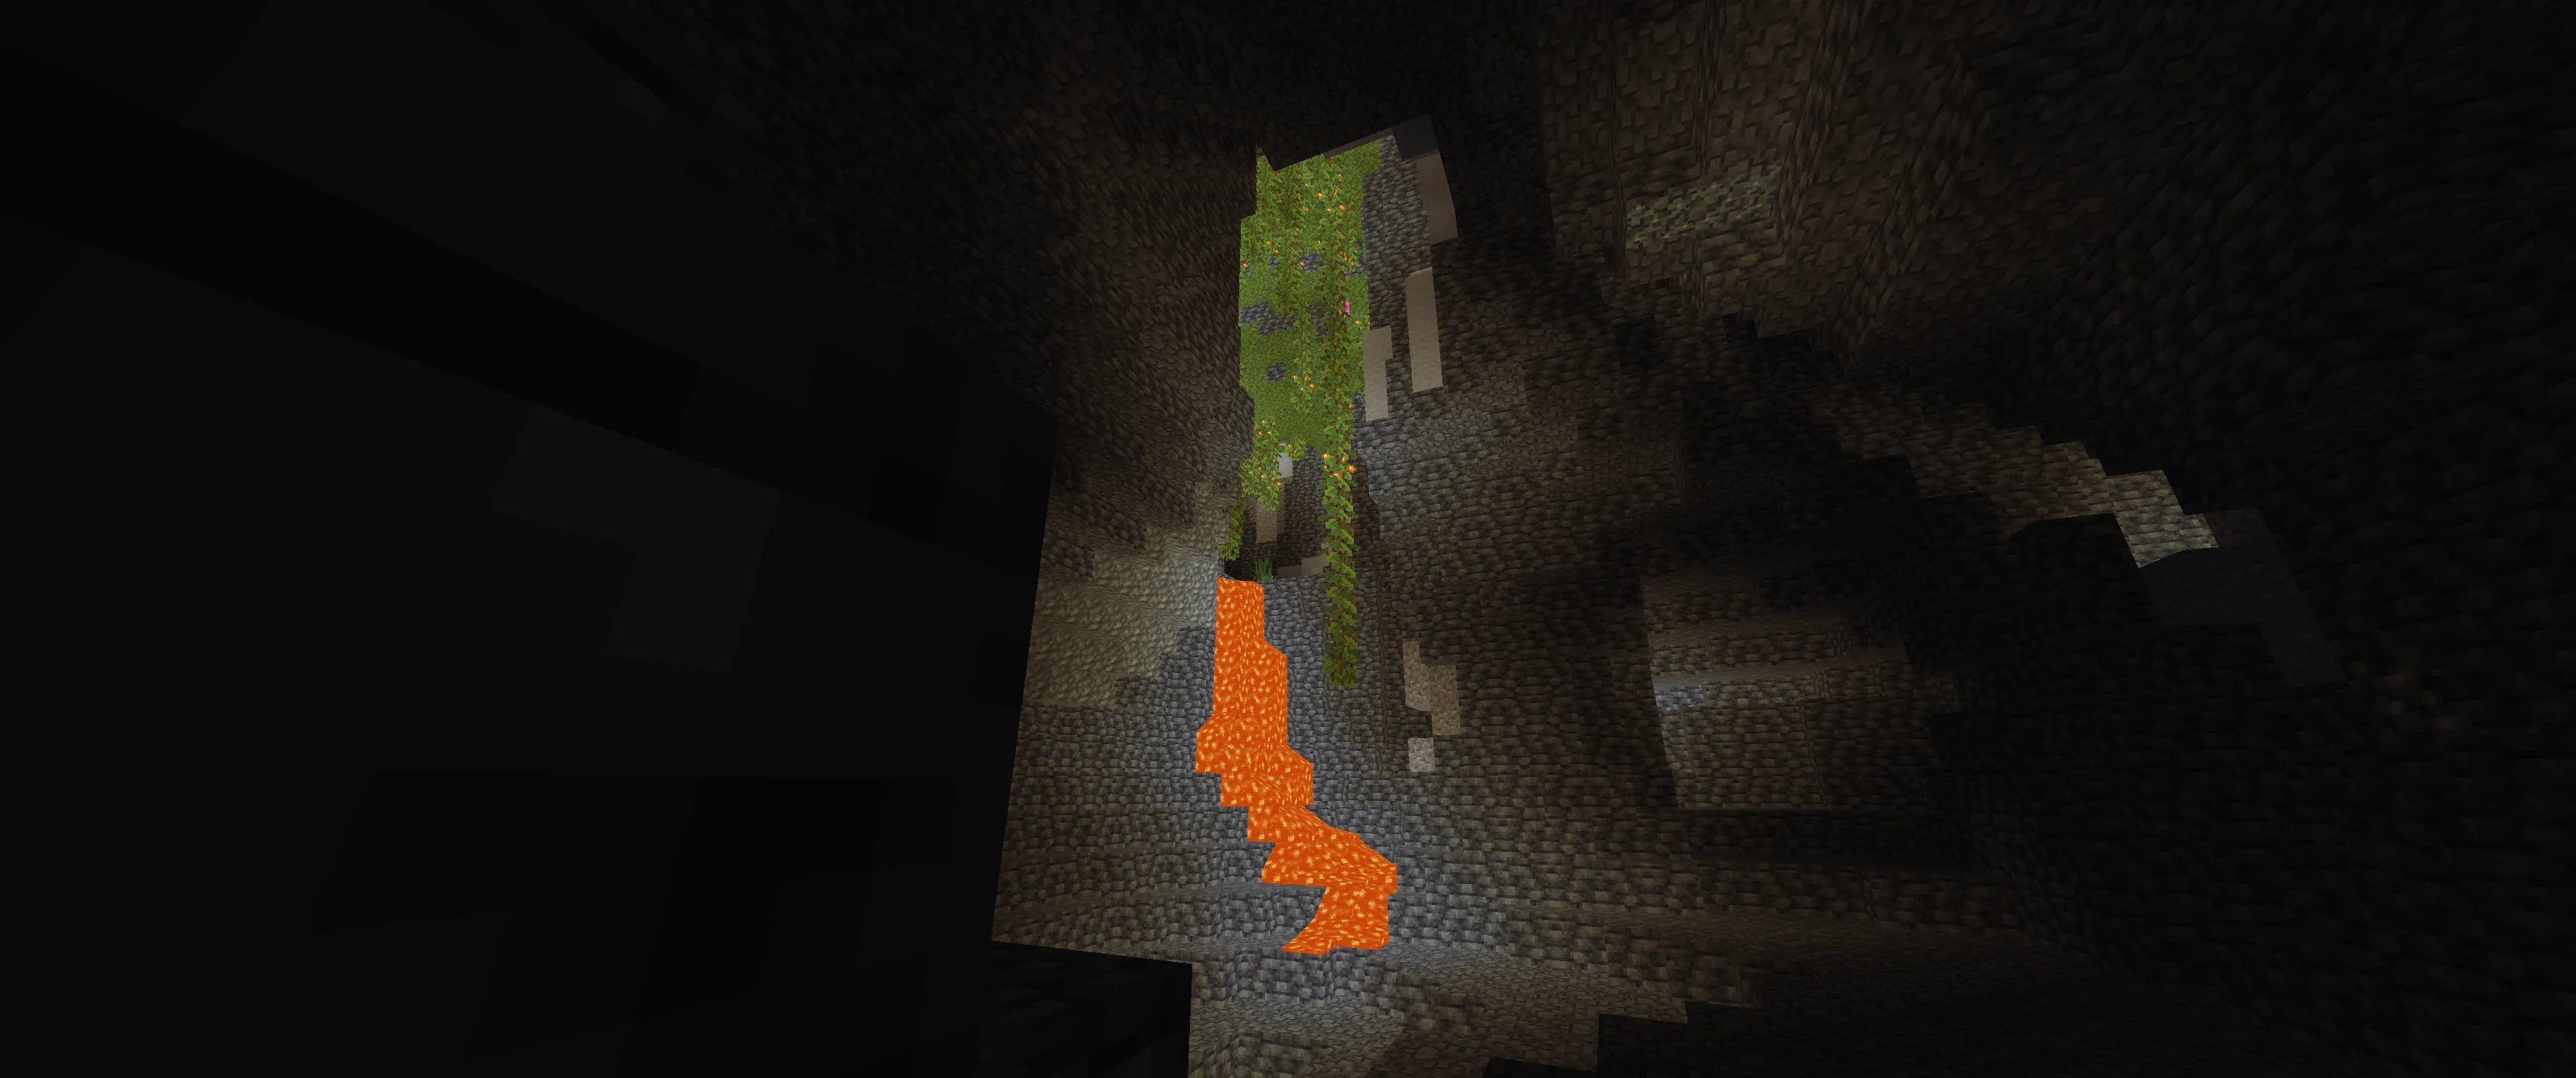
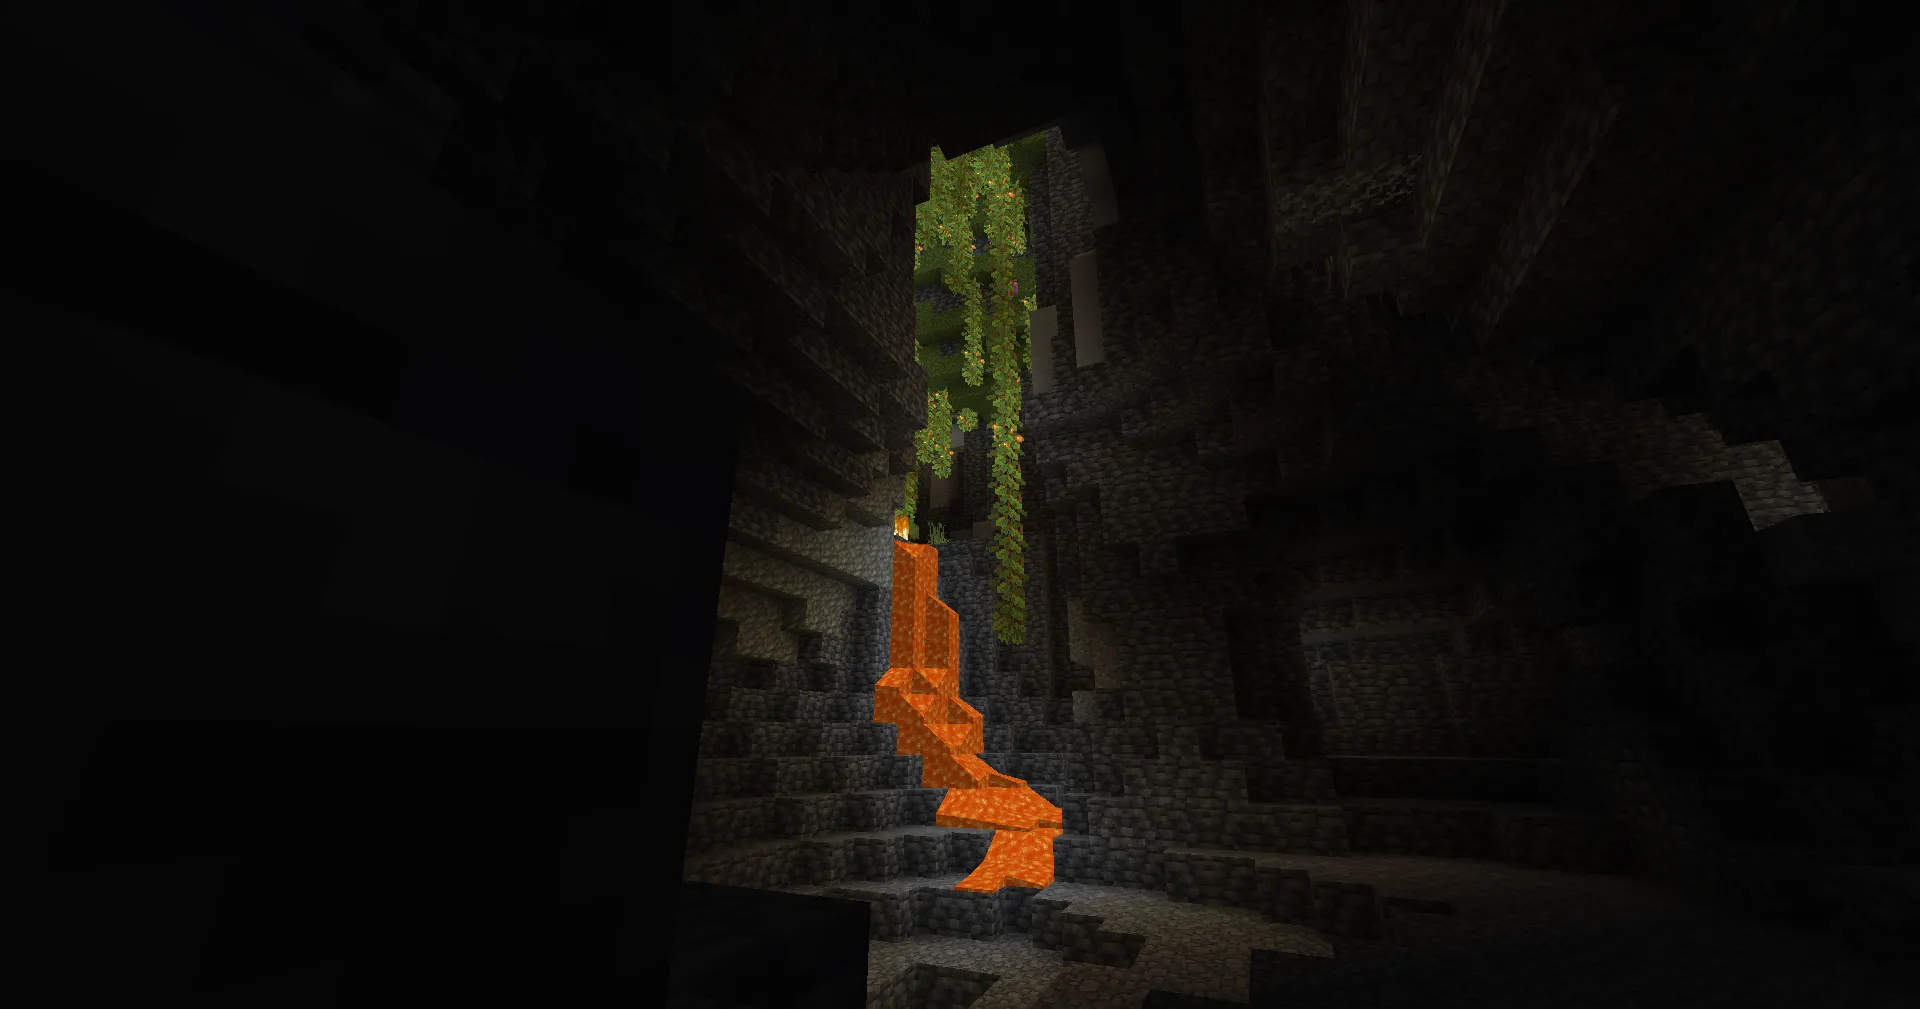
The Boovlermentary shader is a powerful tool for those who want to transform Minecraft graphics, making them more realistic and visually pleasing. This shader offers unique lighting effects, enhanced water textures, and other visual improvements that set it apart from competitors.
Article Navigation
Features and Benefits
Boovlermentary stands out for its versatility and high level of detail. Key features include:
Realistic Lighting: improved shadows, soft light, and smooth brightness transitions.
Detailed Water: transparency, realistic waves, and dynamic reflections.
Weather Effects: fog, rain, and sun glare look more natural.
Mod Compatibility: works seamlessly with popular tools like OptiFine and Iris.
Flexible Settings: users can choose from preset configurations or manually adjust parameters.
Graphical Enhancements
Boovlermentary significantly enhances the quality of the following graphical elements:
Lighting: soft and realistic shadows, global illumination effects.
Water: dynamic waves, natural reflections, and transparency.
Fog and Atmospheric Effects: fog density depends on distance, and weather effects feel more alive.
Reflections: improved reflections on surfaces like water and glass.
Compatibility with Minecraft Versions and Platforms
Minecraft Versions: Supports versions 1.16 – 1.20.
Platforms: compatible with Forge, NeoForge, and Fabric.
Mods: works perfectly with OptiFine, Iris, and other popular graphical mods.
Differences from Other Shaders
Boovlermentary stands out with its balance between quality and performance. It is suitable for players with mid-range and high-end PCs. A unique feature is the dynamic adaptation of lighting to time of day and weather conditions.
Comparison Table
| Shader | Minecraft Version | Performance | Lighting Quality | Water Realism | Weather Effects | Mod Compatibility | Settings Flexibility | Features |
|---|---|---|---|---|---|---|---|---|
| Boovlermentary | 1.16 – 1.20 | Mid-range and high-end PCs | Realistic | Transparency, waves | Rain, fog | OptiFine, Iris | Manual settings, presets | Dynamic lighting |
| SEUS Renewed | 1.12 – 1.20 | High-end PCs | High | Reflections, waves | Glare, rain | OptiFine | Extensive settings | Cinematic effects |
| BSL Shaders | 1.12 – 1.20 | Mid-range and high-end PCs | Vivid | Reflections | Fog, rain | OptiFine, Iris | Menu-based settings | Pleasing color correction |
FAQ
Why doesn’t the shader work?
Check if your Minecraft version is supported by the shader.
Ensure compatible mods like OptiFine or Iris are installed.
Update your graphics card drivers.
The shader drastically lowers FPS. What should I do?
Try lowering graphics settings.
Choose a lighter shader preset.
Ensure no other resource-intensive applications are running on your PC.
Are laptops supported?
Yes, if they have mid-range or high-end graphics cards. Lower-end laptops may experience performance issues.
