How to Build an Automatic Smelting Plant in Minecraft
Learn how to build a simple automatic smelting plant in Minecraft using two hopper minecarts — no complex redstone required, works for ore…
How to Build an Automatic Smelting Plant in Minecraft
An automatic smelting plant, or furnace array, is a build made of several furnaces that smelts a resource in whole stacks instead of loading each furnace by hand. Material and fuel spread themselves across every furnace, and the finished product flows into a single chest. This version relies on two hopper minecarts, so it does without complex redstone contraptions and can be built in one pass. The scale is up to you — from four furnaces for smelting ore or sand in Minecraft to a long row.
What You'll Need
The number of hoppers, furnaces, and rails depends on how many furnaces are in the row. 4–8 furnaces is enough to test the build.
Per furnace:
1 furnace (or blast furnace / smoker, depending on the material)
3 hoppers
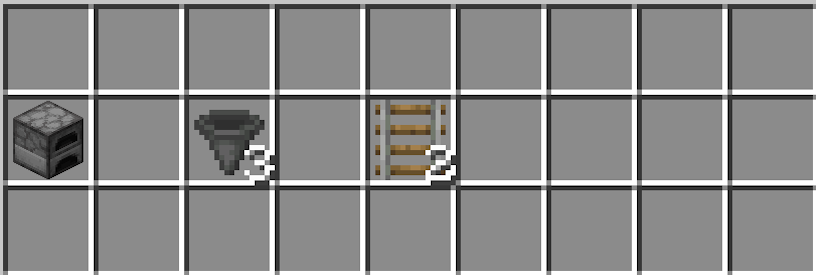
2 regular rails
Frame and automation:
8 building blocks (any full block)
4 powered rails
2 regular rails to connect the ends
2 hopper minecarts
2 redstone torches
1 lever
2 double chests: one output chest and two loading chests (for material and for fuel)
 | 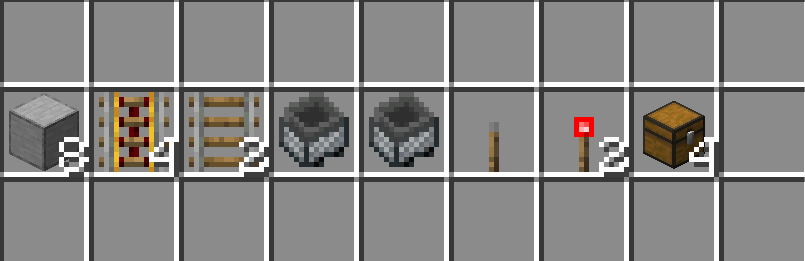 |
Layout of the gathered materials
Step 1. Output Chest and Row of Hoppers
Place a double chest — the finished product will collect in it. Run a straight row of hoppers out from its side face: hold Shift and click on the previous hopper to attach the next one instead of opening it. There should be as many hoppers as planned furnaces. All of them should face the chest and will feed it the smelted output.
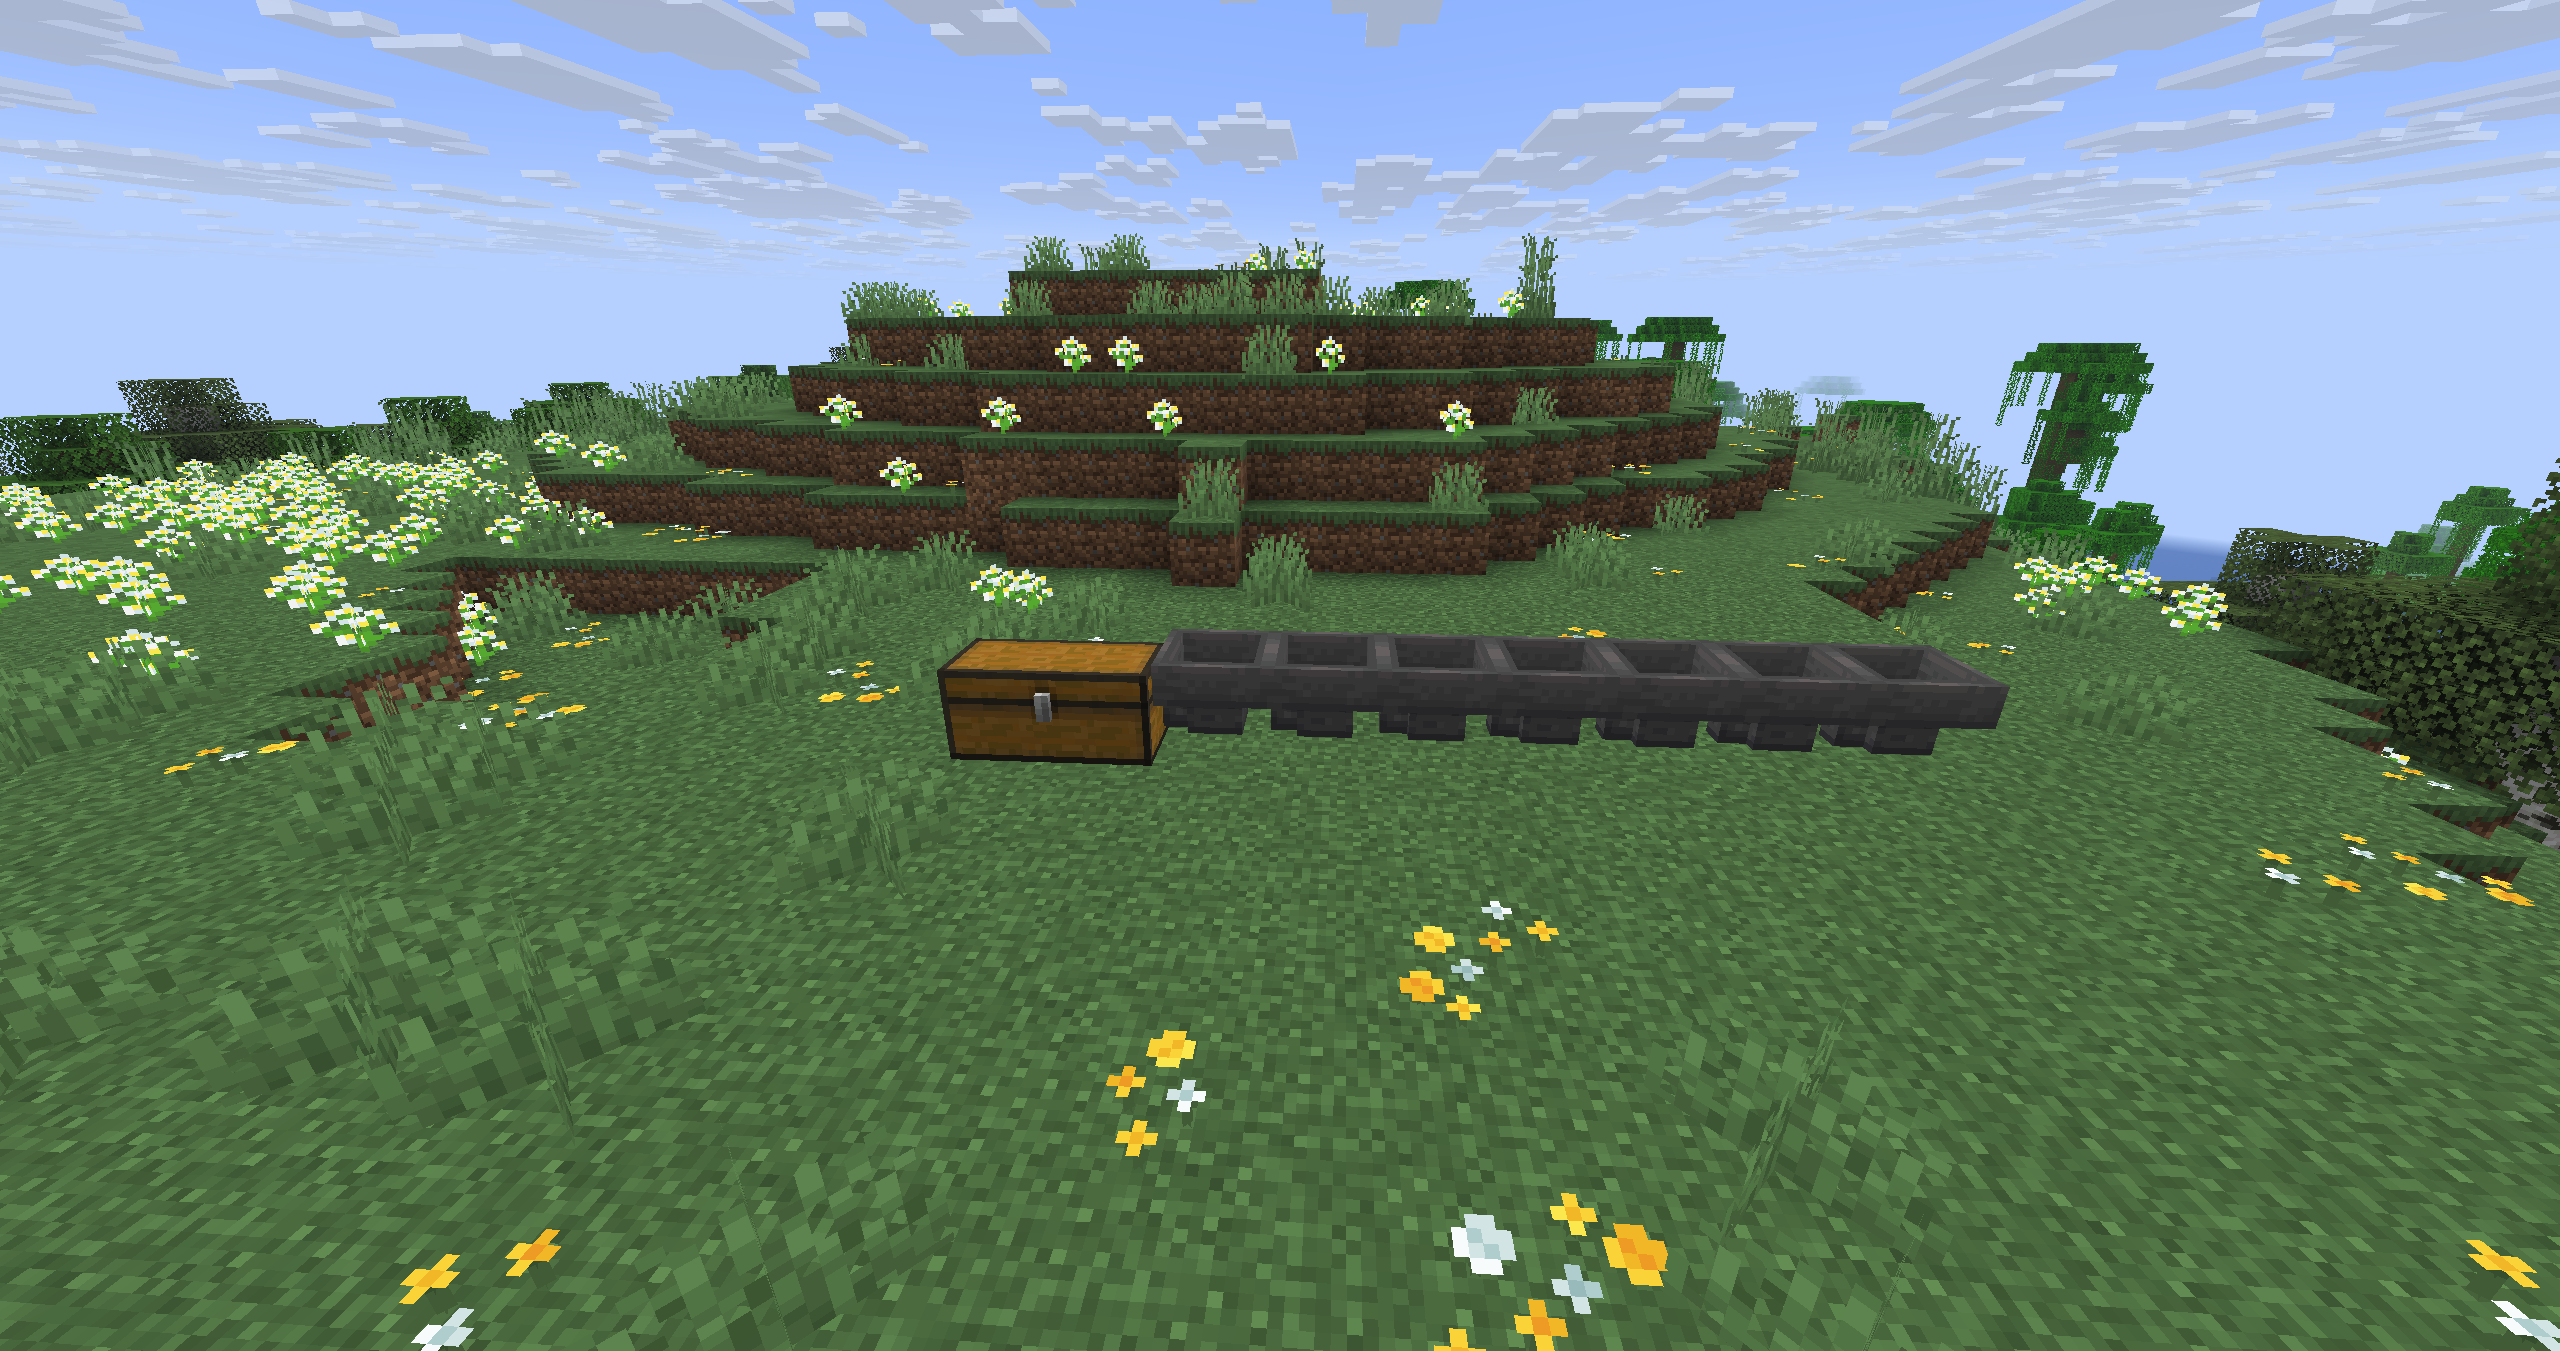
Output chest and row of hoppers
Step 2. Furnaces on the Hoppers
Place a furnace on top of each hopper. The bottom hopper pulls the product from the furnace's output slot and carries it down the chain to the chest. Blast furnaces work twice as fast for ore and metals, smokers for food; a regular furnace smelts everything but slower than both.
Step 3. Fuel Hoppers
Go behind the row of furnaces. Attach a hopper to the back face of each furnace (Shift-click toward the furnace). A hopper entering a furnace from the side or back fills the fuel slot. This is the second row of hoppers, parallel to the first.
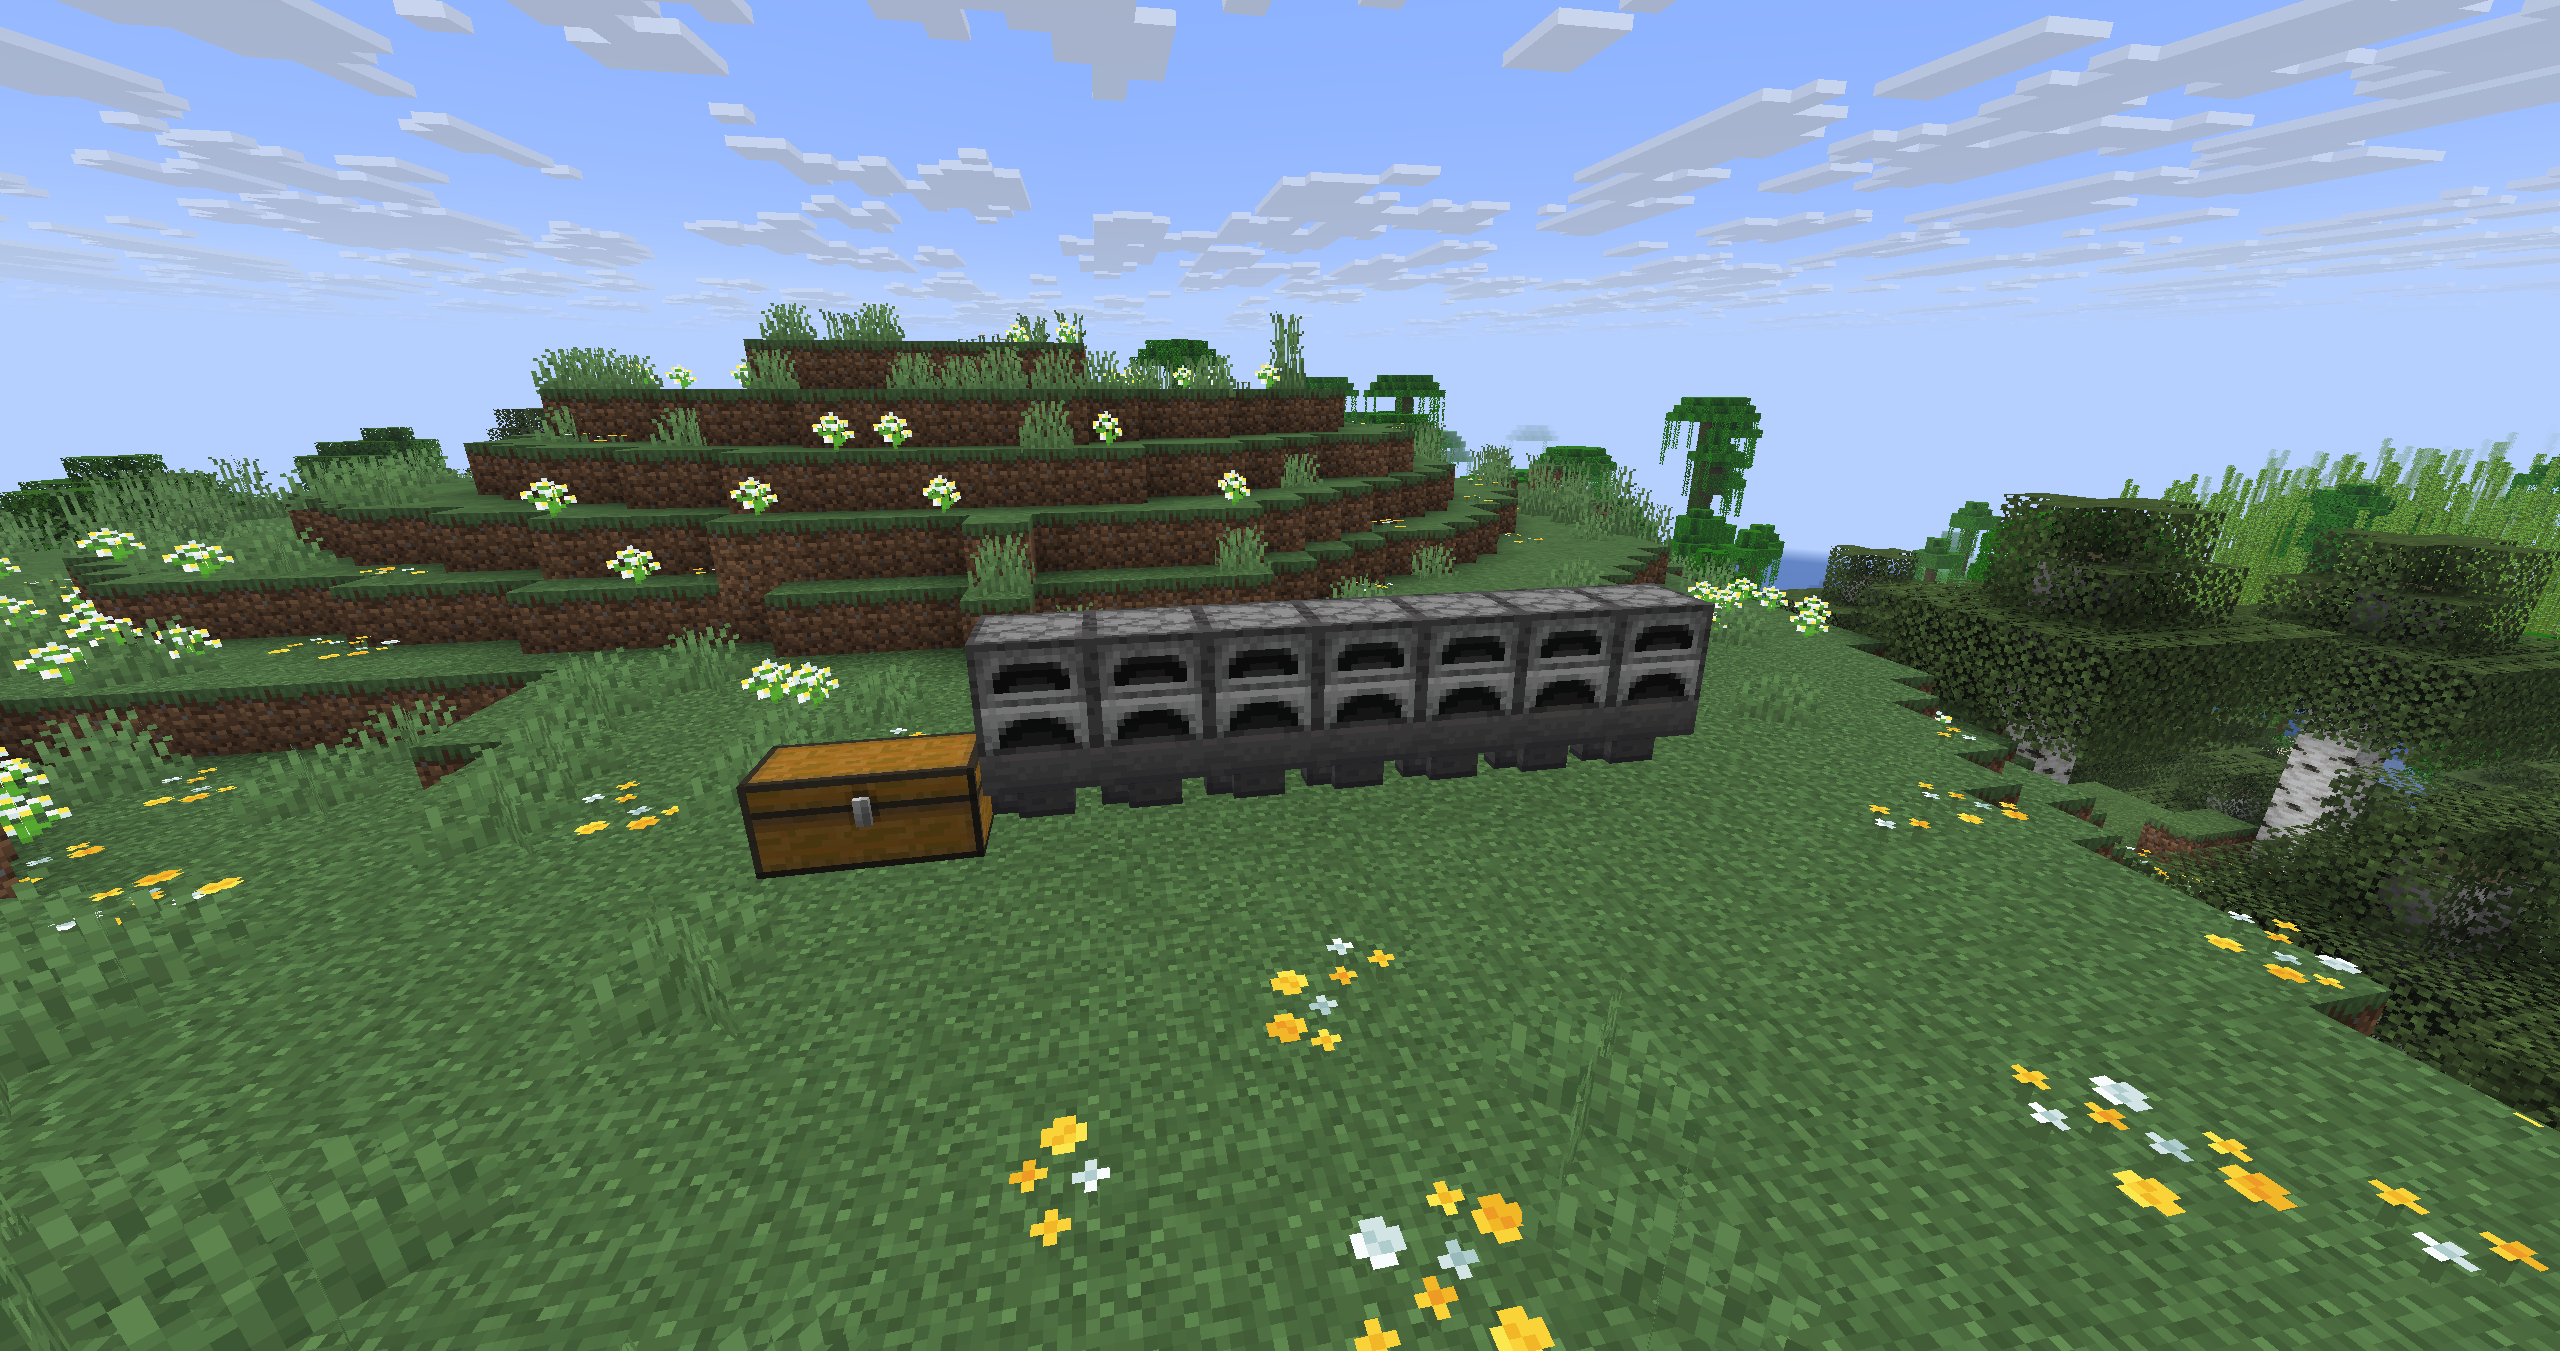
Row of furnaces on hoppers
Step 4. Input Hoppers on Top
Place another hopper on top of each furnace — this is the input for material to be smelted. Now three hoppers surround each furnace: the top one feeds material, the back one feeds fuel, and the bottom one takes the result.
The smelting slot accepts any item, even one that can't be smelted. Only put items into the material loading chest that actually need to be smelted, otherwise stray items will get stuck in the furnaces.

Three rows of hoppers around the furnaces
Step 5. Rails Above the Hoppers
Lay rails on the top hoppers along the whole row, then do the same on the back fuel hoppers. That gives you two parallel rail paths. Every rail resting directly on a hopper must be a regular rail.
Don't place powered rails above the working hoppers. An activated powered rail stops the hopper beneath it from feeding items into the furnace, and the row will stop filling up. Powered rails only go at the ends of the build.
Step 6. Far End: Minecart Return
At the end of both rows farthest from the chest, stack blocks into a step. On the step below that block, place a redstone torch — it powers the block holding the rail, keeping the rail active and bouncing the minecart back toward the chests.
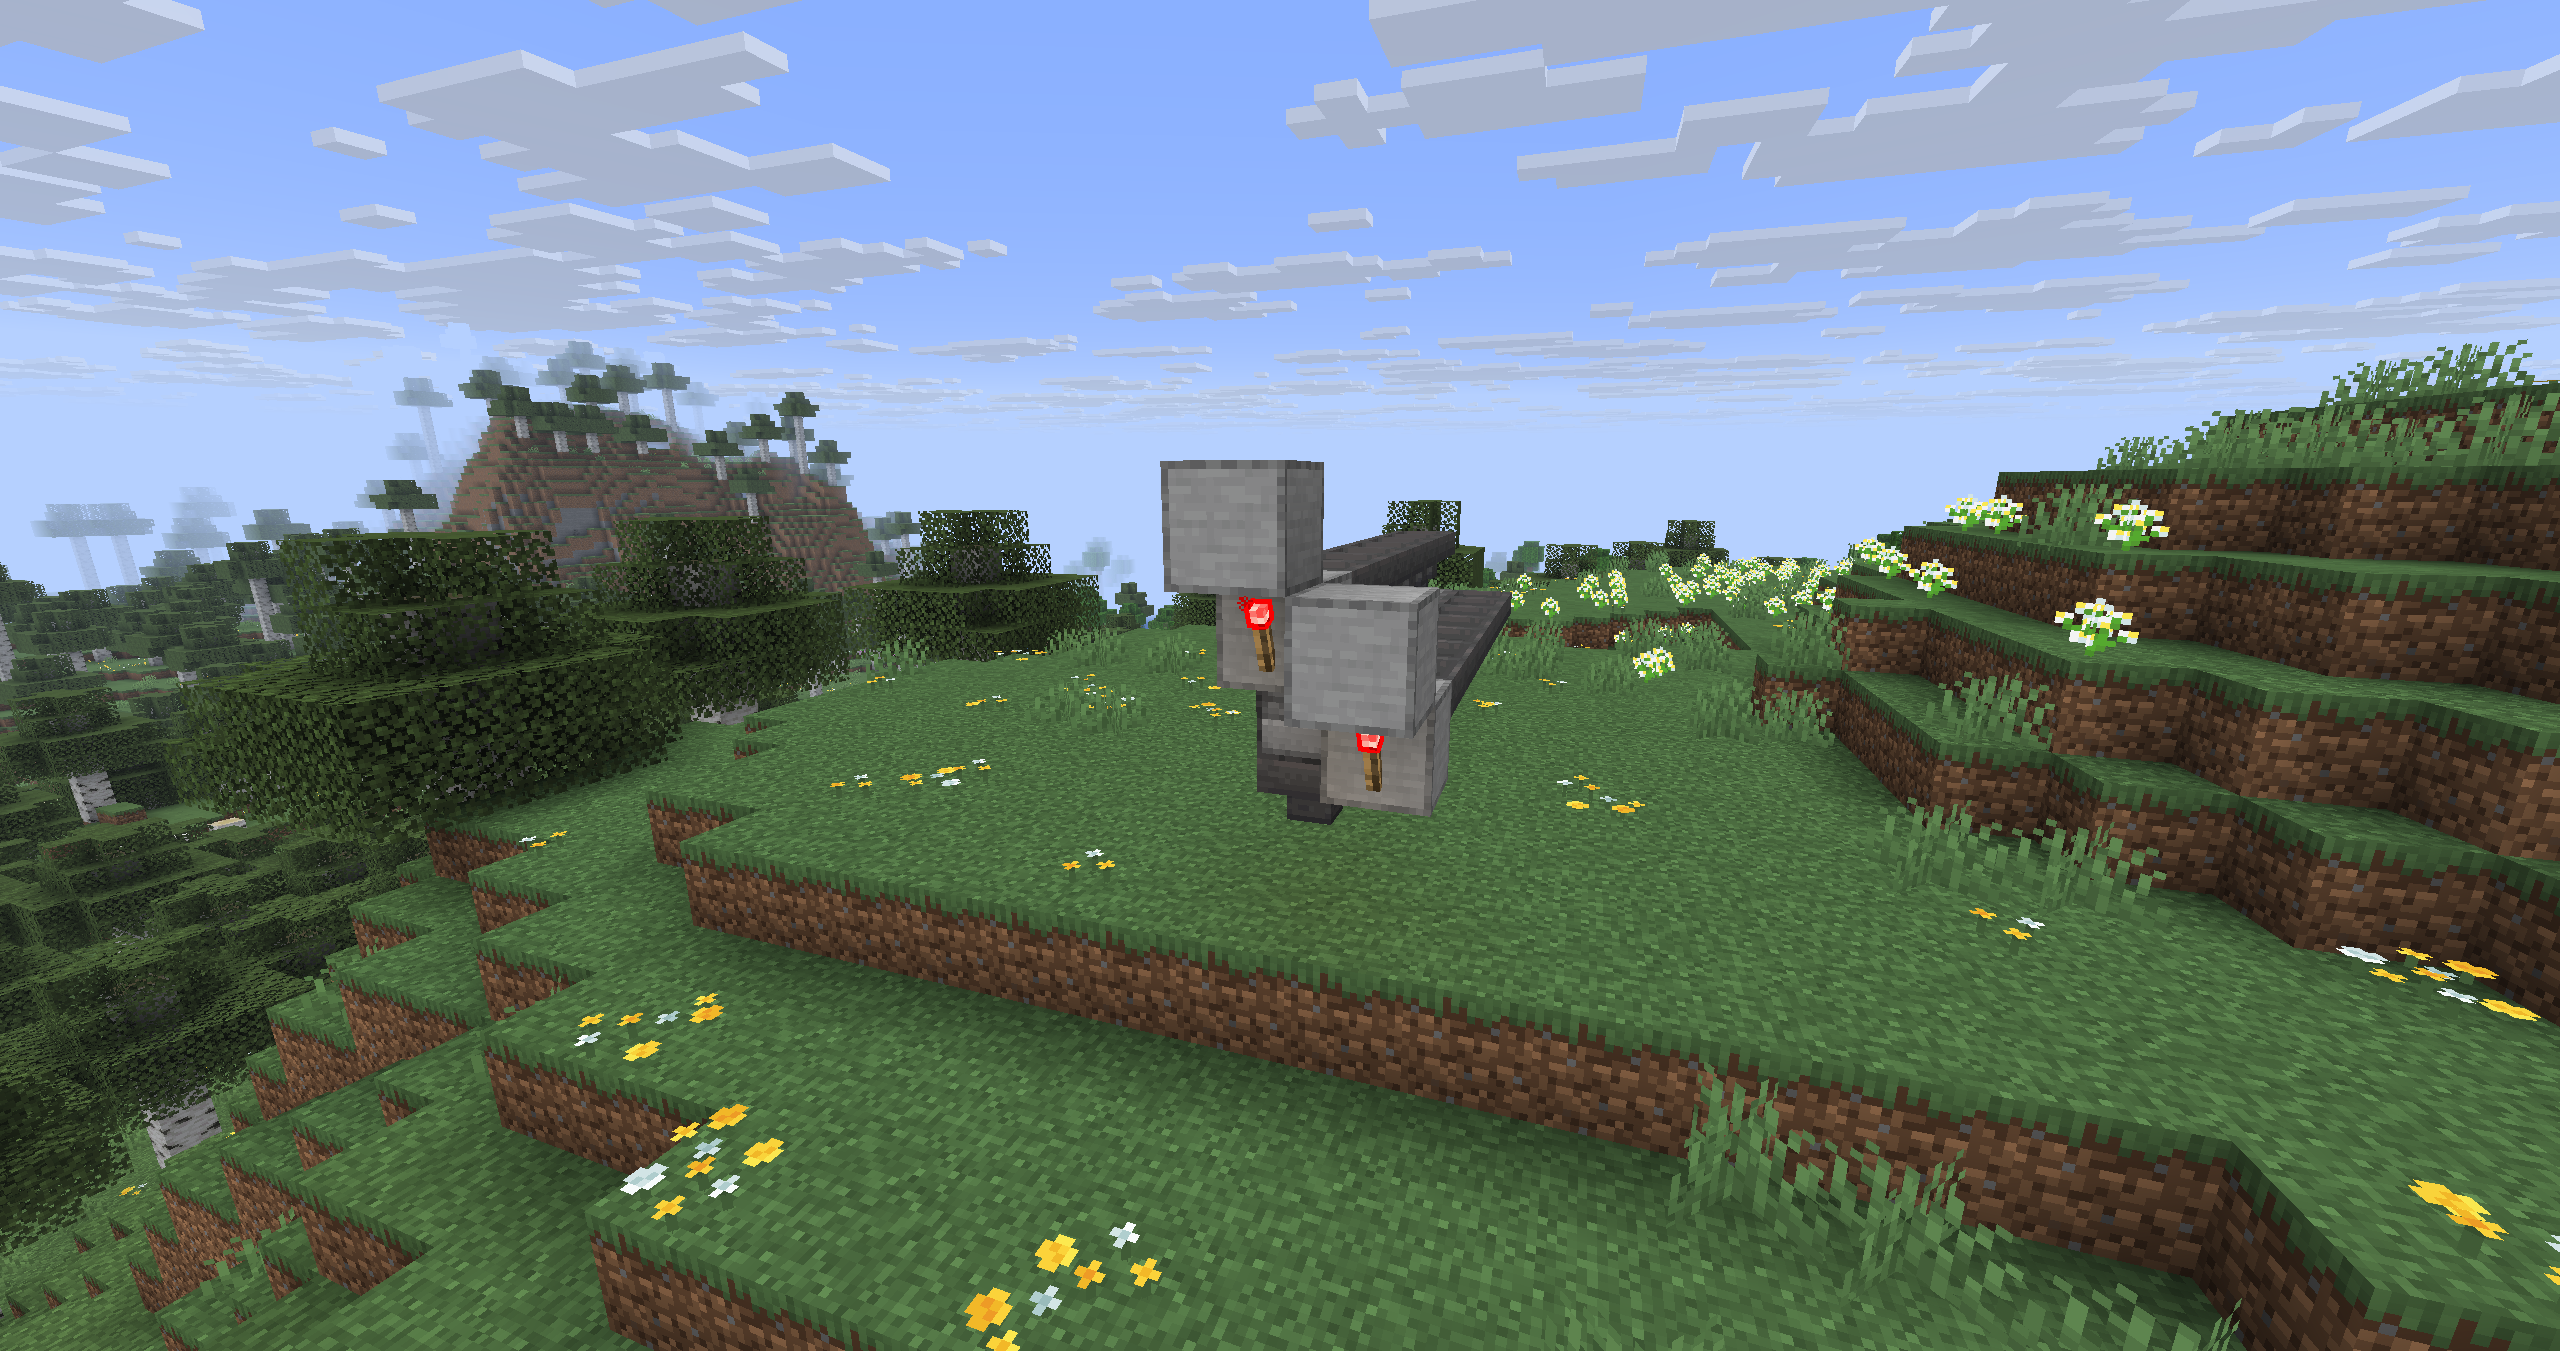
Block steps and redstone torches
Step 7. Near End: Loading and the Lever
Near the output chest, raise both paths two blocks up with blocks and place a powered rail on top of each. Above each of these rails, place a double loading chest: above the material row, a chest with the resource to be smelted; above the fuel row, a chest with coal, charcoal, or other fuel. Hang a lever on the block holding these rails — it turns the launch on and off.

Two rows of rails with powered rails at the ends
Step 8. Hopper Minecarts
Place two hopper minecarts on the powered rails at the near end — one for each path. Each minecart will sit under a loading chest and pick up items from it one at a time (a full stack in roughly 12 seconds).
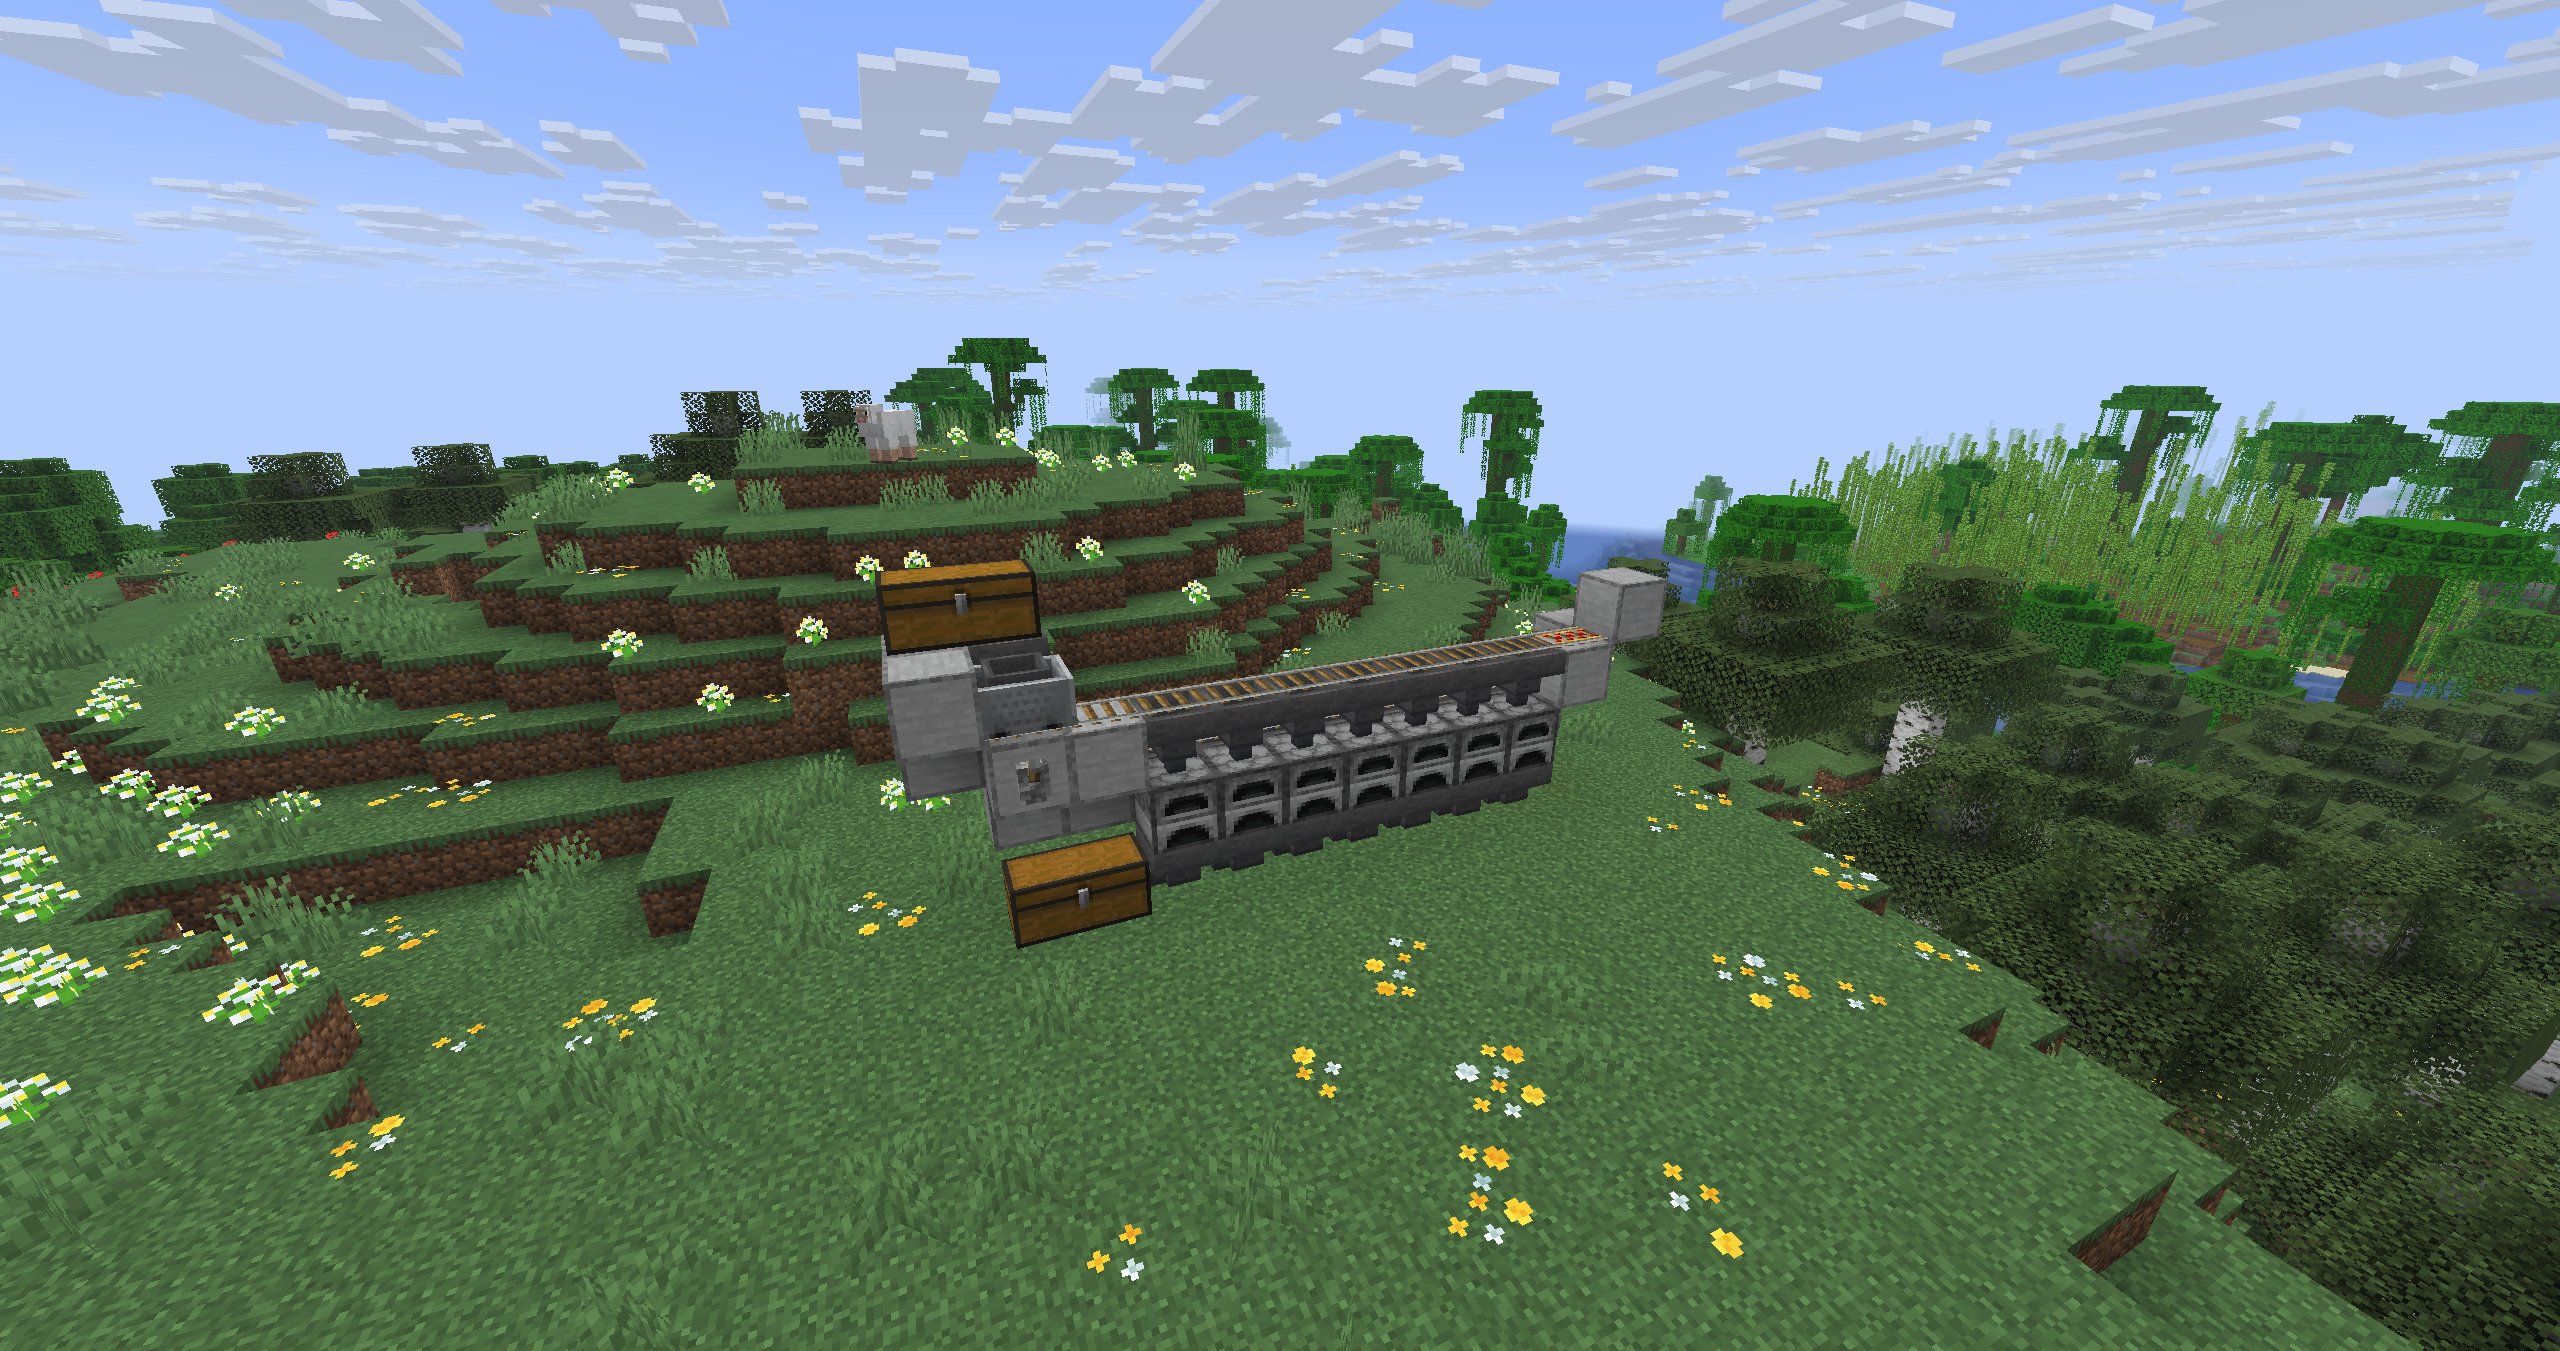
The fully finished smelting plant
Step 9. Starting It Up
Pour material into one chest and fuel into the other. Flip the lever: the powered rails launch the minecarts, they roll over the rows of hoppers, and each hopper under the path pulls one item out of the minecart. That's how material and fuel spread evenly across all the furnaces, while at the far end the torches bounce the minecarts back under the chests to refill. The smelted output drops down through the bottom hoppers into the output chest.
Conclusion
Smelting with minecarts solves one problem: processing a resource without manually shuffling items and without wasting fuel on partially filled furnaces. It's well suited to survival play, when you need to regularly smelt stacks of ore, sand, or food and don't want to deal with redstone. If you need maximum throughput for 12+ furnaces, a hopper array with comparators is a better fit.
No comments yet. Be the first to share your thoughts.