How to Build an Ocean Raid Farm in Minecraft
Step-by-step guide to a simple ocean raid farm in Minecraft Java Edition — no redstone, one villager, built in a day, farms totems and…
How to Build an Ocean Raid Farm in Minecraft
A raid farm is a trap that forces raid participants to spawn on a single platform and die over lava, dropping their loot into a chest. A single farm like this in Minecraft reliably produces emeralds, totems of undying, crossbows, and Ominous Bottles for restarting the raid. The build in this guide is a basic ocean design: it takes one to two in-game days to build, requires no rare resources, and works with a single villager and a couple of beds.
Java Edition only: this design relies on raiders running toward a bed through the trap. In Bedrock Edition the spawning logic is different, so this design doesn't carry over there.
How it works
A raid starts when a player with the Bad Omen effect enters a village. The effect turns into Raid Omen, and about 30 seconds later waves of raiders begin to spawn. Here, a single villager and a nearby bed count as a village — that's enough.
The farm is built over the ocean, far from any land: mobs don't spawn on water. If there isn't a single solid block within the render radius other than the platform, every enemy is forced to spawn right there. From there they fall into the trap, die over the lava, and a hopper feeds the drops into a chest.
What you'll need
Materials for one farm:
168 solid blocks — for the platform and the rim
32 dirt blocks — temporary scaffolding
30 wooden blocks — spawn platform
13 trapdoors
3 signs
2 slabs
2 chests
2 beds
1 hopper
1 barrel
1 boat
1 bucket of lava
Separately: an adult villager, several Ominous Bottles, and a sword to finish off mobs (a sword enchanted for area damage is more convenient, so you can hit several at once).
Step 1. Bring the villager to the ocean
Put the villager in a boat and take them to the ocean biome where the farm will stand. It's most convenient to take a villager without a profession — it will pick up a job from the barrel on site.
Step 2. Find an isolated spot
Set your render distance to 8 chunks. Sail out into the open sea with the villager until land completely disappears from the horizon. Then turn in every direction and check that there are no islands nearby. Even a small patch of land will give mobs another place to spawn and will hurt the farm's efficiency.
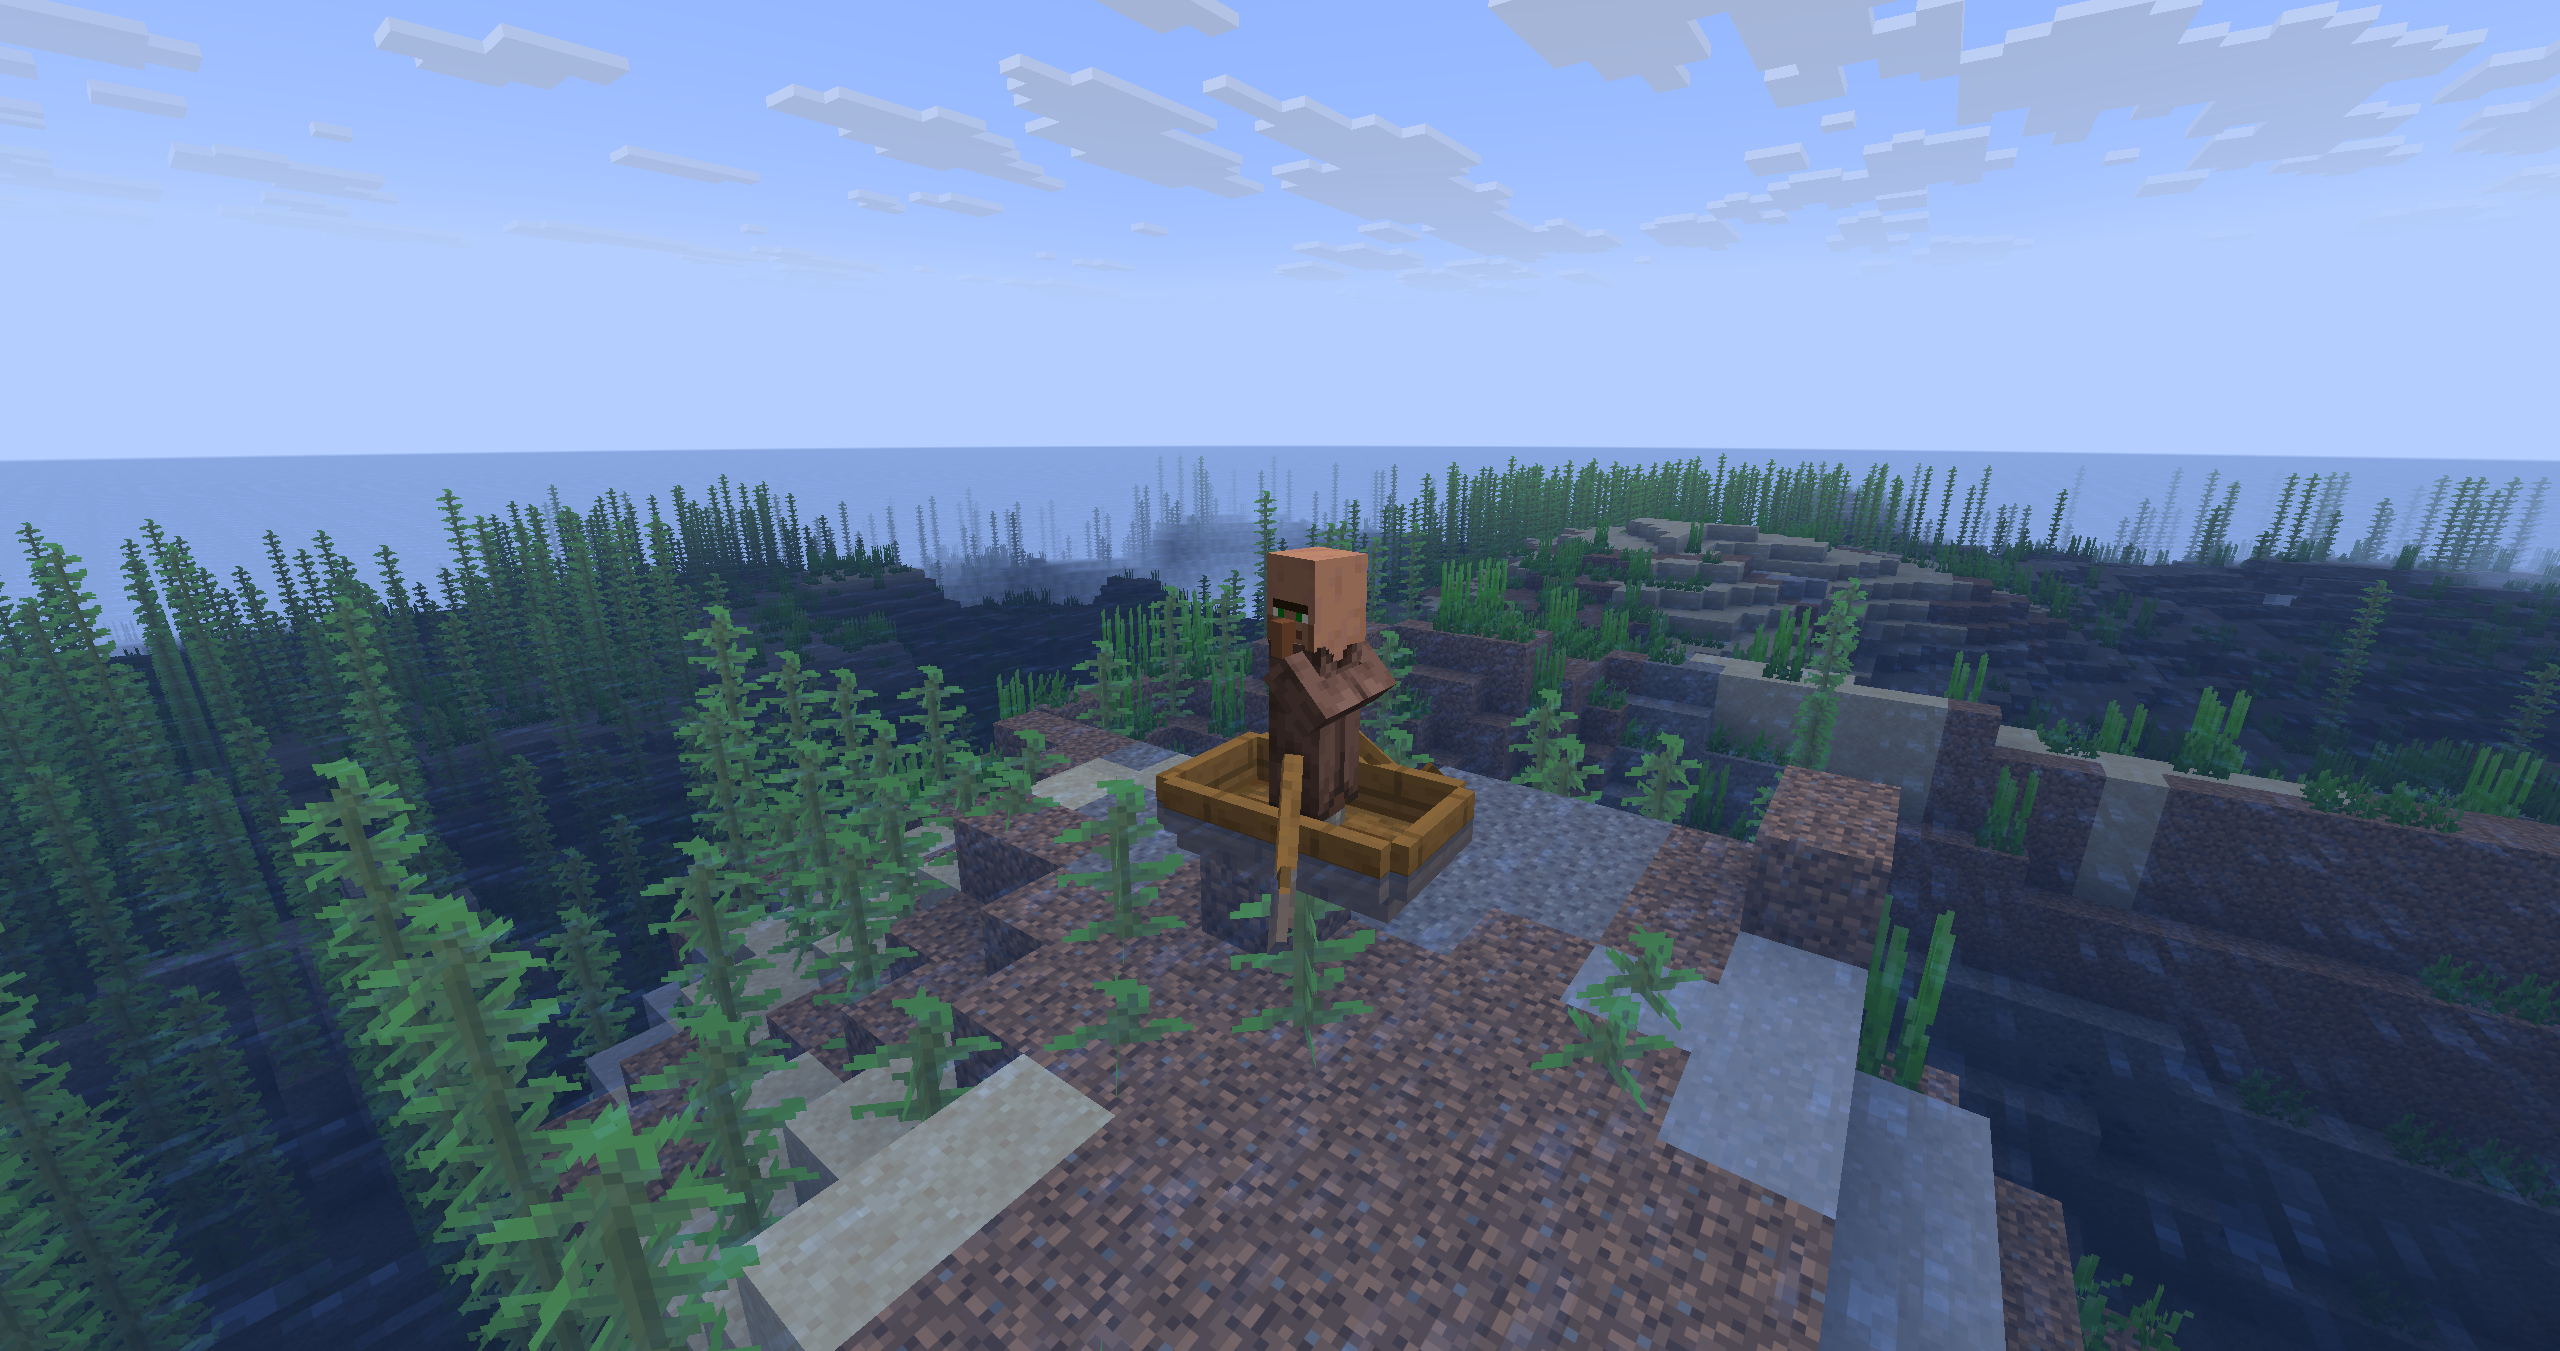
A boat with the villager on the open sea, with no land on the horizon
Step 3. Frame and collection block
Build a temporary frame out of dirt blocks so you have something to build from above the water. At sea level, place a solid block and extend a 3×3 platform from it. Place a hopper and a chest on the platform so the hopper feeds items into the chest. Place a slab above the hopper and enclose it on all sides with blocks. Place 4 buttons on the floor next to the chest.
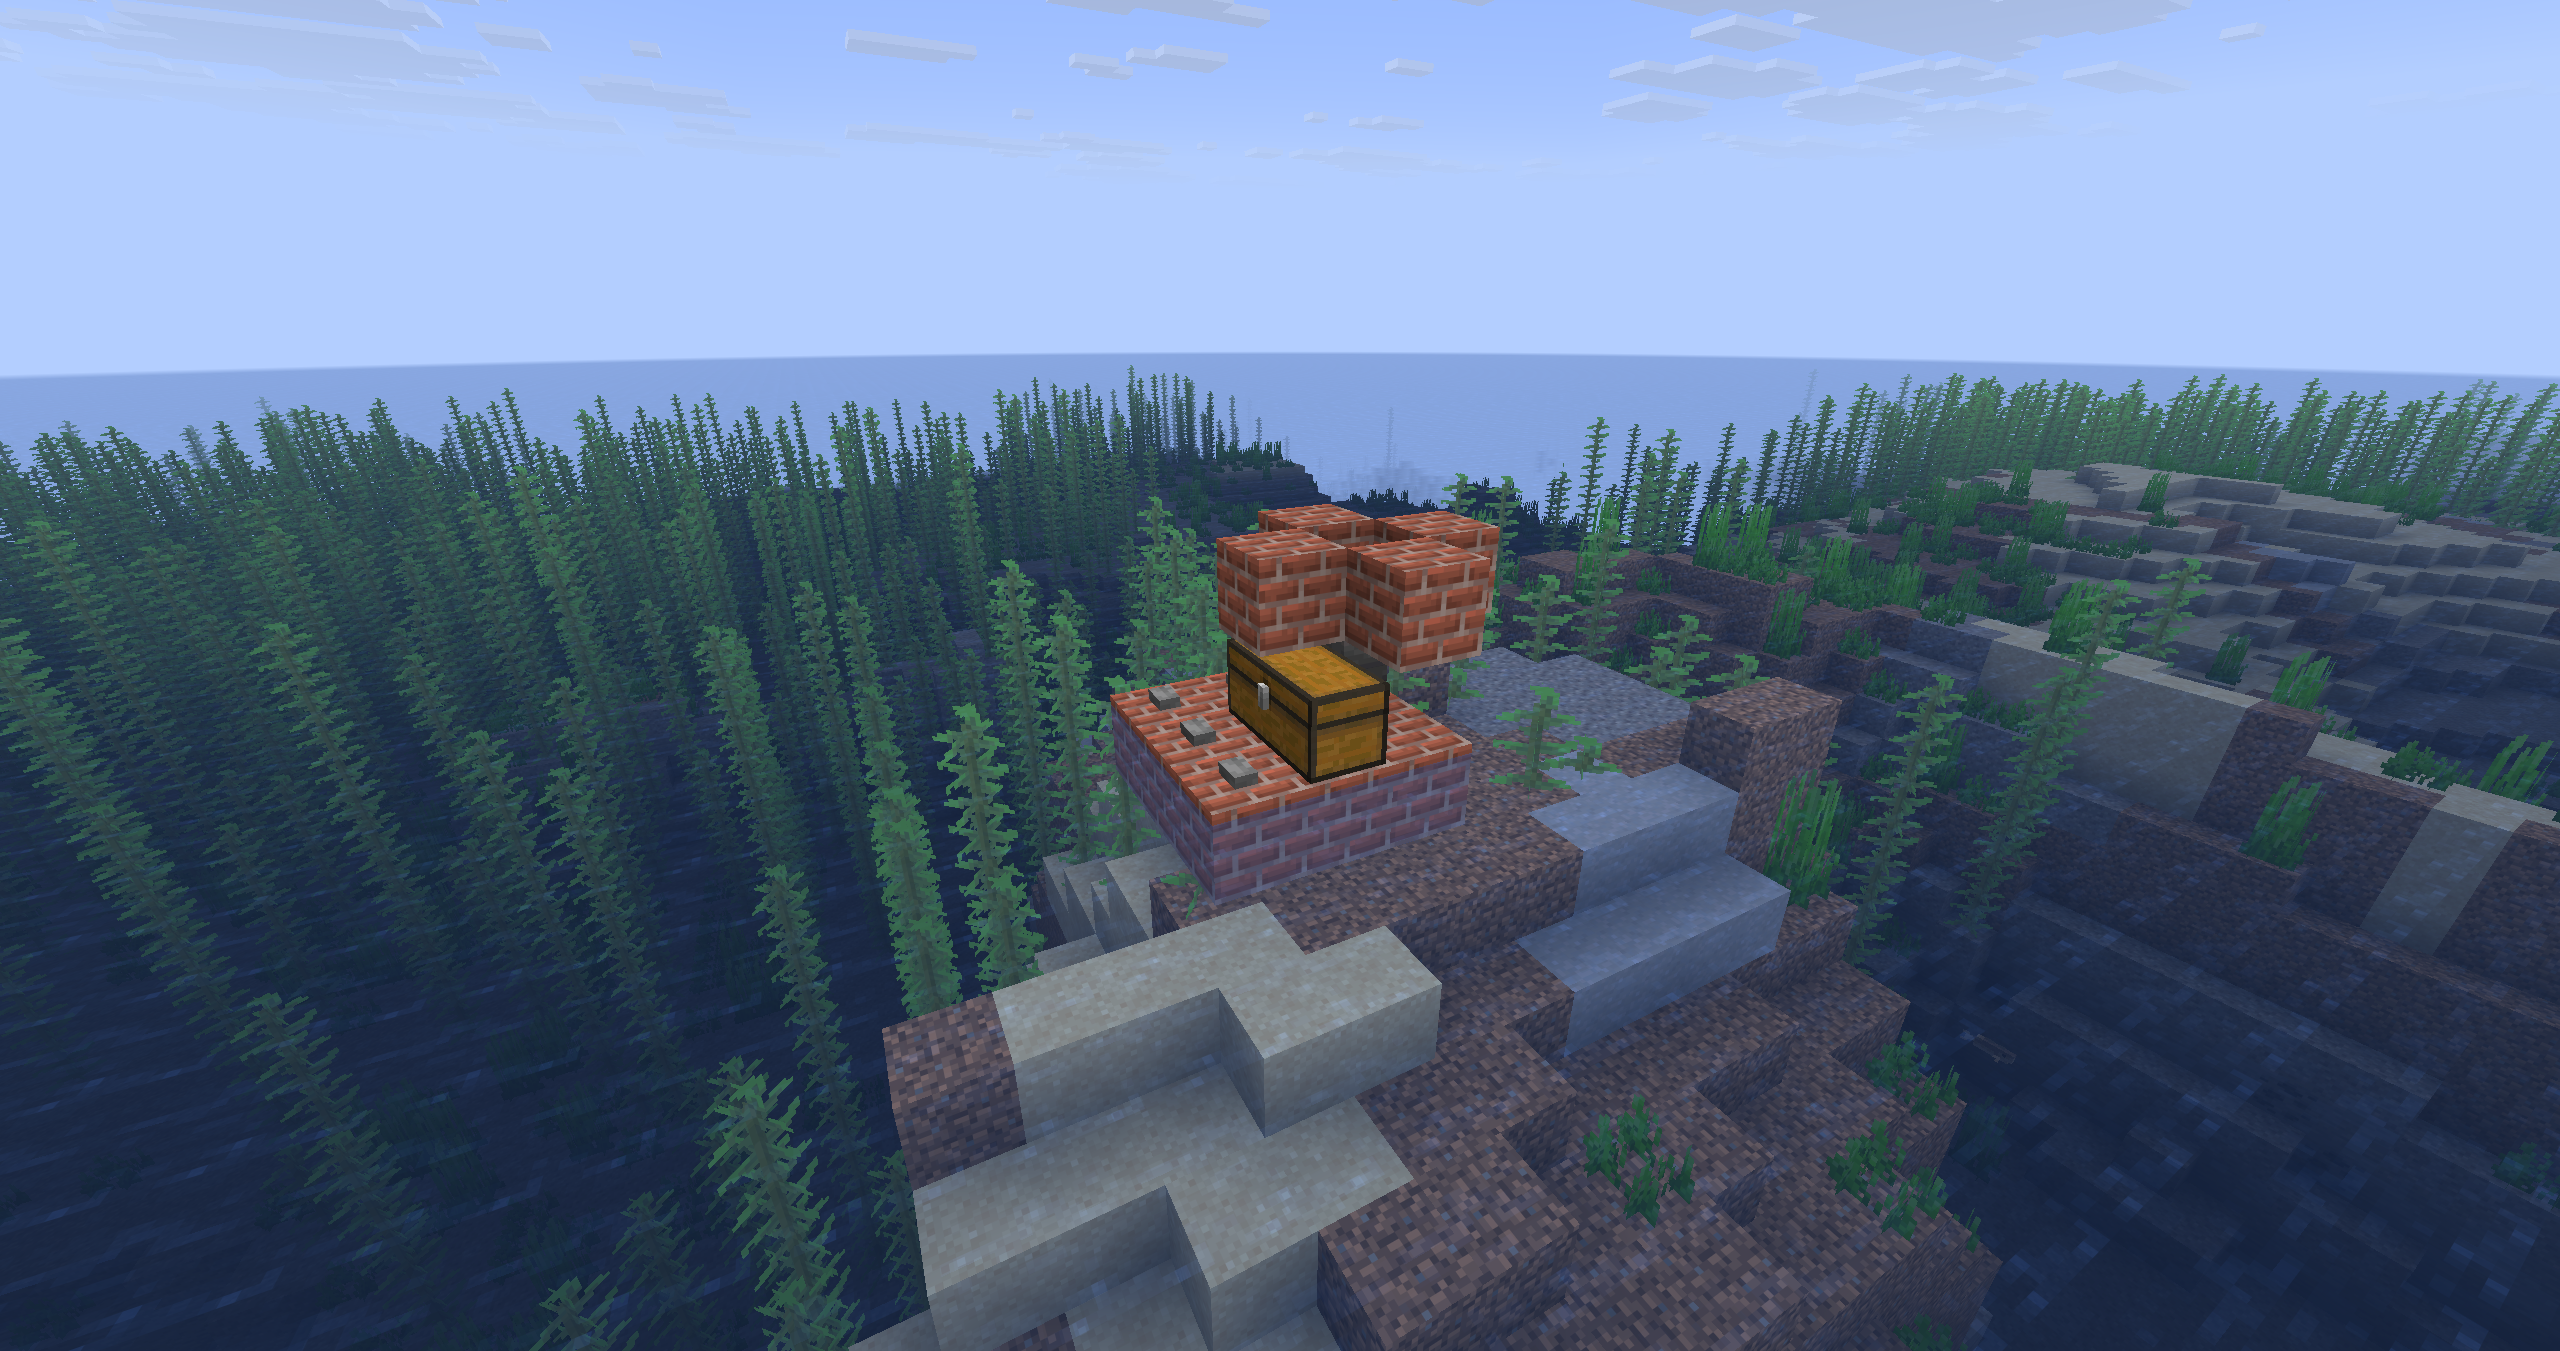
The initial frame and the mob-drop collection system
Step 4. Spawn platform
Continue the enclosed row from the slab to a total length of 27 blocks. Climb up onto this structure, open F3 and make sure you're facing due south (Facing: south). From there, lay a line of 6 blocks heading south.
Stand at the edge of the line, turn to face east, add 2 more blocks to the east, and lay a line back to connect it to the main structure. Close the gap between the two lines — this creates a single solid platform where mobs will spawn.
Cover the hole they'll fall through with a trapdoor. Line the platform's sides, skipping one block: from bottom to top it should read "platform → empty space → rim".
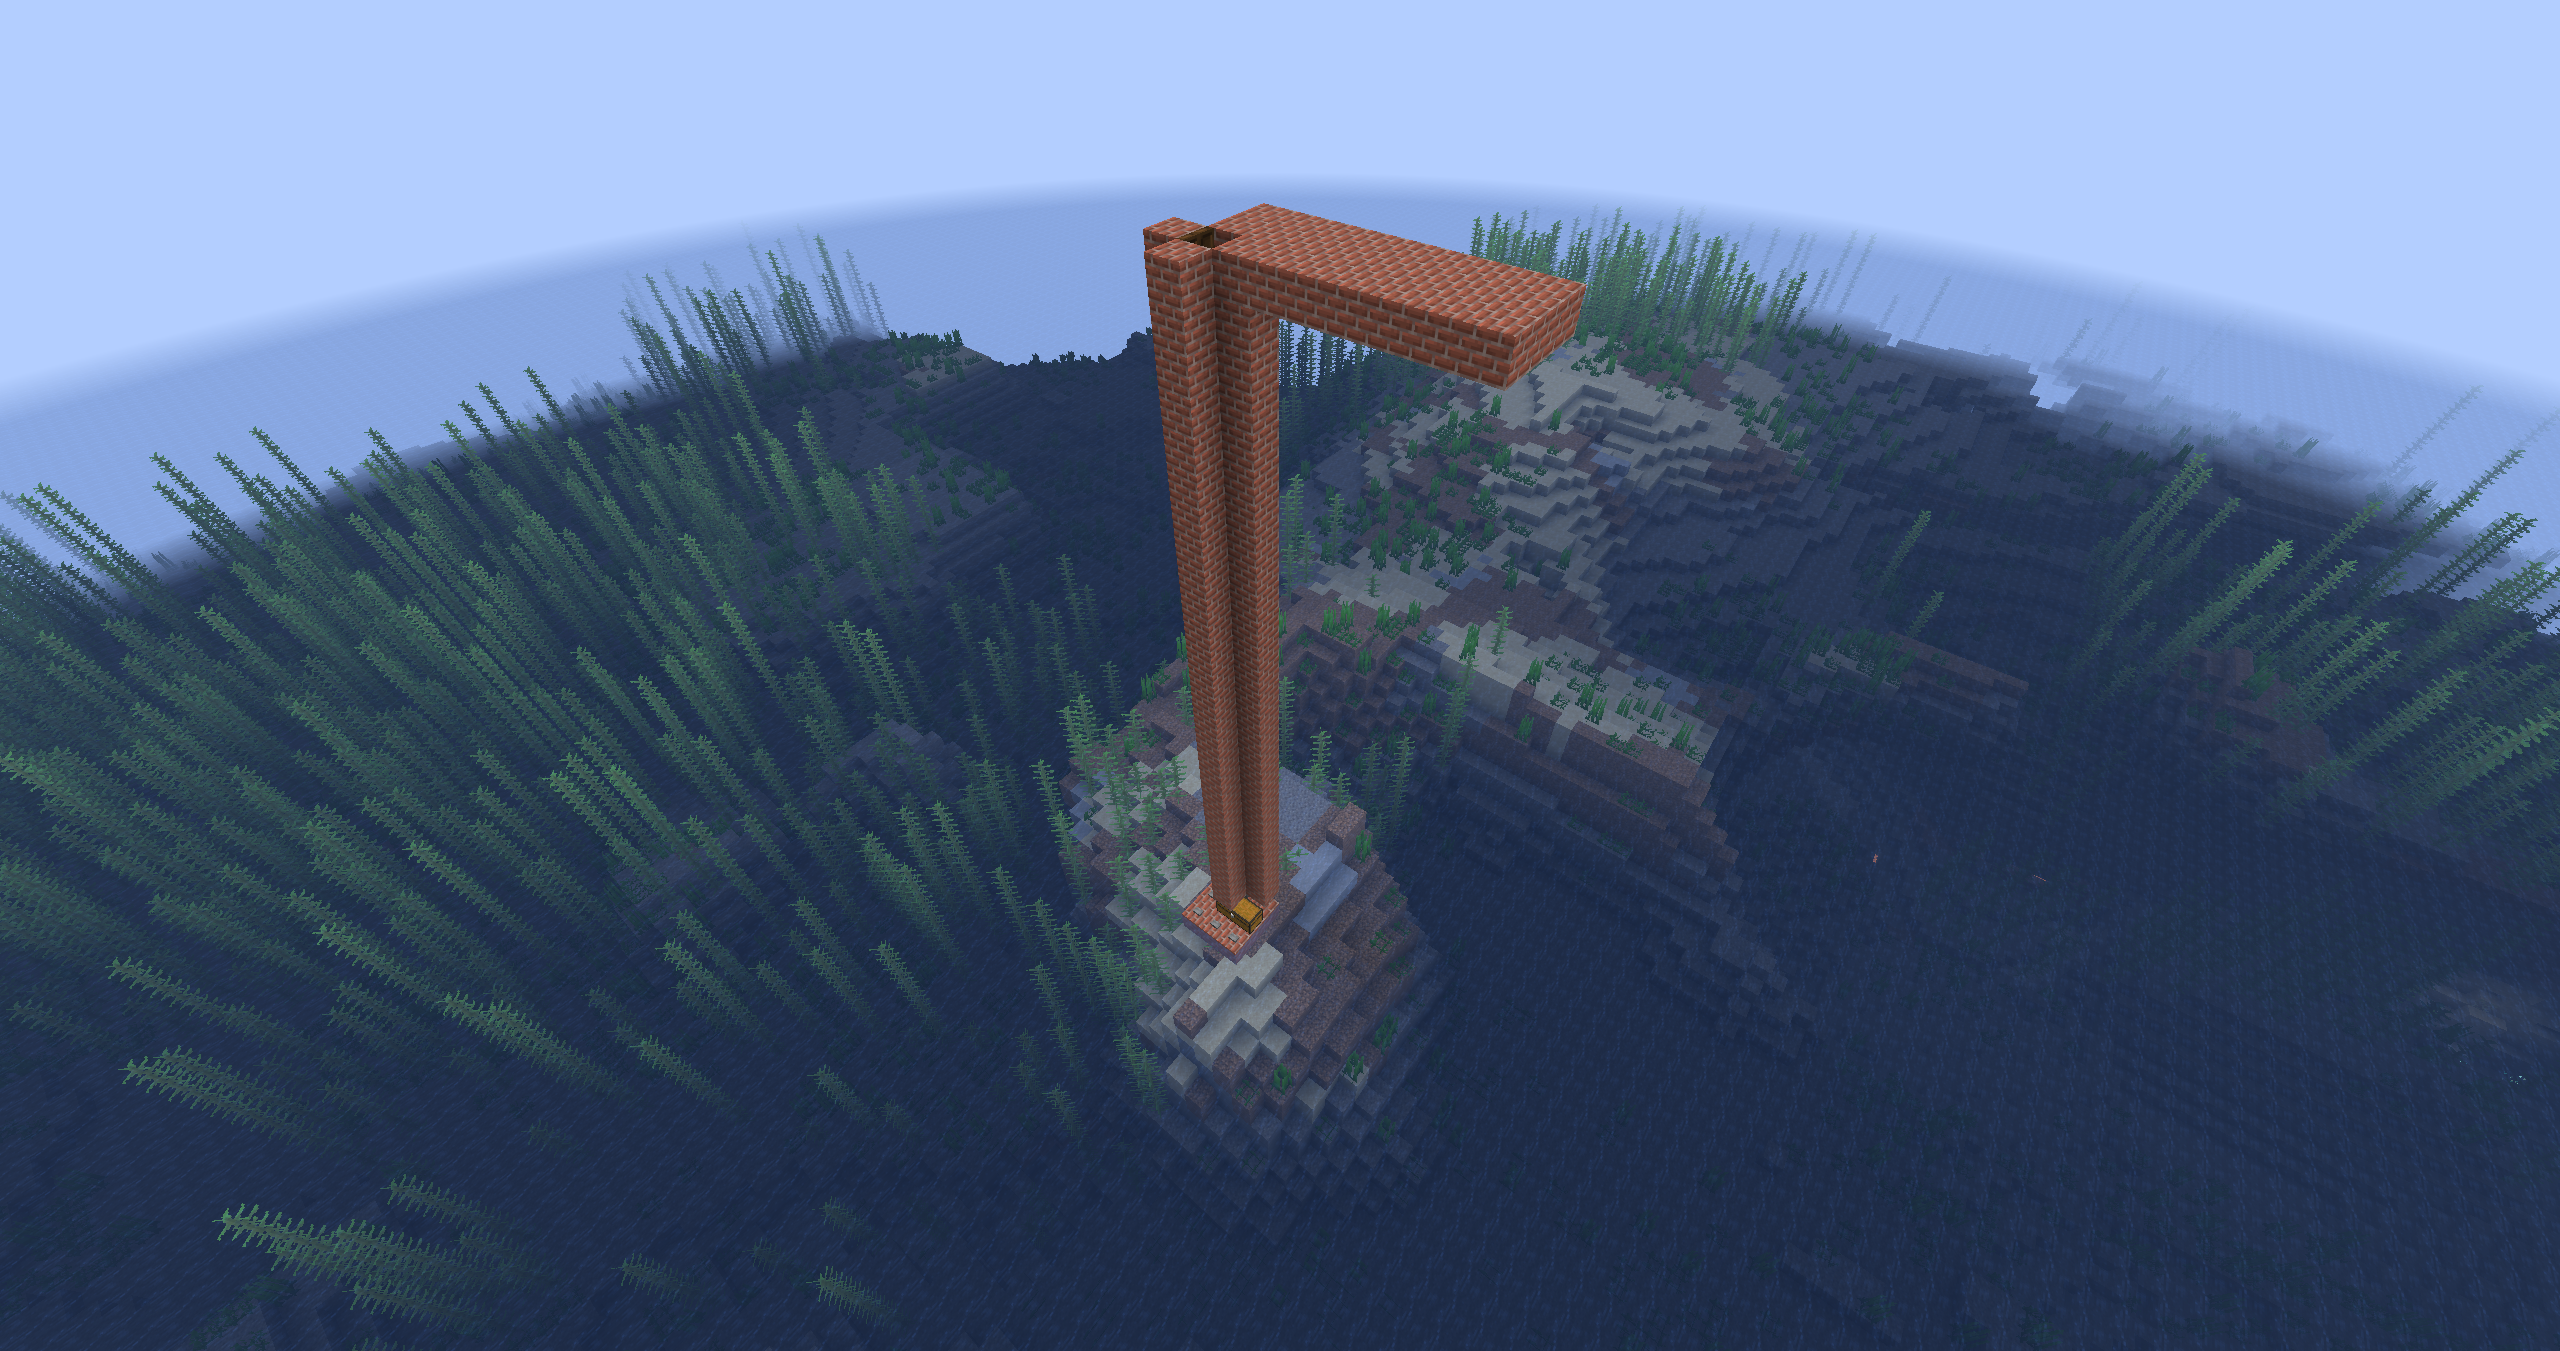
Top-down layout of the spawn platform
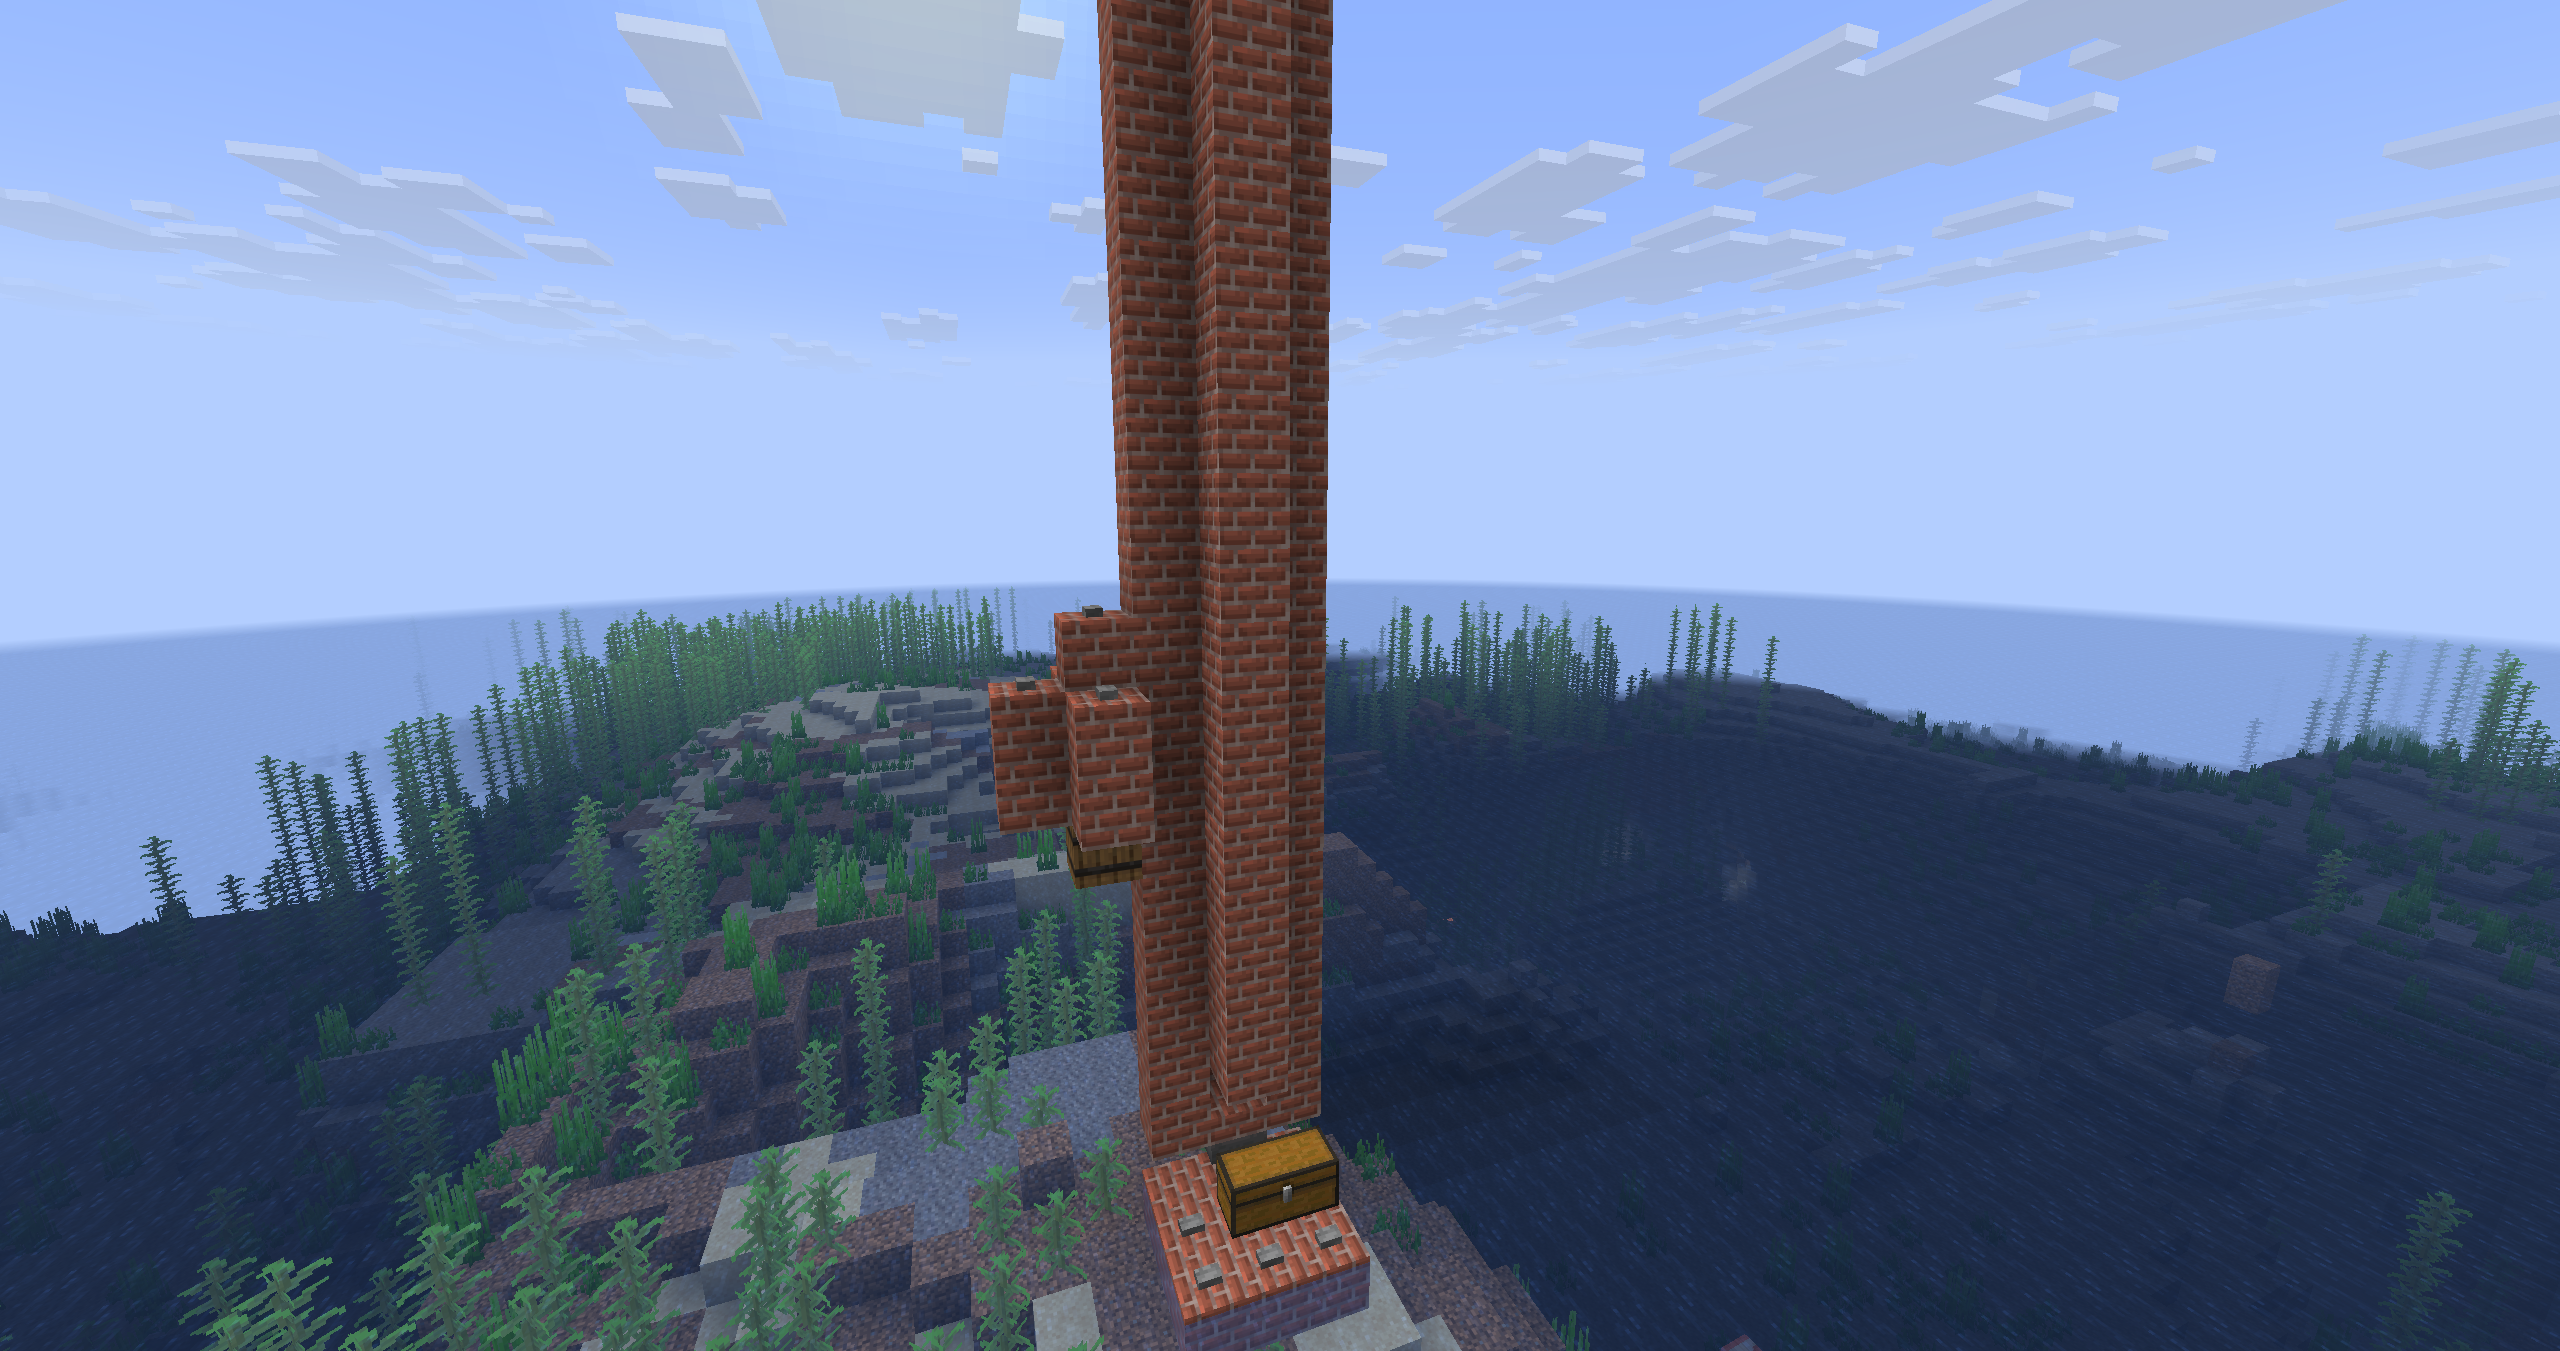
Step 5. Kill chamber
Above the first trapdoor, place another trapdoor and open it downward. Next to the upper platform, by the trapdoor, place 2 beds. On the edges of the beds, place signs so that the lava you pour between them stops and doesn't spread to the sides. Cover the lava with a block on top.
Fill in every free rim block except the spawn platform itself with buttons — mobs can't spawn on buttons. On the opposite side of the rim, place a trapdoor next to the bed and continue lining the perimeter with trapdoors every other block, without covering the beds.
Go back down, break 2 blocks on the chest side and place a slab there — this is a convenient spot to finish off mobs with your sword.
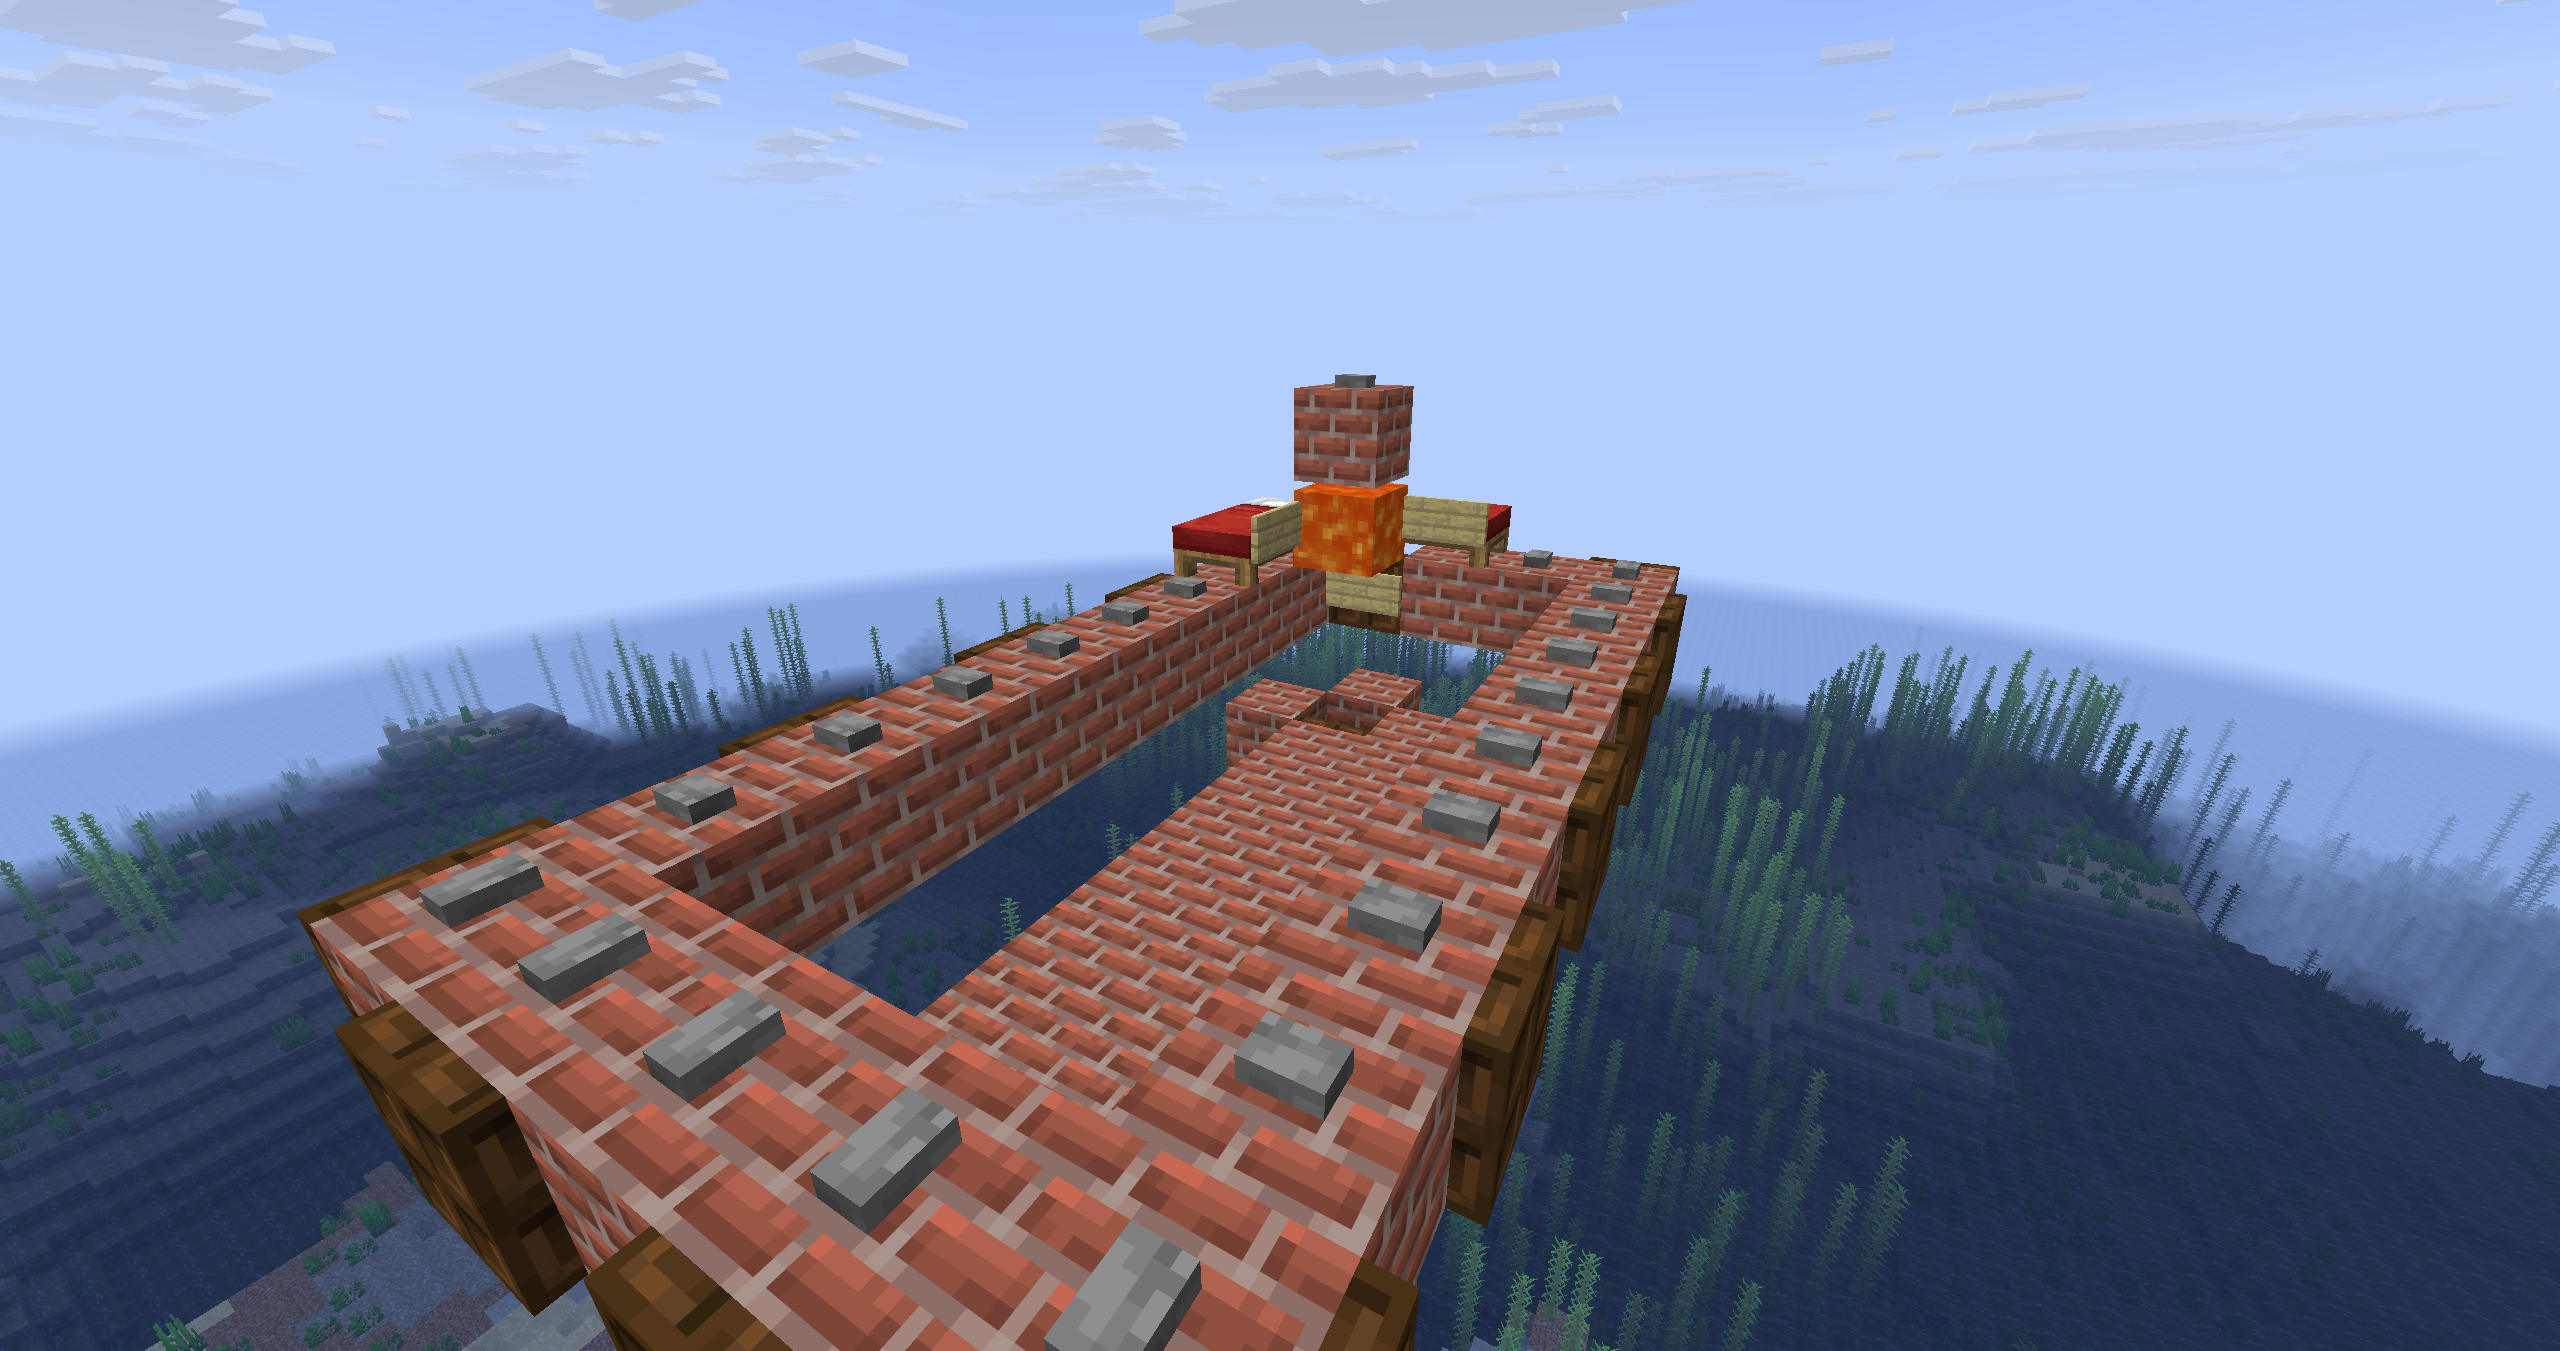
Beds with signs and lava between them; the completed mob spawn platform is also visible
Step 6. Villager chamber
Opposite the hopper, lay a line of 2 blocks, then build a pillar 5 blocks up. On top, place a barrel and cover it with another block, enclosed on all sides — this is the chamber for the villager. Break one block beneath the villager so it can reach the barrel: this way it will get a profession and lock the village in place.
Cover the villager from above, and fill in every free block above it with buttons so mobs can't spawn there.
The villager's chamber with a barrel on a pillar; the villager is enclosed from above, with the free blocks filled in with buttons
Step 7. Launch
Drink an Ominous Bottle and stand below, by the slab for finishing off mobs. About 30 seconds after the omen takes effect on the village, waves will start to appear — pillagers, vindicators, witches, evokers. They fall into the trap; the lava weakens them, and you finish them off with your sword. A hit from the player is required for the kill, full drops, and experience to count. Collect your loot from the chest.
To start the next raid, drink a new Ominous Bottle as soon as the previous omen's effect ends.
Milk removes Bad Omen. Don't drink it after an Ominous Bottle, or the raid won't start. Conversely, if you drank the bottle by mistake near a real village, milk will cancel the event.
Common mistakes
Land closer than 8 chunks. Any island gives mobs another spawn point, and part of the waves will bypass the farm.
Not all free blocks are covered with buttons. Then raiders spawn on the rim instead of the platform, and don't fall into the trap.
"Peaceful" difficulty. Captains and some of the raiders disappear, and the raid doesn't start. Keep it on "Easy" or higher.
You don't manage to collect the drops in time. Items despawn after 5 minutes — make sure the hopper and chest are actually catching the loot.
Misaligned direction marking. If in step 4 you're not looking exactly south, the platform will shift and mobs will fall past the trapdoor.
Conclusion
A raid farm yields totems of undying, emeralds, and crossbows without having to hunt outposts. The ocean design from this guide is the simplest of the working ones: it's less efficient than "chunk-aligned" farms with a redstone engine, but it takes only 20 minutes to build and doesn't require positioning by chunk coordinates. The main limitation is that mobs have to be finished off by hand, and each new raid requires a separate Ominous Bottle. If you want a bottle-free flow, the farm is built directly above a Pillager Outpost. For solo survival in the early and mid game, this option offers the best ratio of effort to reward.
No comments yet. Be the first to share your thoughts.