
How to build an elevator in Minecraft: water and mechanical variants
A step-by-step guide to building high-speed water bubble elevators and mechanical piston elevators on slime blocks in Minecraft
Fast vertical movement is one of the first challenges that arises when building multi-story bases or deep mines in Minecraft. Standard stairs and ladders take a lot of time and are inefficient at great heights. The most popular alternatives are two types of elevators: a simple high-speed water elevator on bubbles and a more complex mechanical elevator that works based on slime blocks and pistons (flying machine).
Water bubble elevator (Soul Sand & Magma)
The water elevator works based on the mechanics of bubble columns. The blocks underneath us determine the direction of water movement: soul sand pushes up, and a magma block pulls down.
Preparation
Before starting construction, prepare the following resources:
Building blocks for the mine walls (e.g. glass or cobblestone)
1×Soul Sand block — for going up1×Magma Block — for going down2×signs or fence gates — to hold water at the entrance1×water bucket (and extra buckets for filling)Kelp — amount depends on the elevator height (one per block of mine height)
Step 1. Building the shaft
Build a vertical tube with an internal cross-section of 1×1 block. The height of the shaft should match the required lifting height. At the very bottom level, make a passage two blocks high.
Step 2. Equipping the entrance
Install two signs or fence gates on the side walls inside the passage. They will prevent water from spilling out, allowing you to freely enter the elevator.
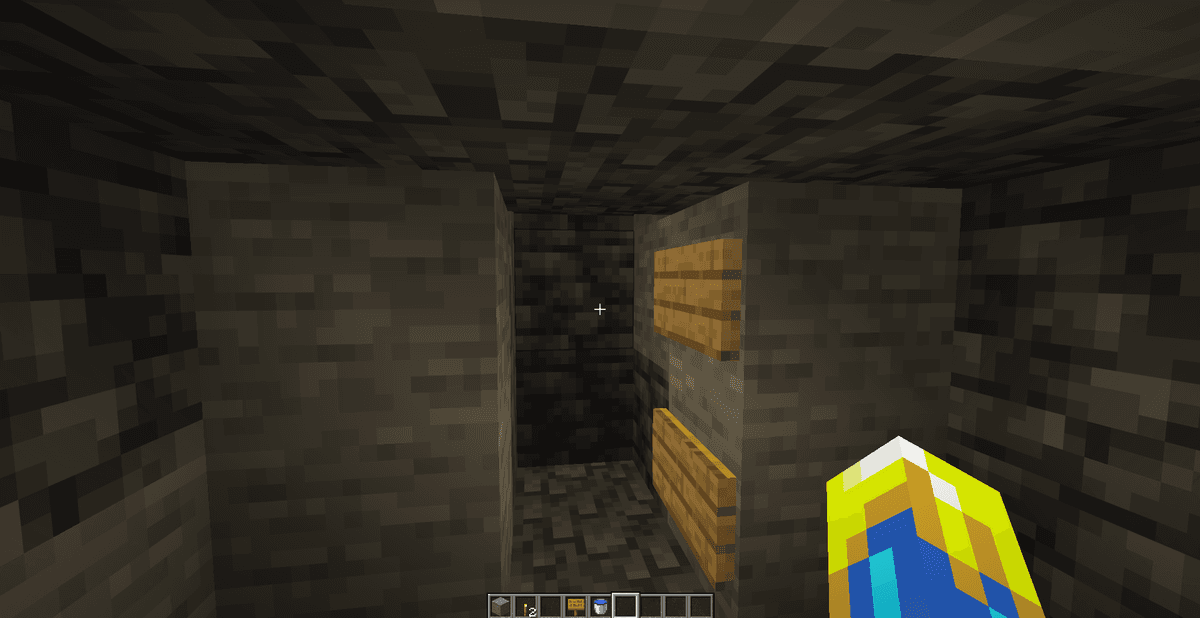
Step 3. Creating water sources
To activate the bubbles, every water block in the shaft must be a full Water Source Block, not just flowing water. The easiest way to do this without constantly carrying buckets:
Pour one bucket of water at the very top of the shaft so the water flows all the way to the bottom.
Go inside the water column at the bottom level.
Plant one kelp block on a temporary dirt block at the bottom.
Grow the kelp to the very top of the shaft. Each kelp block automatically turns the flowing water next to it into a full source.
Break the bottom kelp block. All the water in the shaft will remain static sources.
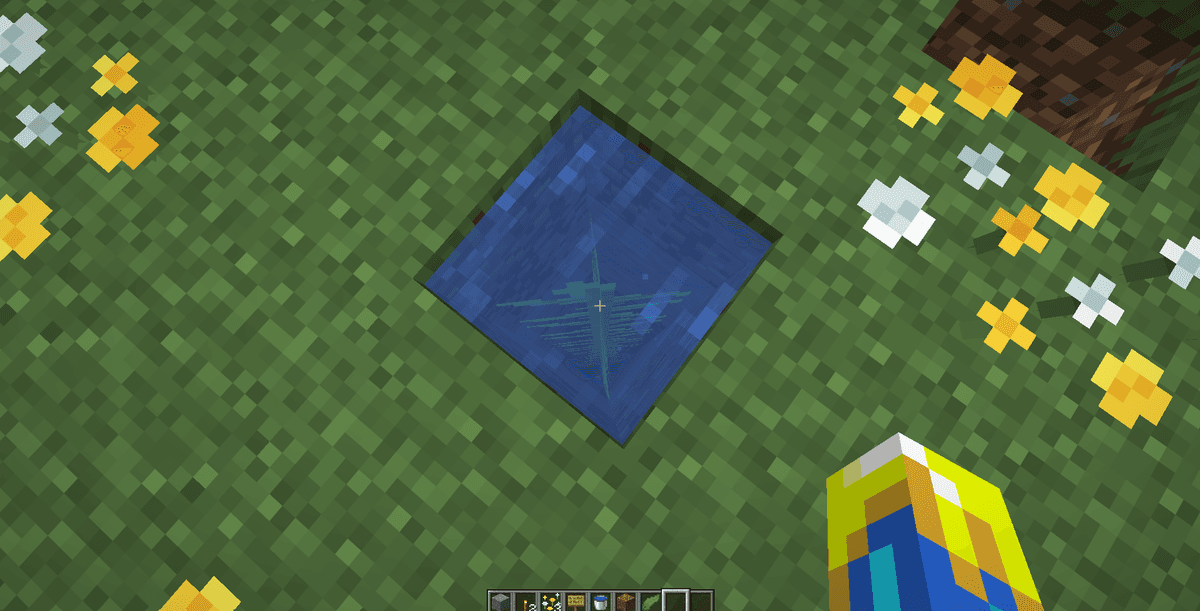
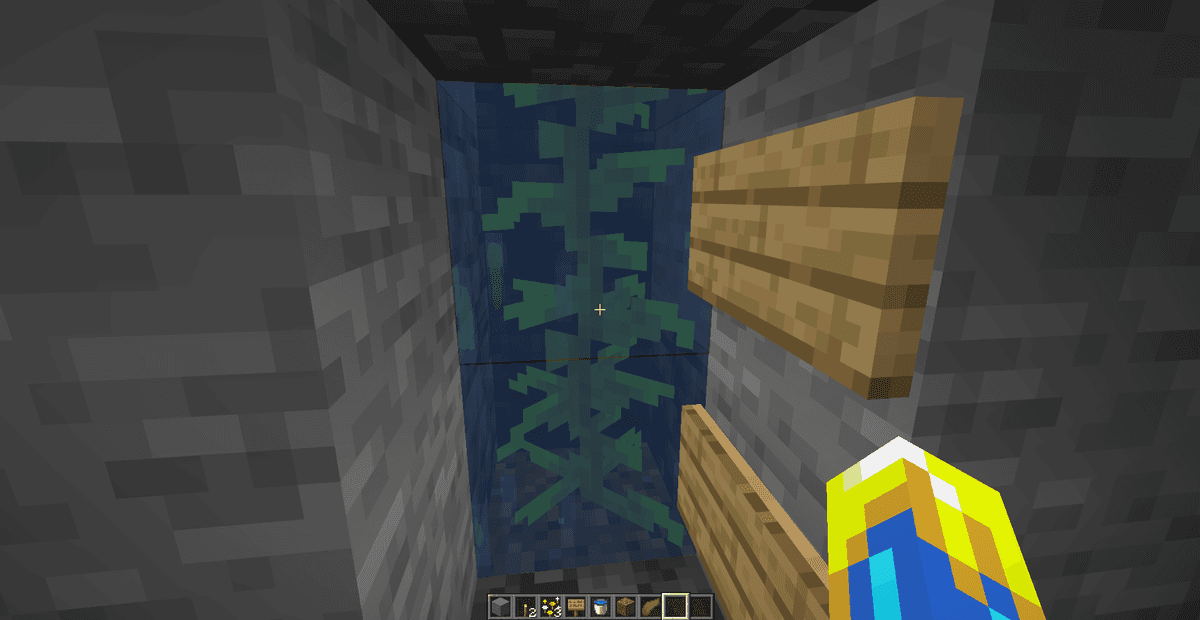
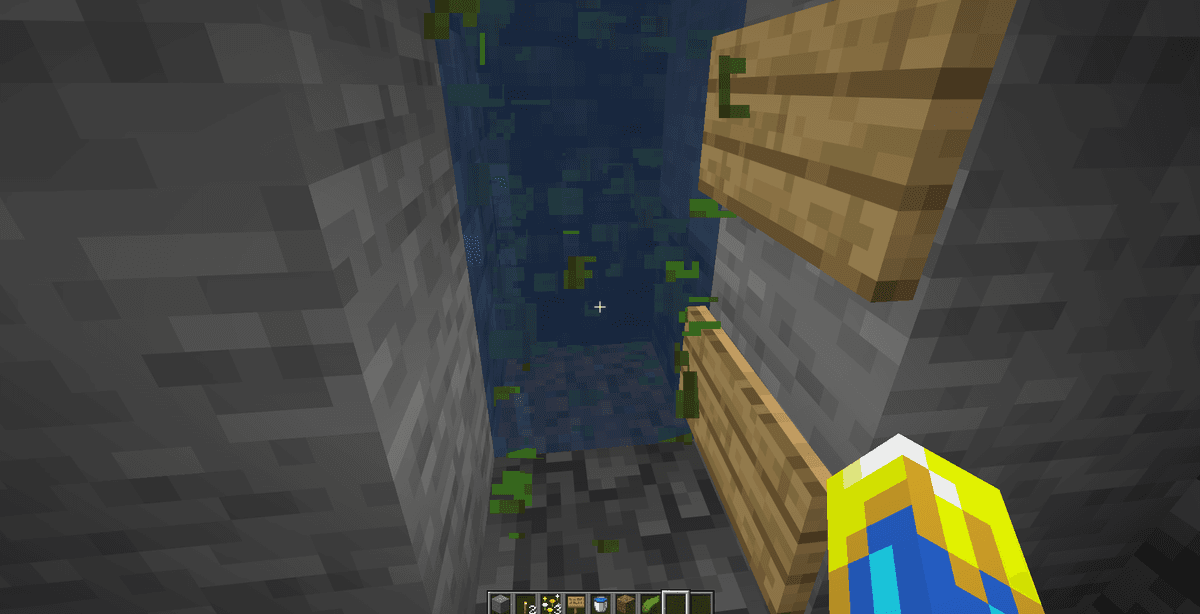
Step 4. Installing the activator
Replace the floor block under the water:
For an upward elevator, place a soul sand block. The water will start bubbling, and the bubbles will quickly pull you up.
For a downward elevator, place a magma block. The bubbles will start moving down, quickly pulling you to the bottom level.
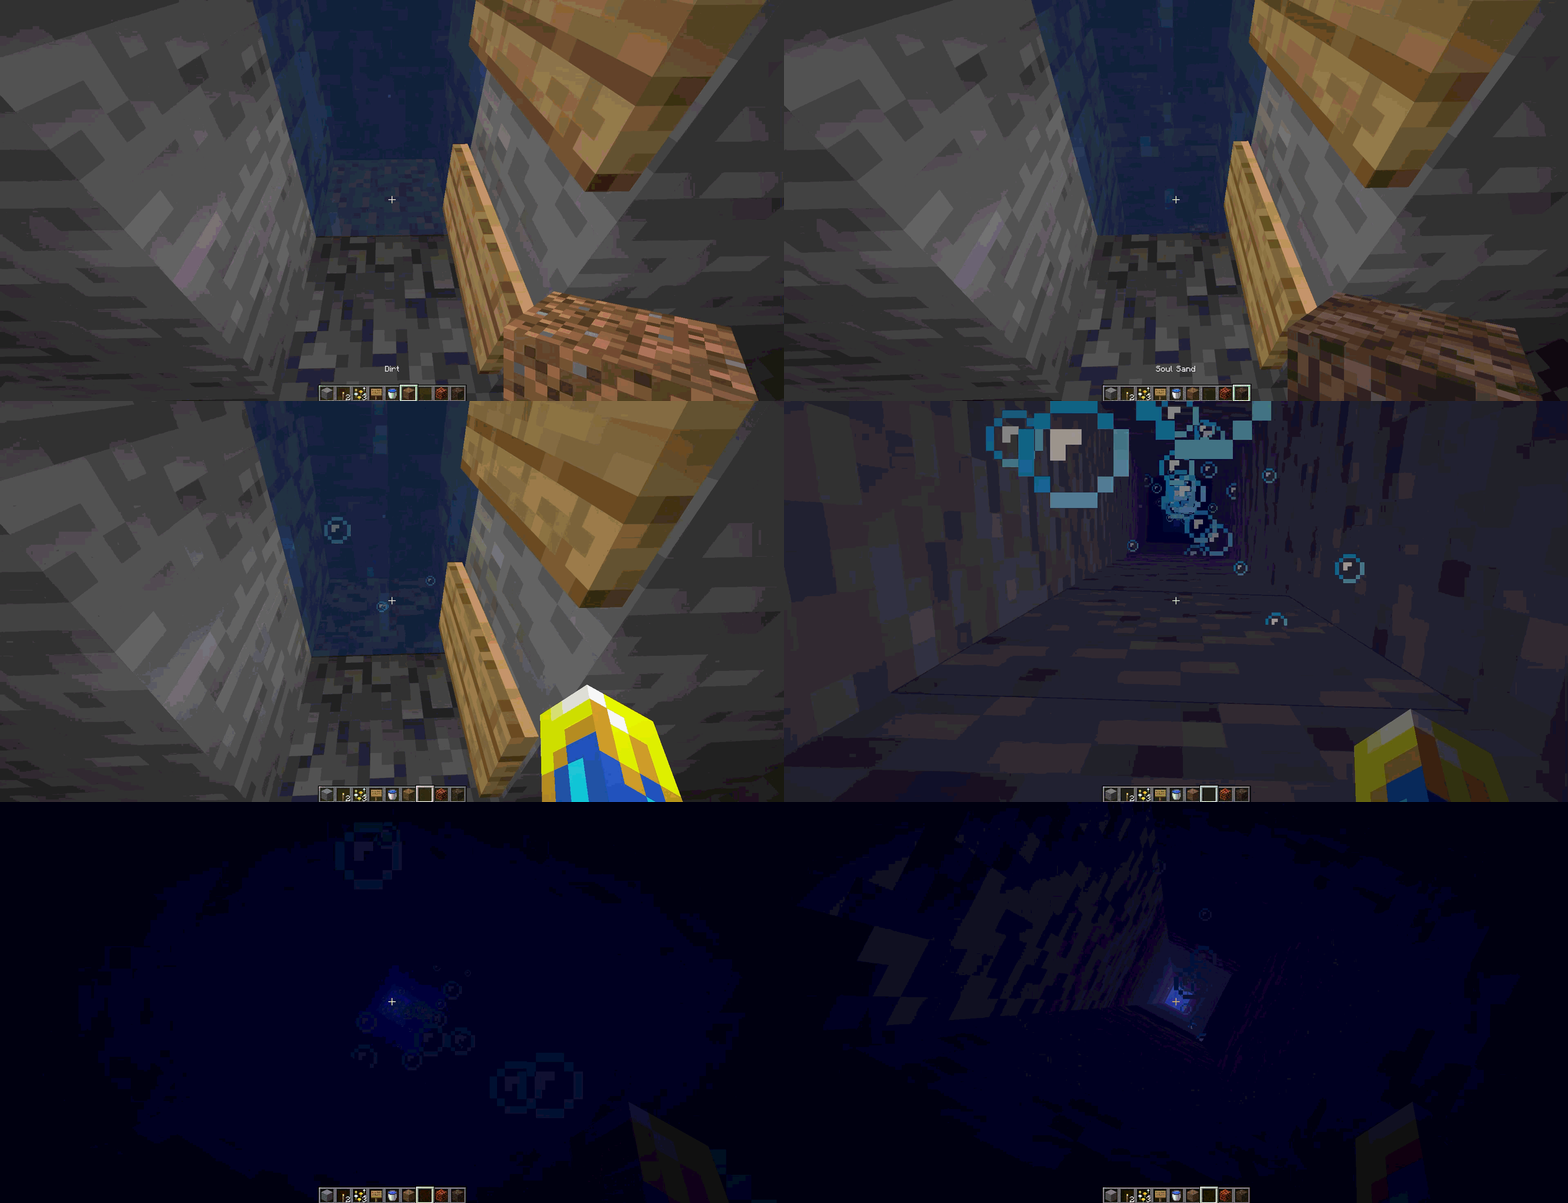
Limitations and safety:
A magma block deals health damage when you stand on it. To avoid damage while going down, hold the sneak key (
Shift) before landing or exit the elevator cabin immediately.If bubbles don't appear, one of the blocks in the column is not a water source. Check if all the kelp was grown correctly and no flowing streams are left.
Mechanical elevator on slime blocks and pistons
This type of elevator works on the principle of a flying machine. It moves in both directions within the same shaft using pistons and observers that push slime blocks.
Preparation
You will need the following elements:
2×Sticky Pistons2×regular pistons (for the starting mechanism)2×Observers4×Slime Blocks4×Obsidian blocks — obsidian cannot be moved by pistons, so it stops the elevator2×buttonsRedstone dust, note blocks or repeaters for launch
Building blocks for the cabin (you can use glazed terracotta blocks as they don't stick to slime)
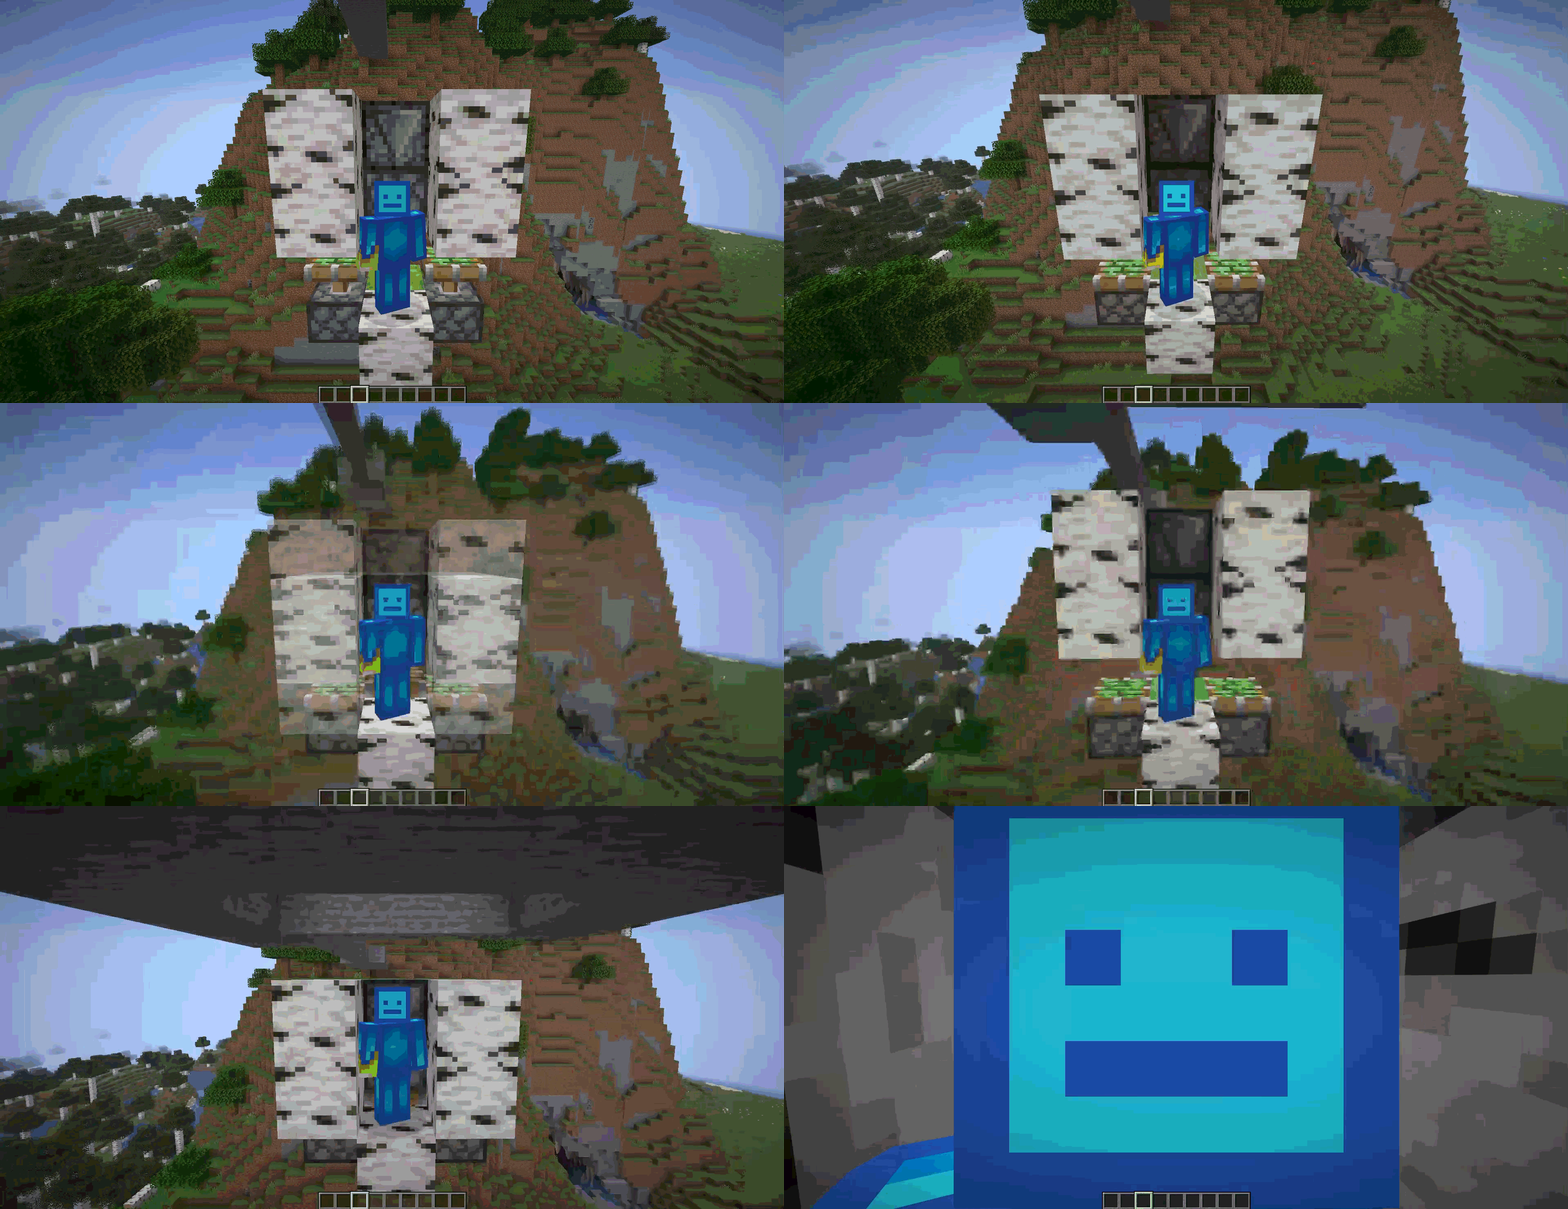
Step 1. Assembling the elevator engine
The engine consists of two mirrored parts that push each other:
Place an observer facing down with its sensor (eye).
Right on top of it, place a sticky piston facing down.
Next to the sticky piston, place two slime blocks going up.
Symmetrically on the other side, install a sticky piston and two other slime blocks.
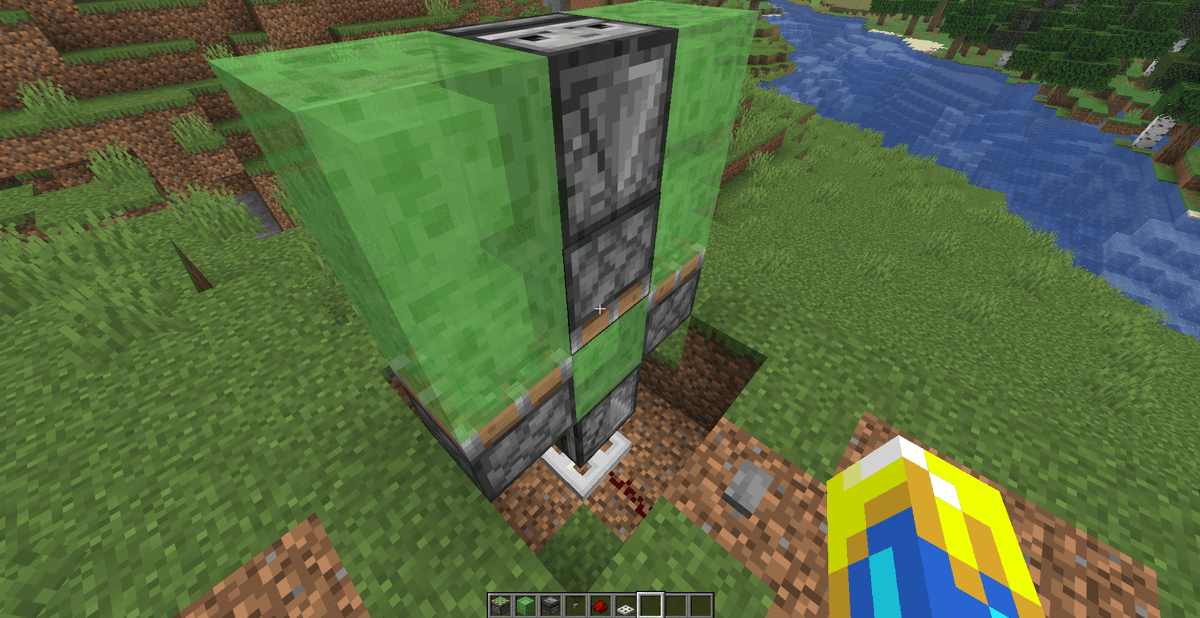
Step 2. Player platform and cabin
Install the platform the player will stand on over the top slime blocks.
Use only blocks that do not stick to slime (e.g. obsidian, glazed terracotta, or basalt). Regular blocks will cause the elevator to stop due to the piston limit of pushing a maximum of
12blocks.
Step 3. Stop and start stations
To control the elevator, you need to build two stations — bottom and top:
Bottom station: Place an obsidian block so the elevator stops at floor level. Next to the downward-facing observer, place a note block or a regular piston. When the button is pressed, it will give a block update to the observer, which will start the engine upwards.
Top station: Place obsidian above the top part of the elevator to stop it at the desired height. To launch it down, install a button that activates the top observer through redstone (via a note block or piston).
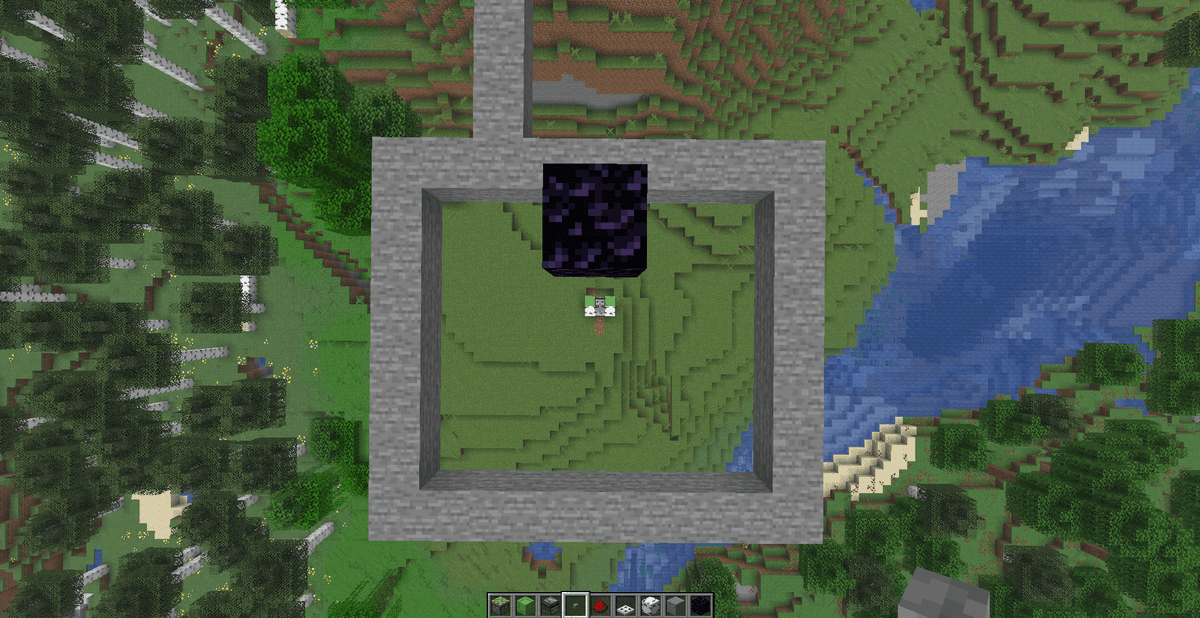
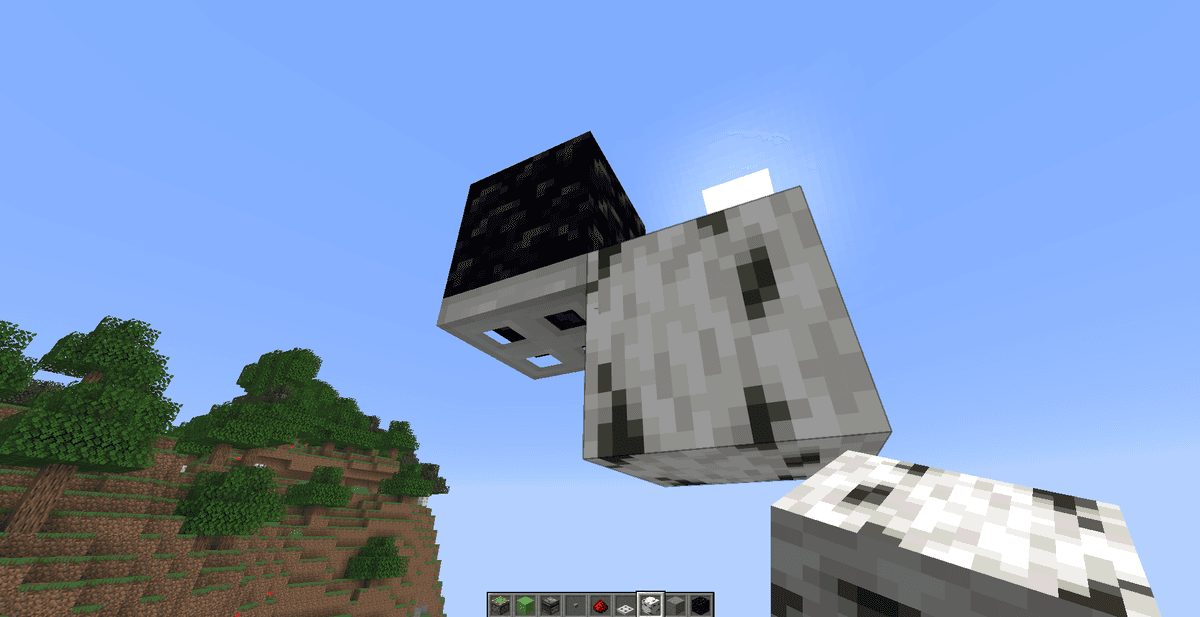
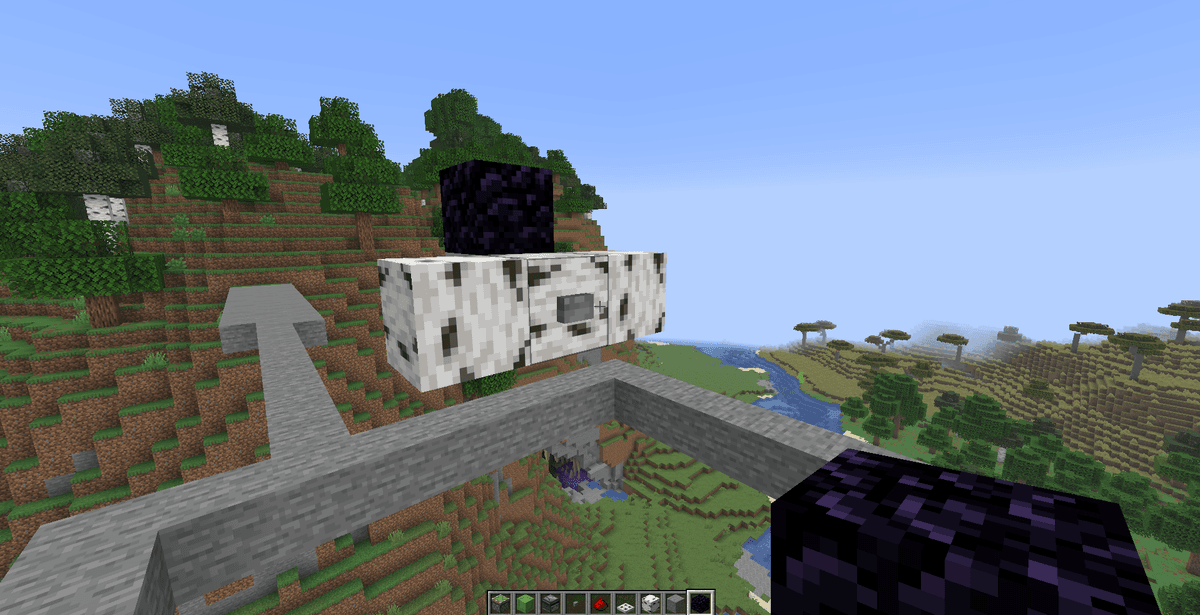
Common assembly mistakes:
The elevator doesn't start: check the block limit. If the engine tries to push more than
12blocks (including the cabin and the player themselves), the pistons won't trigger.The elevator breaks the shaft walls: the walls around the moving slime blocks must consist entirely of non-sticky blocks (glazed terracotta or air). Any other block will stick to the engine during movement.
Comparing water and mechanical elevators
Both variants have their advantages and limitations, which determine the feasibility of their use in different scenarios.
Parameter | Water elevator | Slime elevator |
|---|---|---|
Speed | Very high (about 11 b/s) | Medium (about 4 b/s) |
Assembly complexity | Low (does not require redstone) | High (requires precise positioning) |
Resource cost | Minimal (water, soul sand) | Medium (pistons, obsidian, slime) |
Number of shafts | Two separate shafts (up and down) | One shaft for both directions |
Maximum height | Limited by world height limit | Limited by world height limit |
Leave a comment
Links will be stripped
No comments yet. Be the first to share your thoughts.